|
|
Post by oregon45 on Jul 7, 2015 21:33:08 GMT -5
Outstanding! What a wonderful rifle and wonderful story. Easily one of the best threads I've followed on any gun forum.
|
|
paulg
.375 Atomic
  
Posts: 2,420
|
Post by paulg on Jul 8, 2015 5:46:00 GMT -5
Amazing. I really enjoy reading about the journeys you and your dad make in these threads. Also amazing is building such a thing in 19 pages or less! Thanks for the ride.
|
|
|
|
Post by 2 Dogs on Jul 8, 2015 8:07:29 GMT -5
Incredible doesn't do it here....
|
|
|
|
Post by cherokeetracker on Jul 8, 2015 18:18:57 GMT -5
This is one gorgeous rifle. The precision craftsmanship just explodes off the pages at us in the journey of this thread.
By the way I have called Vegas, and Pete Rose, to get the odds, on the group size.
|
|
|
|
Post by cherokeetracker on Jul 8, 2015 18:23:06 GMT -5
I have to add those look like brand new bags. Only fitting,,,well deserved.
|
|
|
|
Post by Lee Martin on Jul 16, 2015 20:02:37 GMT -5
MAKING A CUT RIFLED BARREL – KRIEGER VIDEO ________________________________________________ Krieger is one of the leading cut rifle barrel makers in the BR arena. I covered the differences between button and cut earlier and touched on why hammer forged hasn’t (and likely won’t) penetrate the sport. Here’s an inside look at Krieger’s production process. You’ll see everything from cryogenic stress relieving to the single-point tooling. Even if benchrest isn’t your thing the video is insightful. Enjoy. -Lee www.singleactions.com"Building carpal tunnel one round at a time" |
|
|
|
Post by cherokeetracker on Jul 16, 2015 20:23:16 GMT -5
That was incredible. I have read about this and have known parts of it for years but to see it in action makes it really clear.
Charles
|
|
cj3a
.30 Stingray

Posts: 403
|
Post by cj3a on Jul 16, 2015 20:24:49 GMT -5
The part showing how they chambered was interesting. I ordered a 25 cal barrel from them and when it was a few months late I called. Man on the phone looked it up and said it failed QC and I should get it shortly. The interesting part of the conversation was when he told me the owner personally does the 25 cal barrels.
|
|
|
|
Post by Lee Martin on Jul 28, 2015 19:18:56 GMT -5
New Range, New Bench – Step 6 _________________________________________ After a wet June and July my contractor poured the 15 x 15 foot pad. He went heavy on the concrete thickness; I ordered 5 inches but it’s closer to 7. Half-inch rebar was put down with isolation strips at the control joints. Theoretically this thing should stand long after I’m gone. 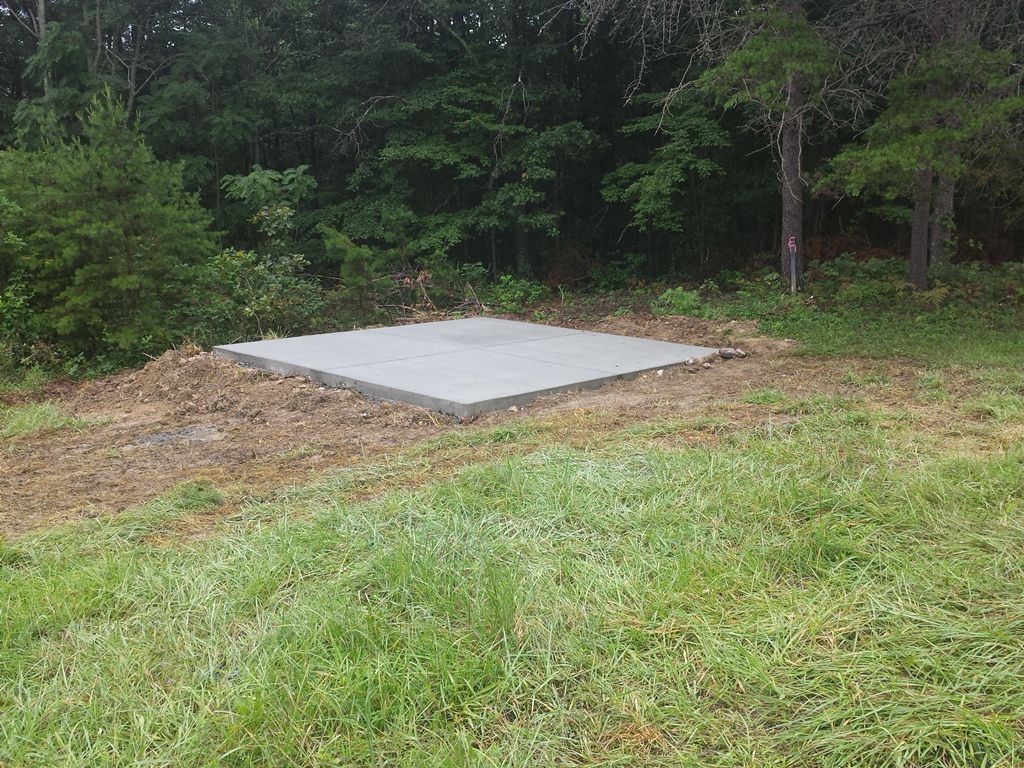 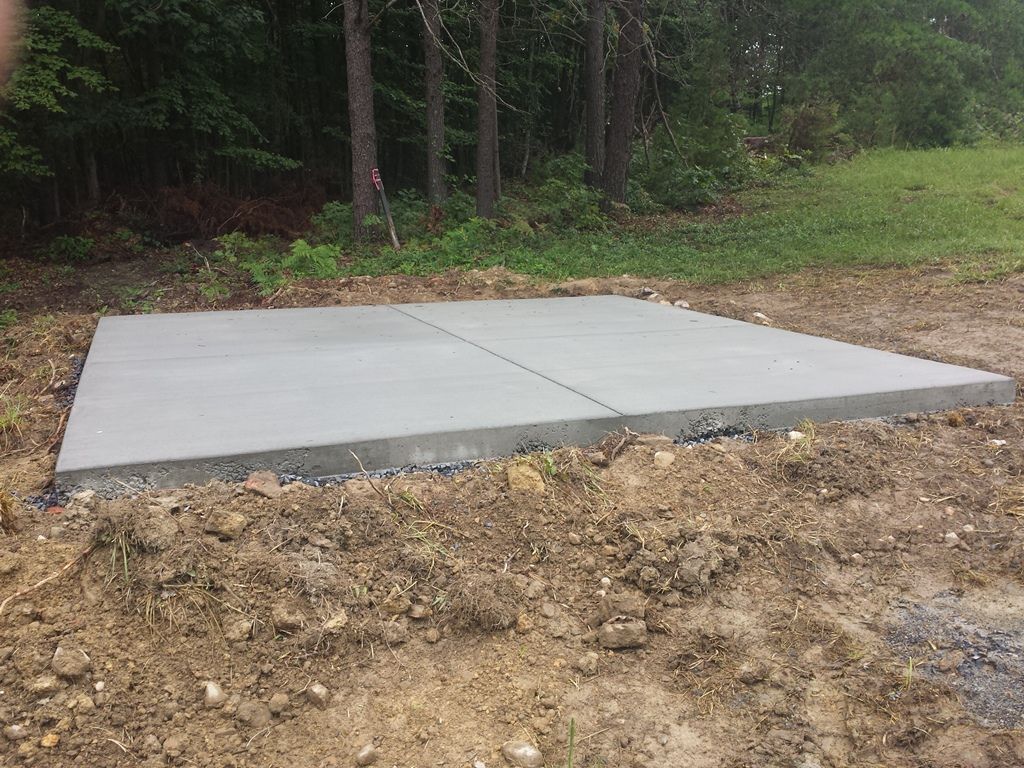 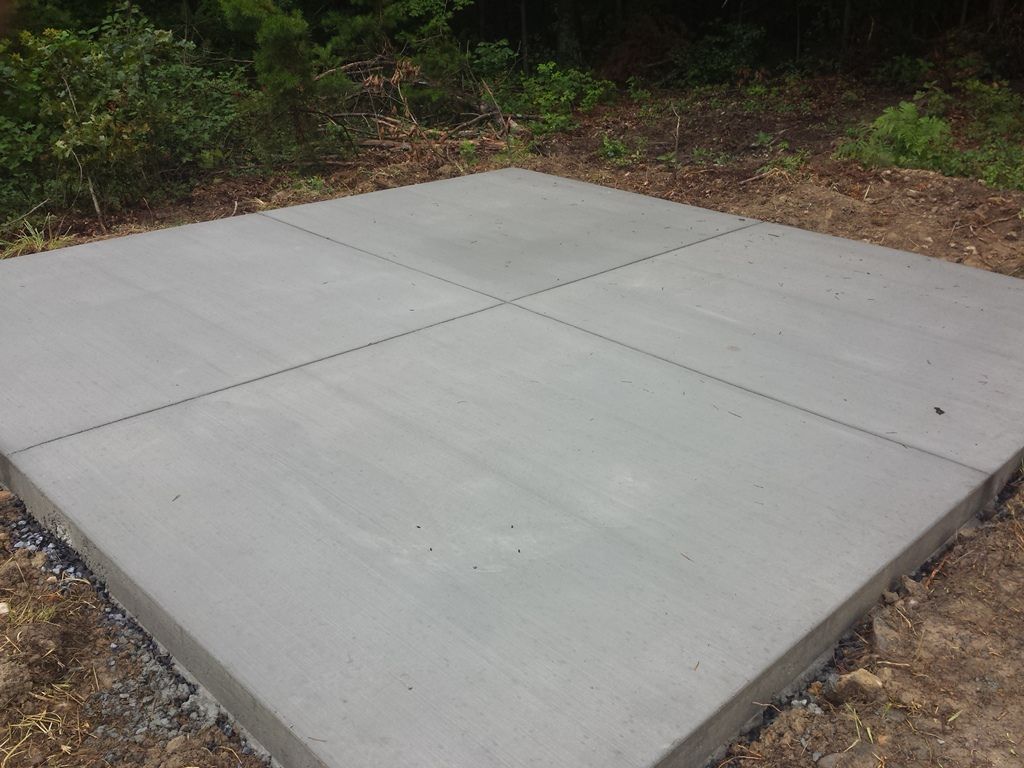 14 days of curing have passed so we can install the bench. That’ll happen this weekend along with pouring the top and setting the target frame at 100 yards. If all goes well I’ll be shooting the PPC in a matter of days (minus the roof and loading bench. Those will be done in August). Grass is even starting to cover the bulldozed area. 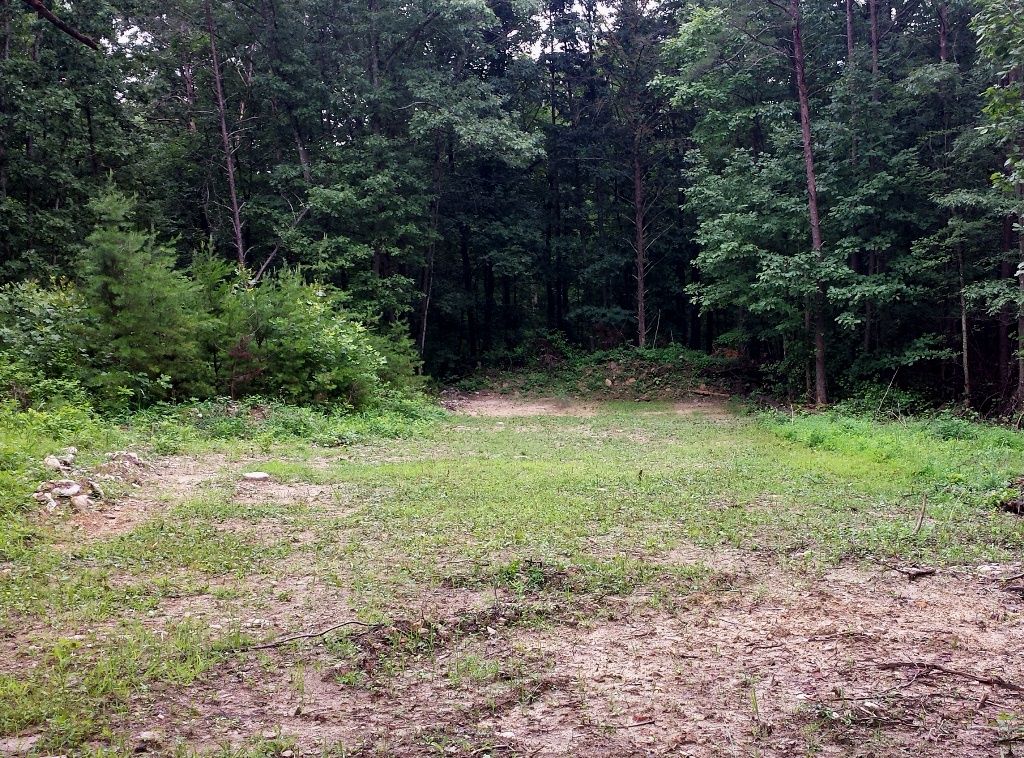 -Lee www.singleactions.com"Building carpal tunnel one round at a time" |
|
steve
.375 Atomic
  
Posts: 1,547
|
Post by steve on Jul 28, 2015 22:32:18 GMT -5
That's a beautiful looking slab. I was just wondering why they didn't set any post/column bases in the slab? Here in CA, for seismic/earthquake reasons we have to put in an insane/overkill amount of metal hardware.
|
|
|
|
Post by Lee Martin on Jul 30, 2015 19:19:44 GMT -5
New Range, New Bench – Step 7 _____________________________________ Steve – we certainly could have set 6 x 6”s or mounting brackets in concrete. That’s the norm for this type of project. However they’re permanent. Secondly ours won’t bear much weight so I decided on surface anchoring. The truces, cross members, and vinyl roofing add 300 – 400 pounds at most. Even under high wind conditions the uprights are over-engineered. The lighter brackets shown here are OK but I want buffer: 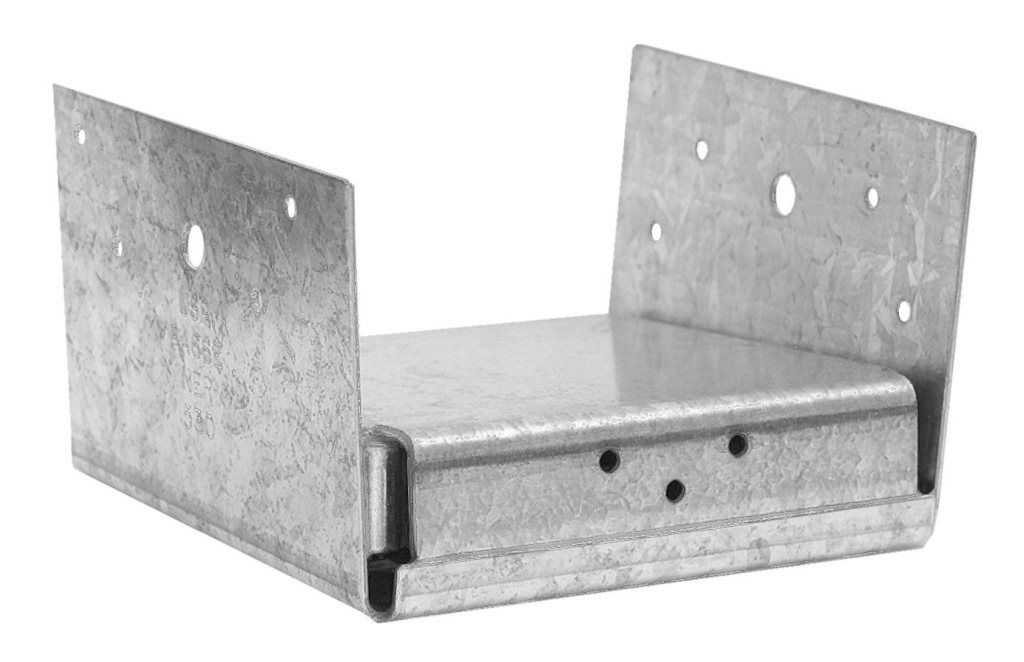 Instead we’ll fabricate them from 1/4” plate steel; four sided and 6-inches tall with two cross bolts. Two tabs will be welded and drilled for four 5/8” anchors per: 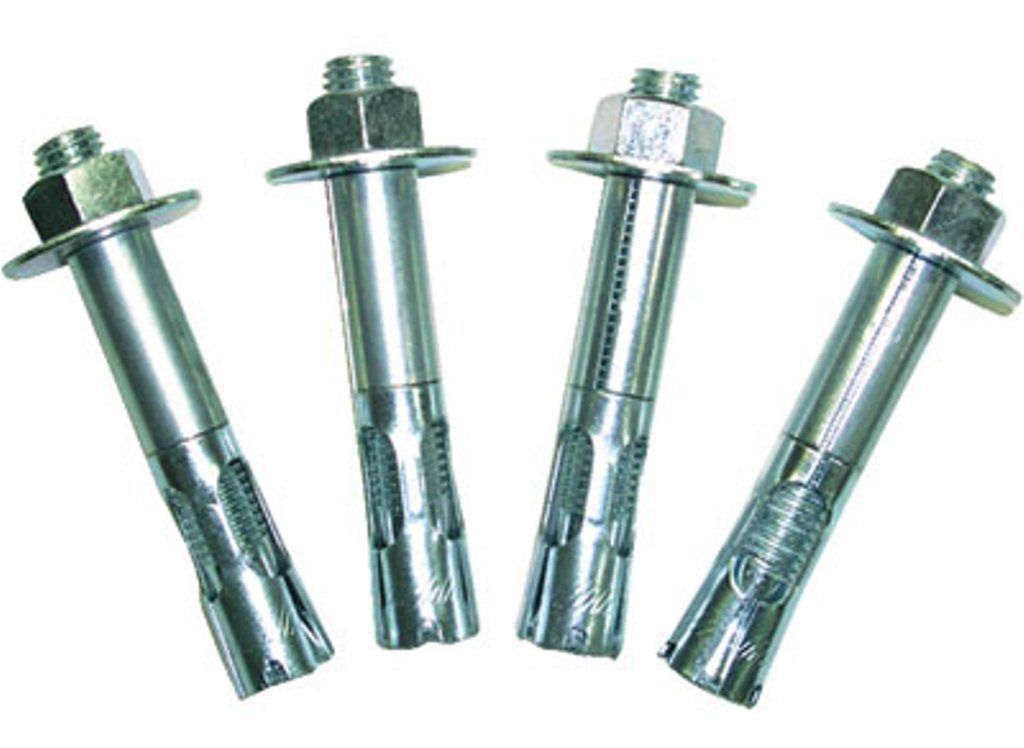 We’re using the same to affix the bench legs. A similar, yet smaller anchor will hold the 8-foot loading table. If the wood goes bad in 30 years I’ll unbolt it and make a new one. The roof - Our current shooting shed is shingled and lasts the usual twenty years. But I want more illumination and chose semi-transparent PVC. We’ll screw the sheets into homemade truces: 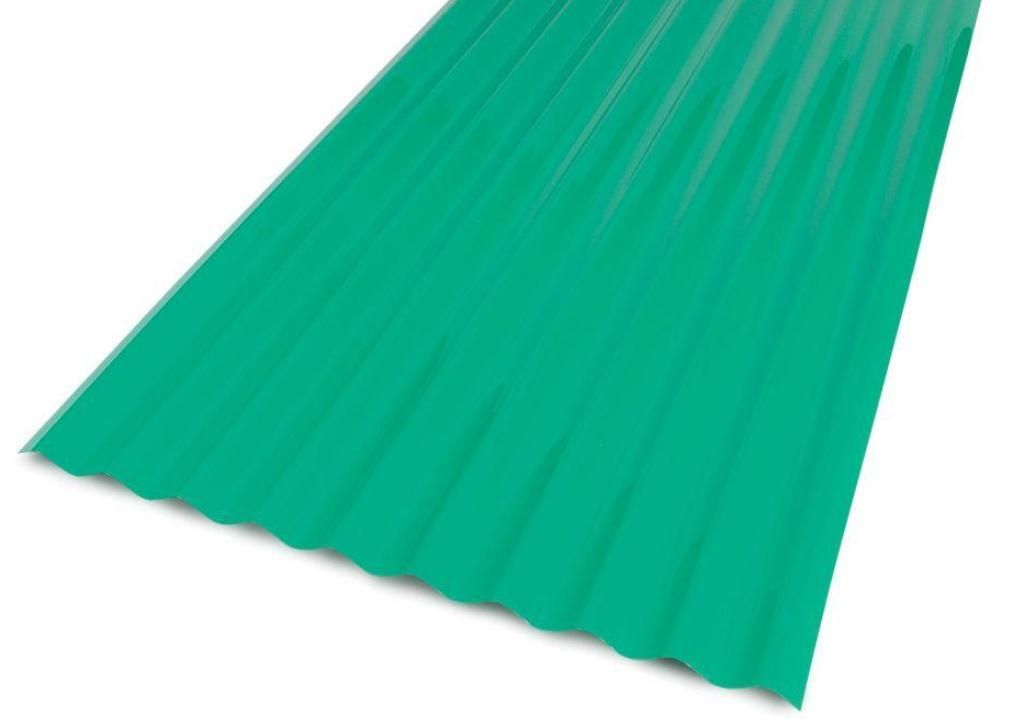 I think it’ll work fine but if not I’ll switch to plywood and shingles. Tomorrow we’re going to install the bench and pour the top. Then on Sunday we’ll pull the form, paint the legs grey, and plant the target frame. After the top cures in a week I’ll seal it. Two things we had to do beforehand: 1) Put sheet metal floors in the legs so we’re not pouring concrete to the bottom 2) Caulk the lower edge for a nice rounded corner. The top edge gets the same except it’ll be done with a masonry tool in wet concrete. 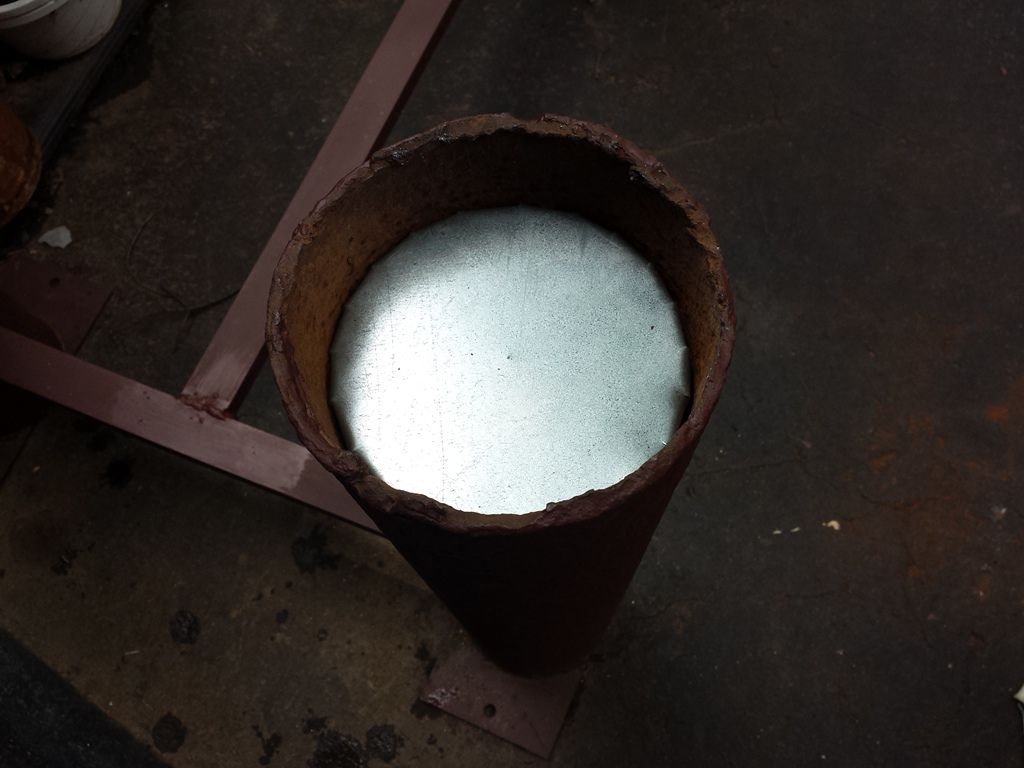 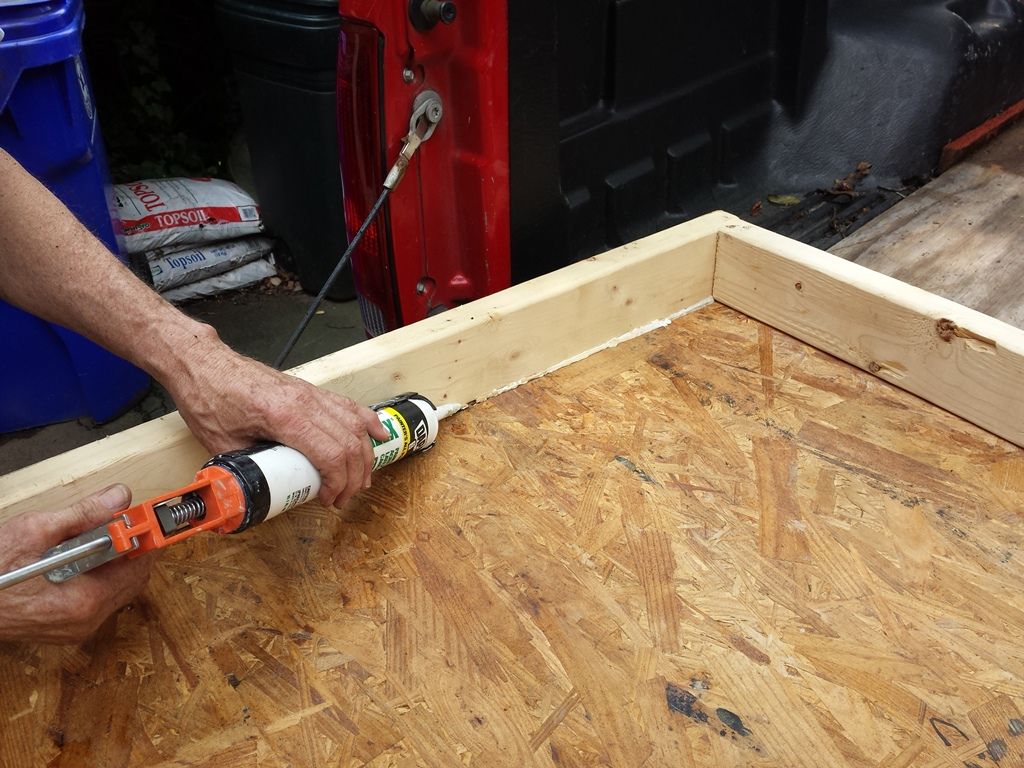 Notice how building a BR rifle spawns side projects? -Lee www.singleactions.com"Building carpal tunnel one round at a time" |
|
|
|
Post by Lee Martin on Aug 4, 2015 19:04:10 GMT -5
New Range, New Bench – Step 8 _______________________________________ We set the bench last Friday. Along the way I accidentally deleted some of the photos. Recap of how we got started minus illustrations: 1) The base was positioned on the pad and squared to the 100 yard berm 2) Using a hammer drill the concrete was bored six times for 5/8” anchors (luckily we missed rebar) 3) The base was bolted to the pad 4) The form was laid on top and the post locations were outlined underneath 5) A Milwaukee Sawzall cut the holes Using cinderblocks the form was held to the correct height of 32”. Every angle was checked with a level: 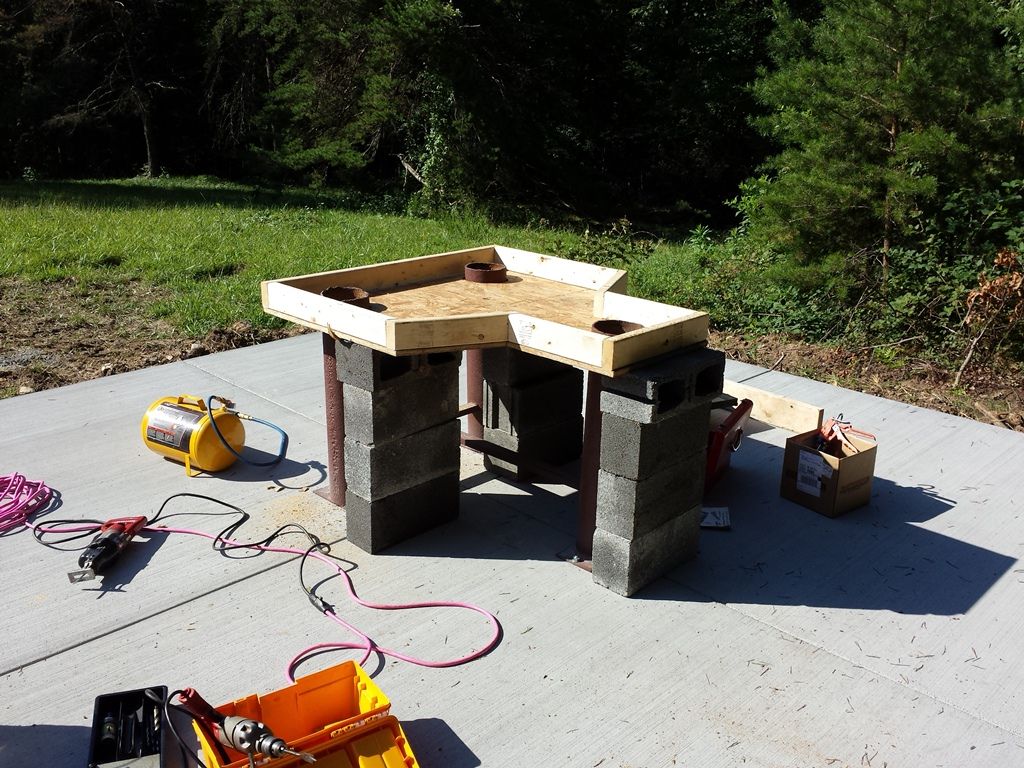 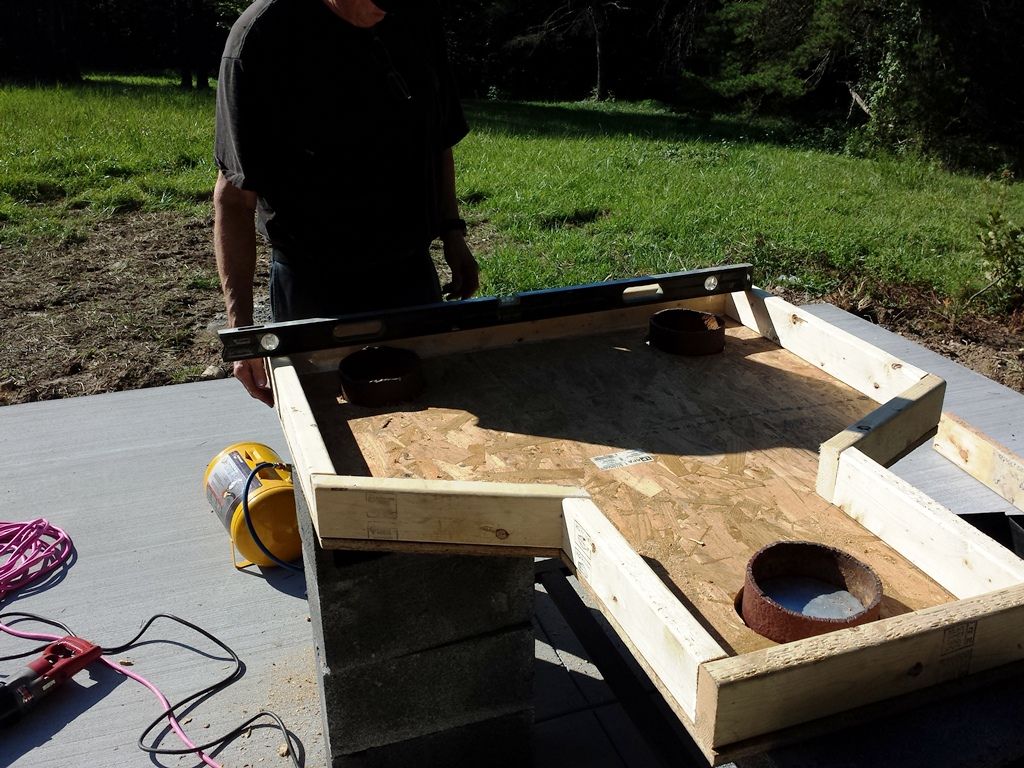 Dad’s Miller Trailblazer made in-field work much easier. This unit is gasoline powered, has electric start, and acts as a 10,000 watt generator and welder (stick, TIG, and MIG). 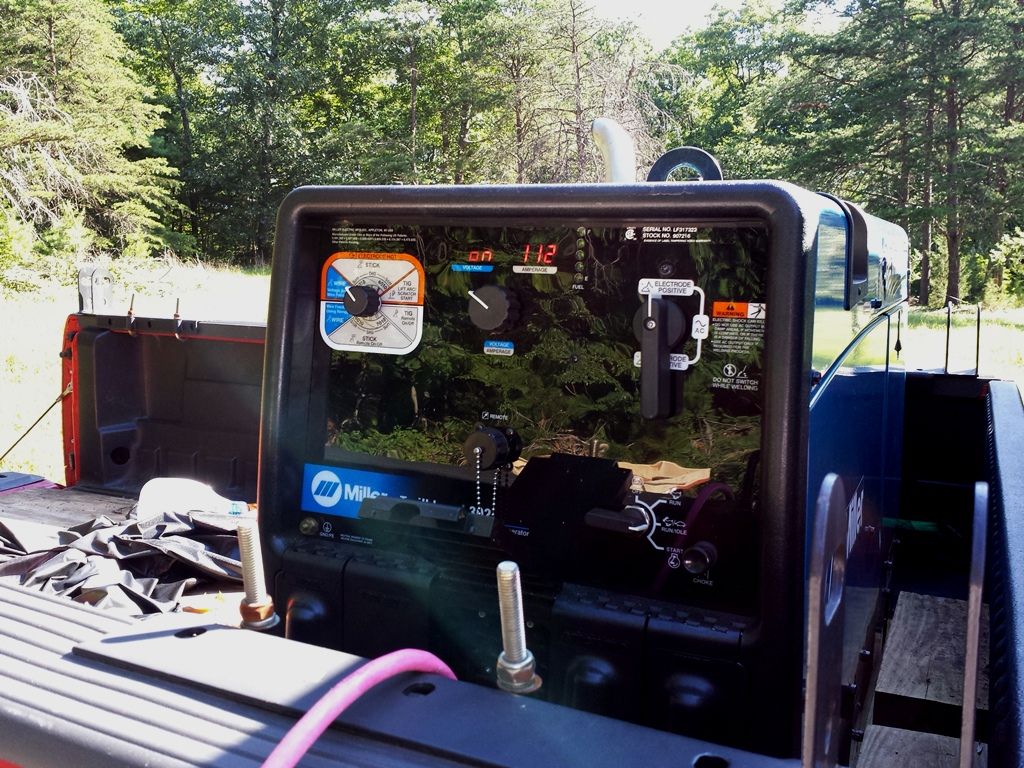 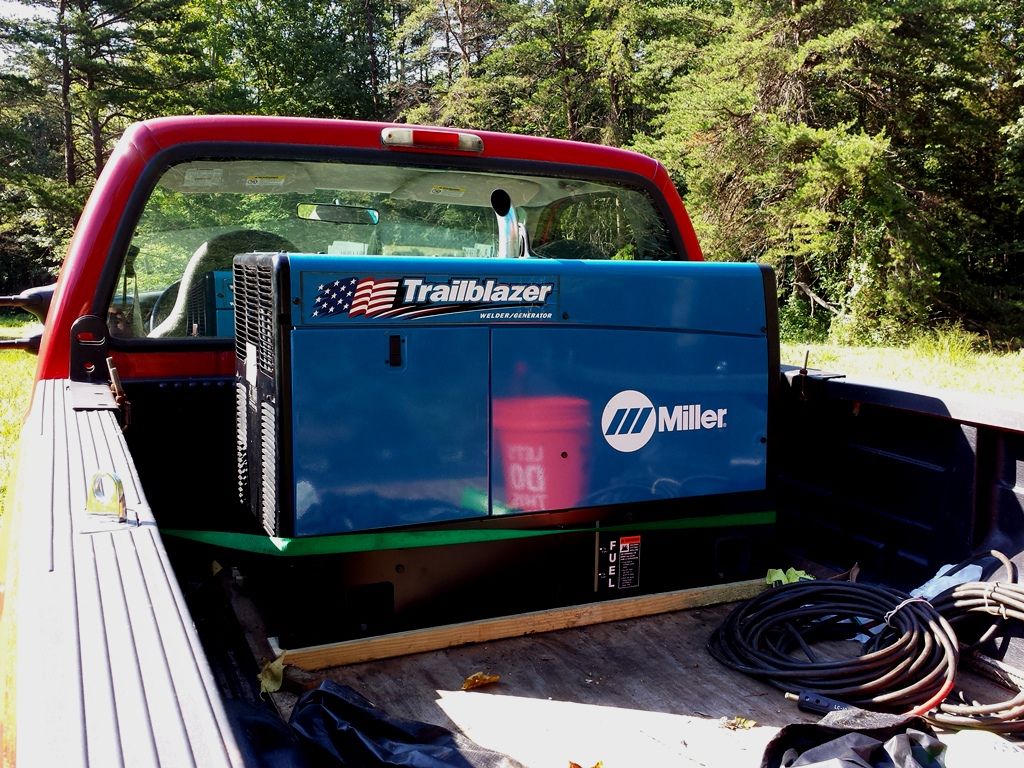 Cutting and welding ½” rebar for the concrete top: 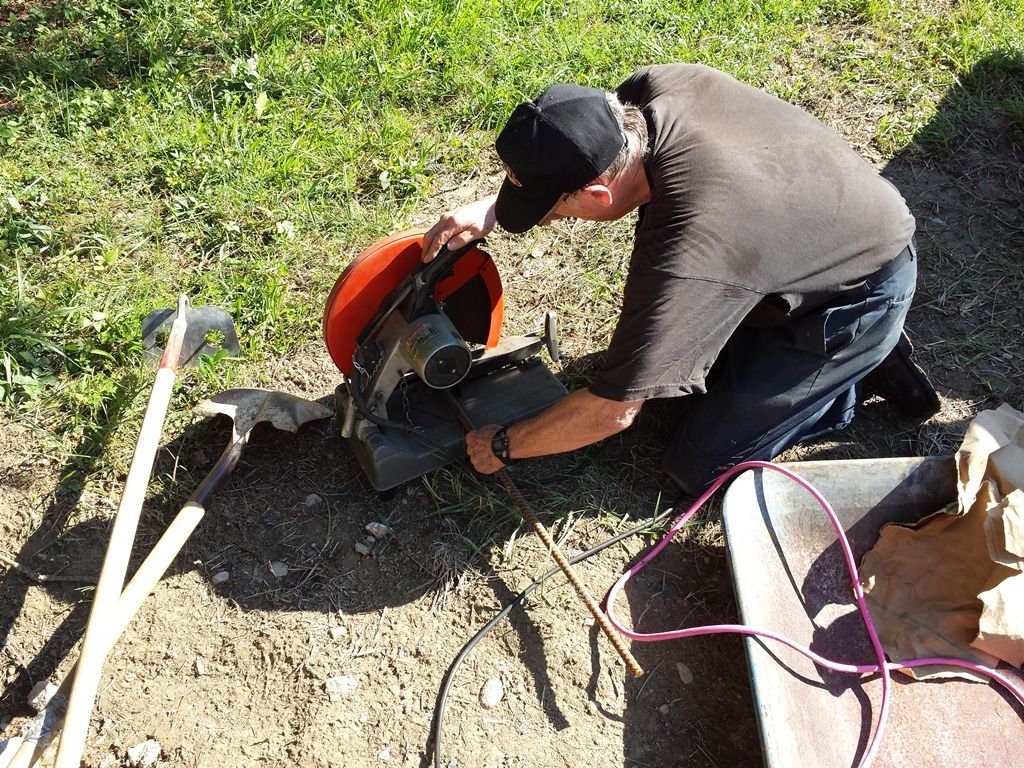 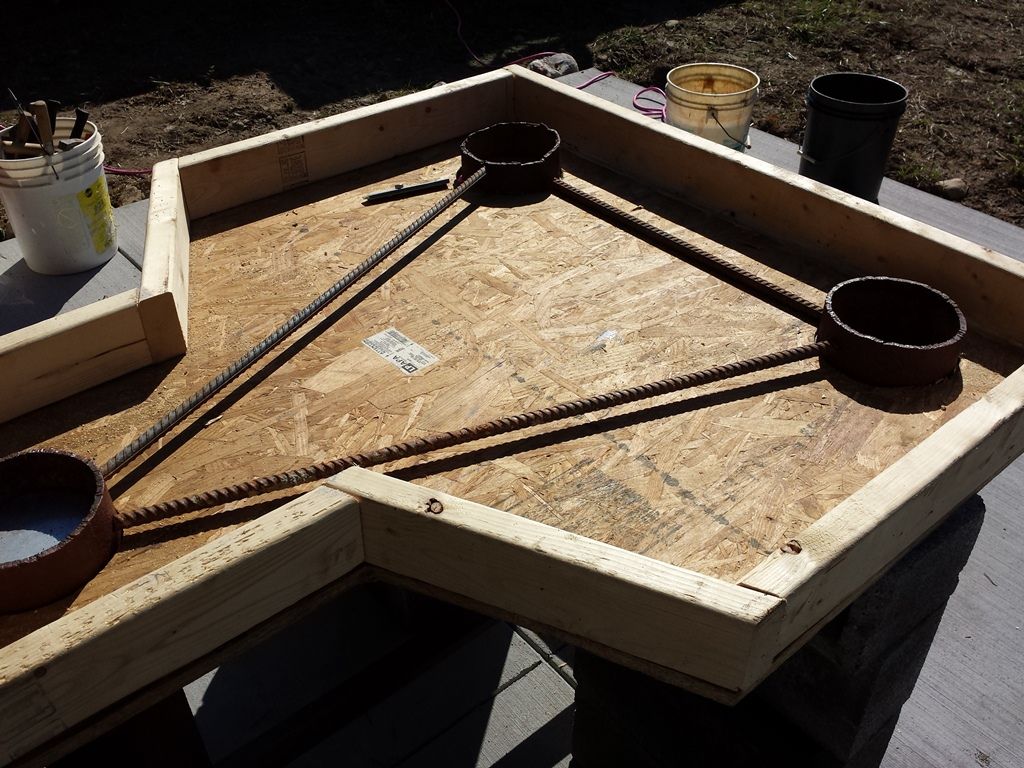 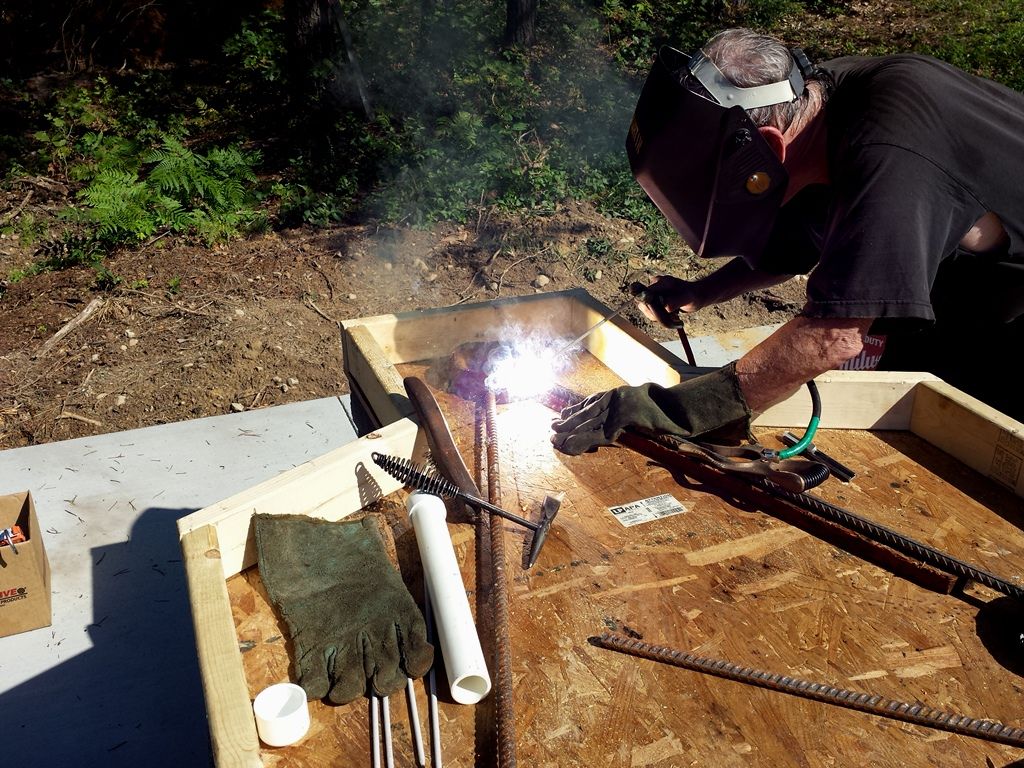 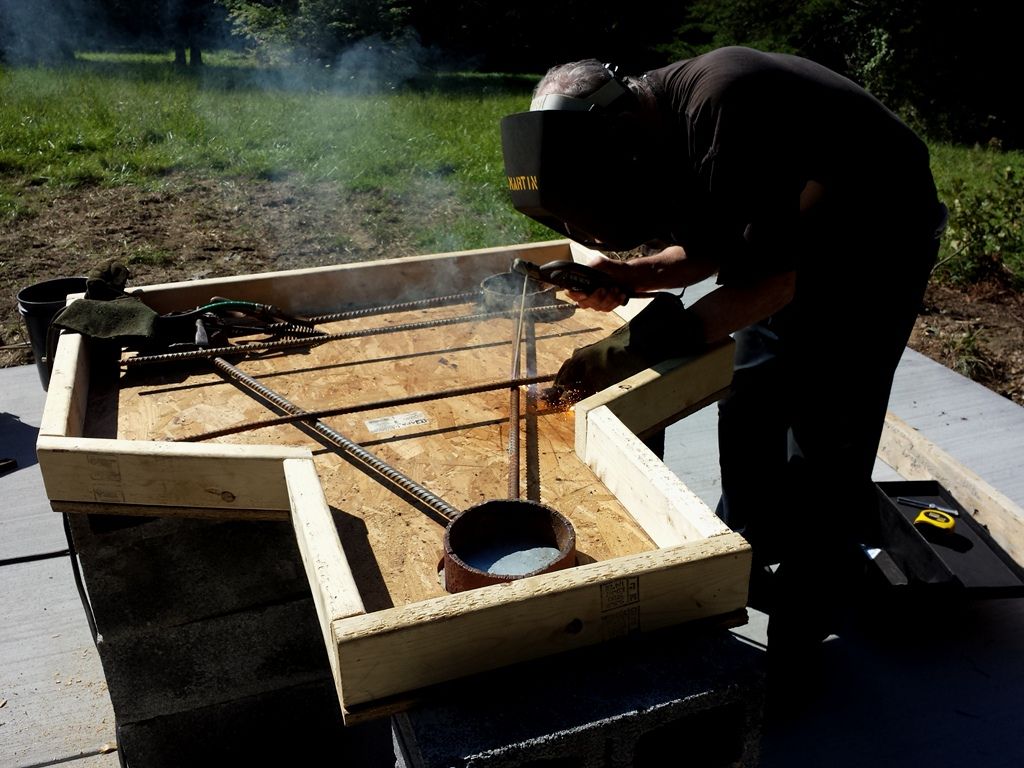 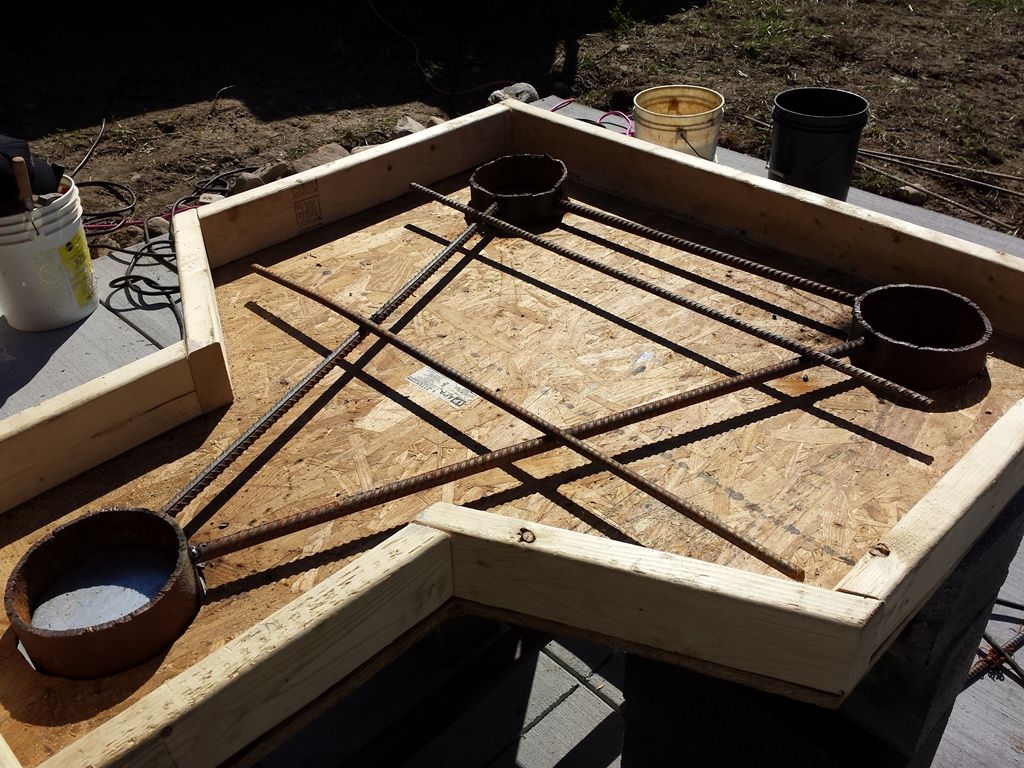 -Lee www.singleactions.com"Chasing perfection five shots at a time" |
|
|
|
Post by Lee Martin on Aug 4, 2015 19:05:36 GMT -5
New Range, New Bench – Step 9 ________________________________________ Mixing concrete and pouring the top: 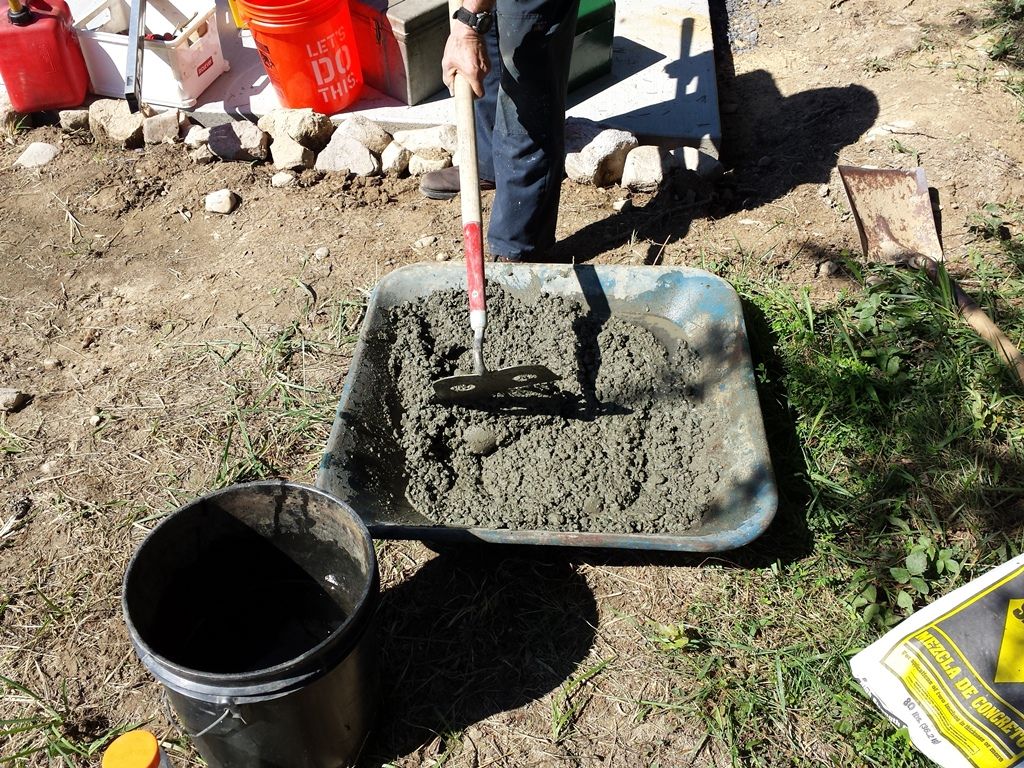 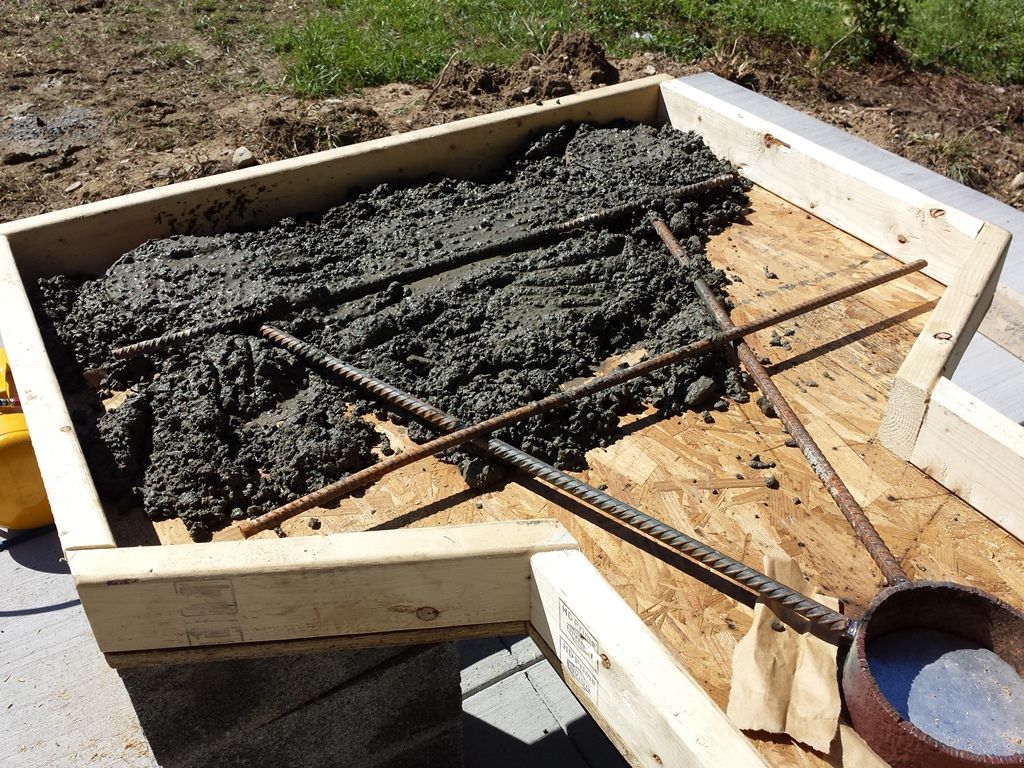 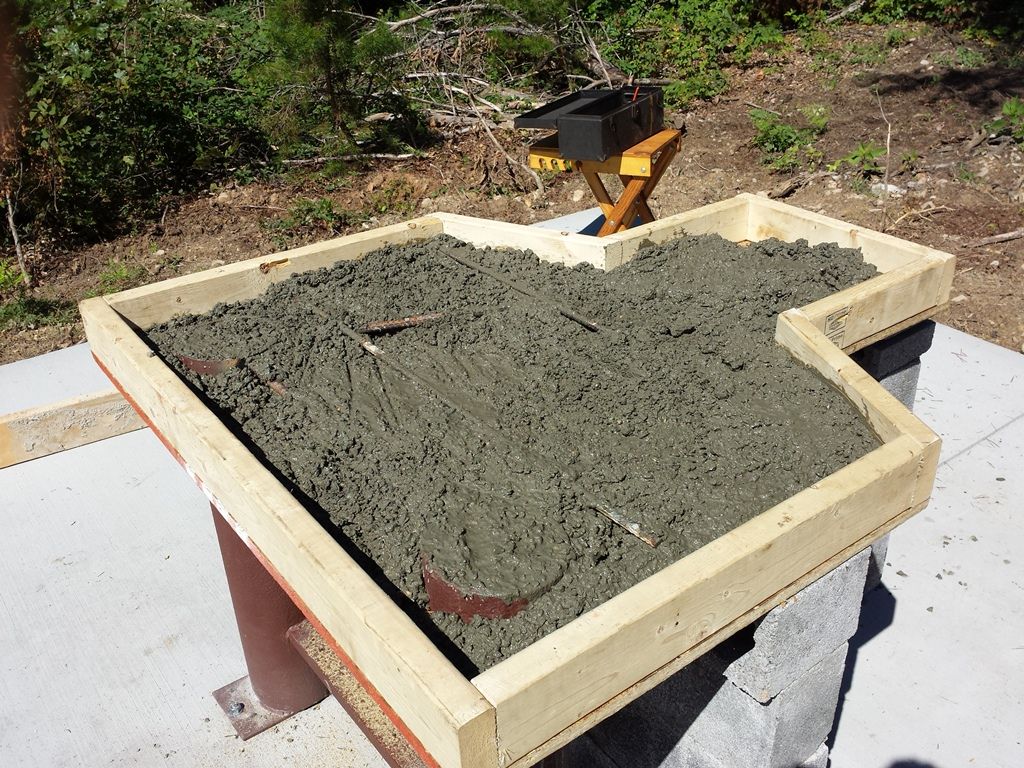 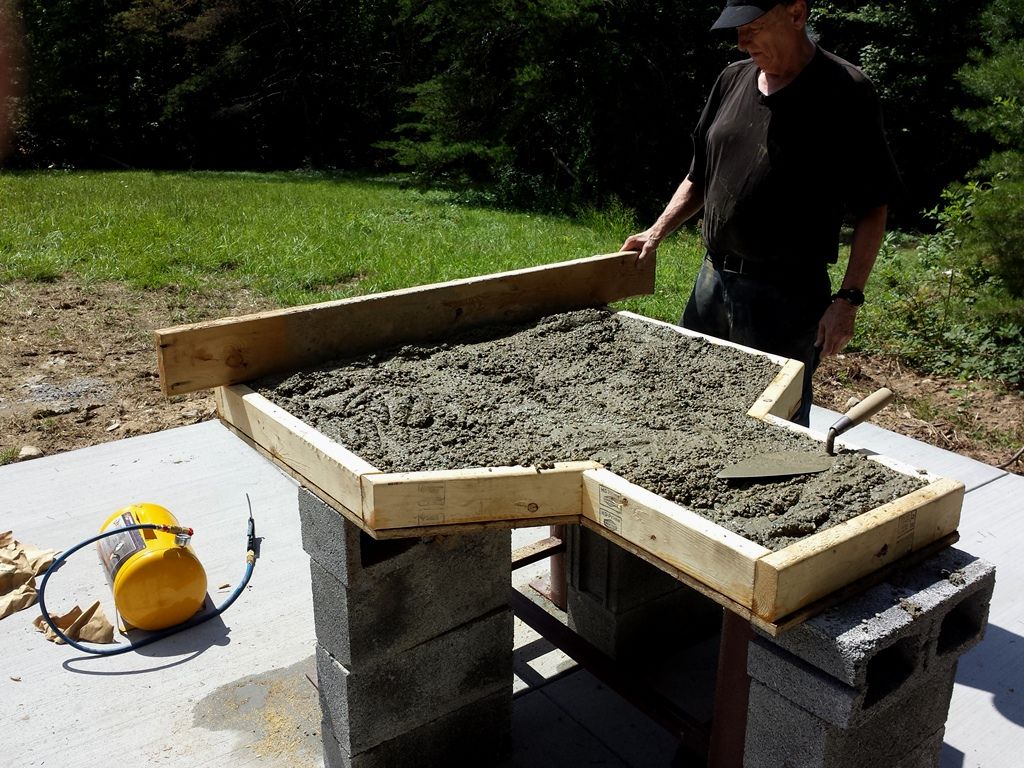 Screeding with a board: 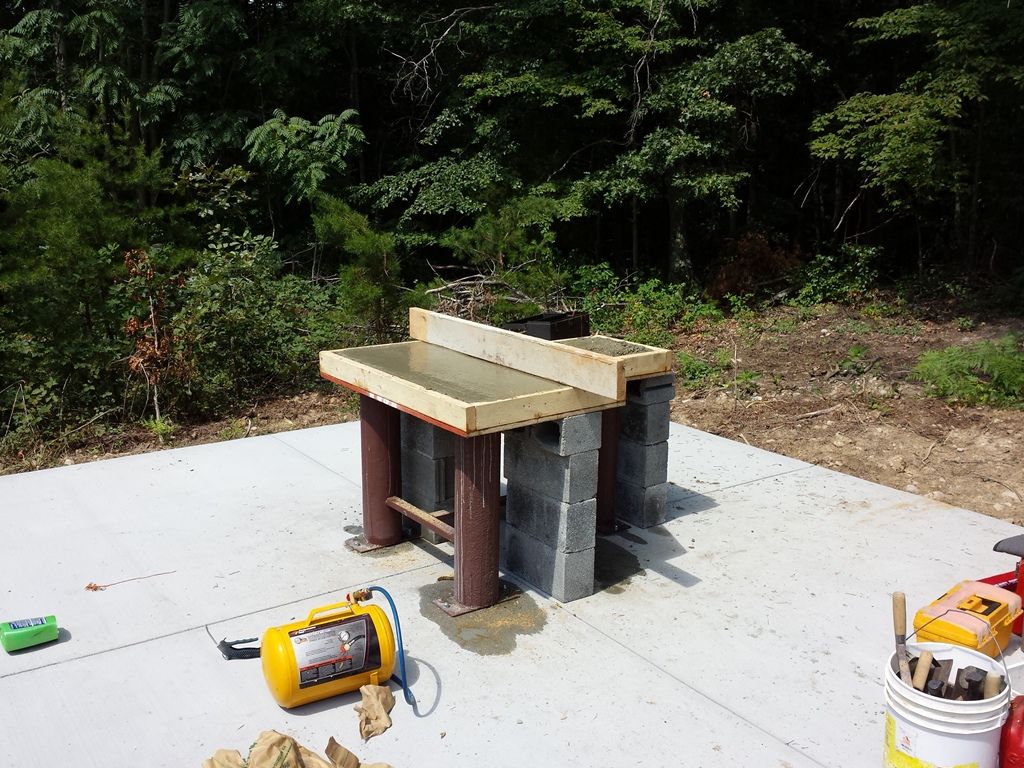 Hand finishing the surface: 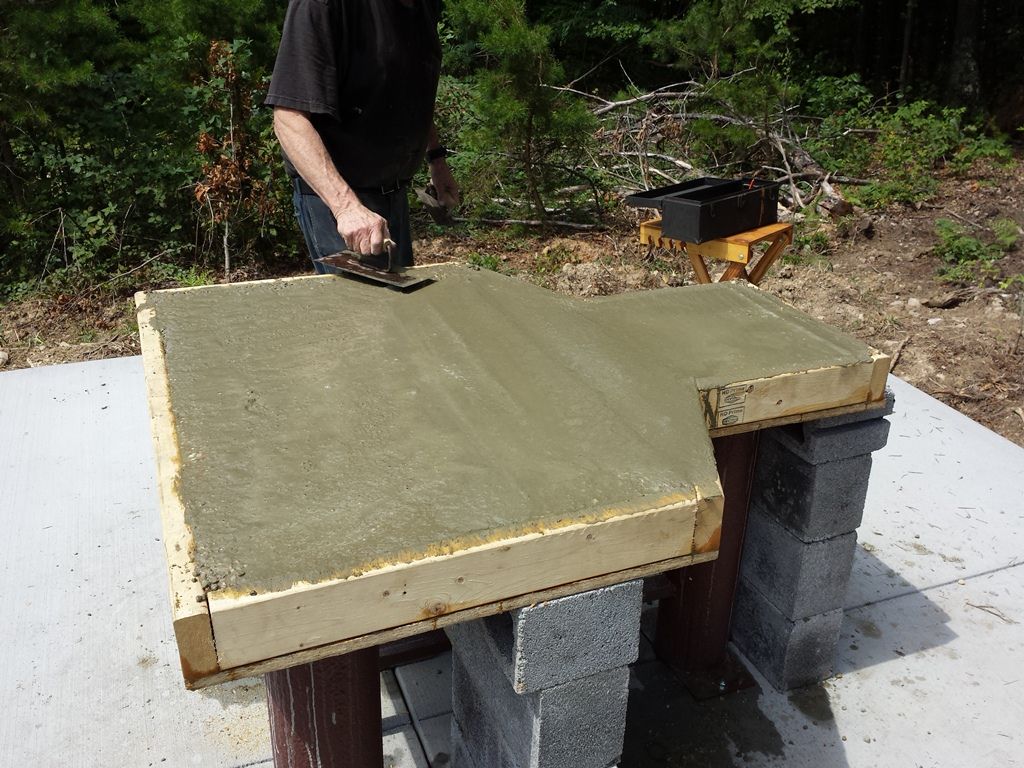 Edging: 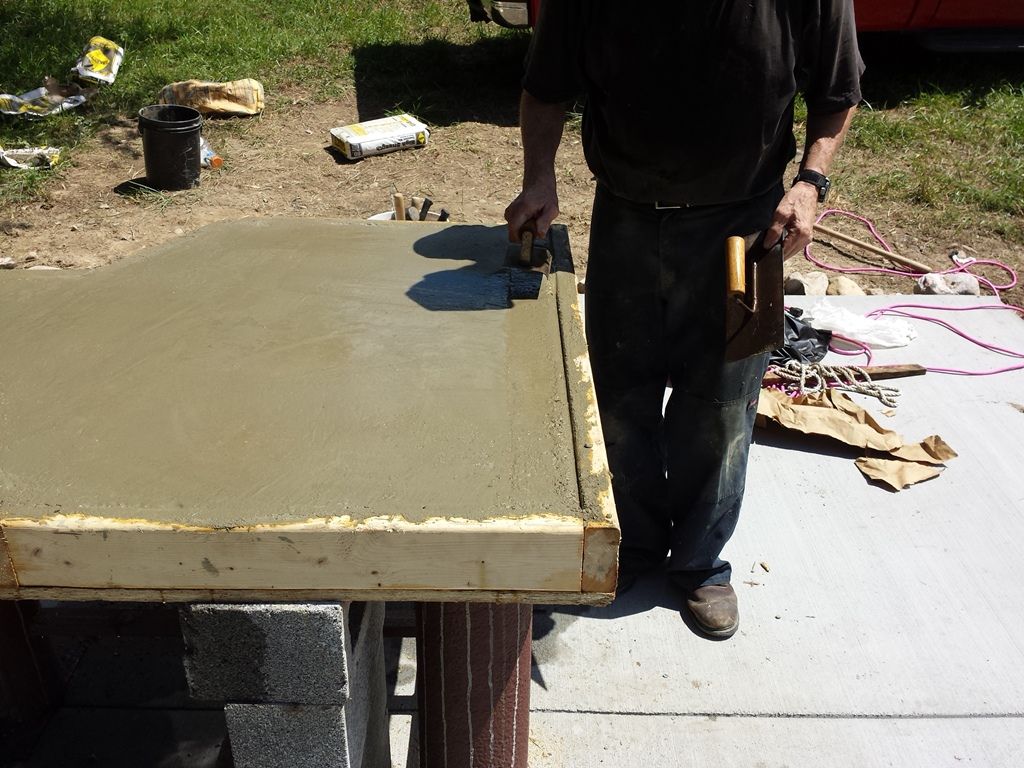 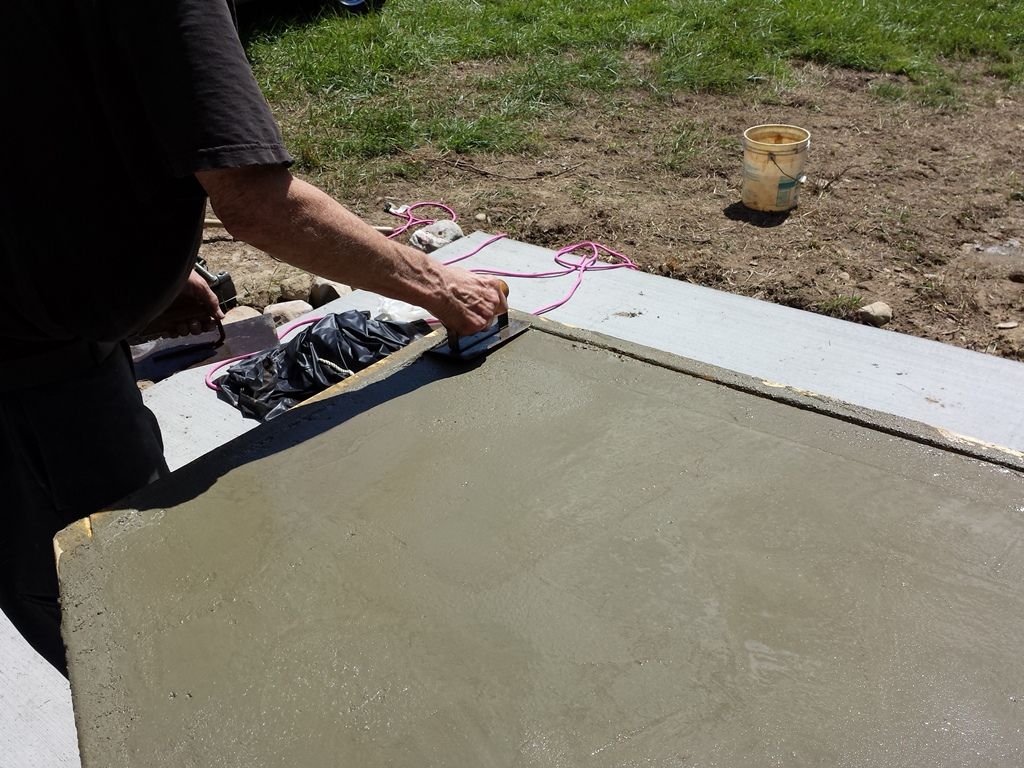 This tool produces a nice rounded corner: 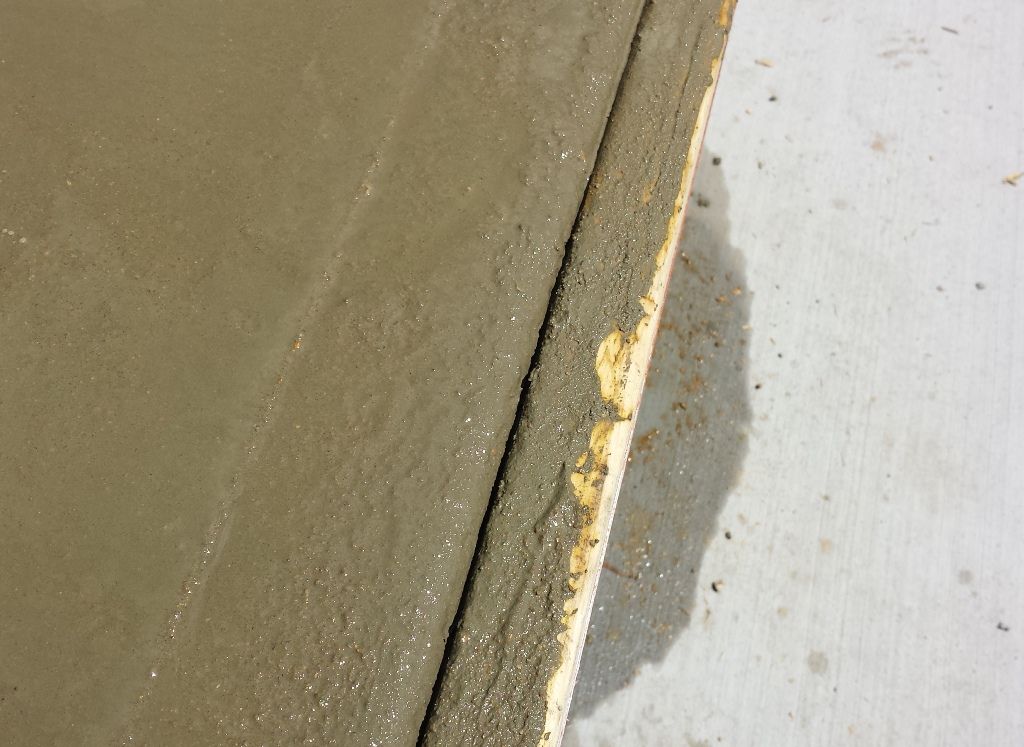 Leaving it to dry: 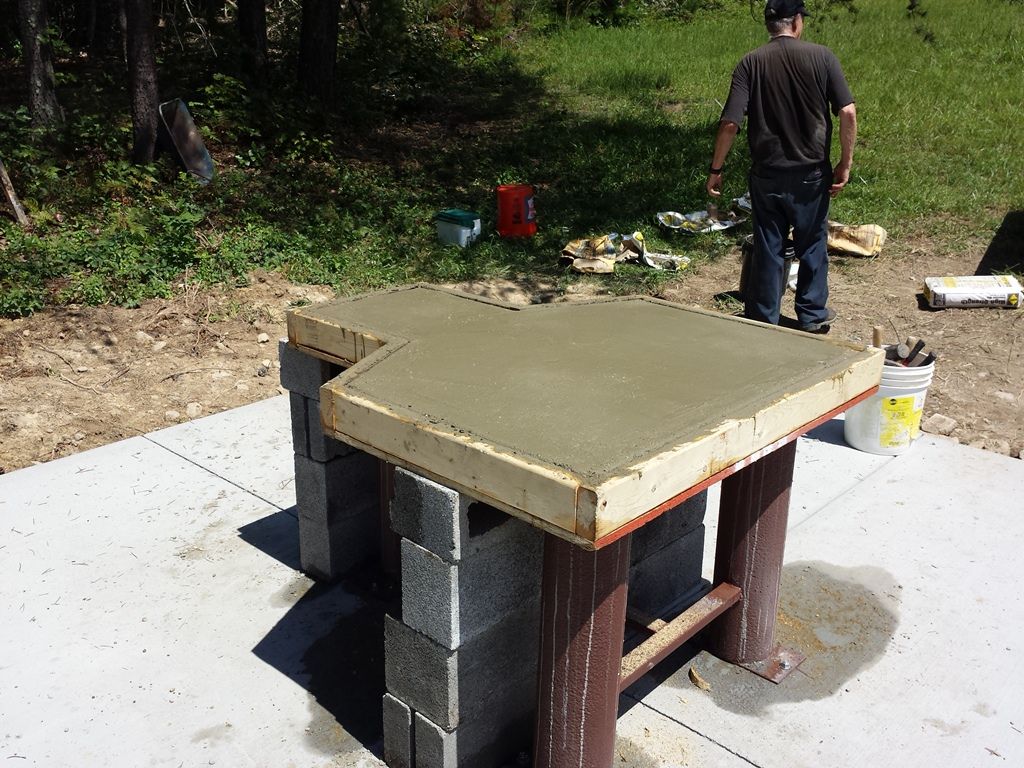 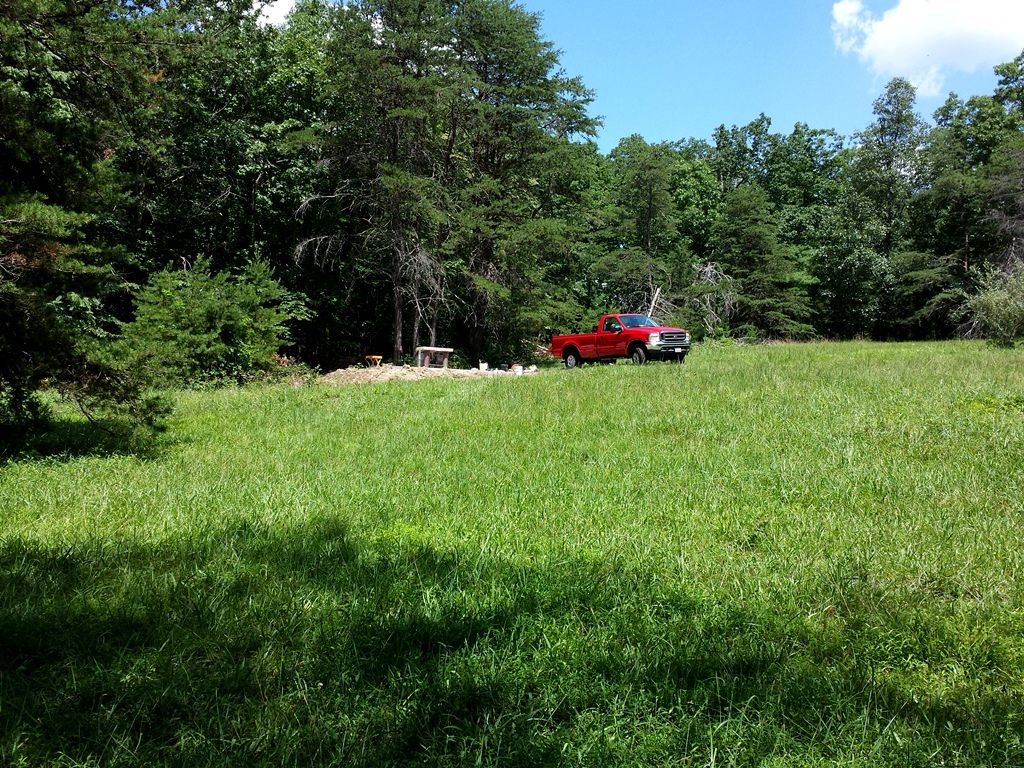 We pulled the form on Sunday, cleaned the area, and painted the base. I’ll get those pictures downloaded and posted in a day or so. -Lee www.singleactions.com"Chasing perfection five shots at a time" |
|
ericp
.327 Meteor
 
Posts: 522
|
Post by ericp on Aug 5, 2015 8:00:53 GMT -5
This thread continues to be simply awesome.
Don't you just love the Miller Trailblazer? We got one last year at work, it is far and away the handiest tool we have. Well thought out machine.
Eric
|
|
|
|
Post by Markbo on Aug 5, 2015 14:59:50 GMT -5
I think you ought to do a separate thread for the platform & bench.
|
|