|
|
Post by cherokeetracker on Jun 18, 2015 15:10:50 GMT -5
This thread has continued for a day or two, So I am glad you posted this drawing. I looked at it and then did a double take, because I had forgotten that you did not have a recoil lug on there. Of course it is not needed,, I had just forgot about it.
|
|
|
|
Post by Lee Martin on Jun 18, 2015 17:46:43 GMT -5
Step 78 – Bedding the Action, Part II ___________________________________________ We begin with a couple of household products. For the release agent I like paste wax or Vaseline. The wax is thinner, meaning it occupies less room between the Devcon and receiver. I’m splitting hairs here but the wax releases just as well at disassembly. I went with SC Johnson: 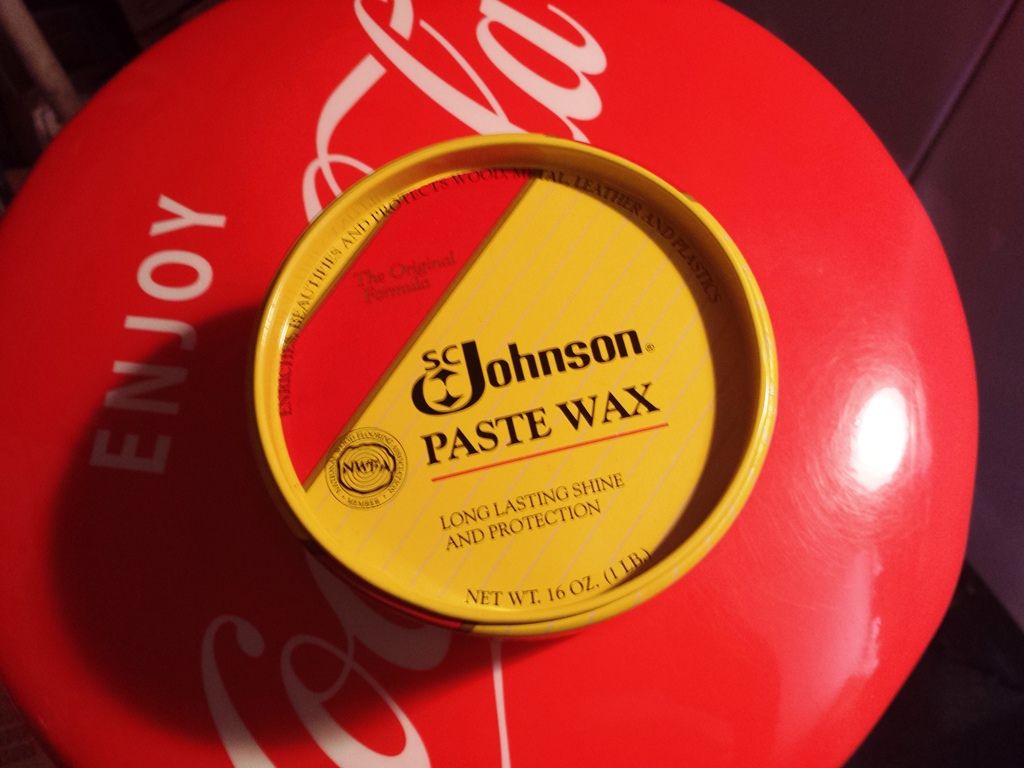 The other item is clay putty. This fills the trigger recess on the action and stock plus the bolt notch. 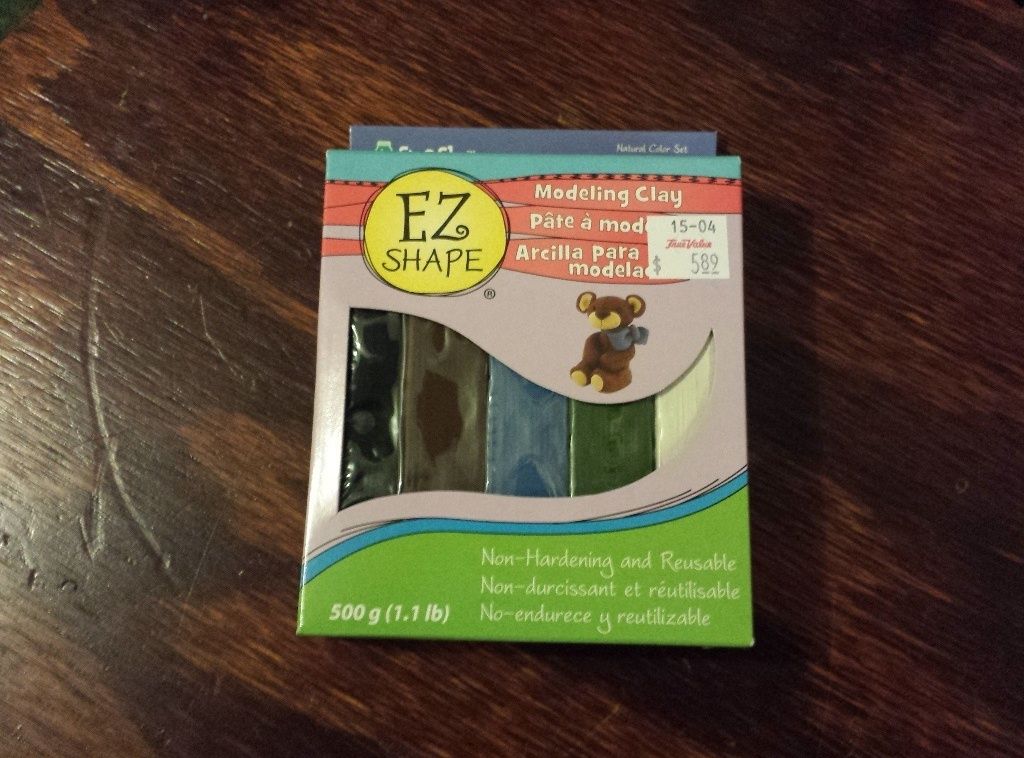 Modeling clay is pushed into the trigger slot. 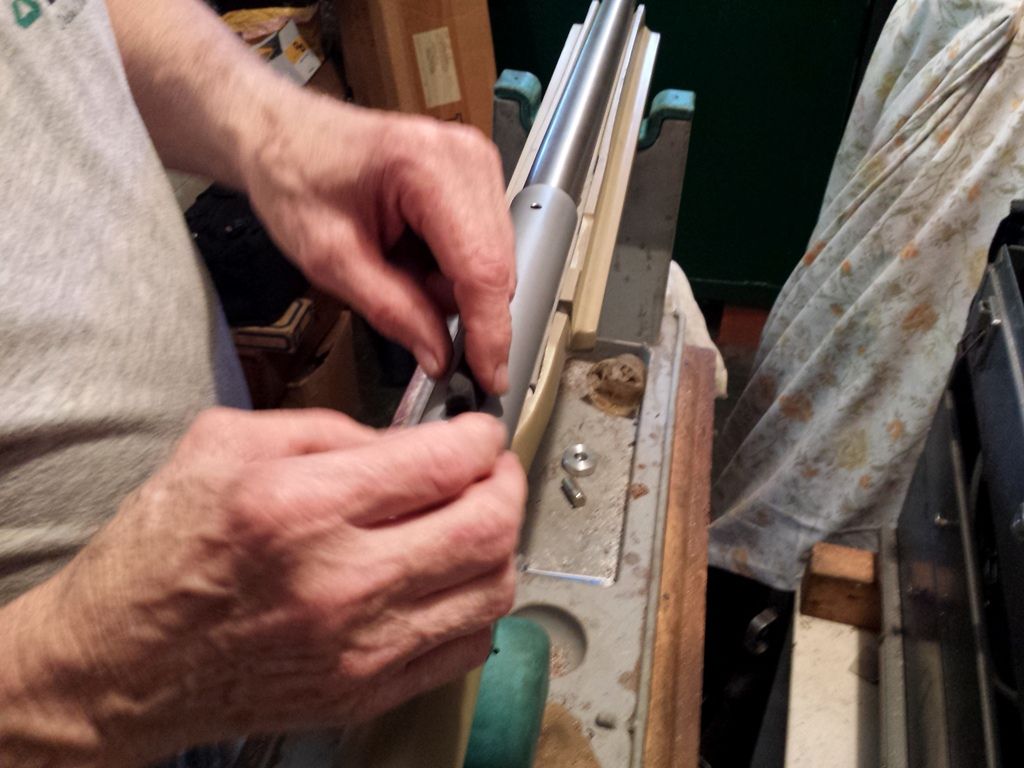 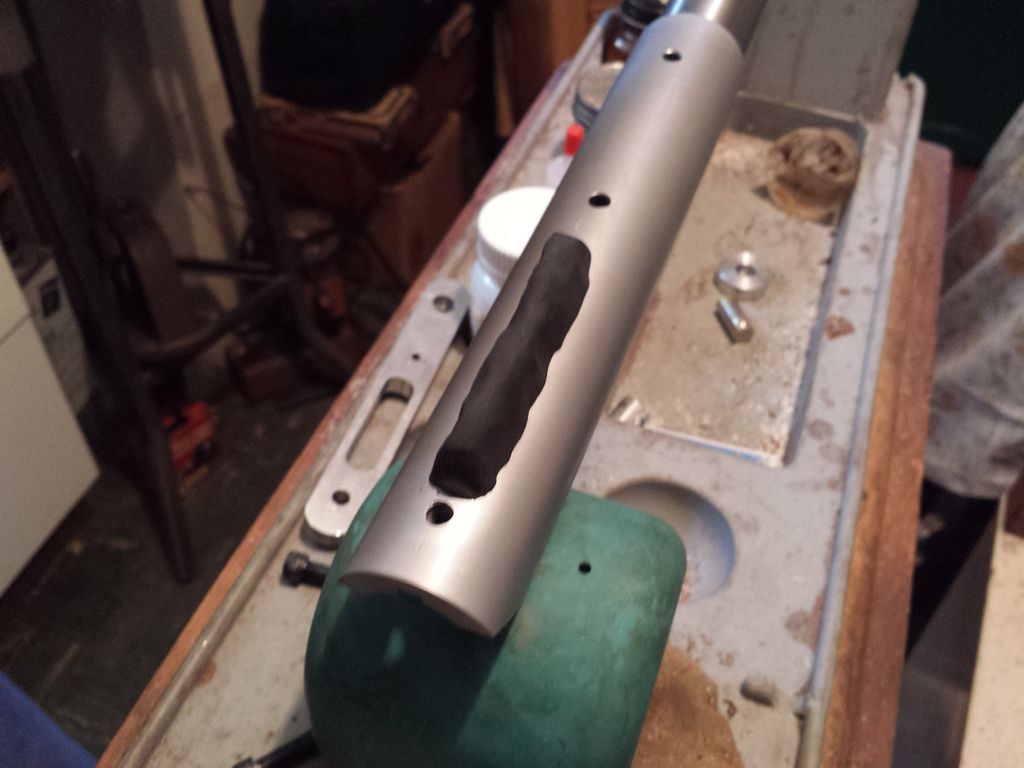 The entire action, inside and out, are coated with shoe wax. It is even applied to the screw holes using a Q-Tip. This wax becomes the release agent after the Devcon dries. Else it would be glued together. 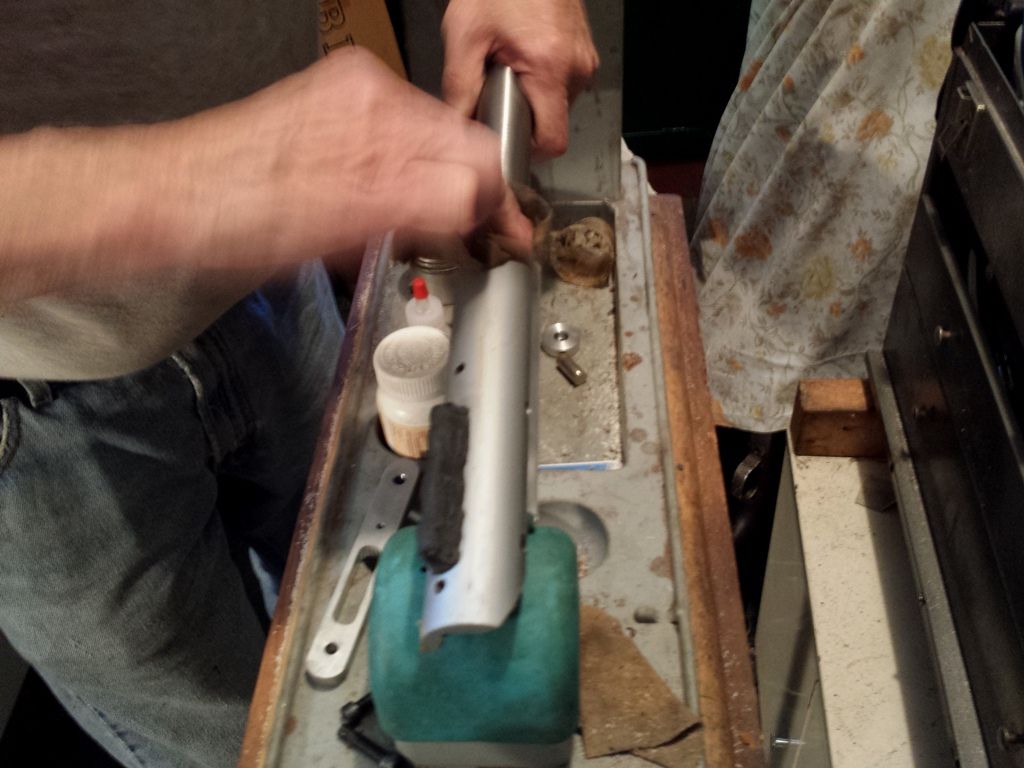 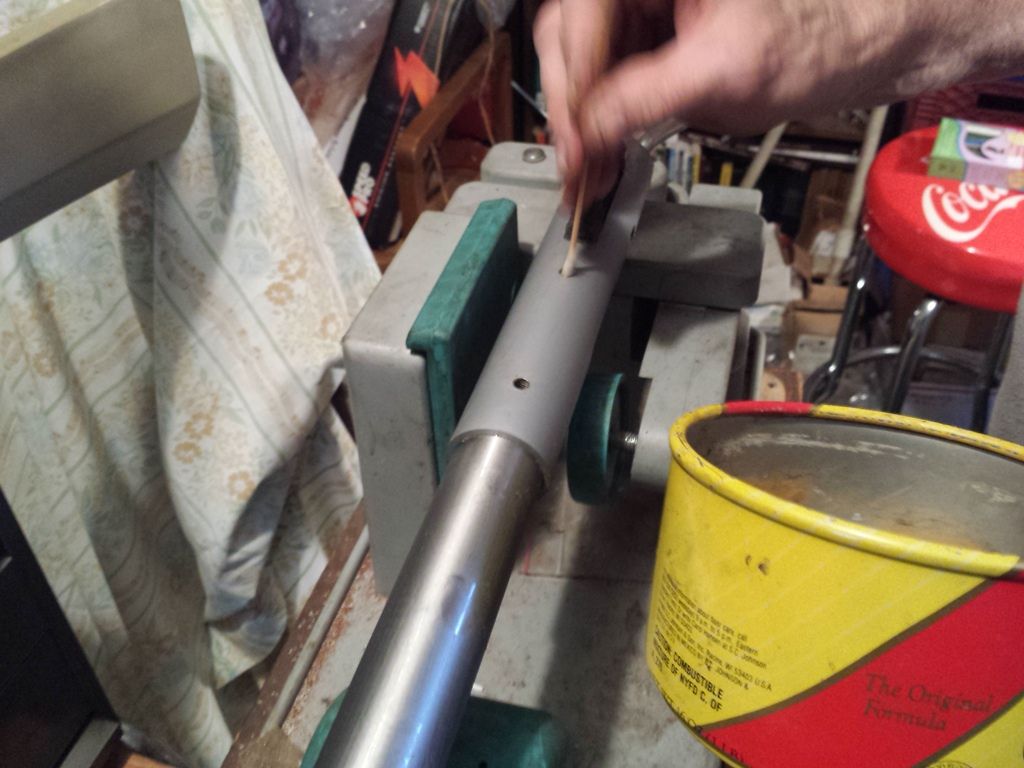 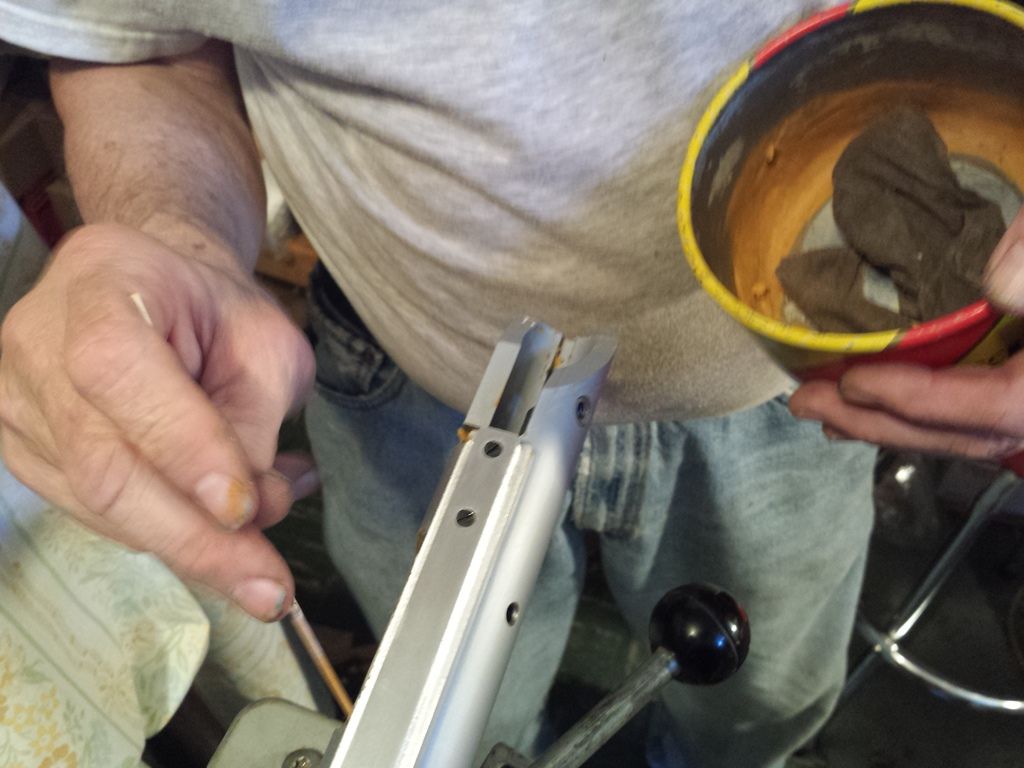 The sides of the stock are taped to protect the surfaces from overflow.  The bolt notch is filled with putty: 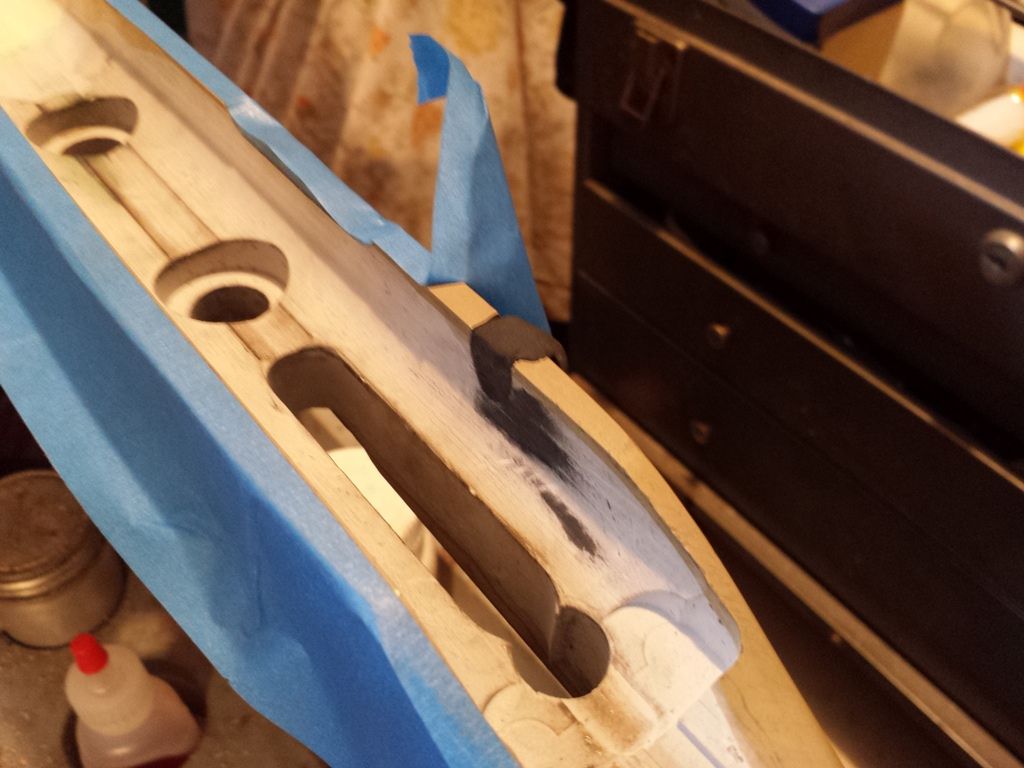 The compound is mixed 4 parts Devcon, 1 part hardener. Unlike some other brands, Devcon is forgiving. It doesn’t have to be formed exactly 4:1. Just get it close. 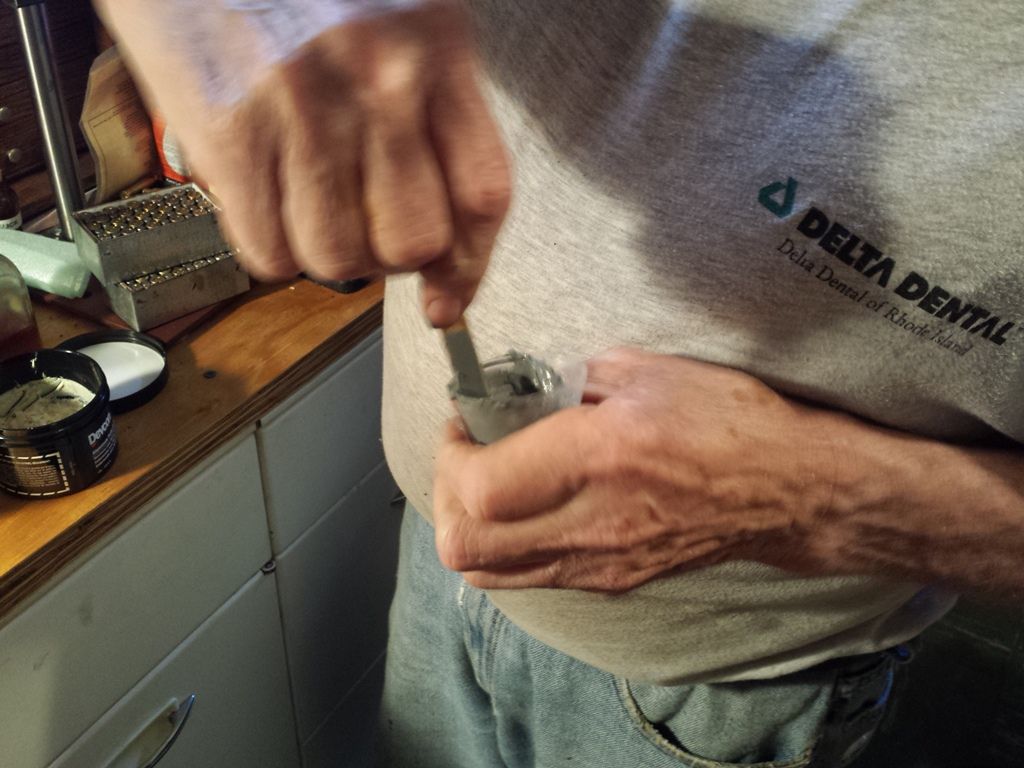 Gluing in the pillars - we set all three a few hundredths high and pulled them down by bolt tension. 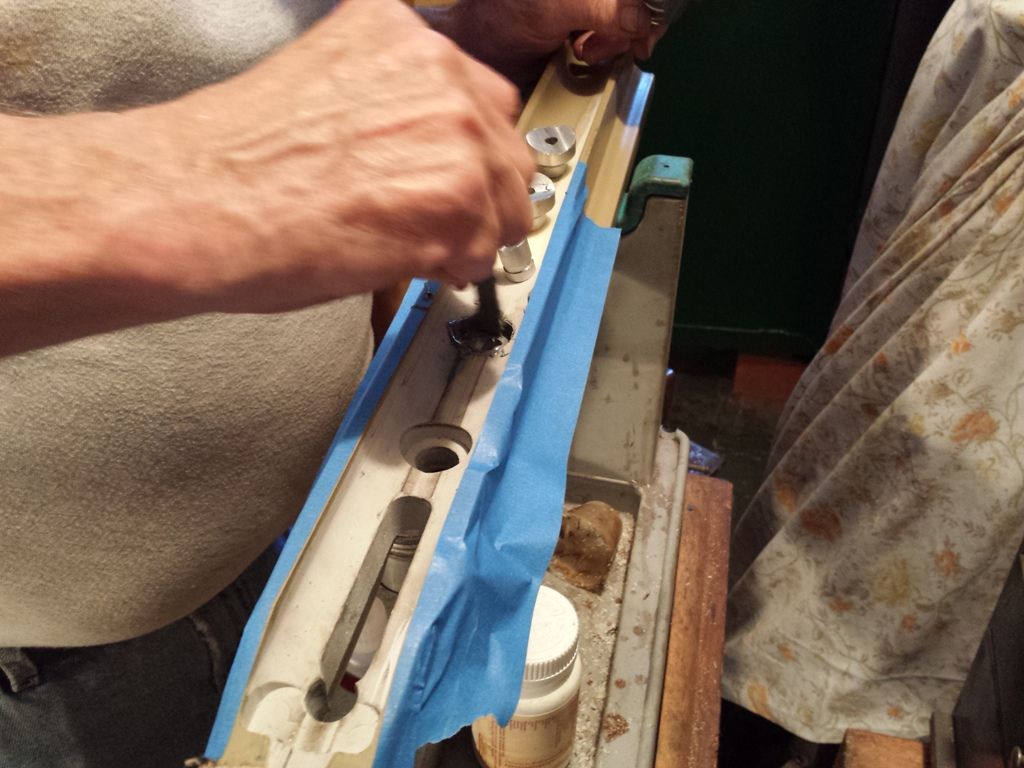 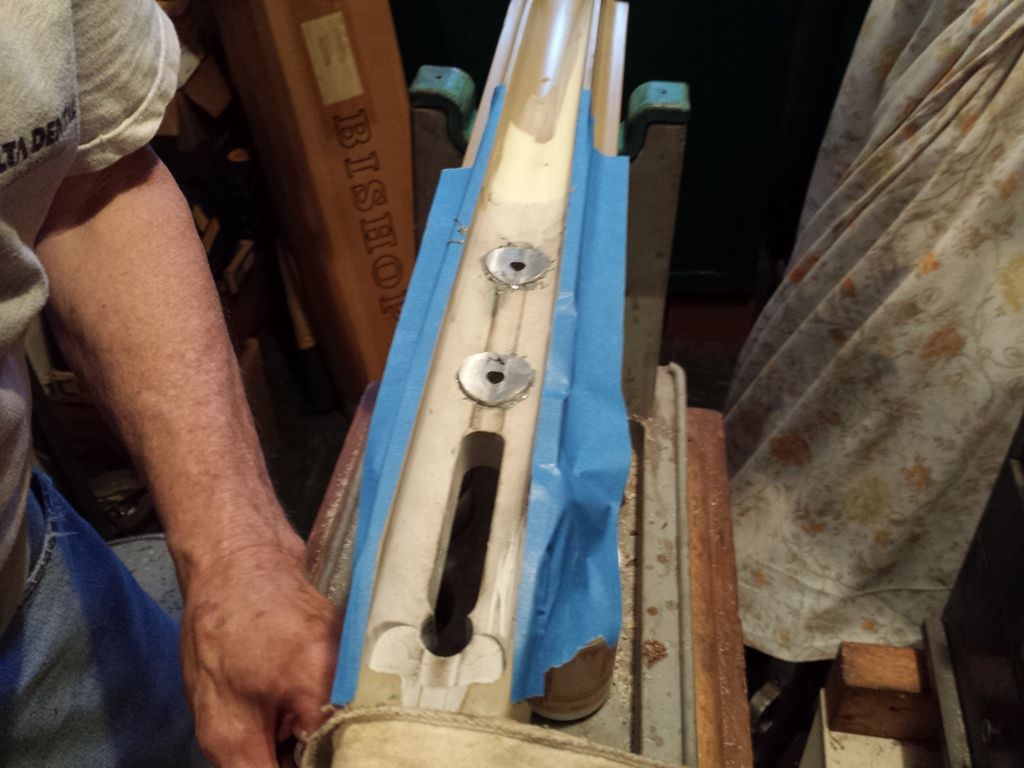 More compound is mixed and the valley is slathered, allowing a little to flow into the barrel channel. I’ll explain later, but that’ll be trimmed out. In benchrest the barrel is free floated. 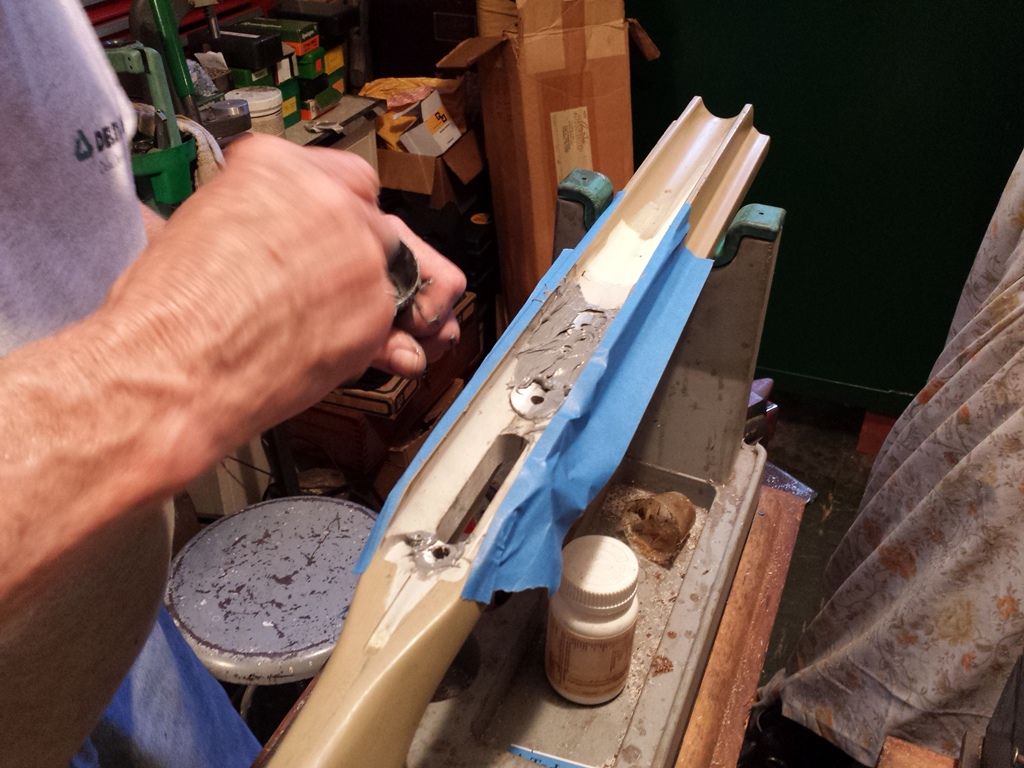 You’ll see we covered the pillar tops with Devcon. 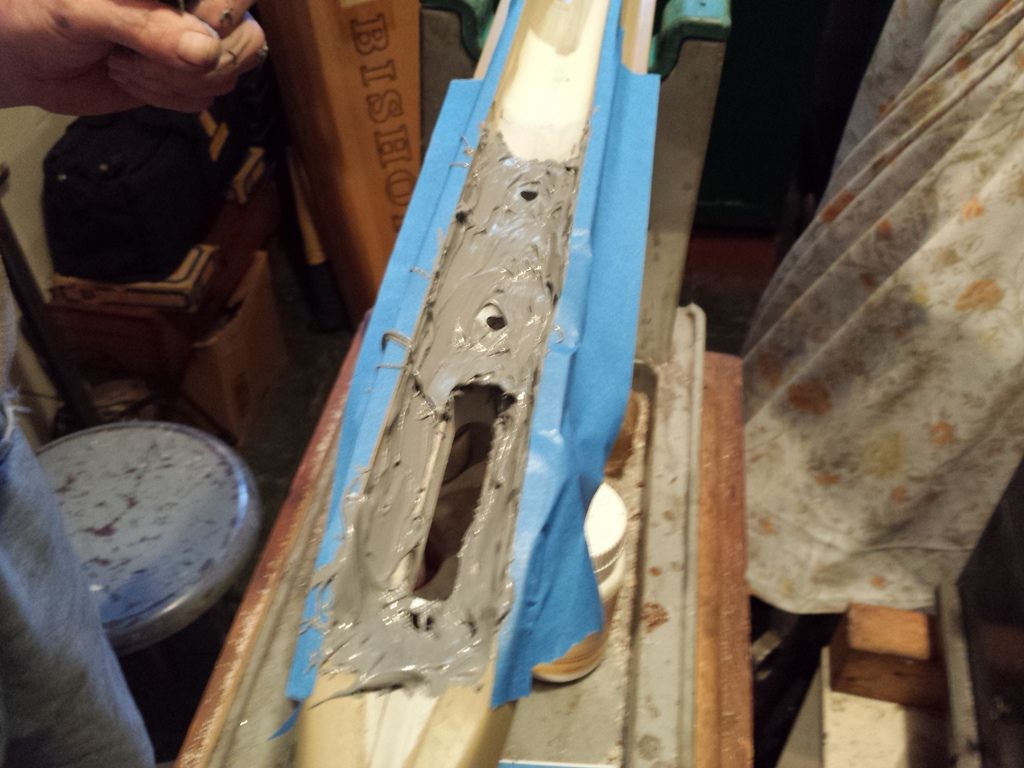 The barreled action placed in the stock and fastened. Prior to doing so the bolts are generously covered with wax. 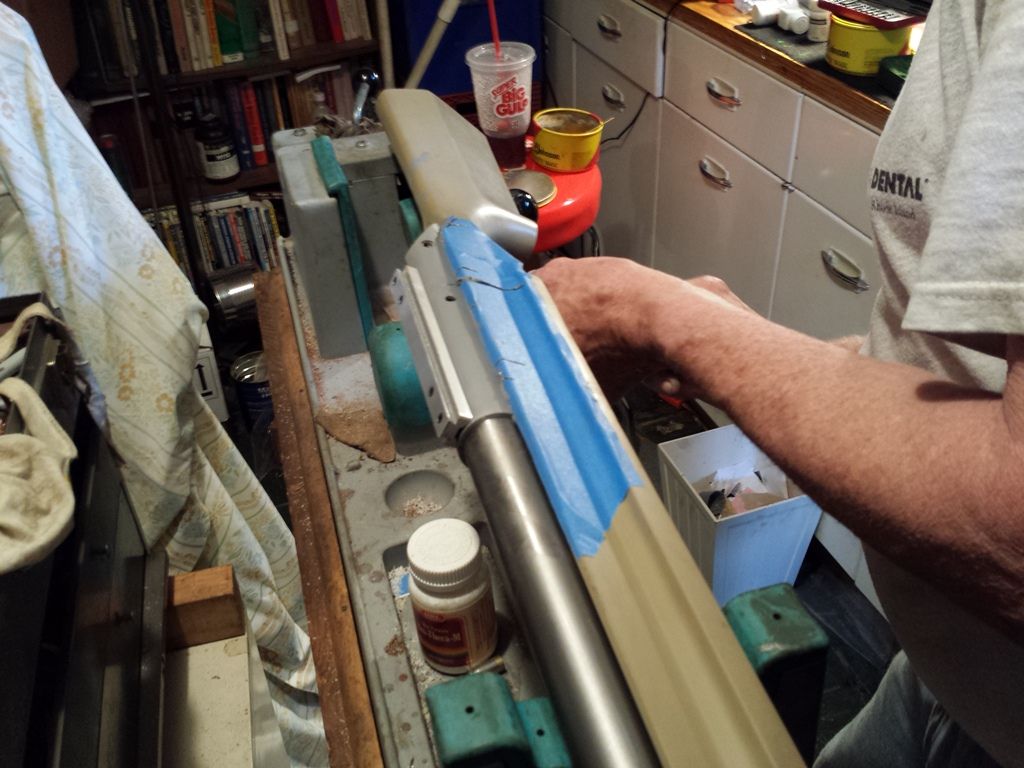 A torque driver sets them to 30 inch-lbs. 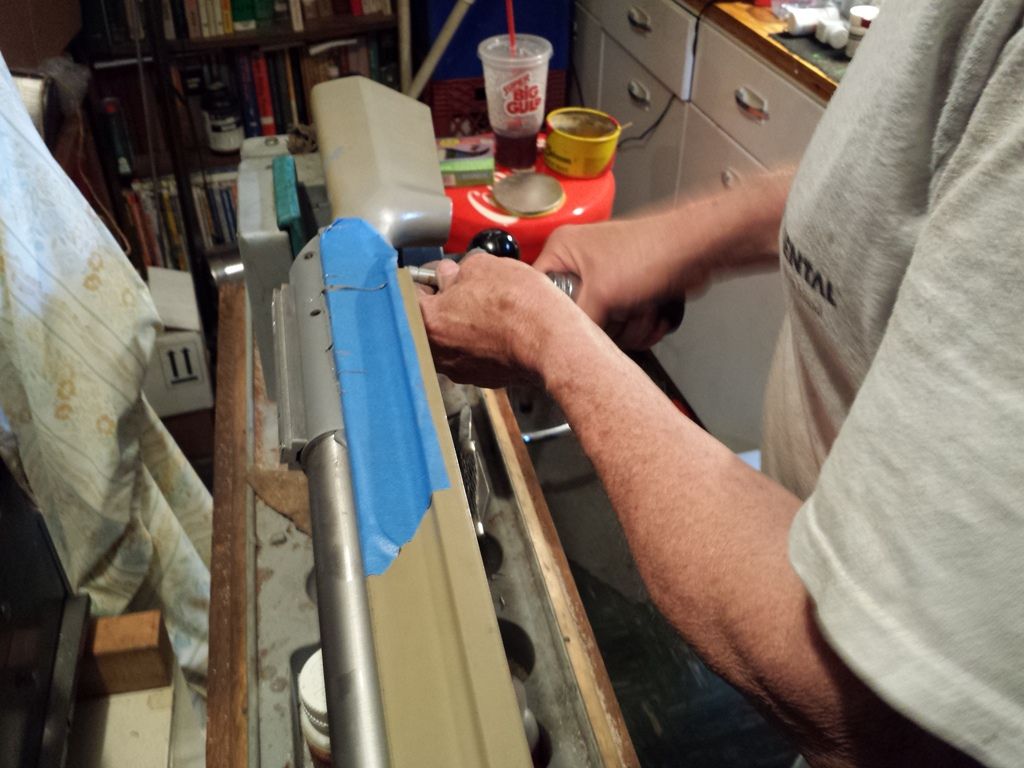 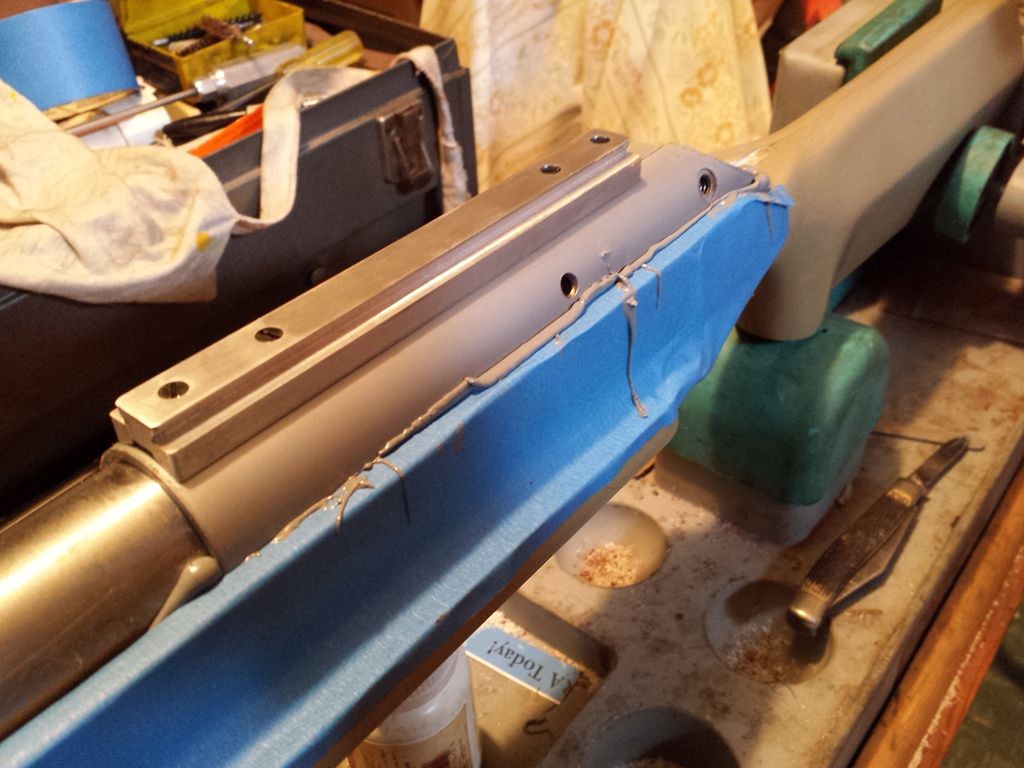 Two hours later we return, cut the excess Devcon from the edges, loosen the bolts, and reset them to 30 inch-lbs. It is then left to cure for 24 hours. -Lee www.singleactions.com"Building carpal tunnel one round at a time" |
|
|
|
Post by bradshaw on Jun 19, 2015 11:12:19 GMT -5
Lee.... excellent bedding tutorial. While I haven't tackled the bench gun, I've done a few bolt pistols and rifles. In general, I create the pillars in place with the bedding compound. To date without a problem. As you note, a wax works perfectly well as release agent, a trick learned after running out of the more evaporative stuff. Main thing is to coat all surfaces potentially in involved, and to have the coating thin as possible. Include, as you say, all screws, screw holes, and even slots filled with clay.
I depart from your technique by tightening actions screws a smidgen short of full torque. Since the pillars are formed from bedding material, I do not want the action drawn down below the bed point. Usually I leave or out pads to limit draw-down. Final tightening happens only after cure. The XP-100 with center-grip stock is bedded to include chamber, as the bar connecting trigger to sear housing interrupts full circular bedding on ring and bridge. Likewise, many hunting are chamber bedded as well to strengthen stock from magazine well to barrel.
Yup,
David Bradshaw
|
|
|
|
Post by Lee Martin on Jun 22, 2015 18:45:07 GMT -5
Step 79 – Bedding the Action, Part III _________________________________________________ With fingers crossed the barreled action is pulled. Fortunately our bedding laid perfectly; there were no voids or overflow that couldn’t be removed. Using files and sandpaper, I cleaned the tang followed by the barrel channel. Whereas hunting rifles get bedded a few inches past the main ring, you completely free float in benchrest. These tenons are large diameter, long, and tightly threaded. Varmint barrels are also more rigid than sporter weights by a few orders of magnitude. Putting compound under them only complicates harmonic tuning. Below you’ll see a distinct line of Devcon that coincides with the front of the action. 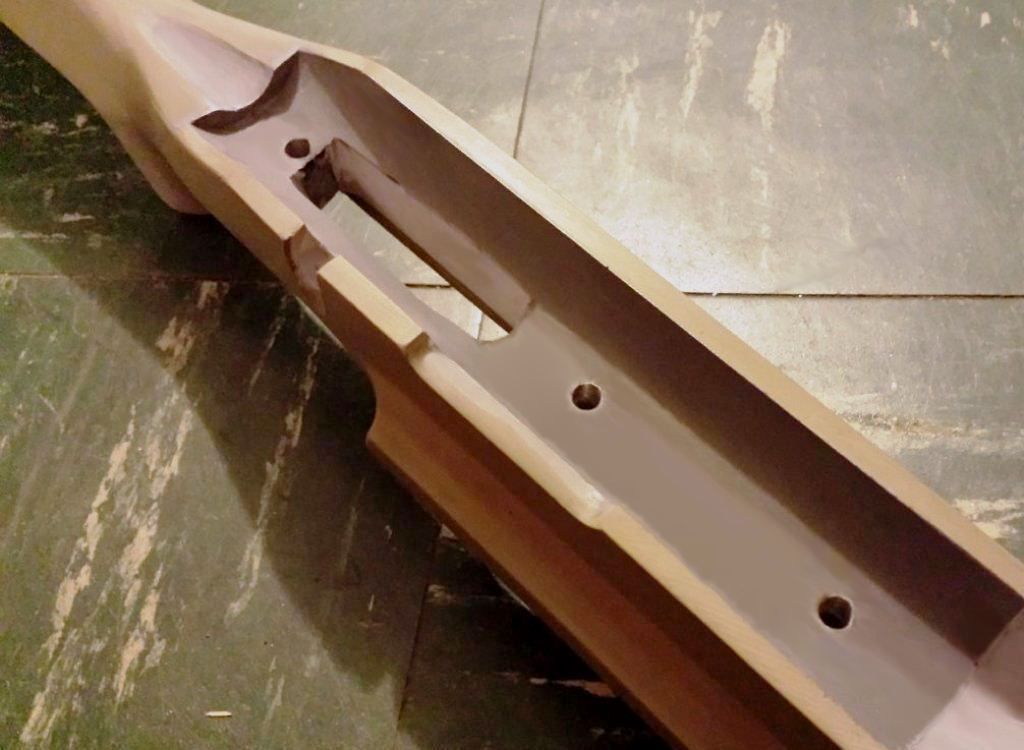 My primer and paint are supposed to arrive any day now. Next up is stock prep and finishing. -Lee www.singleactions.com"Building carpal tunnel one round at a time" |
|
|
|
Post by Lee Martin on Jun 24, 2015 19:06:10 GMT -5
New Range, New Bench – Step 5 _______________________________________ The bench cross-members were measured, cut, and welded into place. Dad chose to stick weld them to the legs. We also needed a flat surface for layout and used the underside of the form as a base. Bricks maintained the correct height throughout: 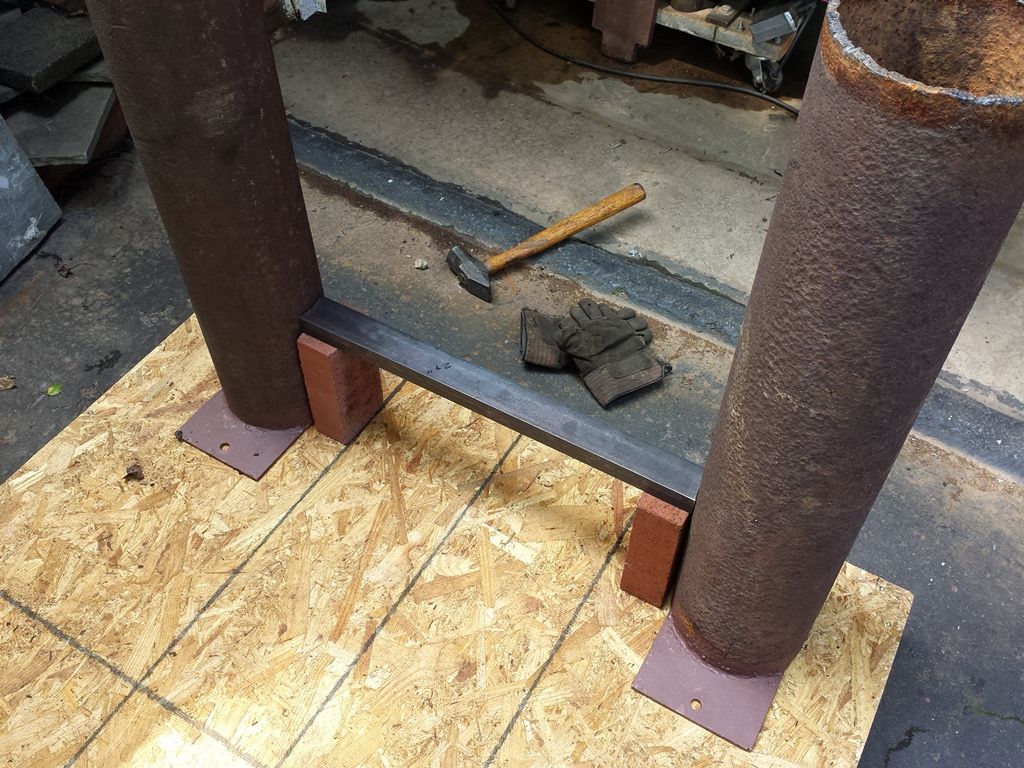 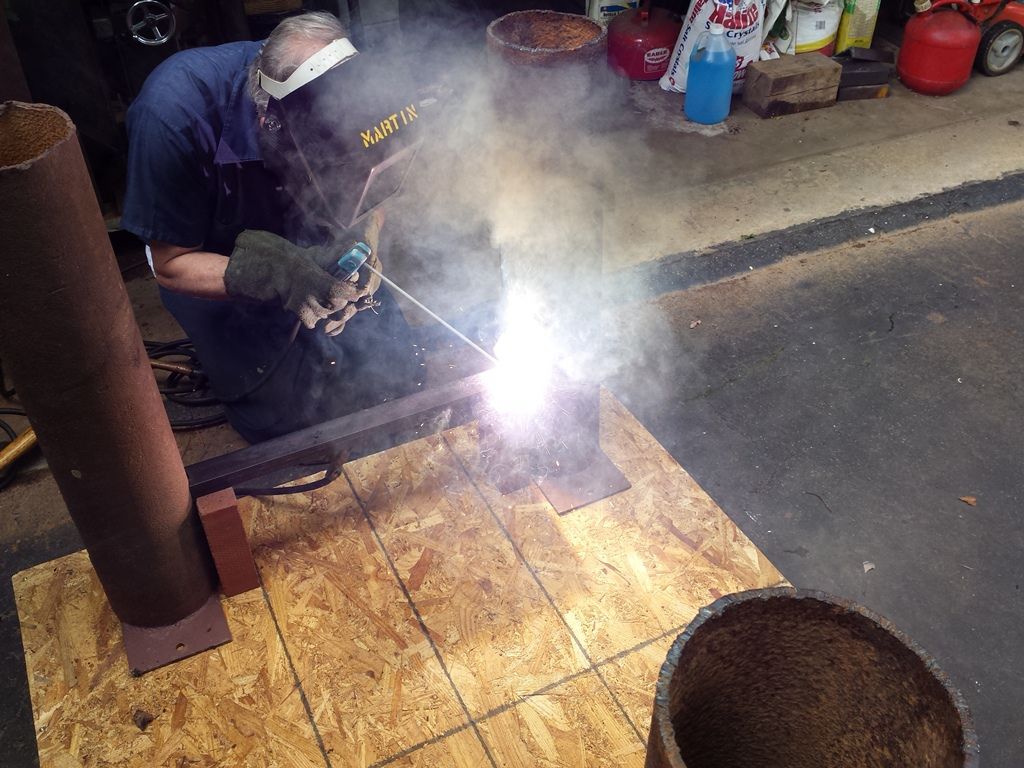 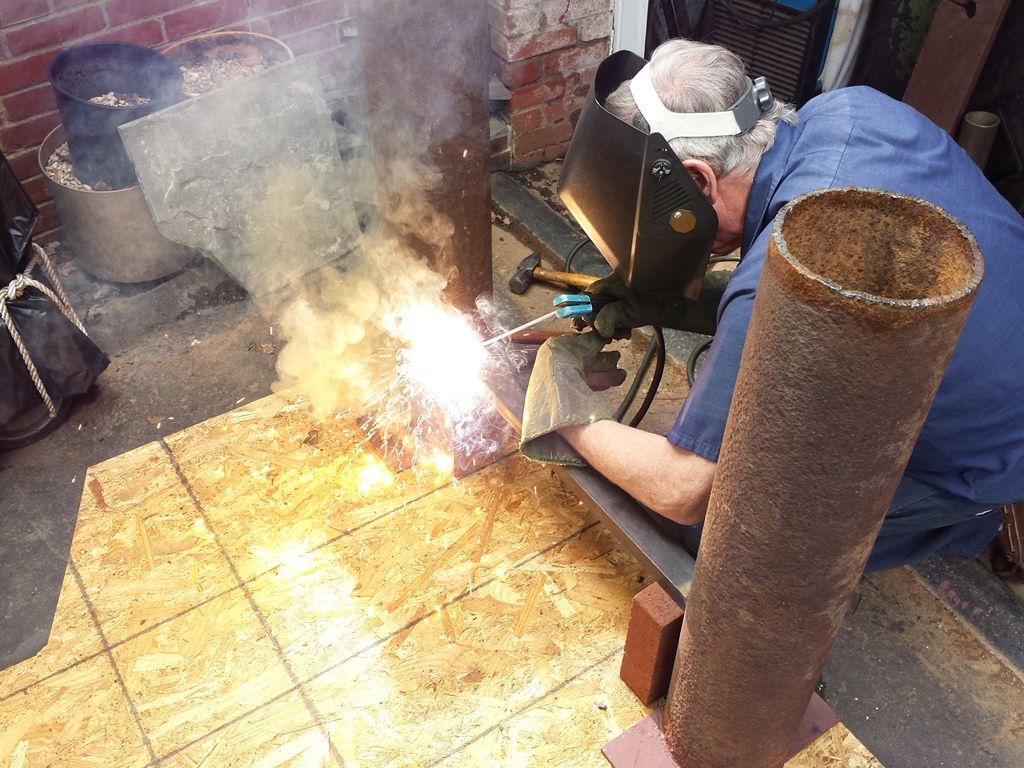 Determining the center point for the rear span: 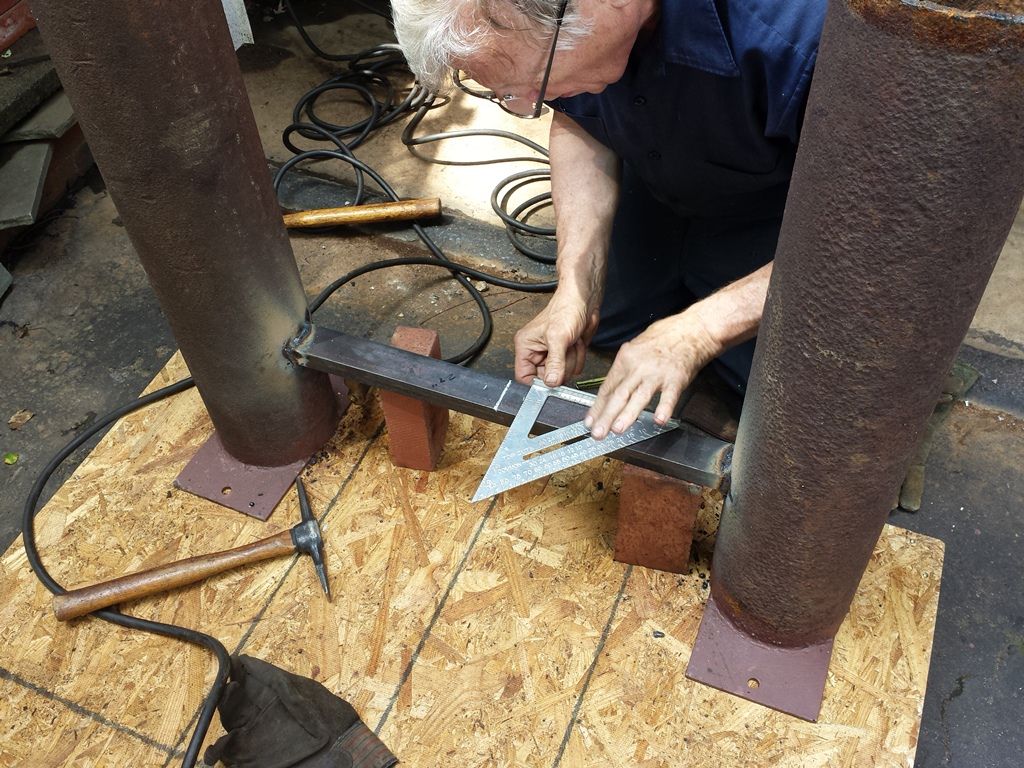 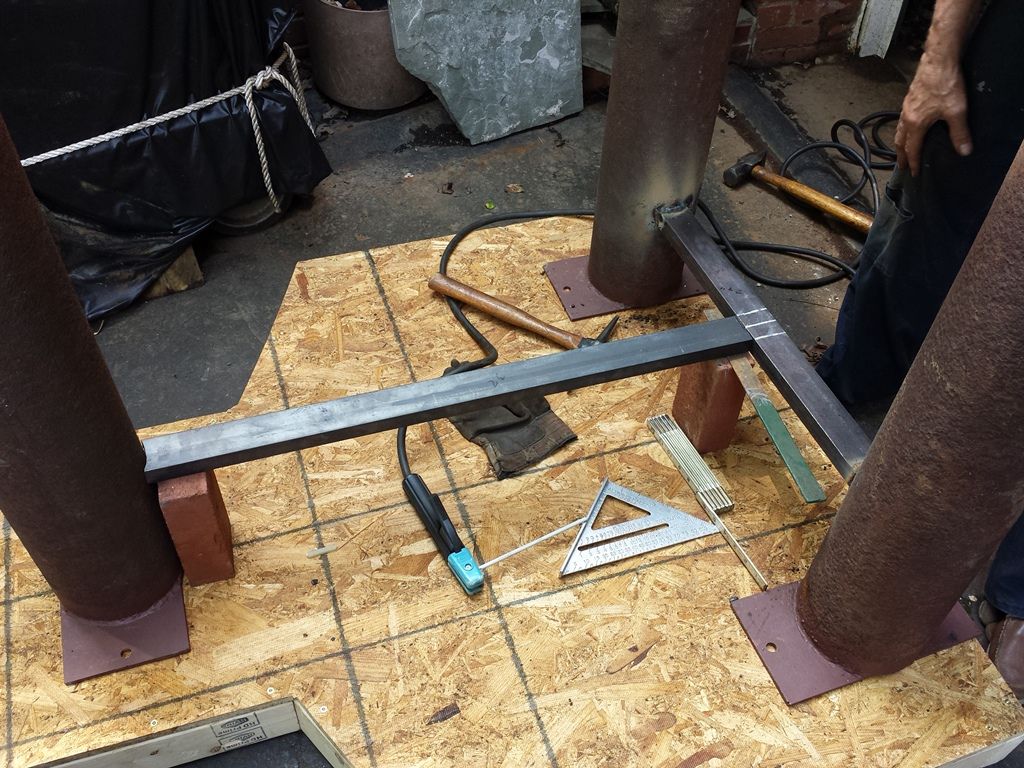 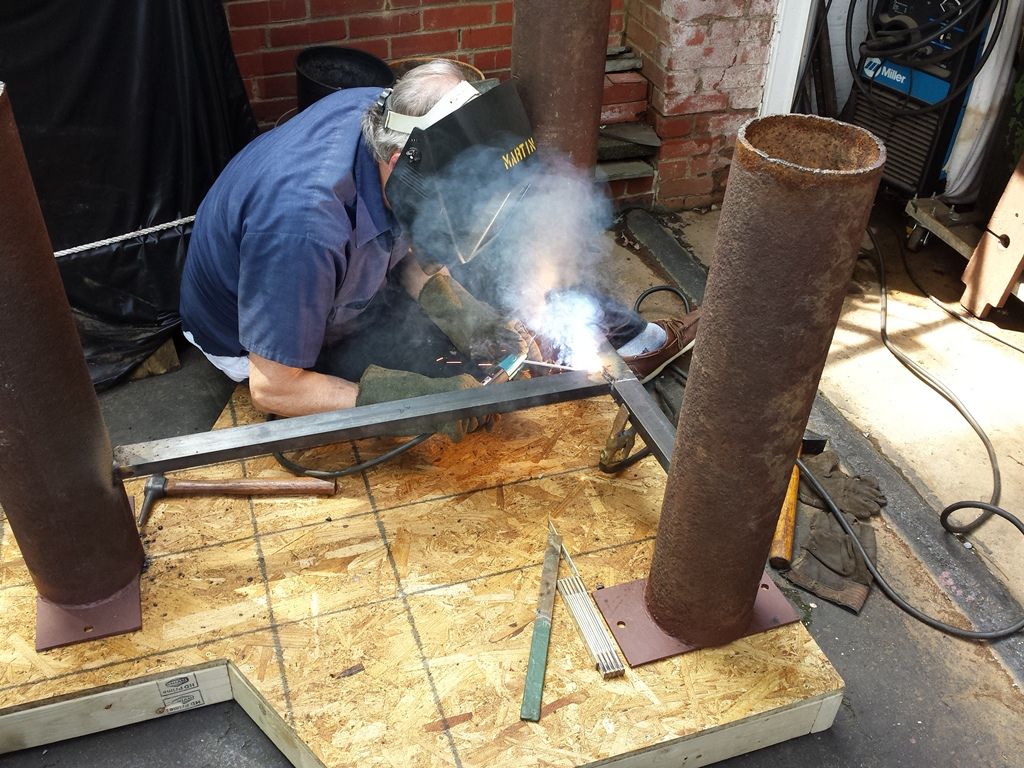 -Lee www.singleactions.com"Building carpal tunnel one round at a time" |
|
|
|
Post by Lee Martin on Jul 1, 2015 19:25:25 GMT -5
Step 80 – Stock Painting Part I ______________________________________ We first tape the bedding, exposed pillar surfaces underneath, and the weight channel: 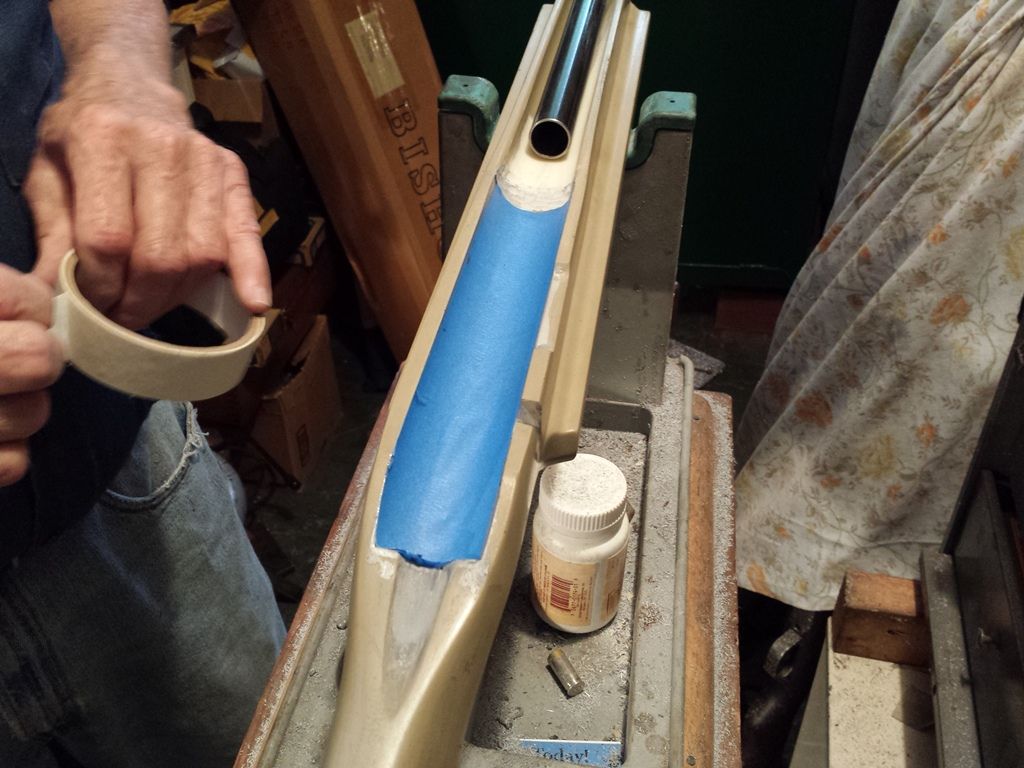 The stock is lightly scuffed with 800 grit sandpaper followed by mineral spirits: 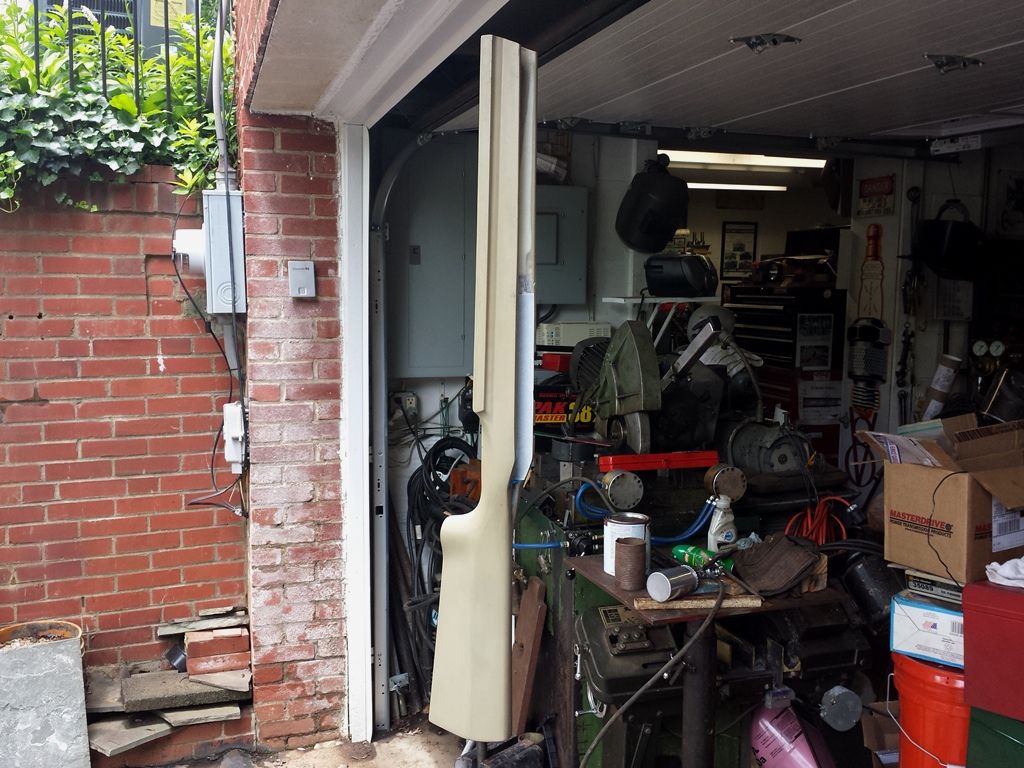 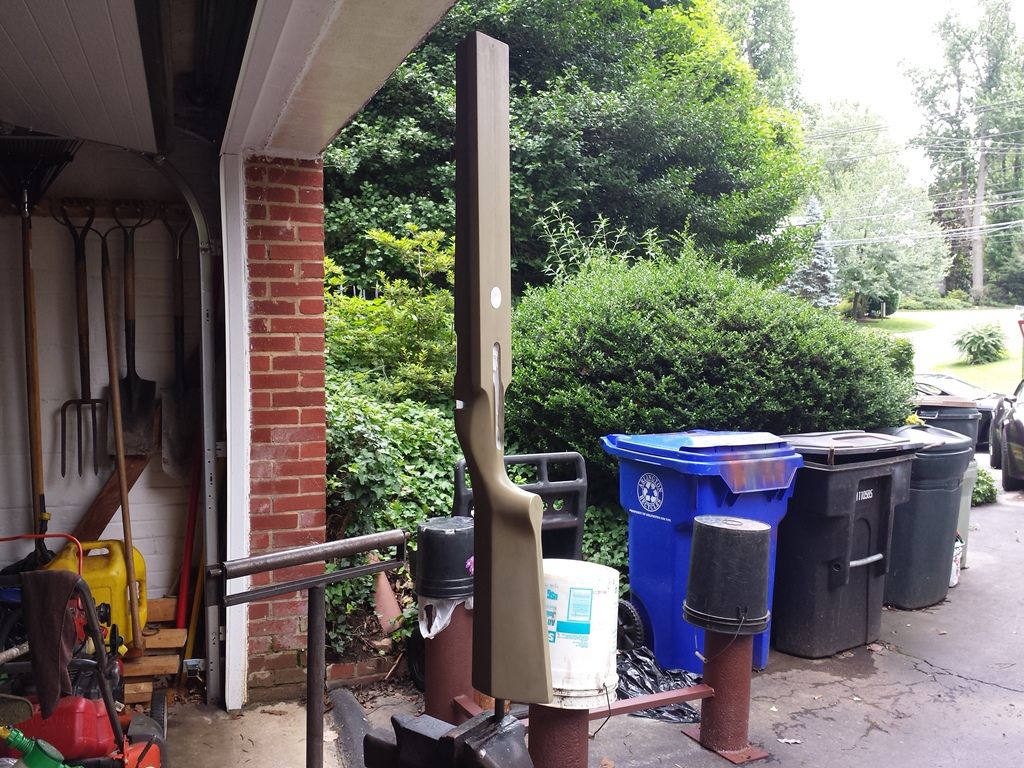 Our regulator with air dryer: 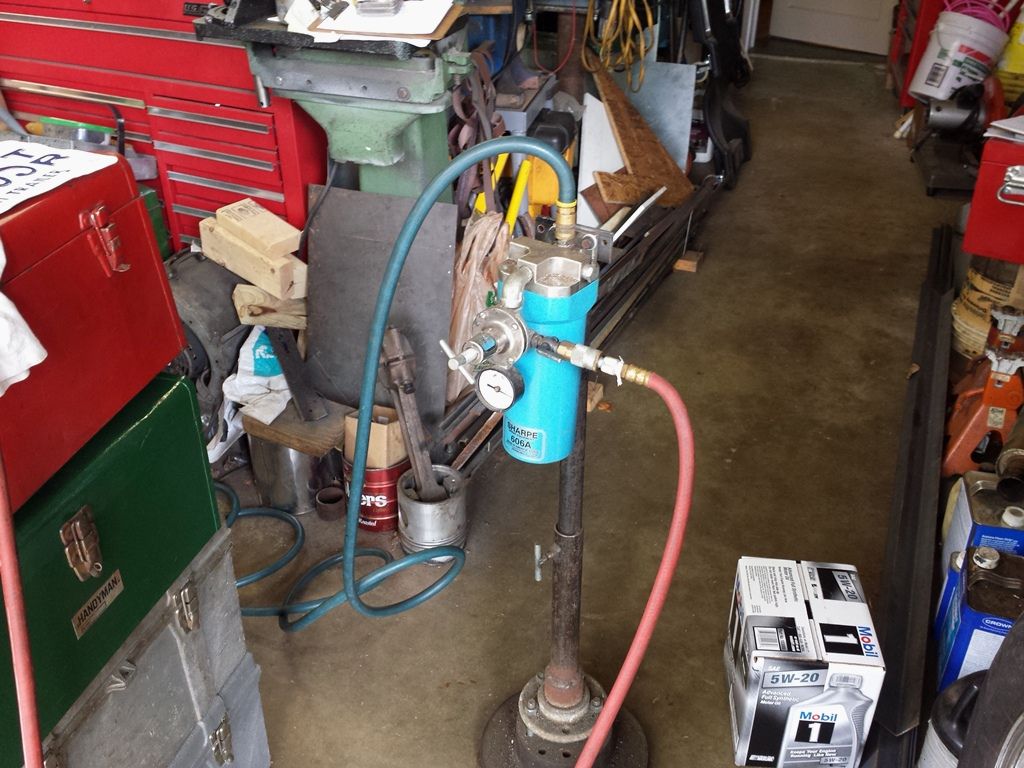 The primer is Eastwood’s grey epoxy based: 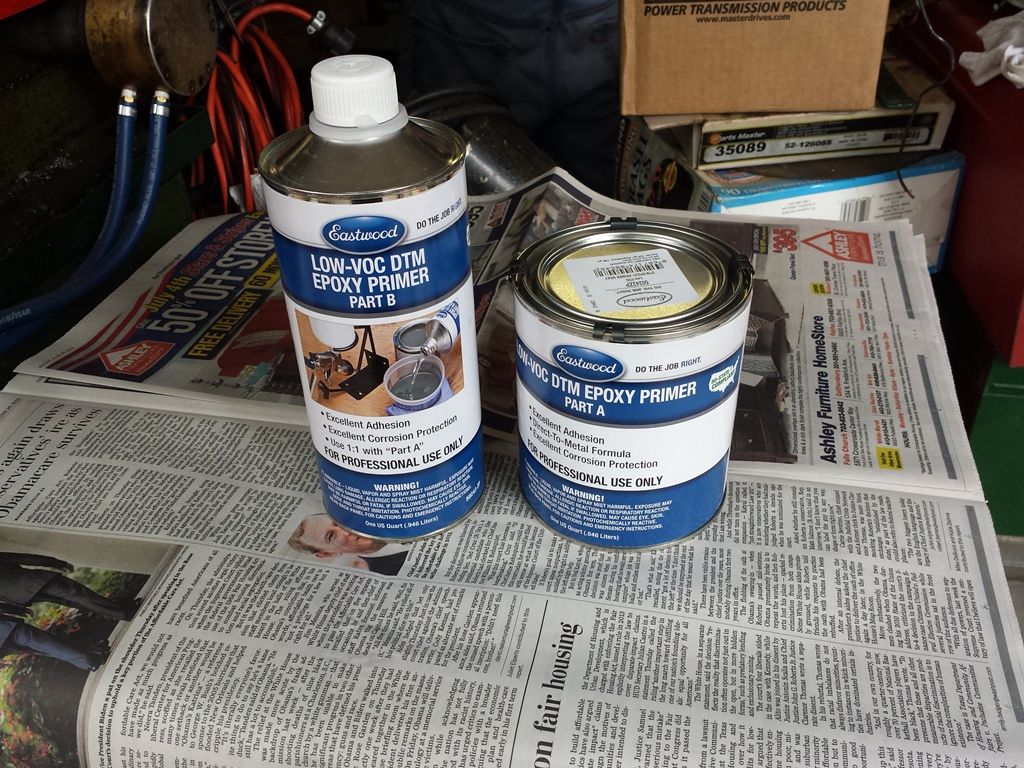 Our spray gun is a small, detail oriented Devilbiss: 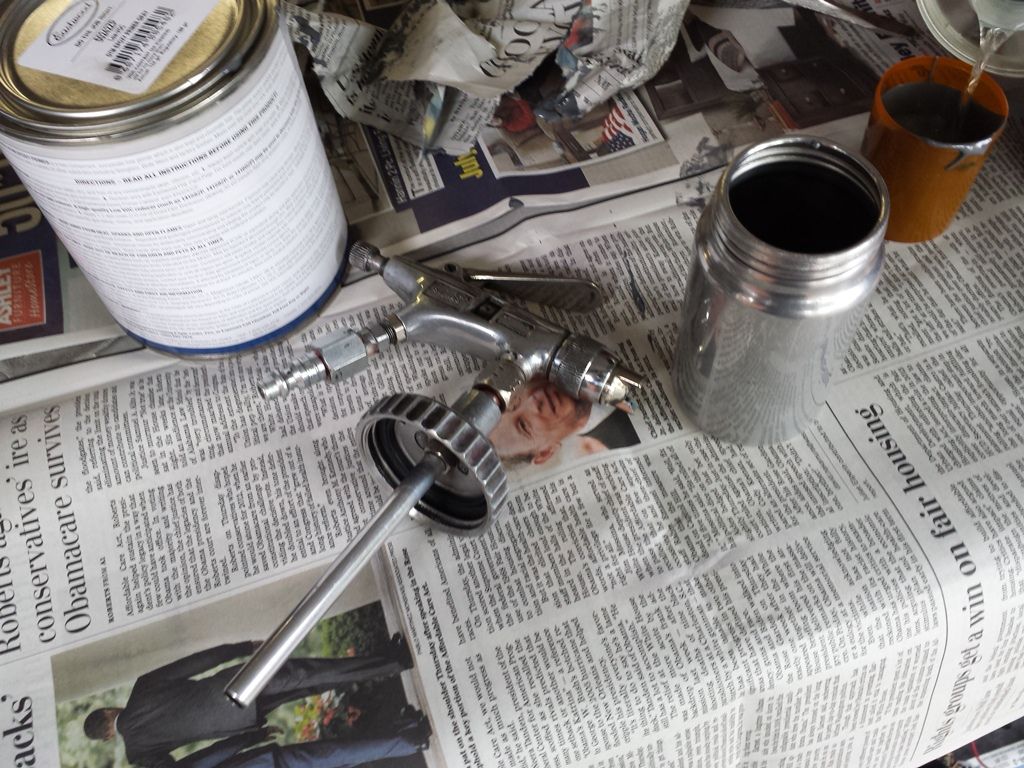 Laying down a tack coat: 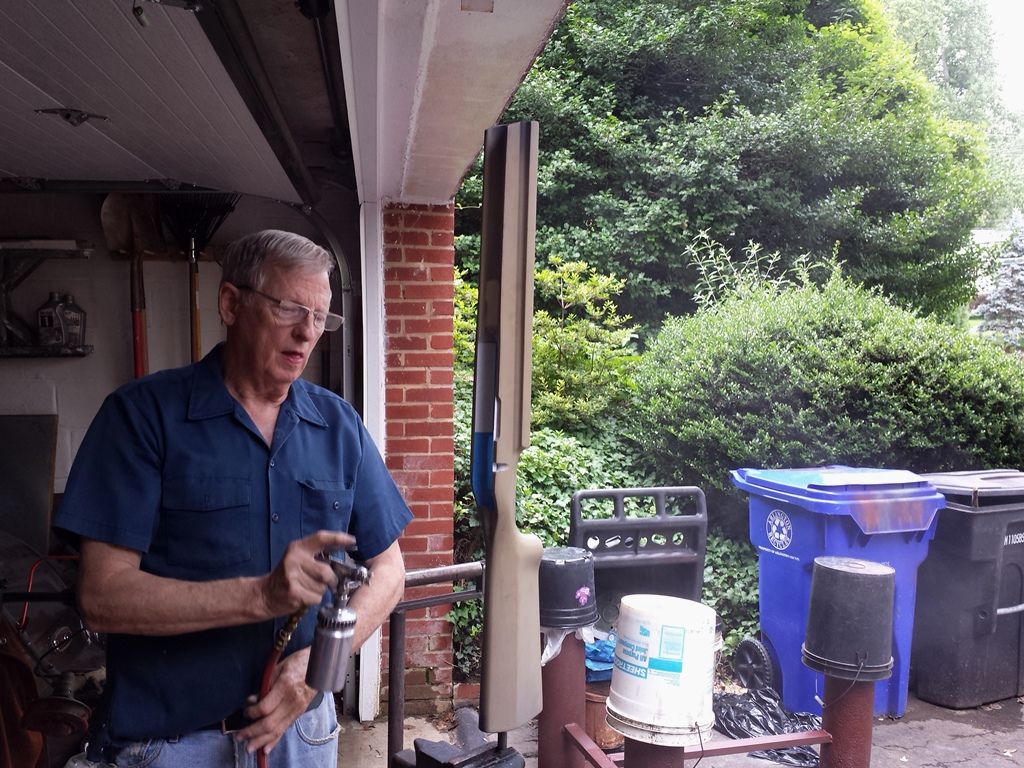 This was followed by two medium coats: 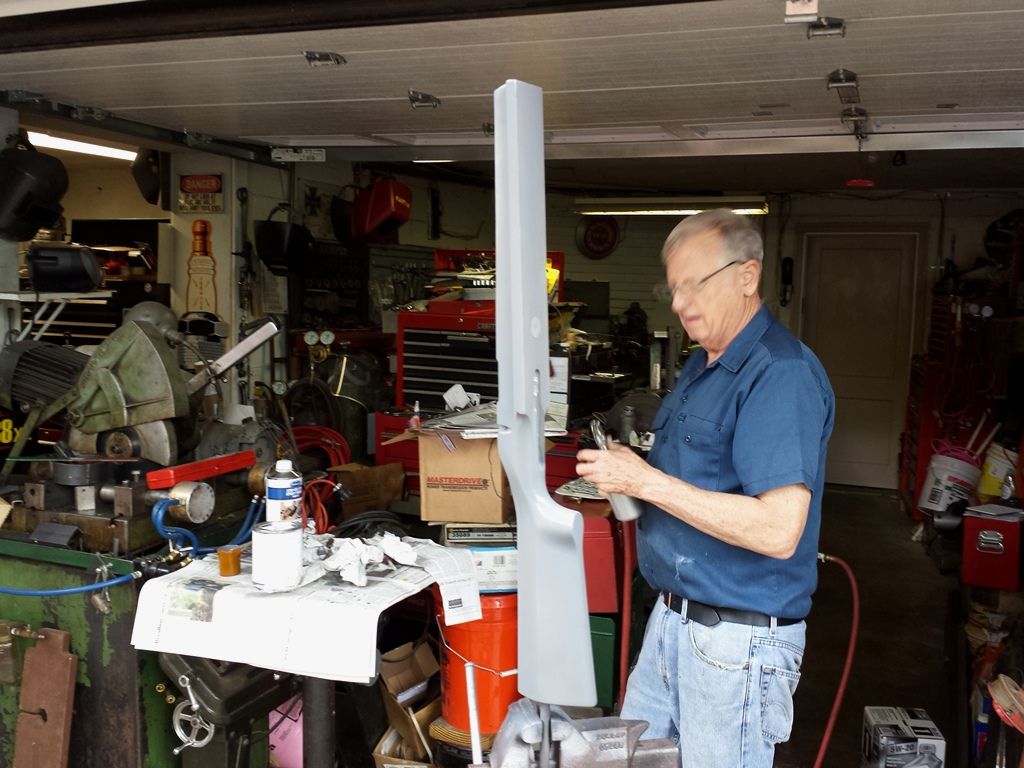 We'll let this dry for 48 hours before shooting color. -Lee www.singleactions.com"Building carpal tunnel one round at a time" |
|
|
|
Post by magman on Jul 1, 2015 19:31:01 GMT -5
I have to say, I am in no way interested in rifles, but I always anxiously await the next installment of this project. Thanks for putting this together for us mere mortals.
|
|
|
|
Post by Lee Martin on Jul 2, 2015 19:26:15 GMT -5
Step 81 – Stock Painting Part II _____________________________________________ Two days later we hosed on the color. To aid adhesion I again lightly sanded the primer with 800 grit sandpaper: 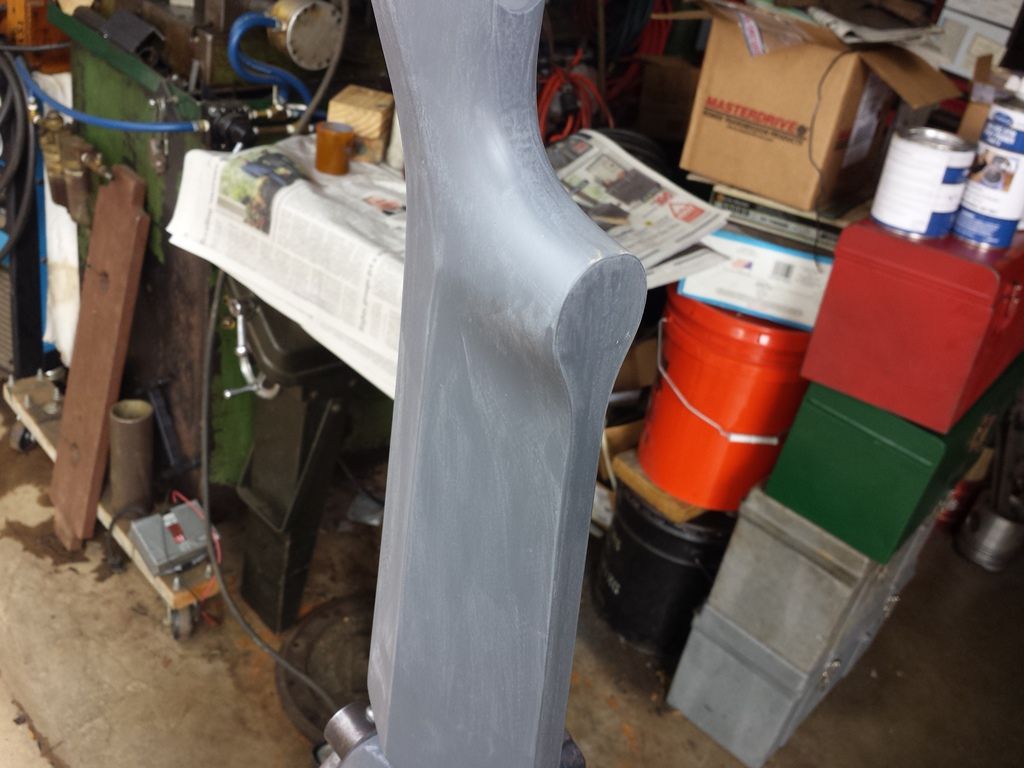 One quart of warm graphite grey was ordered from TCP Global along with hardener. I chose single-stage urethane for a few reasons: 1) It has gloss and UV protection built into it so no clear is required. And while clear coating does do a better job at both, this isn’t a car. It won’t be exposed to prolonged sun or rain, sleet, and snow, and 2) It’s easier to repair. Say for instance I get a deep scratch. I can lightly sand the impacted area and hit it with paint – done. Blending on color and clear is much harder. 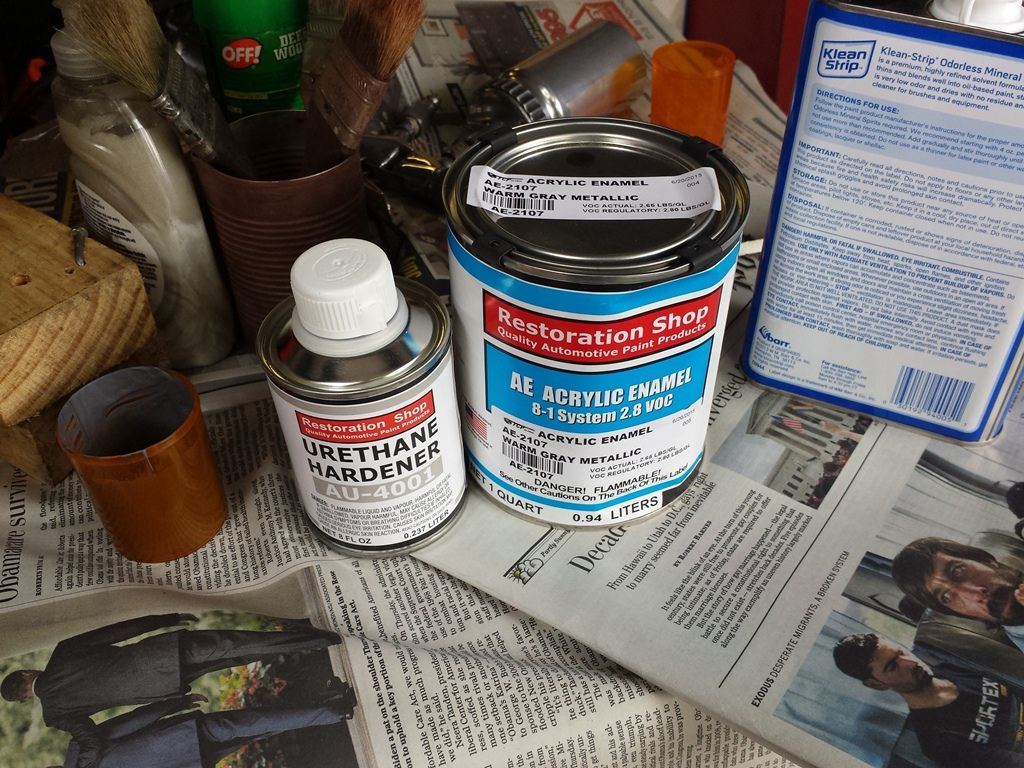 The stock was cleaned with mineral spirits: 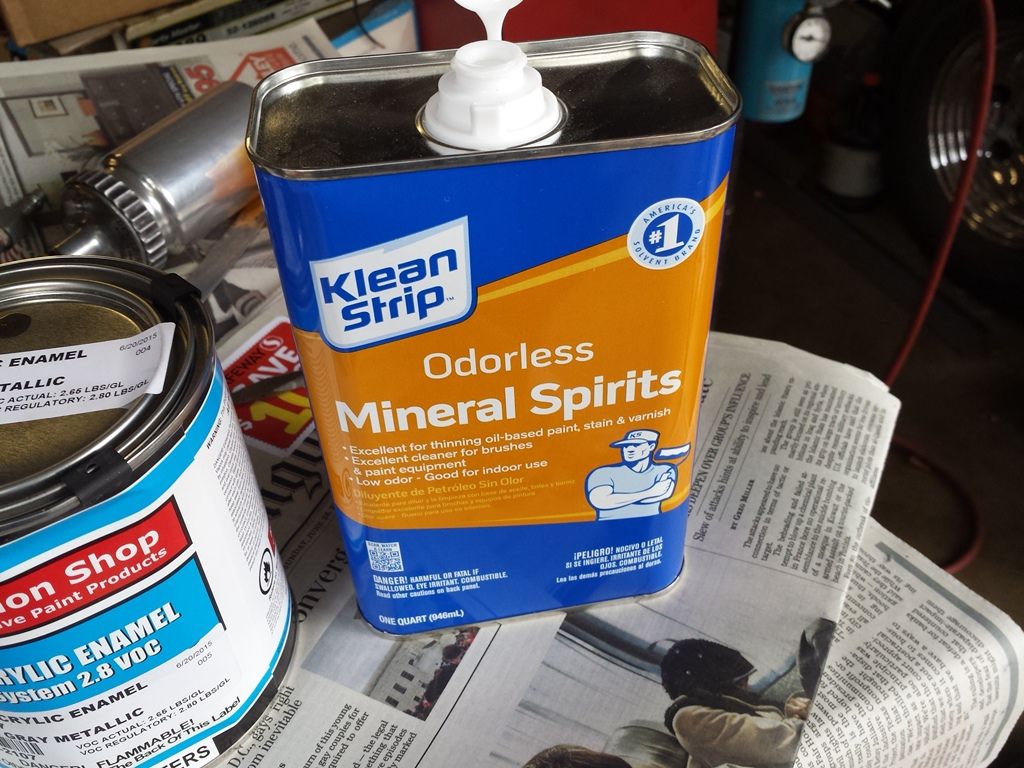 The mixture is 8 parts paint, 1 part hardener. A medium coat was put down: 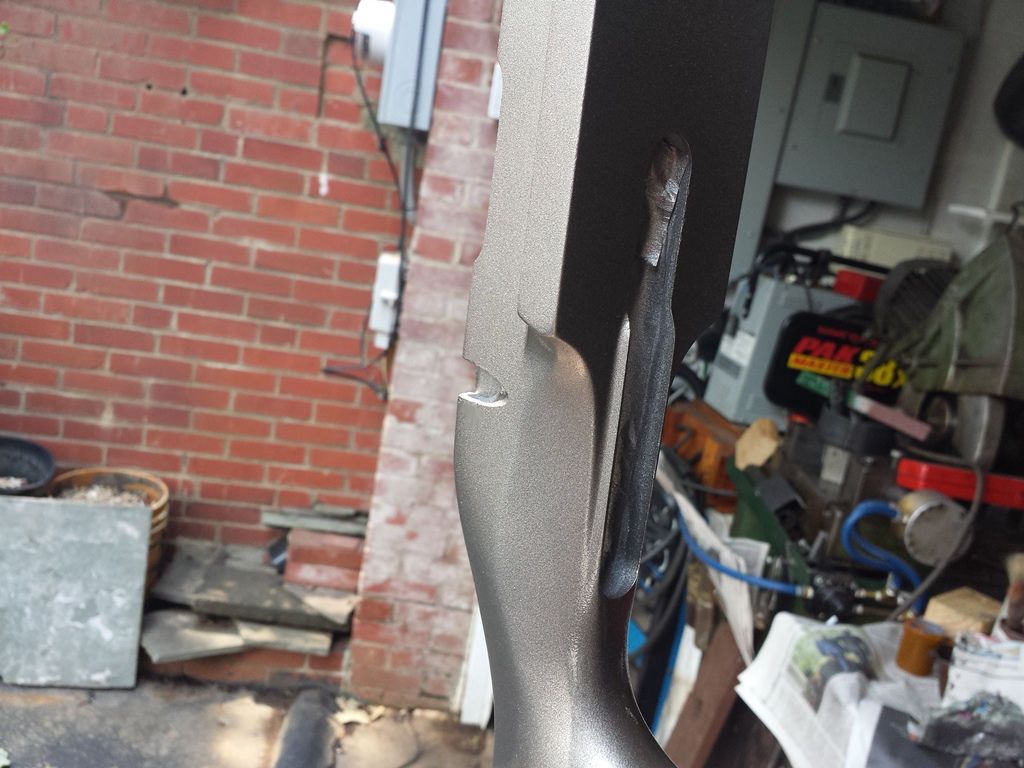 You’ll notice the color starts faint and pops with additional coats. Flash time is 15 minutes so the second pass went on shortly thereafter: 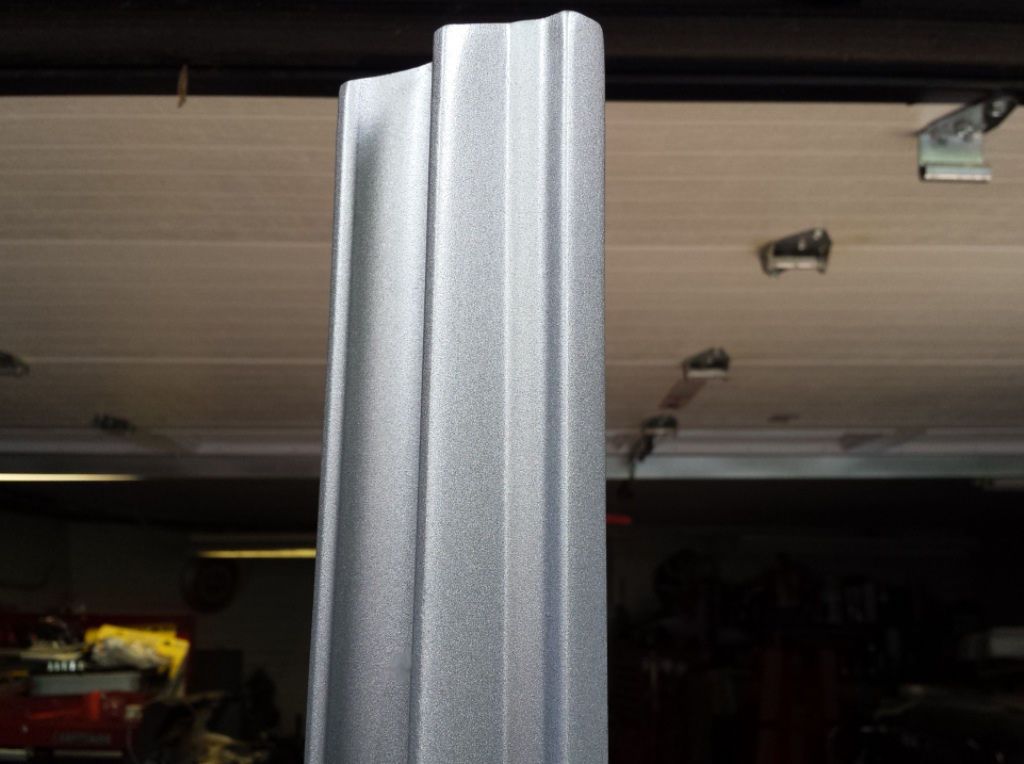 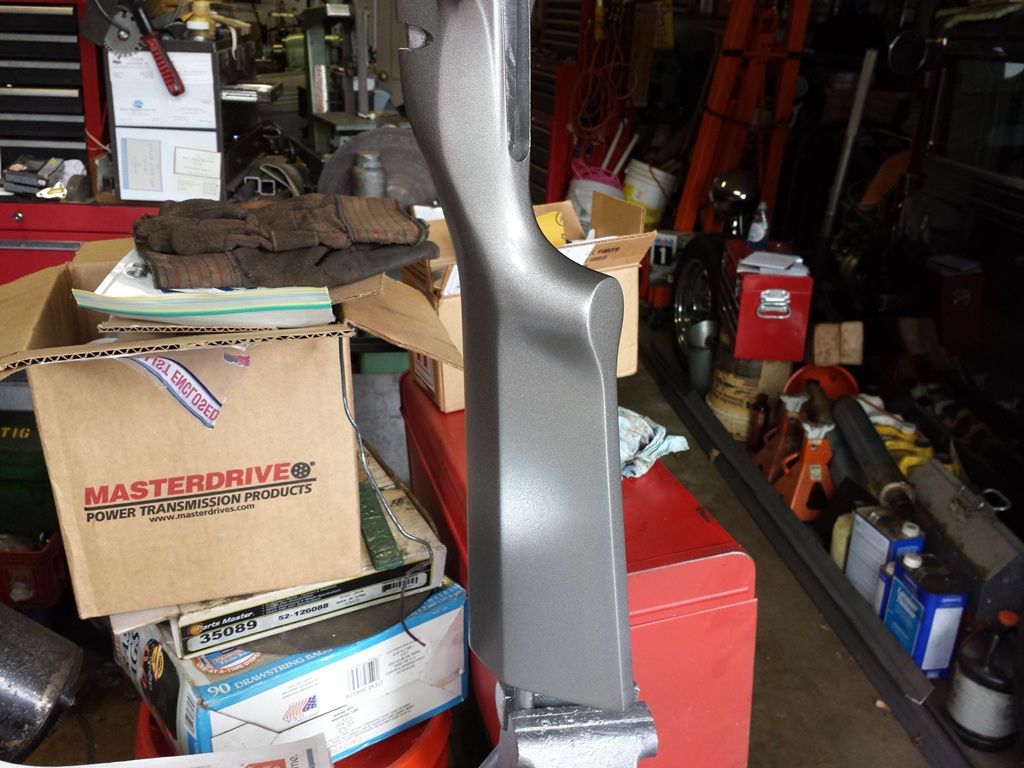 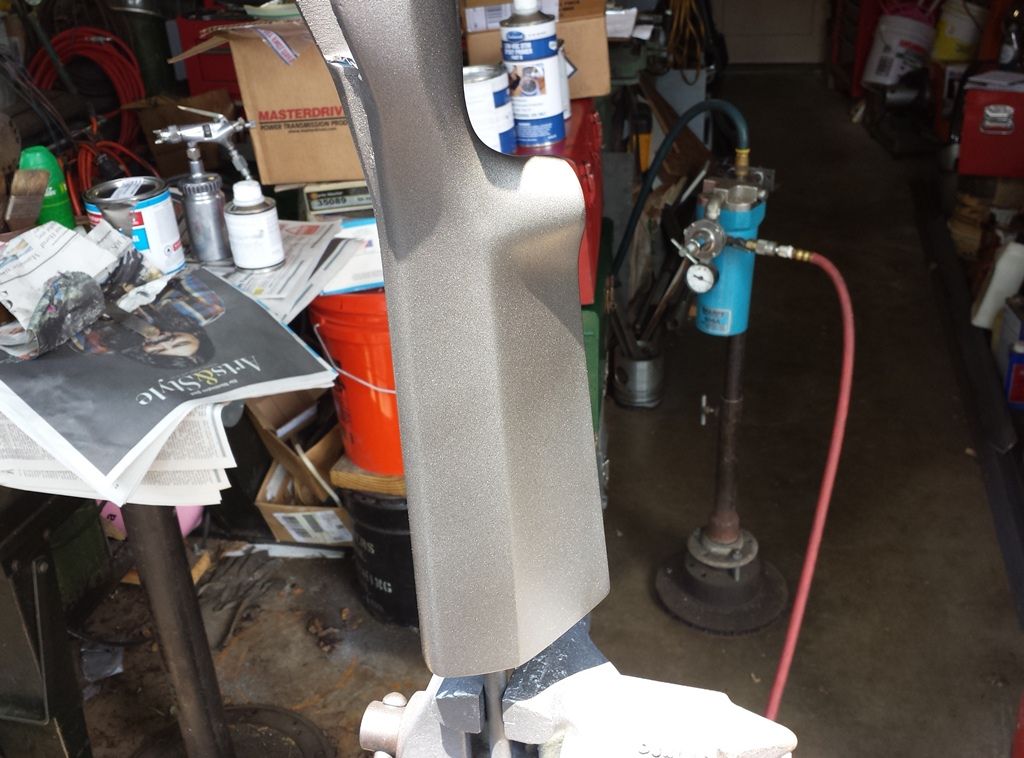 Another fifteen minutes and a third and final heavy coat is applied: 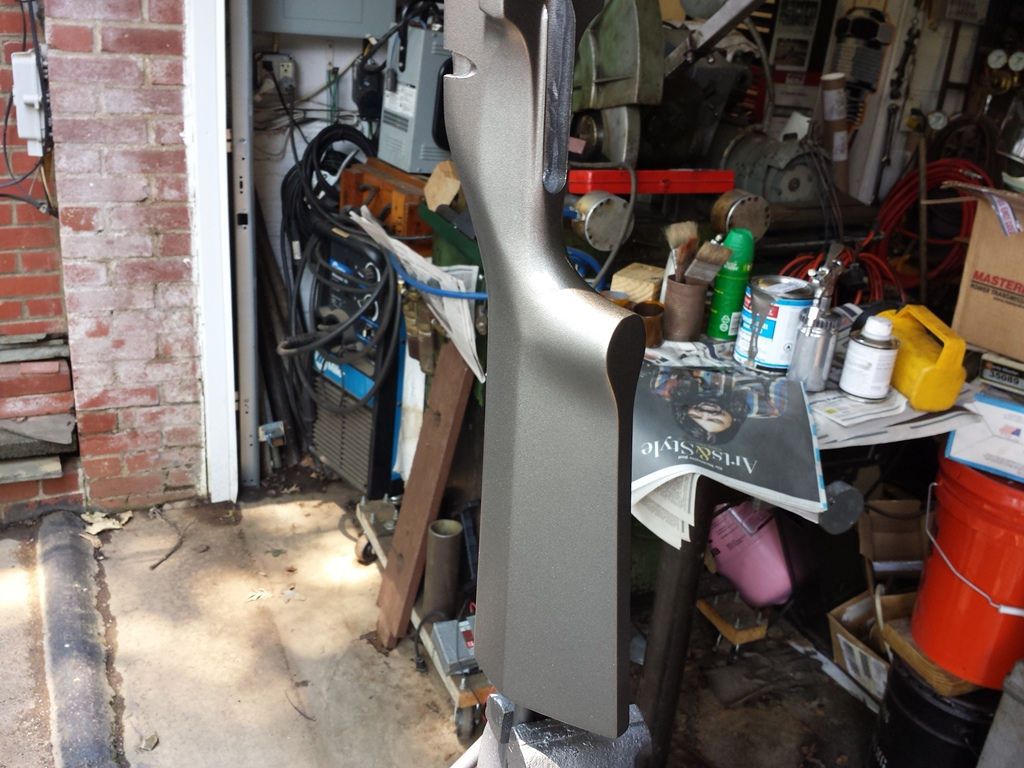 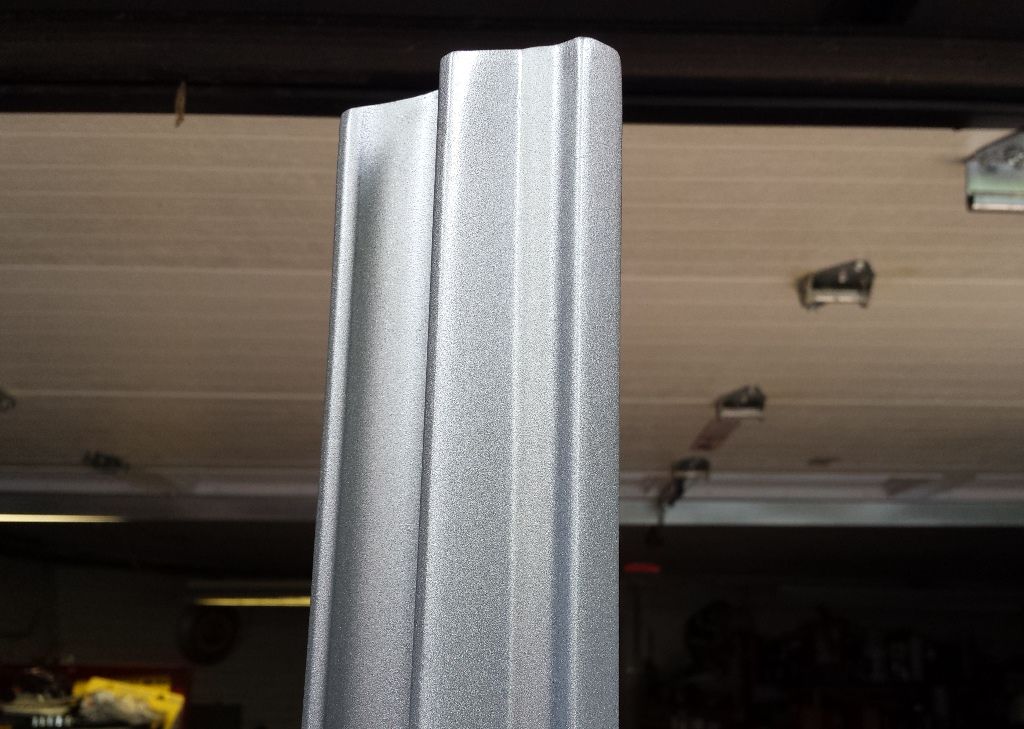 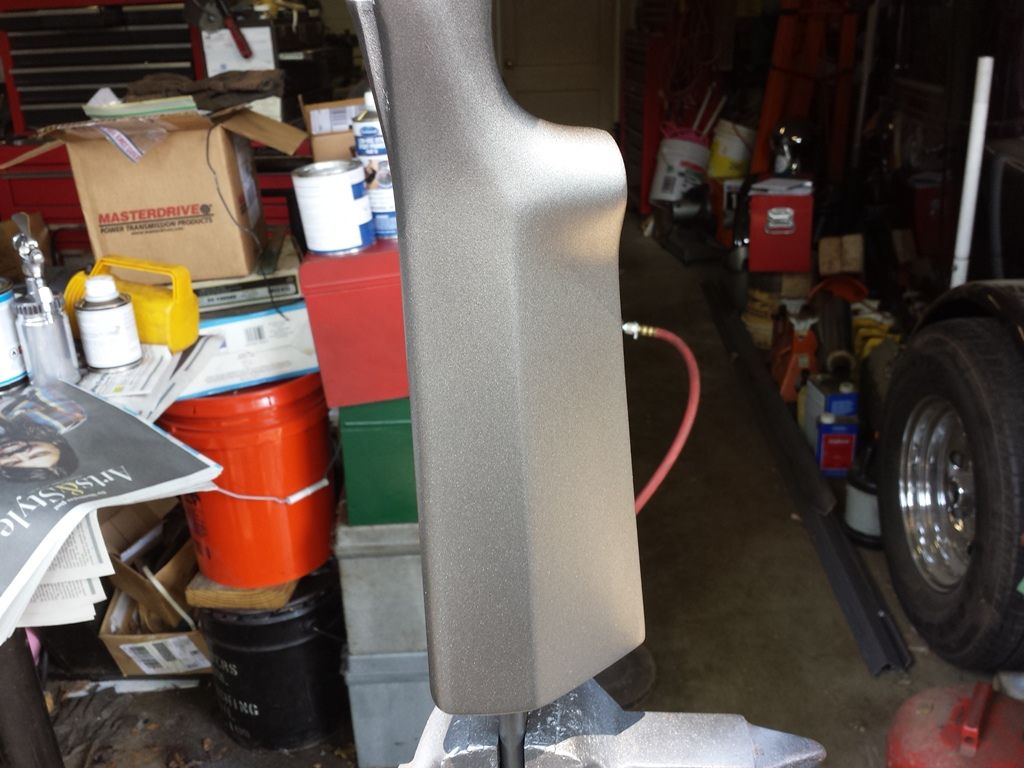 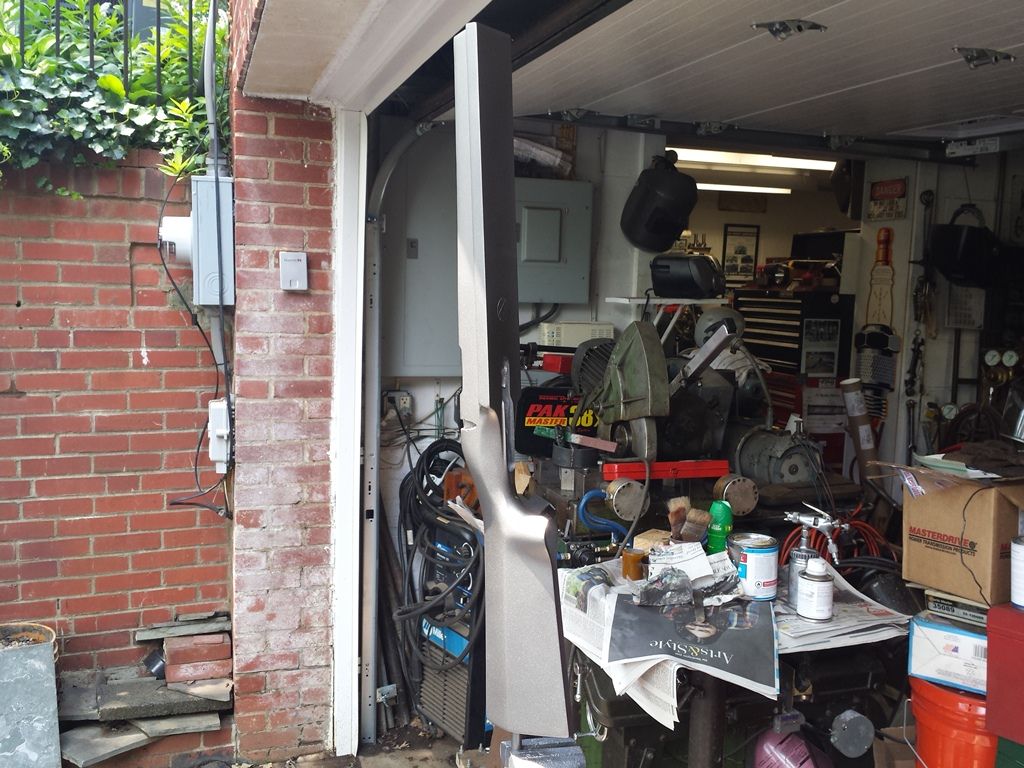 This is the first time we’ve used TCP and I was impressed. Set to 45 psi the stuff flowed beautifully. Just as important, the color was exactly what I wanted. -Lee www.singleactions.com"Building carpal tunnel one round at a time" |
|
|
|
Post by 2 Dogs on Jul 2, 2015 19:51:09 GMT -5
Beautiful !!!
|
|
|
|
Post by cherokeetracker on Jul 3, 2015 6:33:59 GMT -5
Oh YES Can't wait to see it all together.
Charles
|
|
|
|
Post by Lee Martin on Jul 6, 2015 20:04:44 GMT -5
New Trigger _____________________________________ We’ve used Jewell triggers in benchrest rifles since 1988. So long in fact our first was the rare steel version. A few dozen were made before Arnold Jewell switched to corrosion resistant stainless. They’ve been great with respect to reliability, ease of adjustment, and general feel. But even the best manufacturers kick out a bad one now and then. Such is mine. I’ve spent considerable time tuning the sear engagement, over-travel, and pull to a repeatable 2 ounces. Unfortunately at that weight I get sporadic slam fires. There’s also some creep and the release feels grainy. I massaged the internals and checked the surface of the cocking piece. Everything appears dead on so I’m at a loss. I hate writing negative product reviews but for transparency sake I will here. The word is Jewell isn’t the low volume, hand fit trigger it once was. Most ship fine and only require minor tweaks. Occasionally they go back for a re-tune or off to a trigger specialist. And that’s OK. They’re now available to the masses through Brownell’s and Midway. That broadens their sales channel and I can’t find fault in the approach. Business is about growing revenue and what better way than on volume. But benchrest shooters are fickle and when quality slips, even by a hair, we look elsewhere. From say 1989 to the late 2000’s Jewell was the only game in town. Old Shilens, altered Remingtons, Harts, and Canjars had their day but died off over two decades. The sport did see Kelbly’s Inc. release a trigger in 2009, followed by the Farley a year later. These were rigidly engineered and met all of the BR requisites. Strangely they never made much of a splash. Enter the Bix’N Andy from Austria in 2013. I considered one for this build but shied away from the $400 tag. Again, our experience with Jewell didn’t justify the extra $220. That is until I spent hours fiddling with one that’s ostensibly possessed. Friend and long-time benchrest shooter Boyd Allen convinced me to take the plunge on a Bix. Boyd reviewed the trigger in the April 2014 issue of Precision Rifleman. He wrote an unbiased and quite technical account of its performance. We talked last week and he reiterated the following: 1) The trigger at any pull weight has no discernable creep, 2) They can safely be adjusted to one ounce and will absolutely hold sear, and 3) They return shorter lock-times than the Jewell. I hung-up the phone, logged onto Benchrite.com, and two days later one arrived. The inside view shows a real departure from traditional designs. 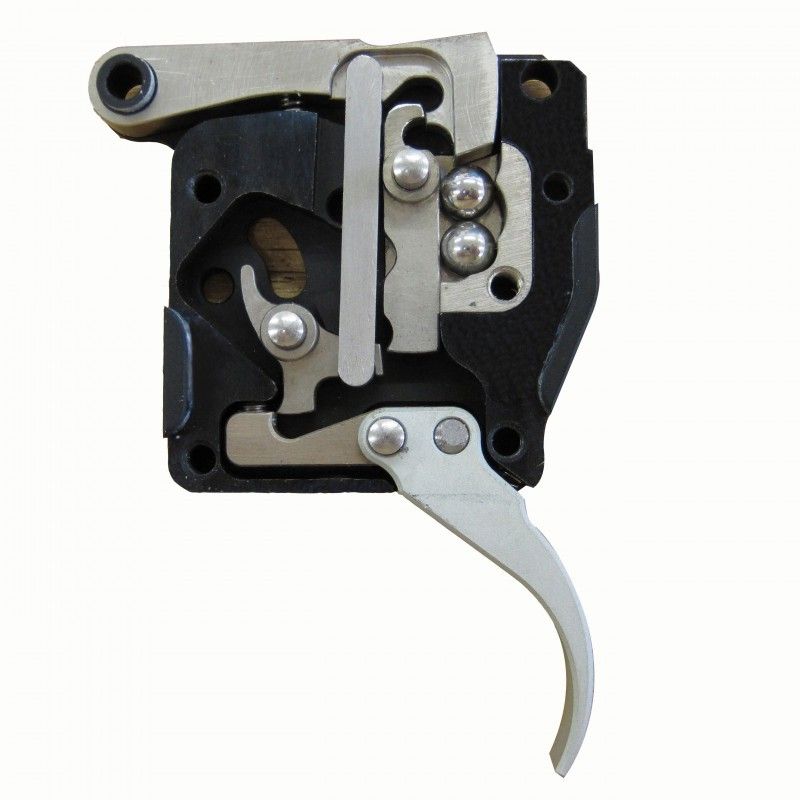 There’s no need to detail the mechanics. Instead I’ll just call out a few points on why they work so well: 1) Pull consistency is laboratory tested to be within 1/30th of an ounce 2) Pull weights are externally changed via three different springs and set-screw adjustment. The lightest gives 1 to 3 ounces, the second heaviest is 4 to 11, and the stiffest is 12 to 25. Since the spring resides in the trigger shoe you can swap them without pulling the side-plate (or the trigger for that matter). 3) 20% less lock-time than a Jewell. 4) Much lower upward force on the firing pin assembly. In spite of this, the ball bearing mechanism generates more positive grab from within. These things won’t slam fire even when set to 1 oz. The Bix’N Andy before installation: 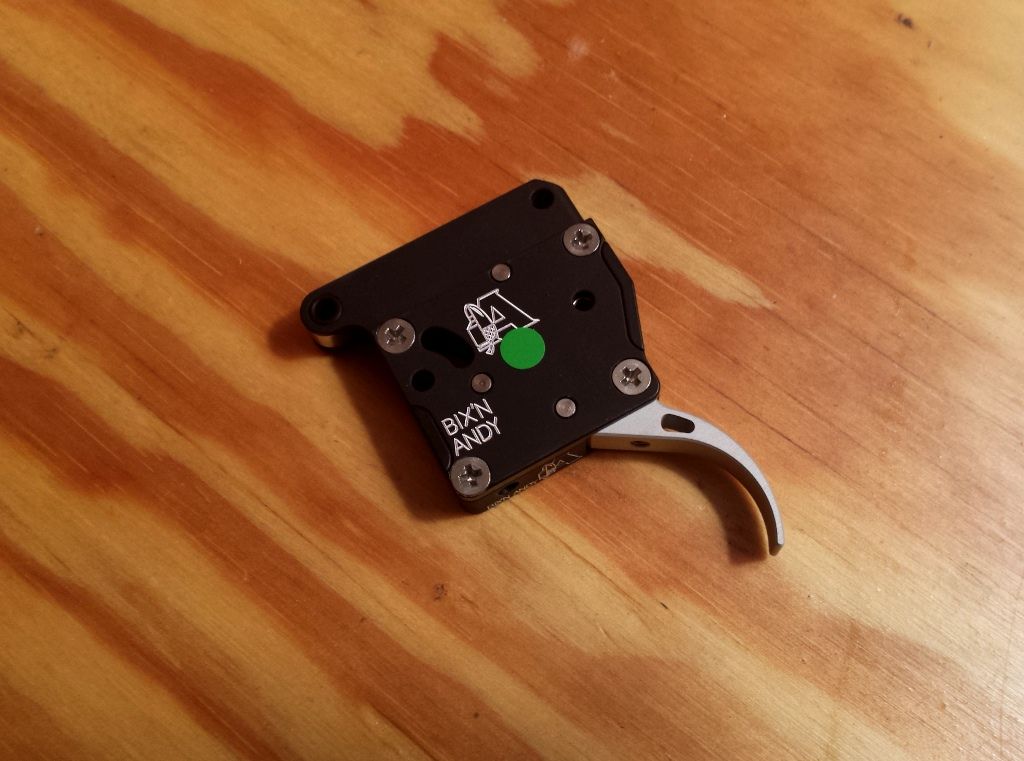 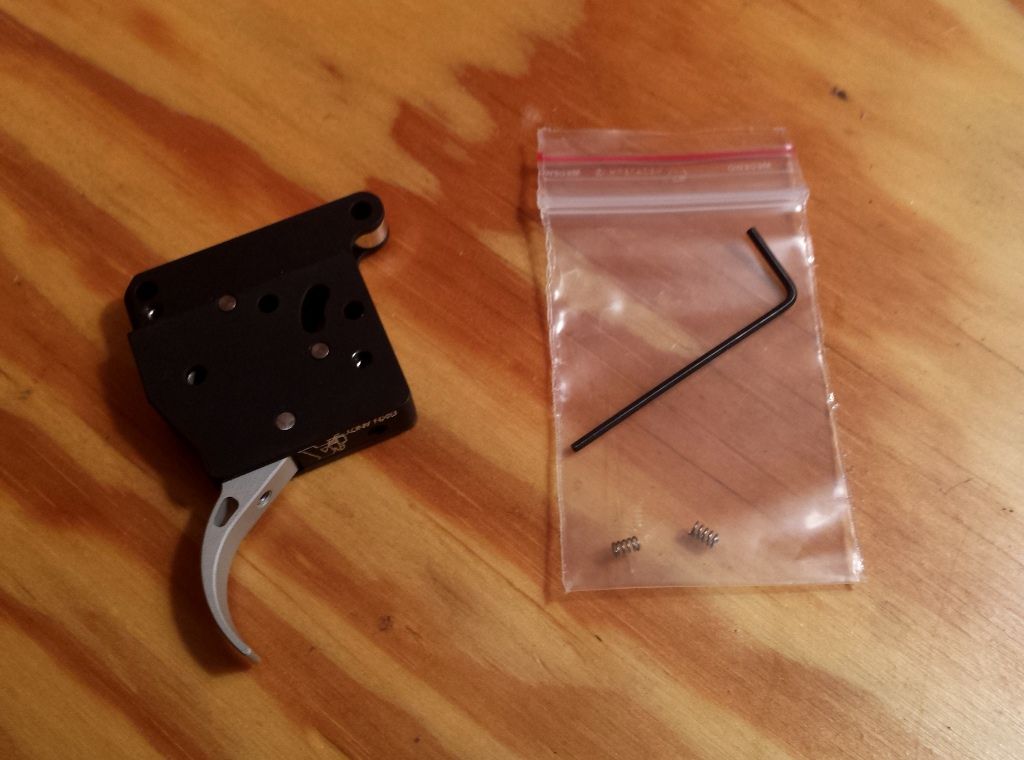 I’ve yet to shoot this PPC with the Bix but I’m already hooked. We went down to 1 ounce to assess feel and were amazed. Simply put this is the best trigger I’ve ever touched. I backed off to 2 ounces and it is far crisper than a similarly set Jewell. So am I becoming an equipment snob? Perhaps I am. Nevertheless if you shoot free recoil like I do the only thing to touch is the trigger. I want to be confident in my fire control, putting safety first and repeatability second. Note - My rifle is together and I’ll post pictures in the coming days. -Lee www.singleactions.com"Building carpal tunnel one round at a time" |
|
|
|
Post by cherokeetracker on Jul 7, 2015 7:27:45 GMT -5
That trigger is amazing. I have never seen anything like it. I am still trying to envision what 1-2 ounces trigger pull is like. I have and use 8 ounces on my 22 target rifle. I think this gives a new meaning to the saying touch and go? Wow,,, 20% lock time increase.
Charles
|
|
|
|
Post by Lee Martin on Jul 7, 2015 20:27:05 GMT -5
That trigger is amazing. I have never seen anything like it. It really is. Incidentally Bix'N Andy unveiled a new BR action at this year's SHOT show: 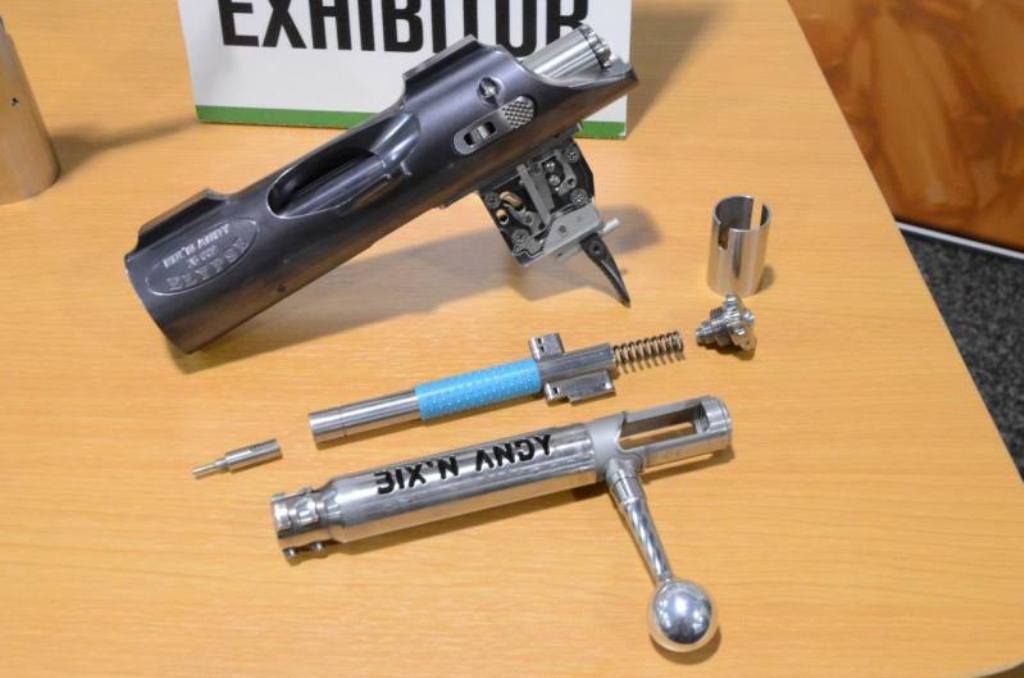 Supposedly it contains a lot of firsts. We'll see if they catch-on. However at $3,000 - $4,000 I suspect it'll be slow going. -Lee www.singleactions.com"Building carpal tunnel one round at a time" |
|
|
|
Post by Lee Martin on Jul 7, 2015 20:29:45 GMT -5
FINISHED ___________________________ After a year and a half and hundreds of hours, my PPC is done. Pictures and a recap of the specs: Action – Martin BR, 4140 Chamber – JGS 1046 (basically a 1045 with a 0.264” neck) Barrel – Shilen, 6 groove 13.5 twist. Heavy varmint contour Barrel Length – 21.5” Stock – McMillan Edge HV Stock Paint – TCP Global single-stage, warm graphite. The primer is grey epoxy. Bedding – 3 home built pillars. Compound is aluminum Devcon and the barrel is completely free floated Trigger – Bix’N Andy set to 2 ounces (recently upgraded from a Jewell) Scope – 40x March. Fine cross hair with 3/32” dot Rings – Harrell’s doubles, medium height Scope Base – home built one piece dovetail Total Weight – 13 pounds, 4.9 ounces. The weight was verified on two scales 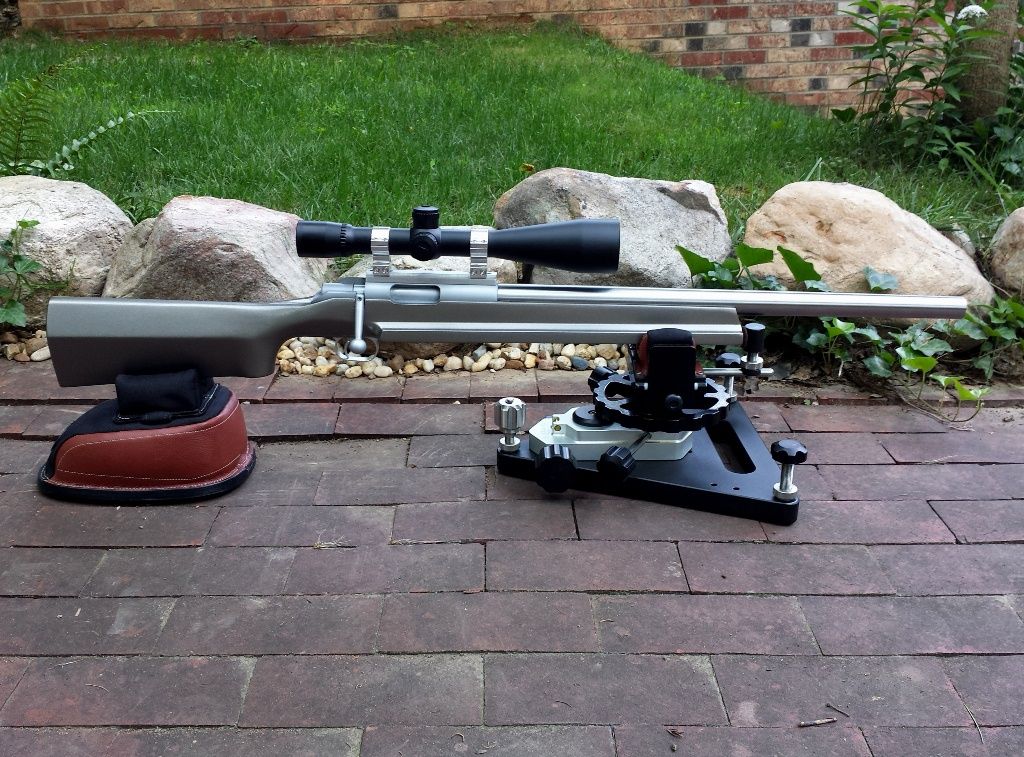 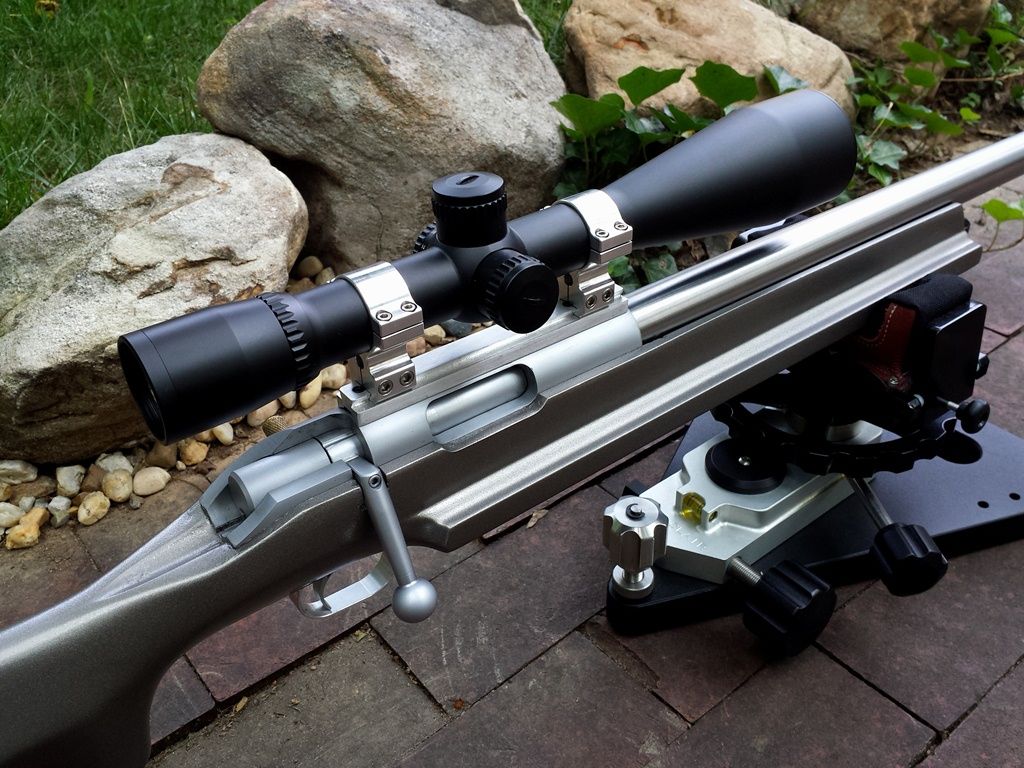 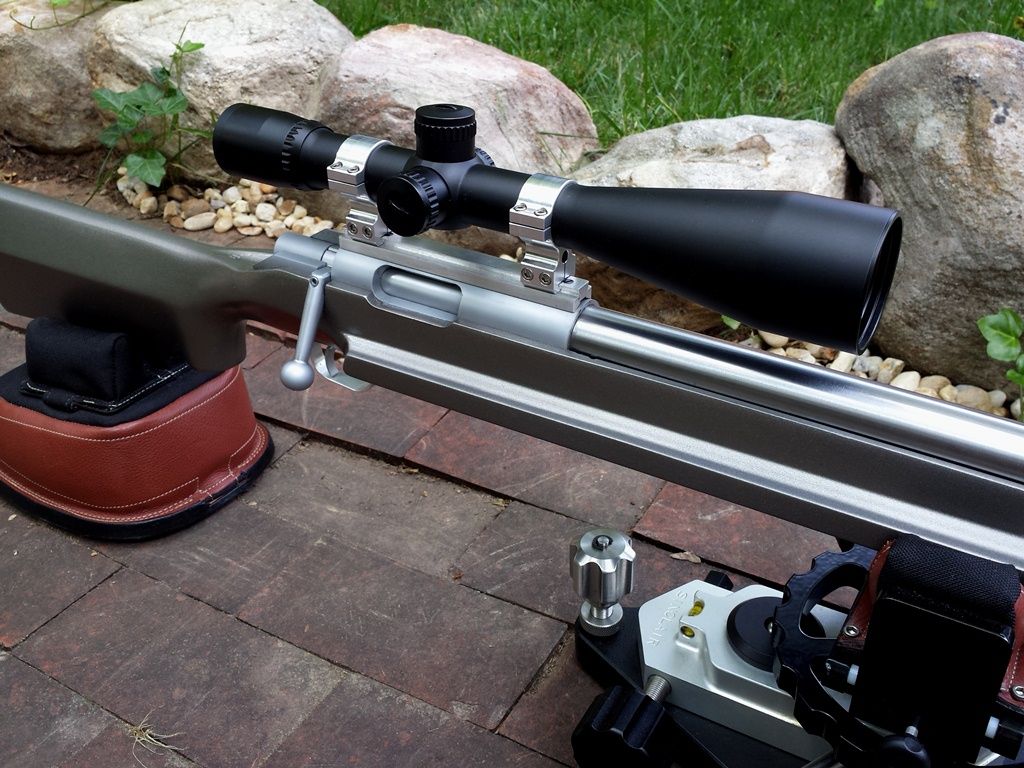 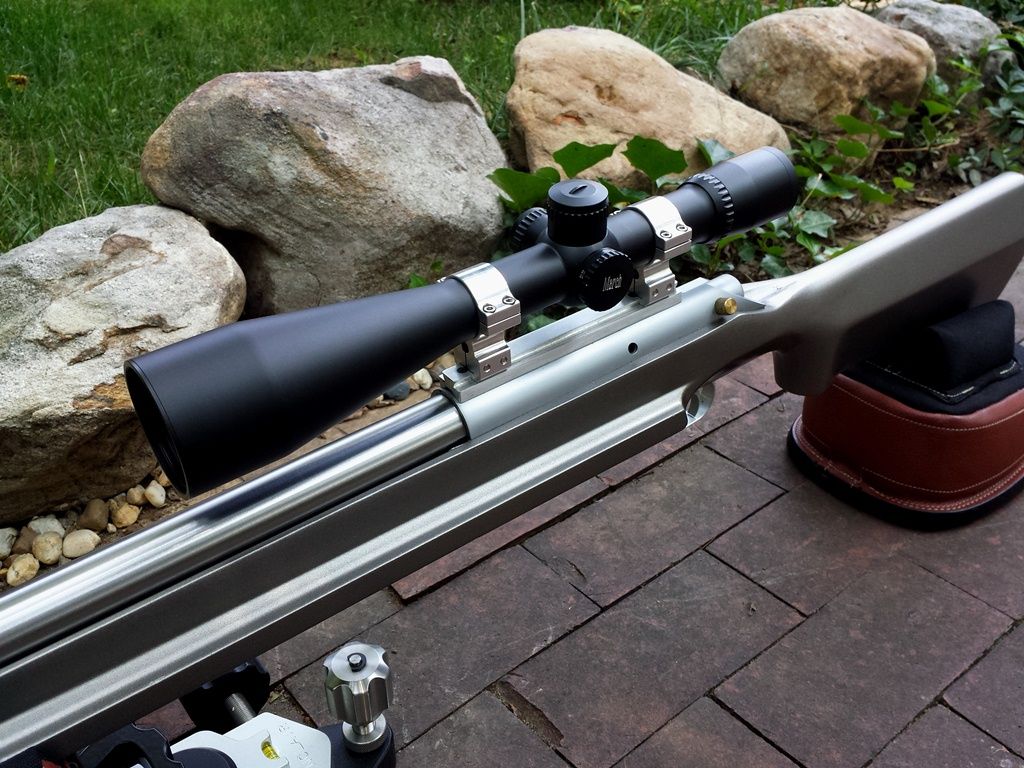 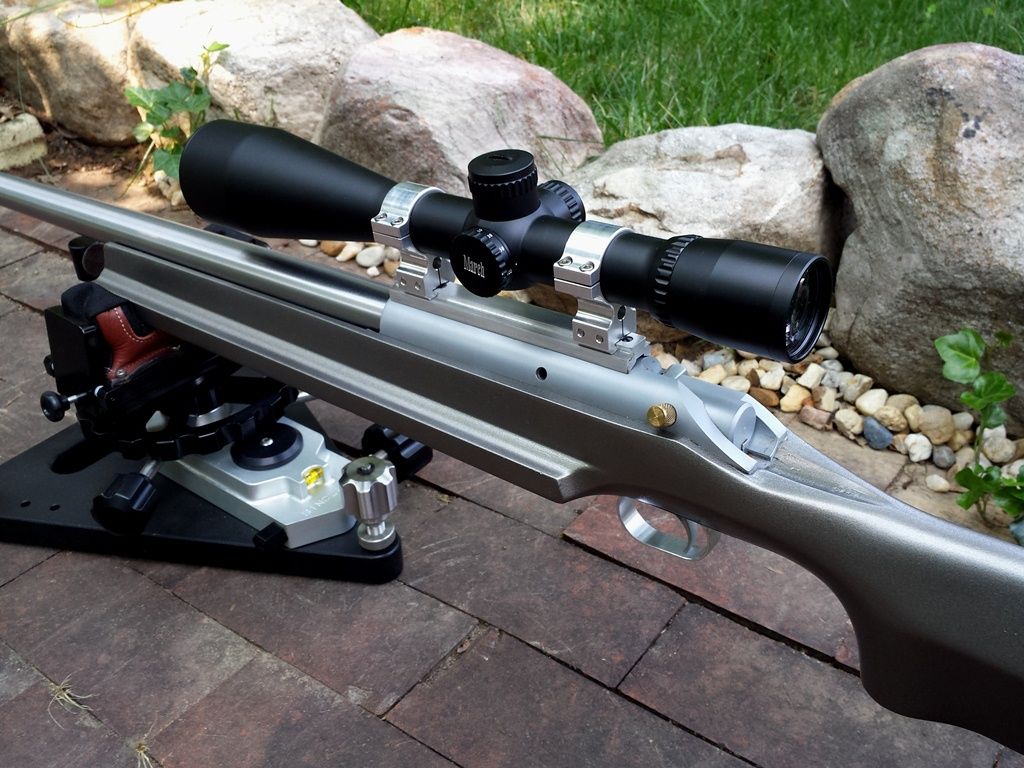 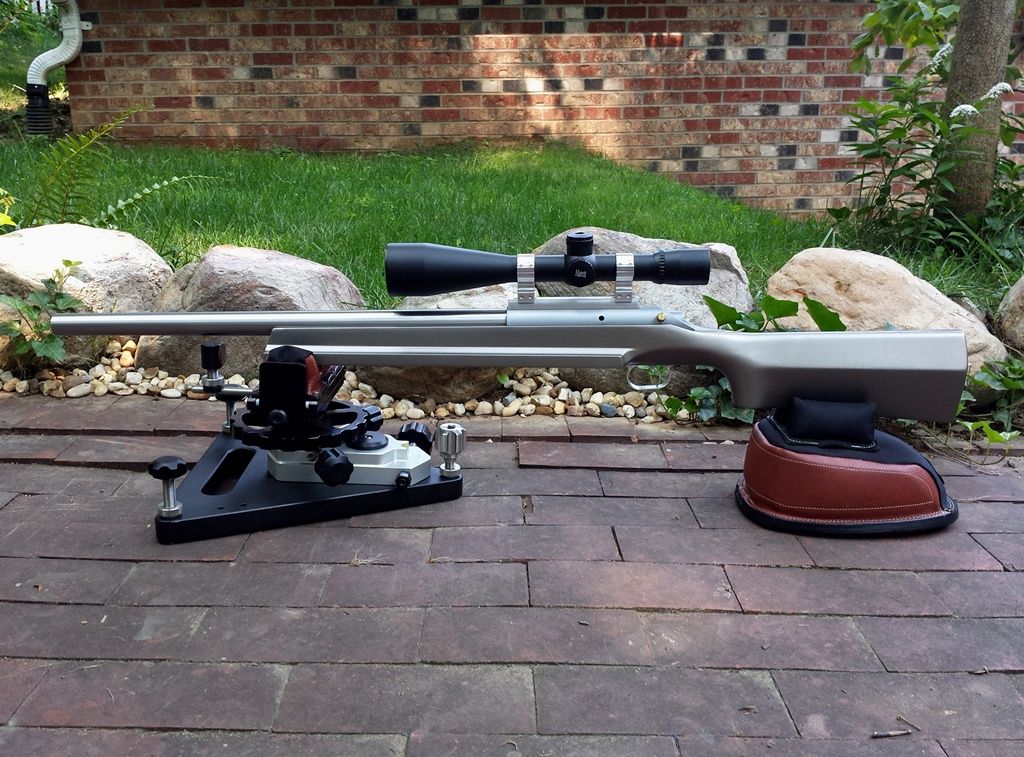 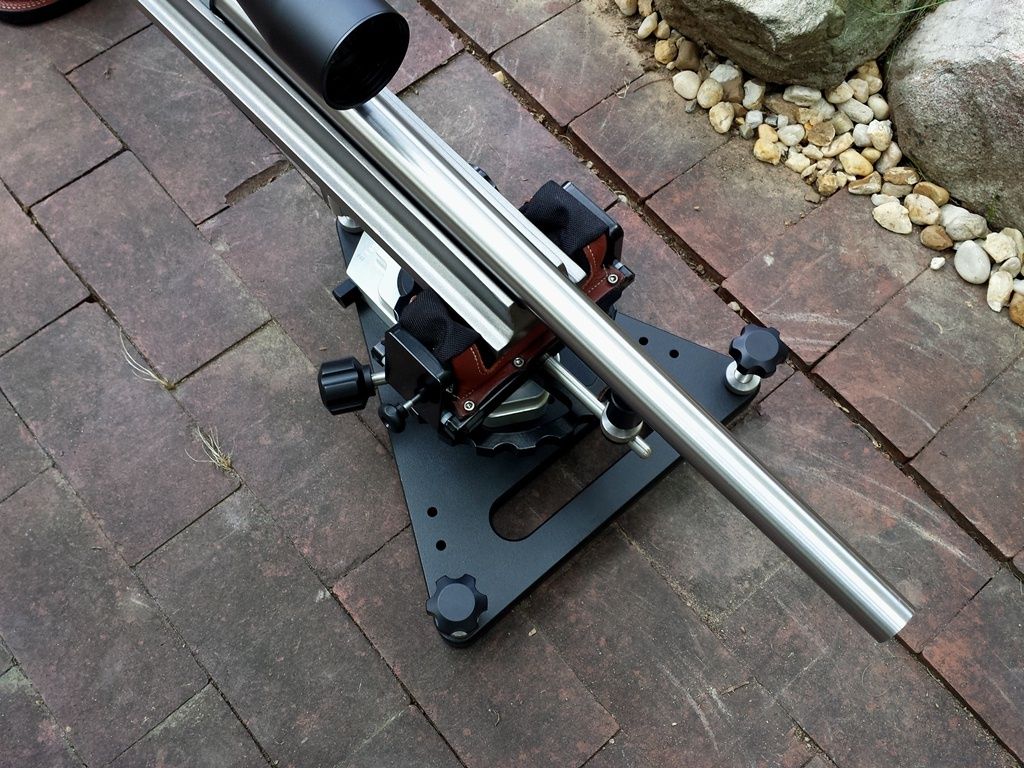 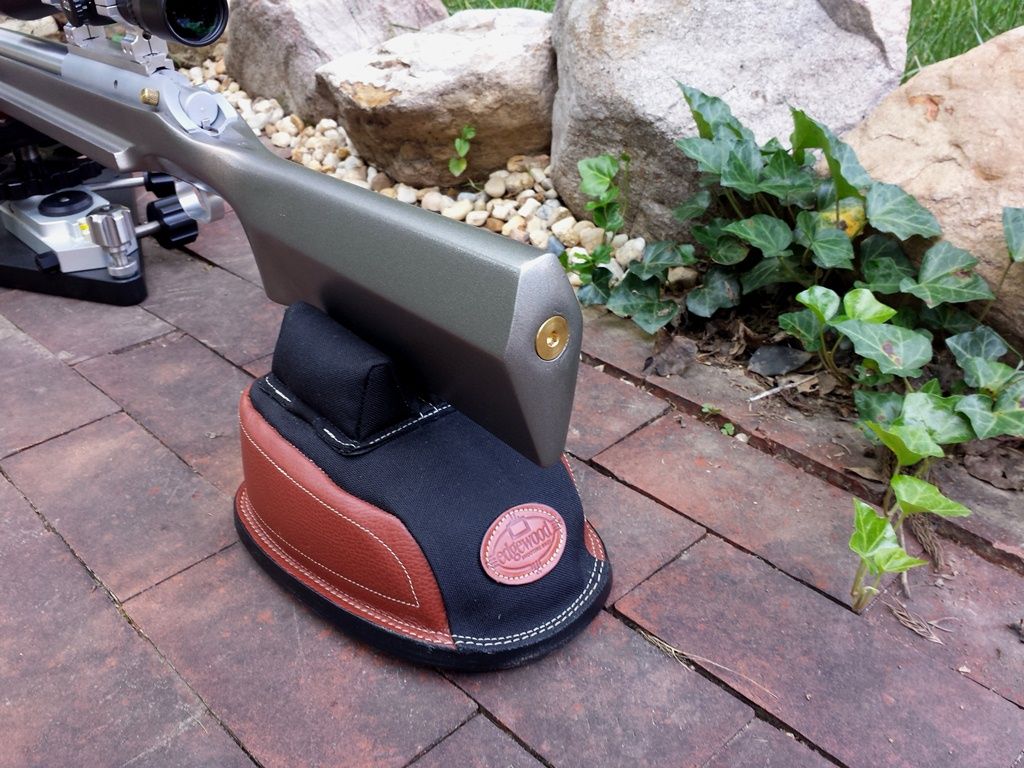 We dressed the barrel at 21.5” to make weight. I’m now 3 ounces under the 13.5 pound HV and VFS limit: 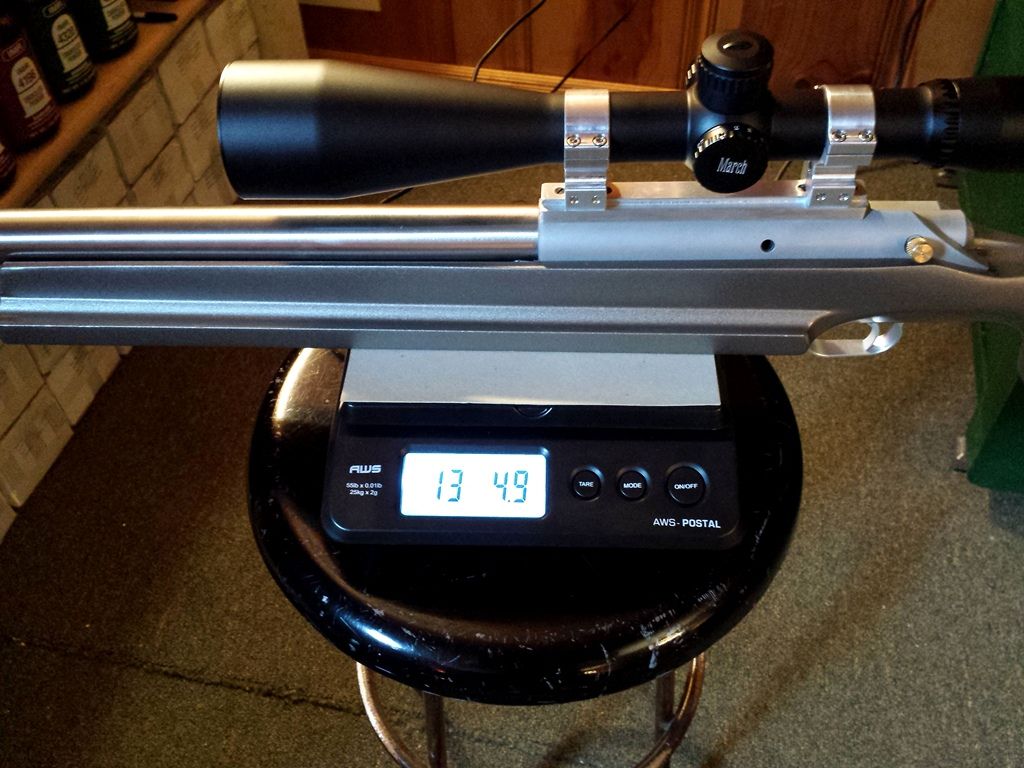 -Lee www.singleactions.com"Building carpal tunnel one round at a time" |
|
princeout
.375 Atomic
   Enter your message here...
Posts: 2,015
|
Post by princeout on Jul 7, 2015 21:24:30 GMT -5
Amazing rifle and fascinating thread! Thanks for all the extra effort putting this up for us to read and enjoy!
Tim
|
|