|
|
Post by bradshaw on Aug 5, 2015 20:08:29 GMT -5
Markbo.... au contraire, from rifle to bench to shooting the Martins build is a unique contribution to the art of shooting.
David Bradshaw
|
|
|
|
Post by Lee Martin on Aug 5, 2015 21:57:24 GMT -5
Don't you just love the Miller Trailblazer? We got one last year at work, it is far and away the handiest tool we have. Well thought out machine Ditto Eric. The big Millers are hard to beat. -Lee www.singleactions.com"Chasing perfection five shots at a time" |
|
|
|
Post by Lee Martin on Aug 5, 2015 22:00:37 GMT -5
New Range, New Bench – Step 10 ______________________________________ The 2x4 sides were unscrewed and the bottom was pried. We didn’t split the form, instead choosing to Sawzall around the legs: 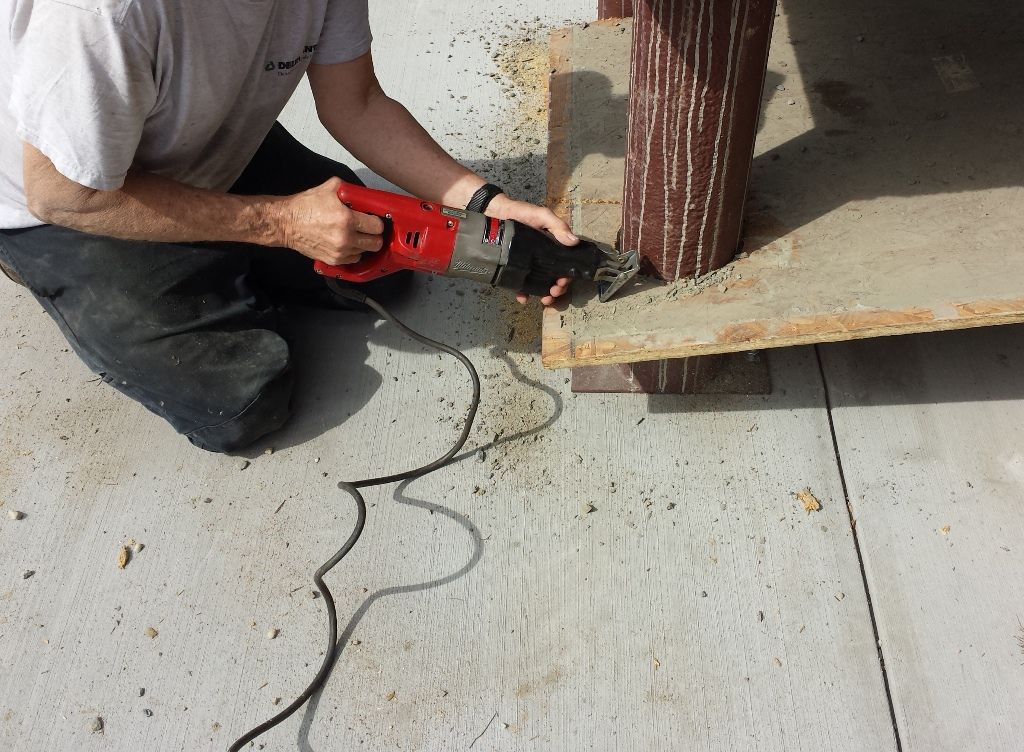 I took a wire brush and mildly scrubbed the legs before painting them Rustoleum grey. 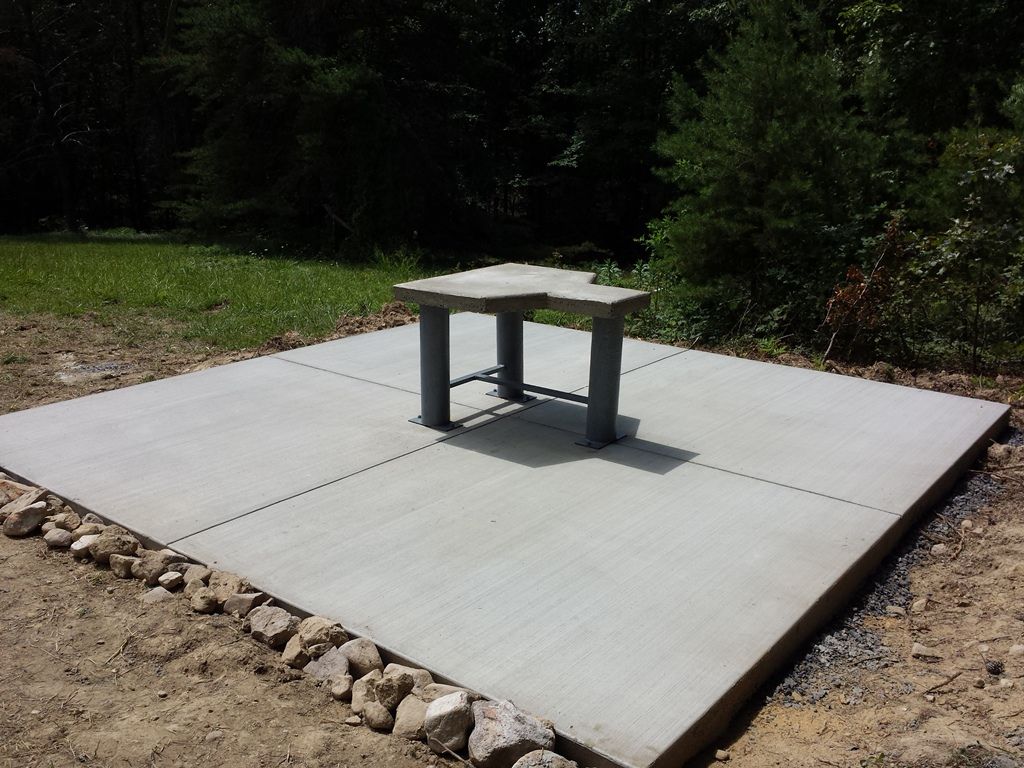 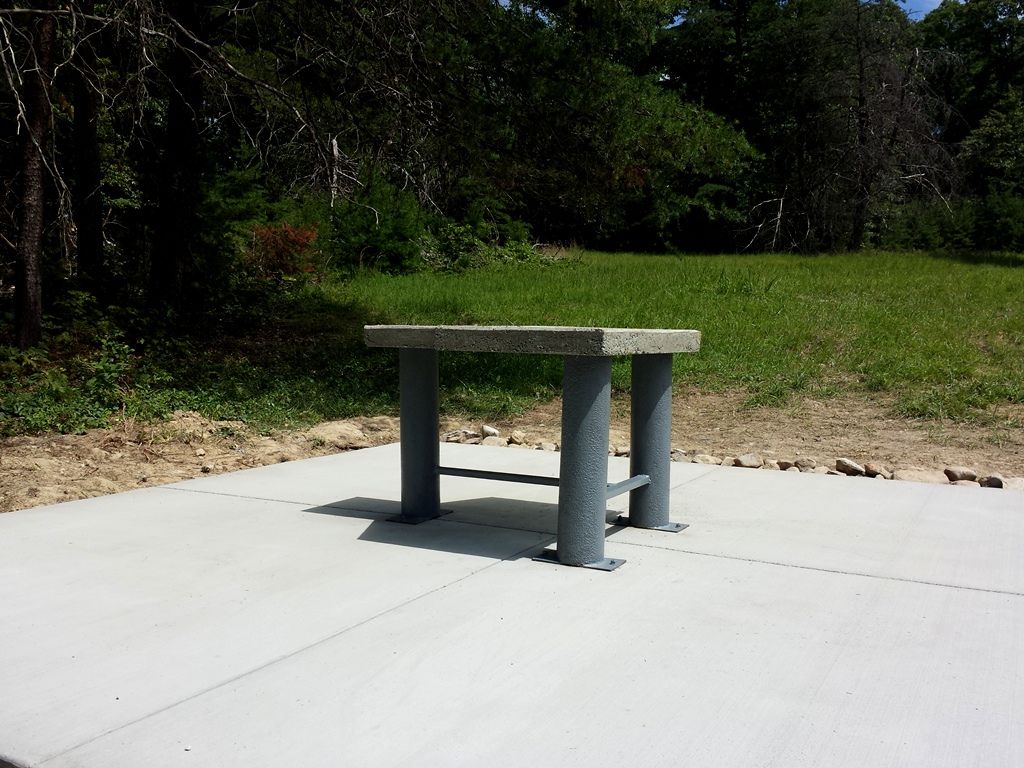 View from behind the bench. The two pine trees on the right may get whacked: 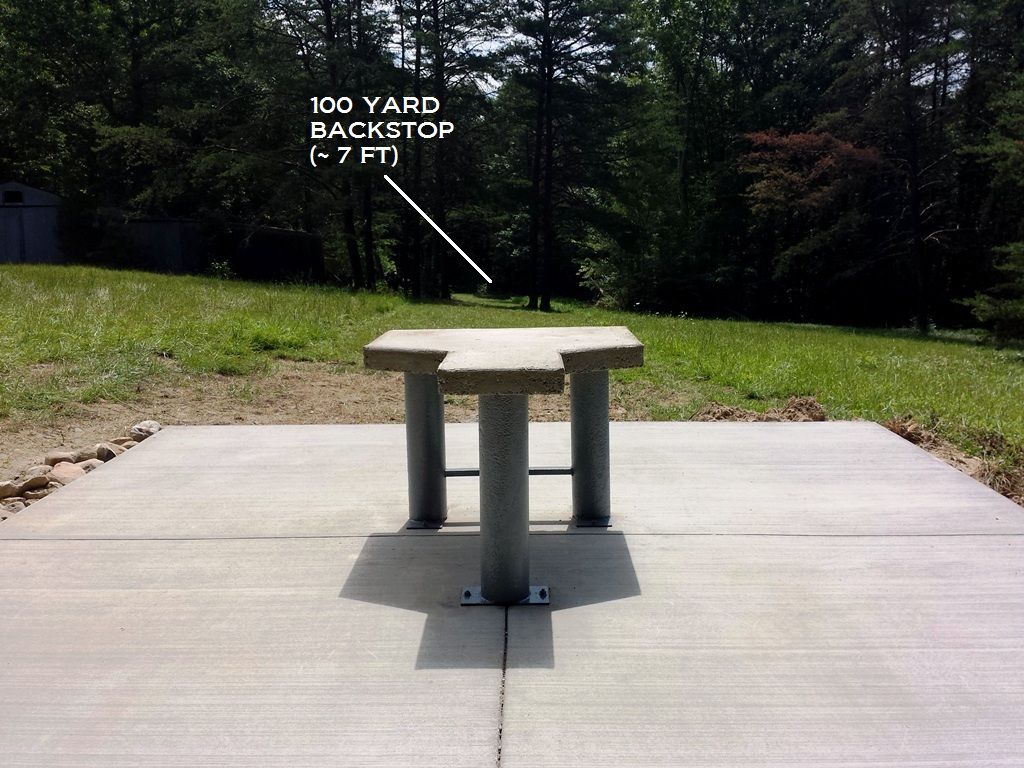 Dad also welded up a target frame for the 100 yard berm. 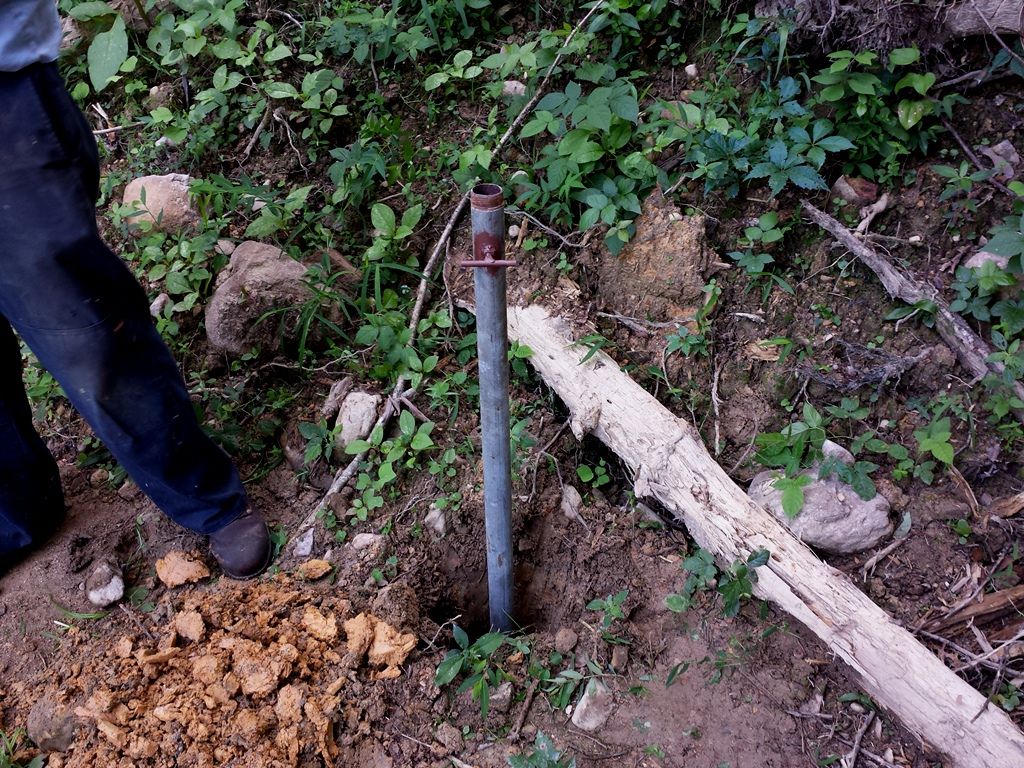 Setting and leveling it in concrete: 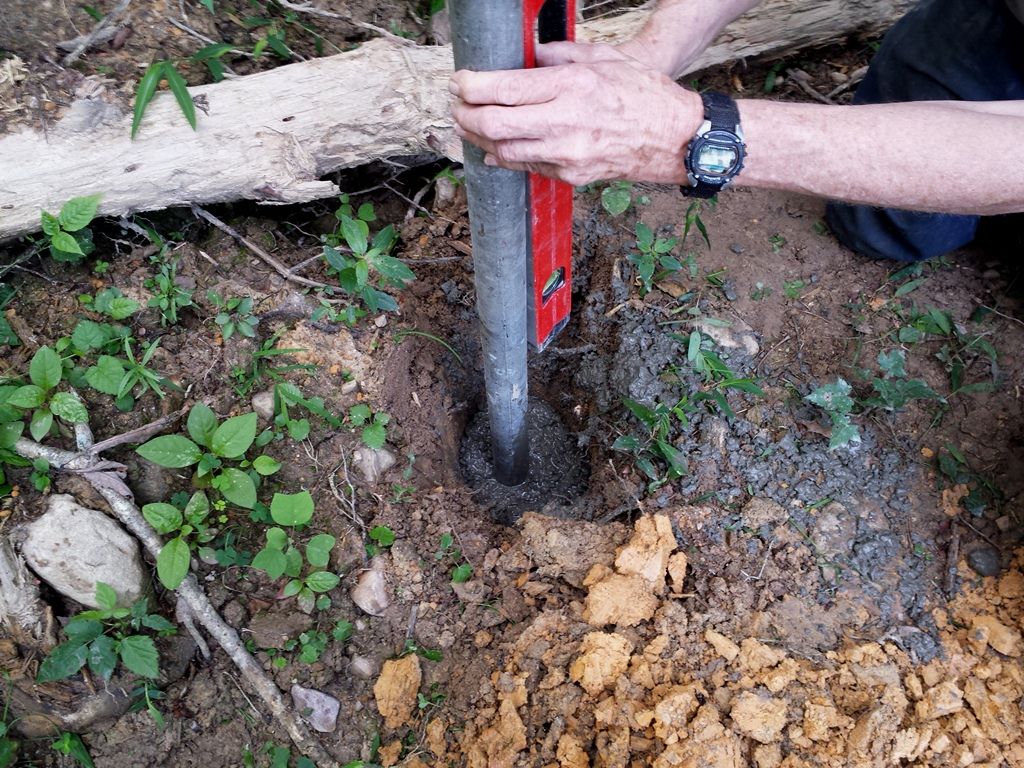 You’ll see the top pipe is height adjustable: 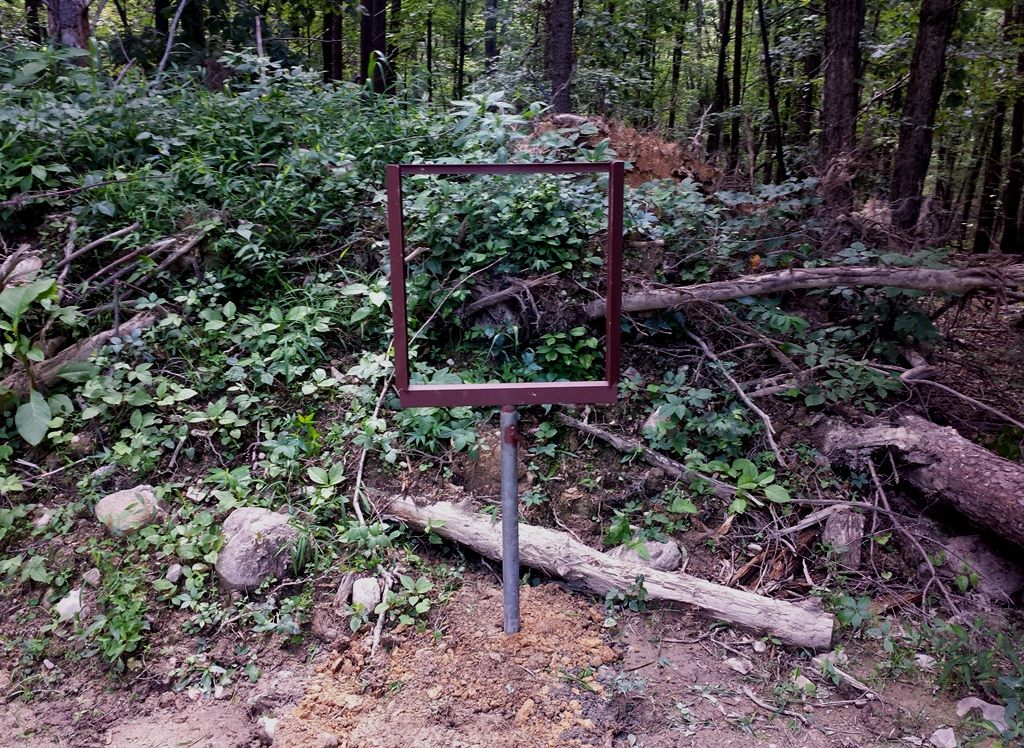 I’ll finish coat the target frame with grey enamel and get the roof and loading bench in this month. But for now if it doesn’t rain we’re shooting benchrest. -Lee www.singleactions.com"Chasing perfection five shots at a time" |
|
|
|
Post by Lee Martin on Aug 11, 2015 19:31:23 GMT -5
Shooting – Part I _______________________________ Two years ago I had no idea where this post would lead. David Bradshaw suggested I document the project and I thought what the hell. Well, “what the hell” turned into a twenty page thread. Some content is relevant to all forms of shooting. Admittedly other parts are BR-centric and pretty dry. But the PPC is finally done and it’s time to tear groups. Last Saturday I took it out and the results were good. I didn’t tune on-site, instead preloading with a light charge of LT-32. One weight was tried over one neck tension and one seating depth. Some shots of the bench: 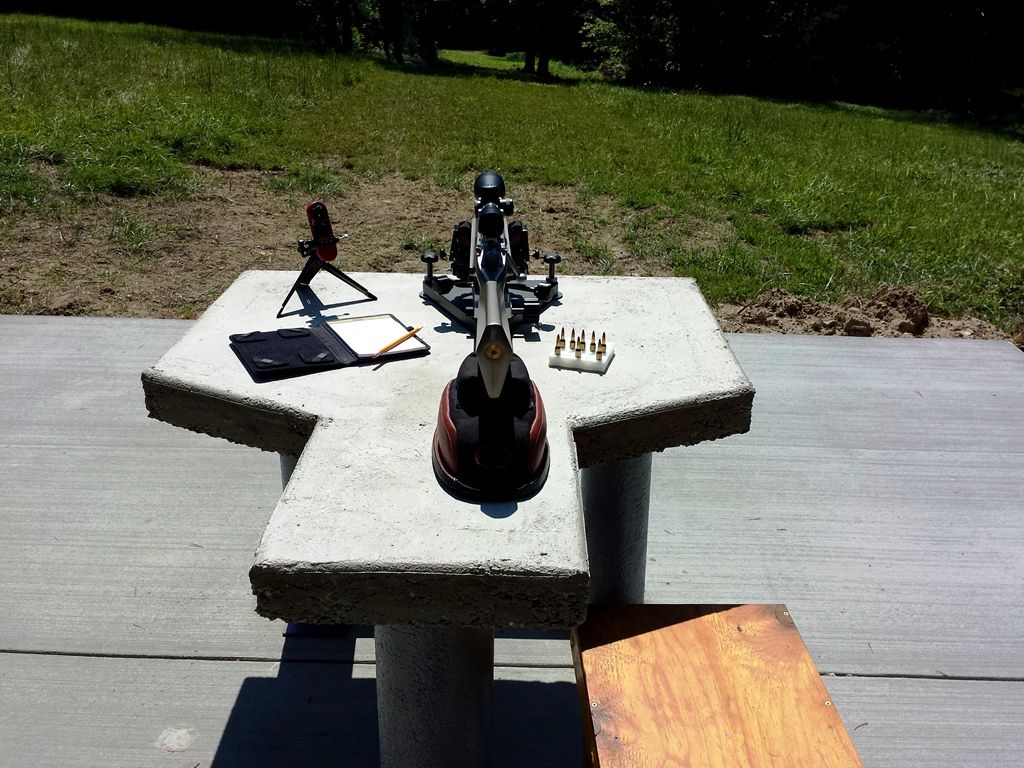 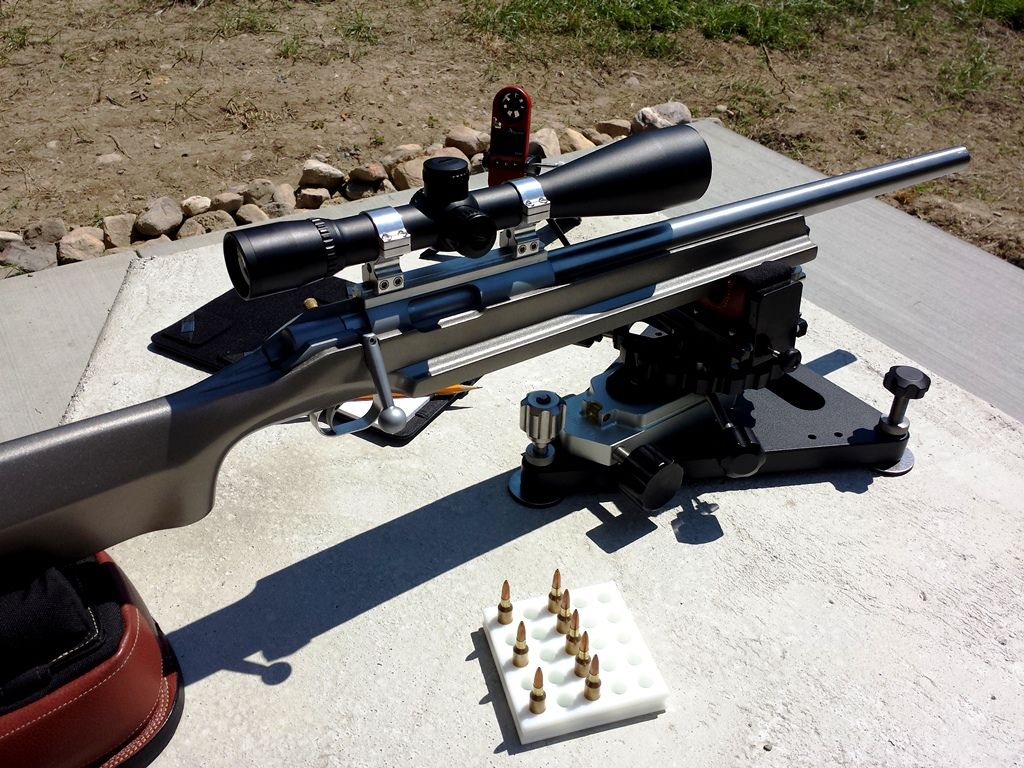 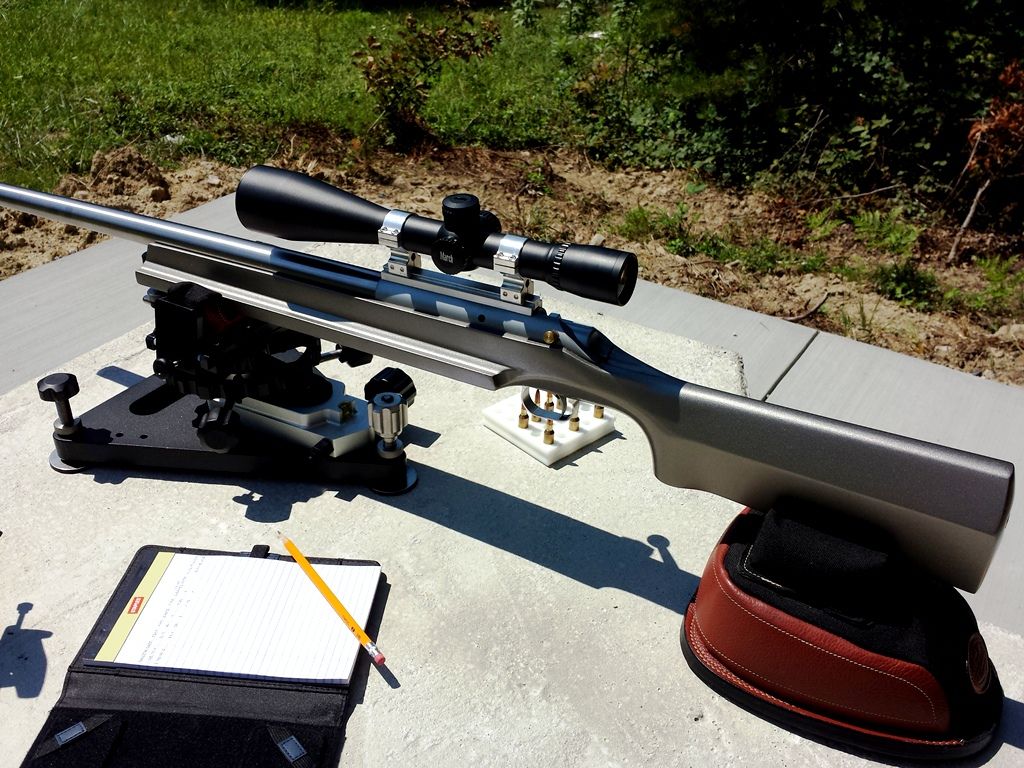 Many use round adjustable stools but I like this wooden one my dad built. It has four positions, is stable, and has done right by us for 25 years: 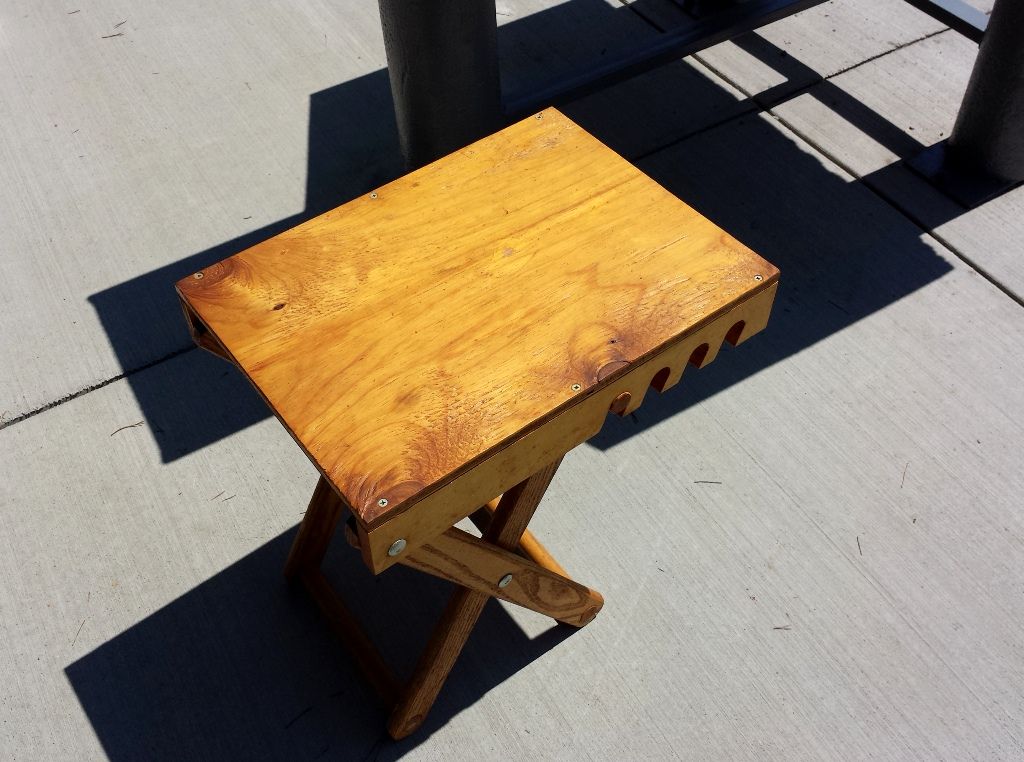 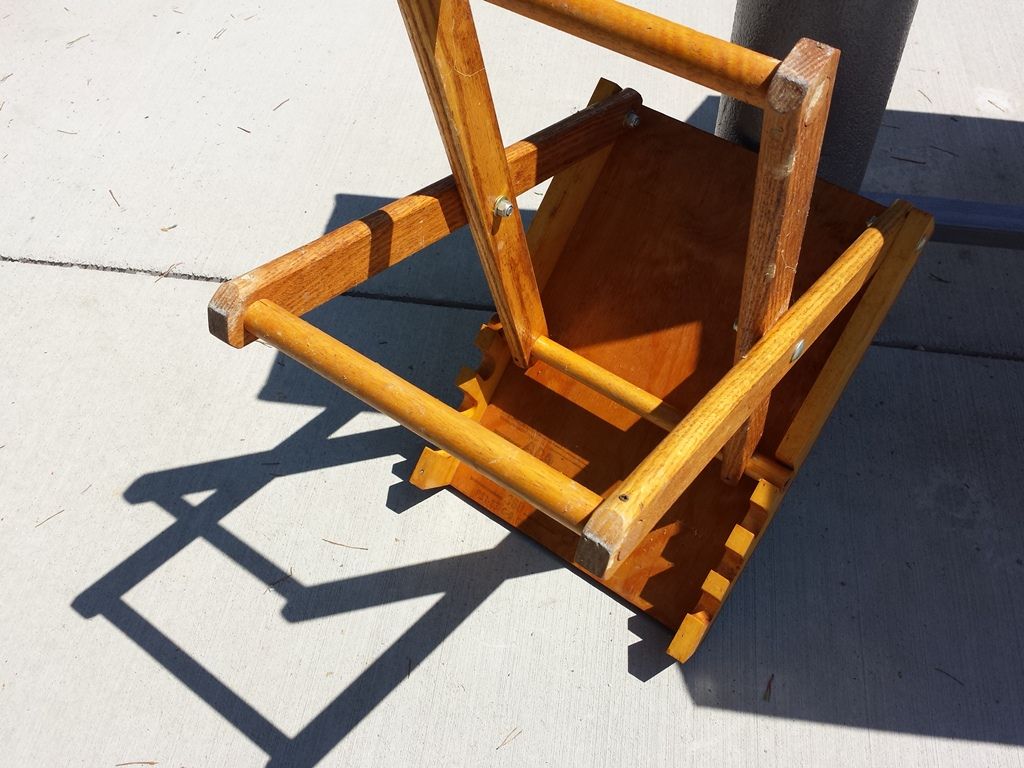 The first target I laid down was encouraging. I fired three foulers on the S half, clicked the scope to an 8:00 aim point, and sent one. POA and POI were identical. When the next tagged the same hole I moved to the record bull. Five shots later I got this: 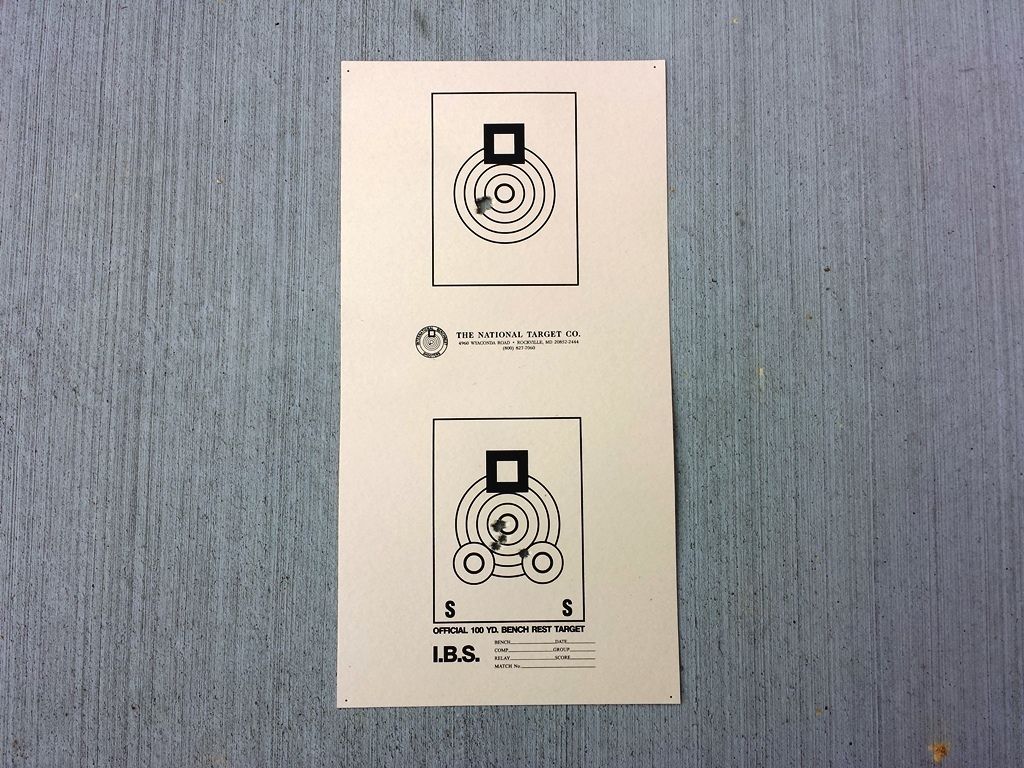 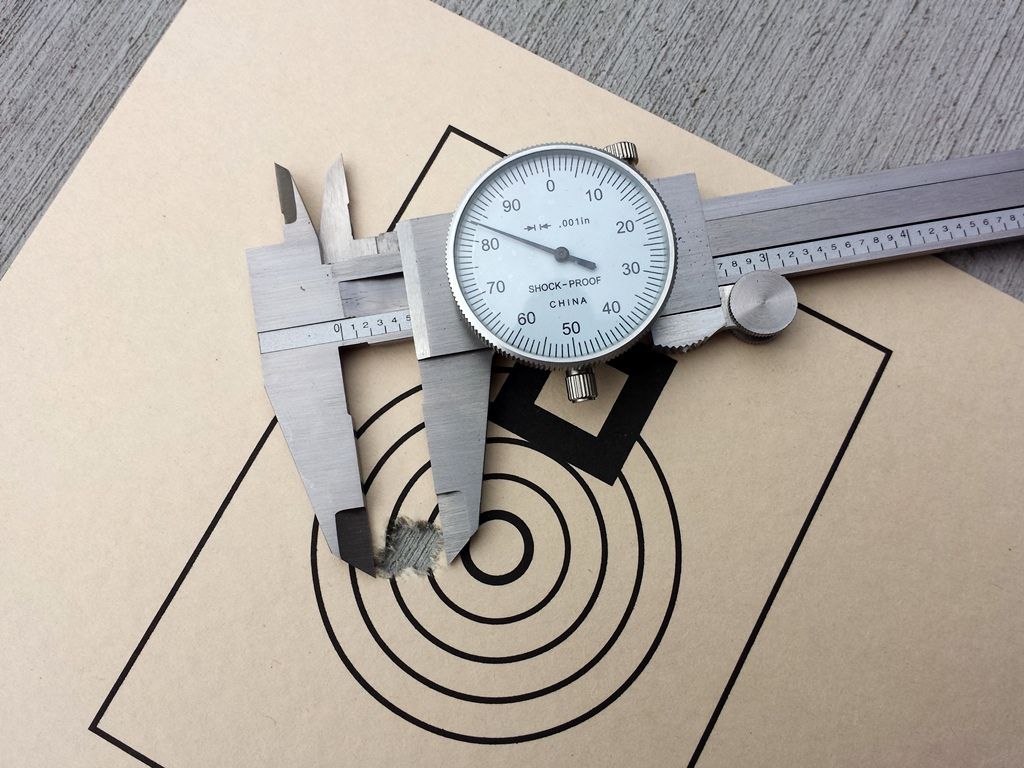 The widest span equals 0.483”. Subtract 0.243” and the group measures 0.240”. Sort of a nice omen since that’s 6mm. Load specifics: • 26.9 grs of LT-32. • 0.040” off the lands (big mistake on my part. I forgot to redial the seater prior to assembly. My preferred approach is to start jammed and work back) • 0.0025” neck tension – 0.260” bushing • CCI BR-4 primer • Shoulder bump = 0.001” • Loaded neck = 0.2625” on a 0.264” chamber. 0.0015” clearance • Average wind = 3.2 mph during the five minutes it took to complete • Free recoil throughout The second group tightened: 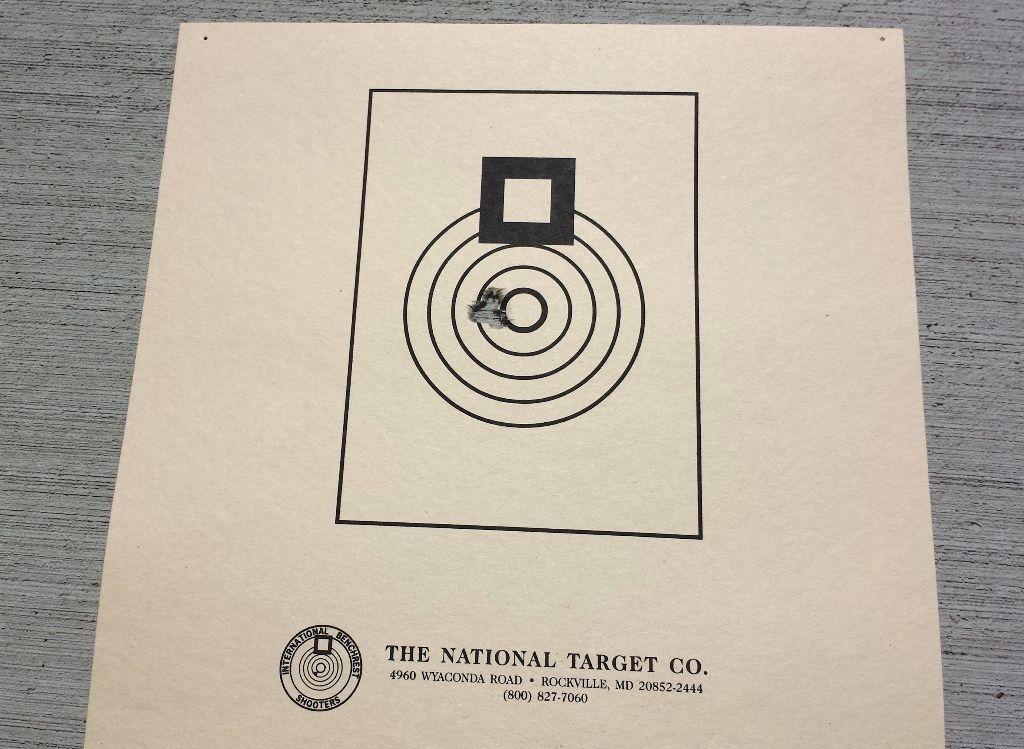 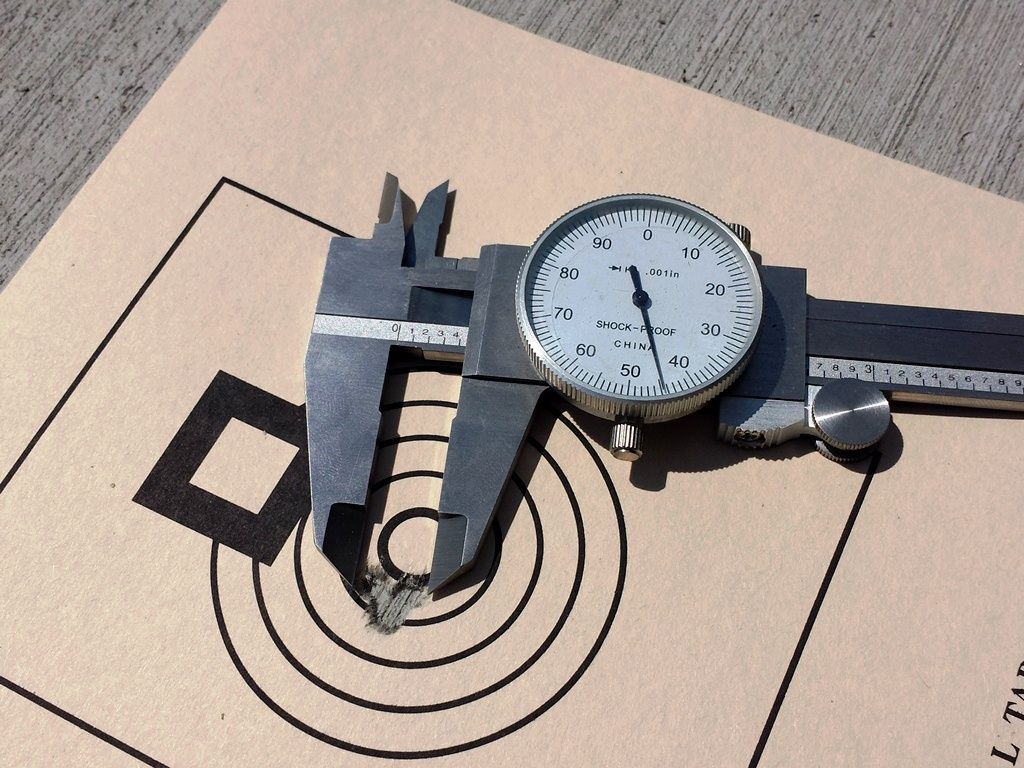 0.445” at the largest point. Subtract 0.243” and you get 0.202”. By the time I cleaned my barrel the sun had shifted and lit the objective. Without a roof to block it the glare washed the target. So I packed the gun and shot pistol the rest of the day. The forthcoming enclosure will fix the sun problem. Overall I’m pleased. The rifle showed a lot of promise but we’re just starting out. The next step is to load tune in both mild and rough conditions. And nearly everyone in benchrest does that by loading at the range. -Lee www.singleactions.com"Chasing perfection five shots at a time" |
|
|
|
Post by cherokeetracker on Aug 12, 2015 8:46:46 GMT -5
YeeeeeHaaaaawww. I knew it! I knew this one was going to be a keeper! I cannot wait to see a target once you get that sweet spot. Boy am I glad I checked in here today. Congratulations Lee!!! This has been the most awesome Thread. The photos and Documentation, have been excellent. You Dad has been Rocking and Rolling on this too. My mouth dropped open when I read that you had the COAL 0.040 off the lands. I might have expected this kind of results with 0.010-0.015 off the lands but 0.040 what a jump. To quote you,,,, (Overall I am pleased) Lee you are among friends, you don't need to be modest. I would be ecstatic. LOL
Too ADD,,, For those who might not know,In order to finish in the top twenty at a Bench Rest Competition in July,, You had to be under 0.020 This was the 100 yd group. Serious shooting HUH ?
|
|
|
|
Post by Lee Martin on Aug 17, 2015 20:07:59 GMT -5
New Range, New Bench – Step 11 ________________________________________ This weekend we’ll start constructing the enclosure. Step one is to fabricate the 6 x 6” post anchors using 1/4” plate steel. The boxes are formed from two 90 degree pieces welded together. Bending the flats in a 20 ton press: 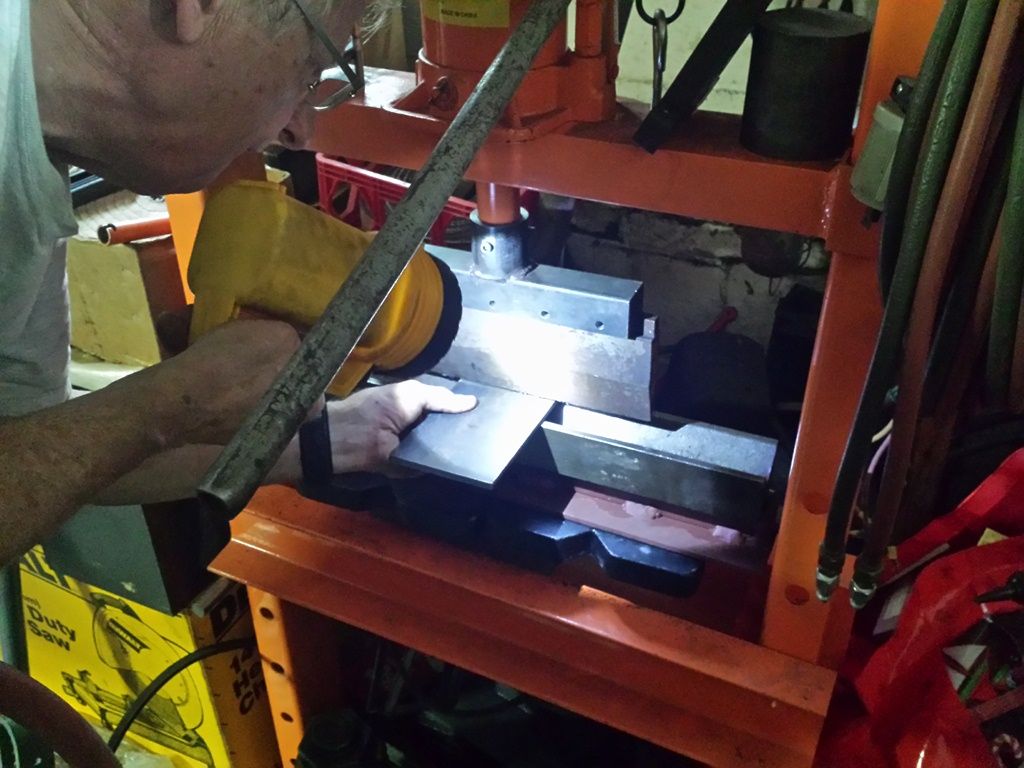 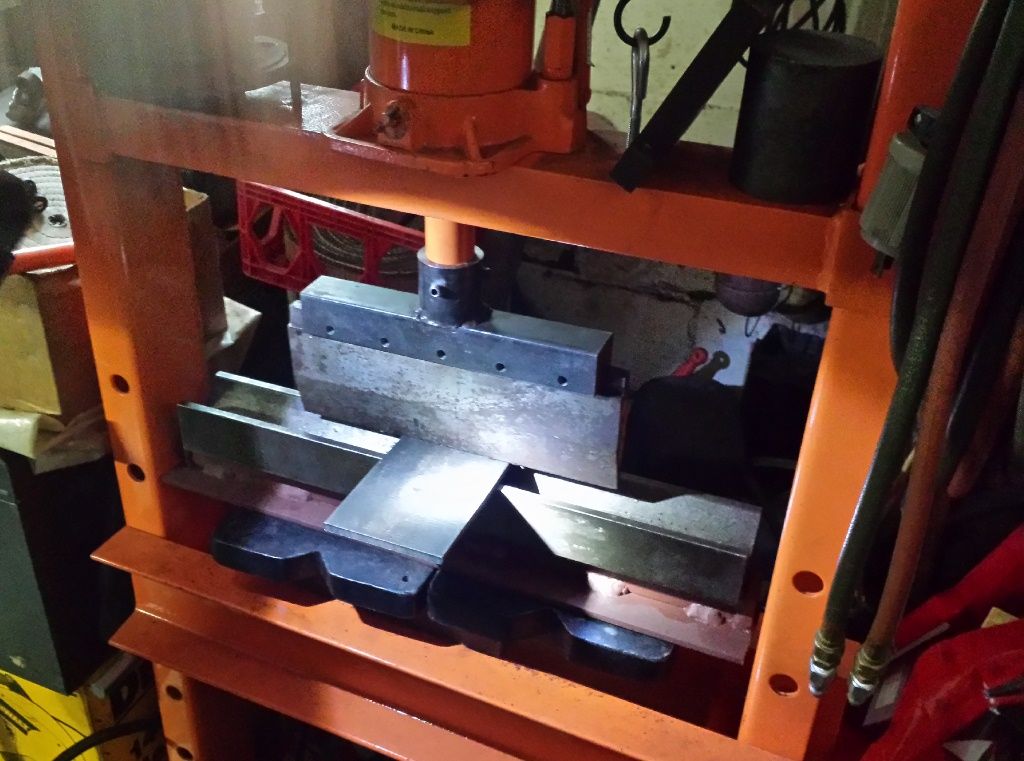 Mock fit: 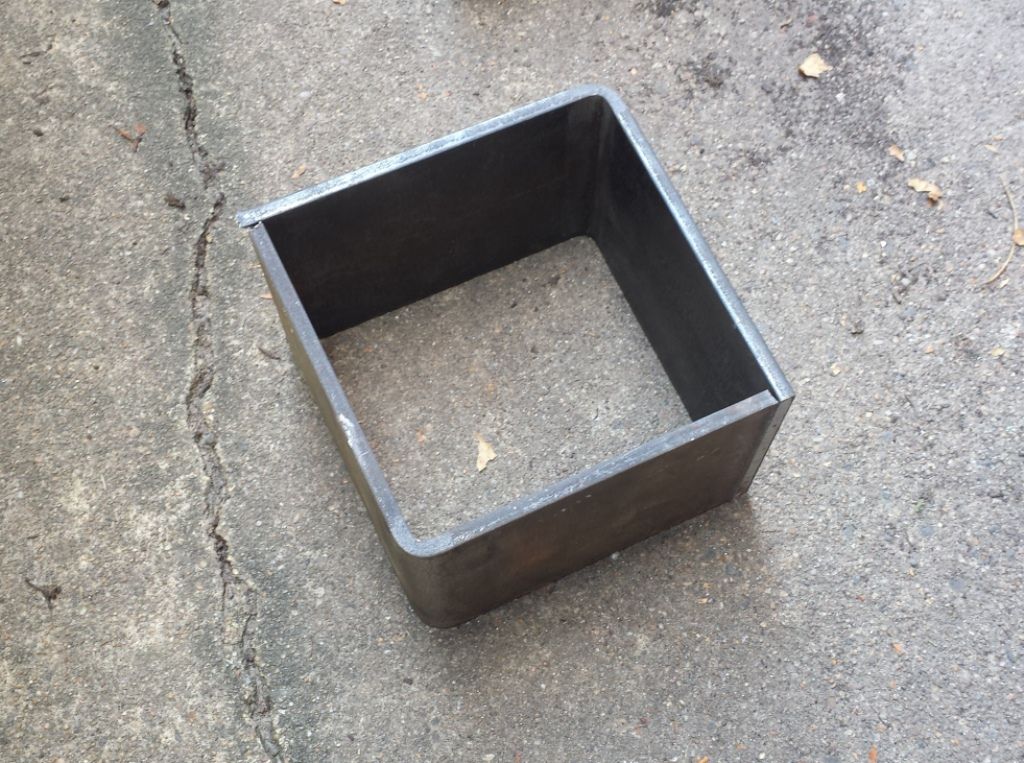 A section of 6 x 6 is used to set the spacing: 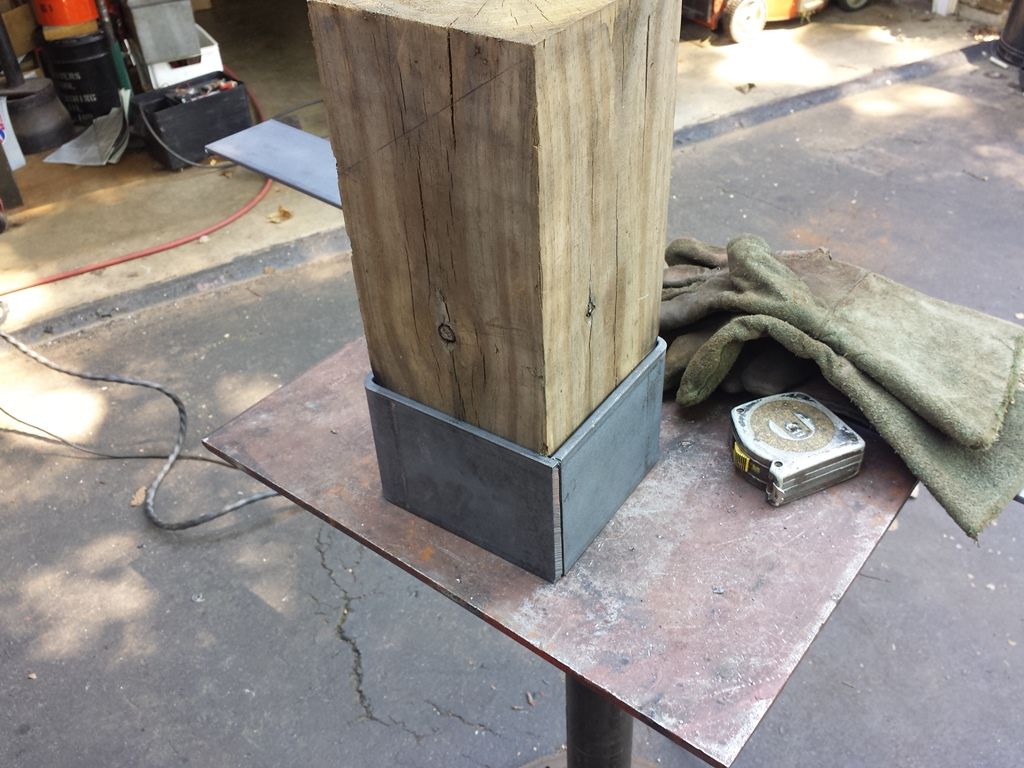 Welding the edges: 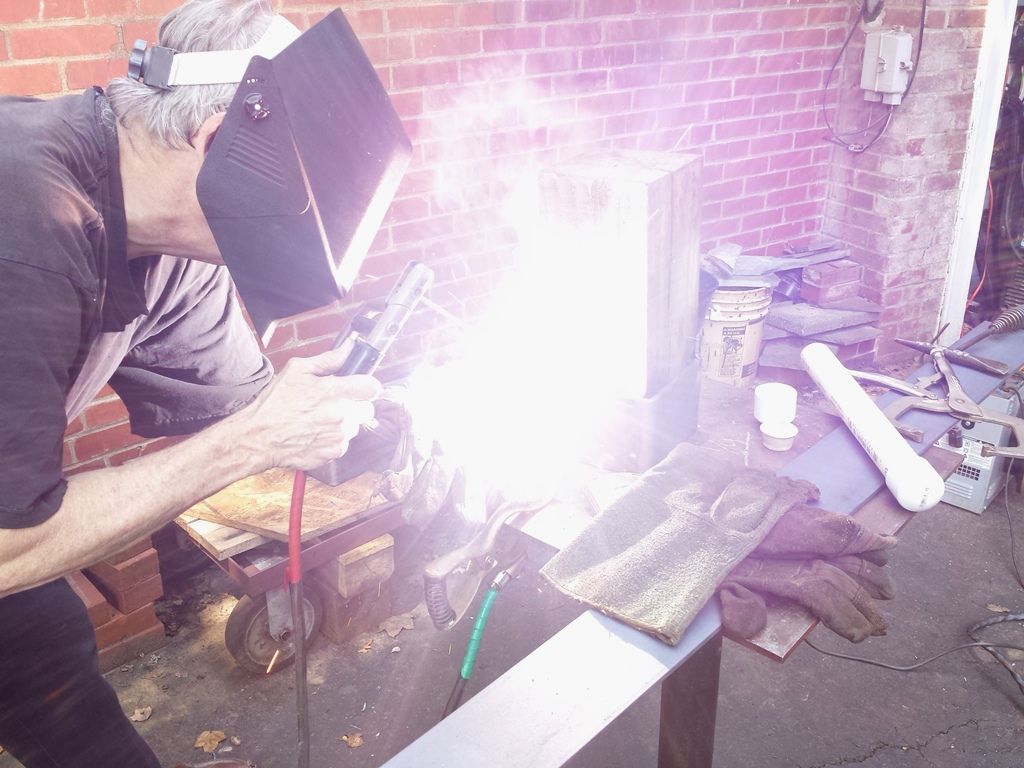 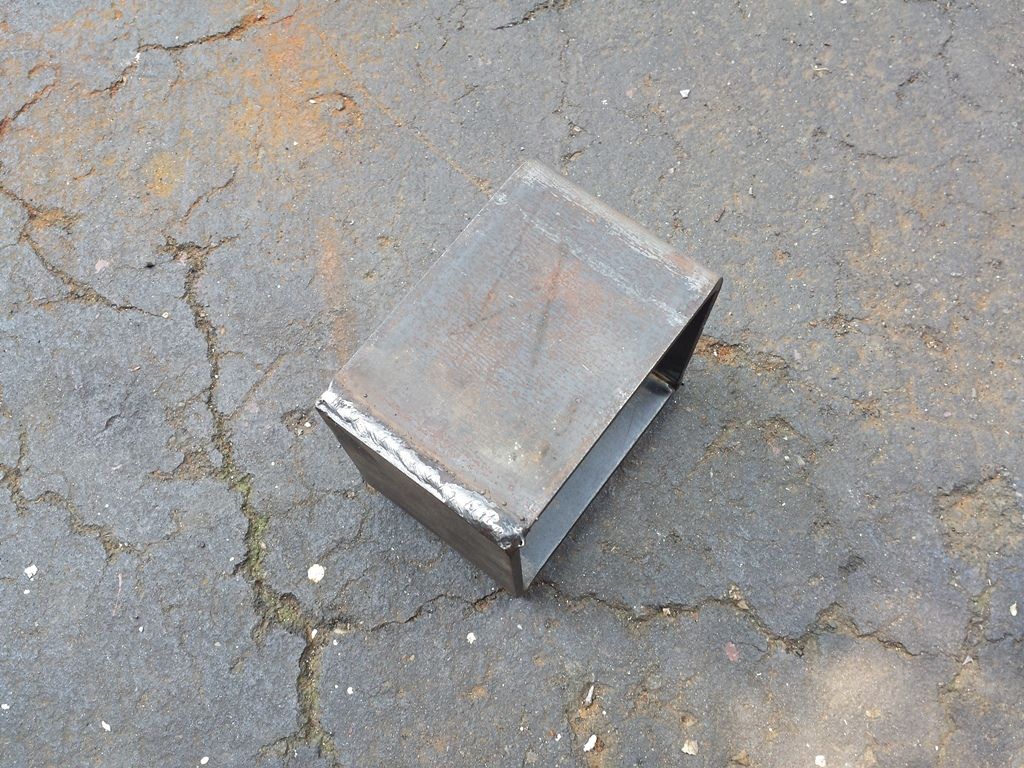 Each gets two 4-inch tabs drilled for 5/8” bolts: 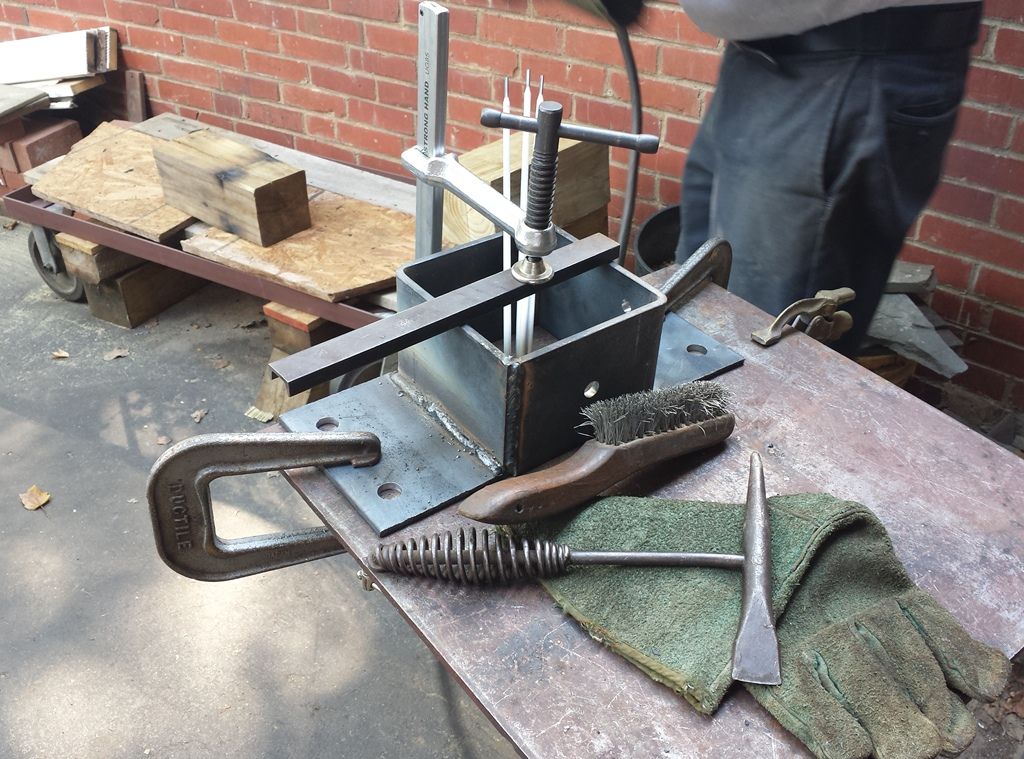 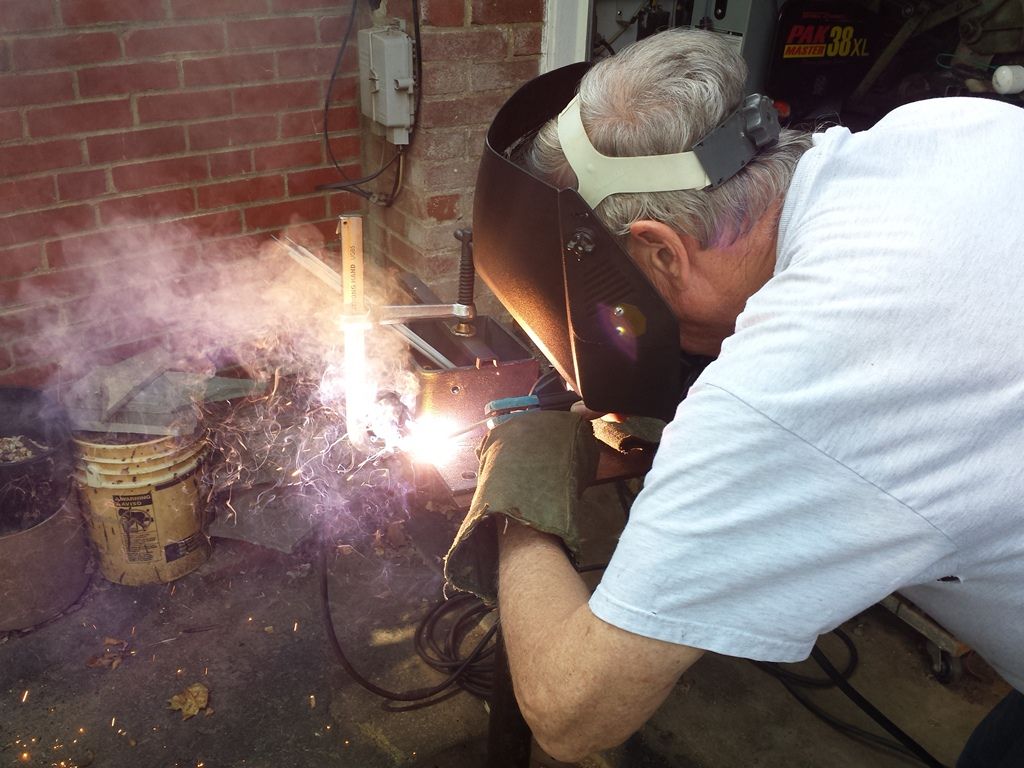 A view of the bottom side: 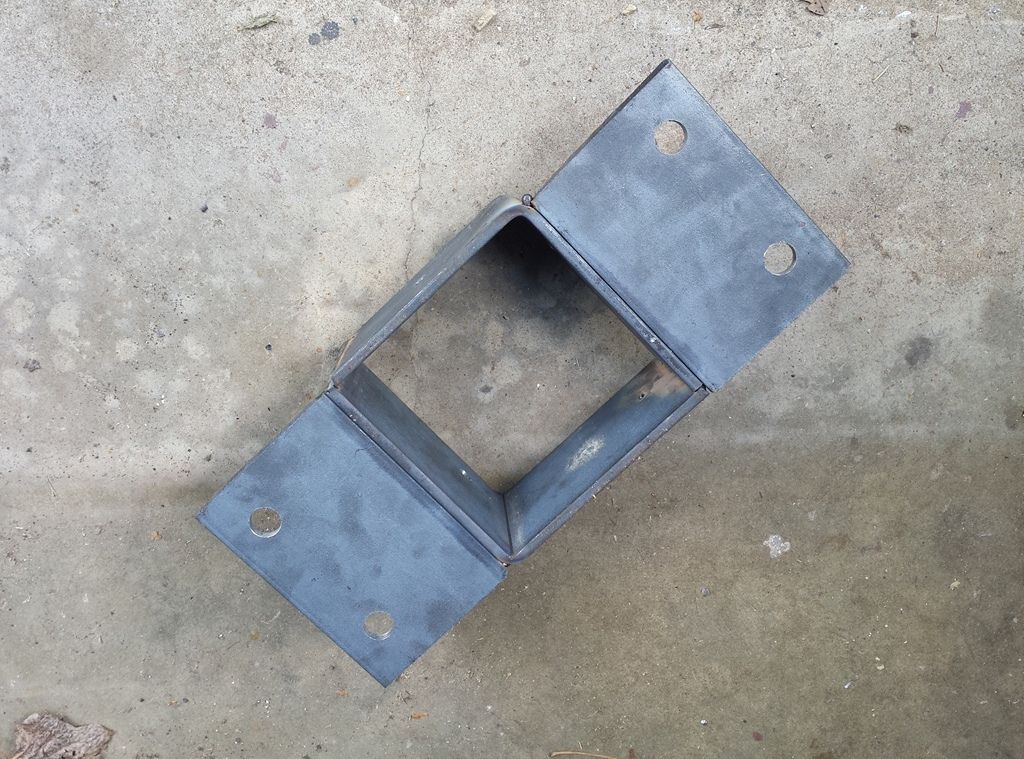 -Lee www.singleactions.com"Chasing perfection five shots at a time" |
|
|
|
Post by Lee Martin on Aug 17, 2015 20:15:09 GMT -5
New Range, New Bench – Step 12 ______________________________________ The uprights are configured ahead of time so on-site it becomes a drill, bolt, and nail exercise. Here are pictures of us boring them for All Thread cross bracing. You’ll also notice this was done prior to attaching the tabs: 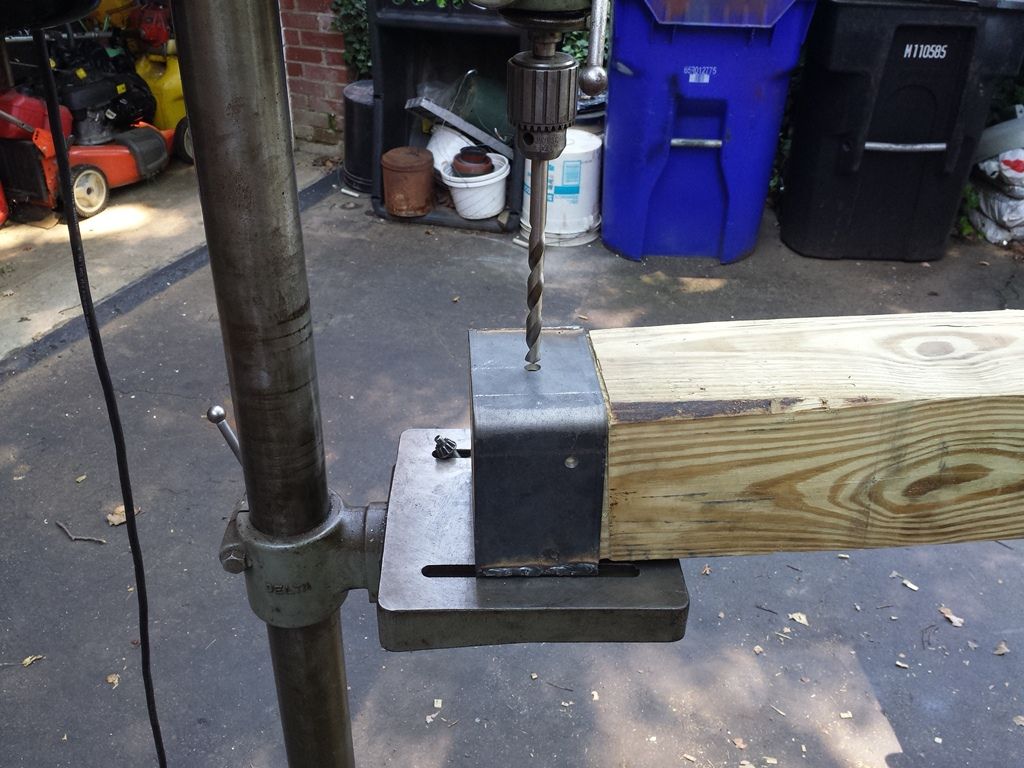 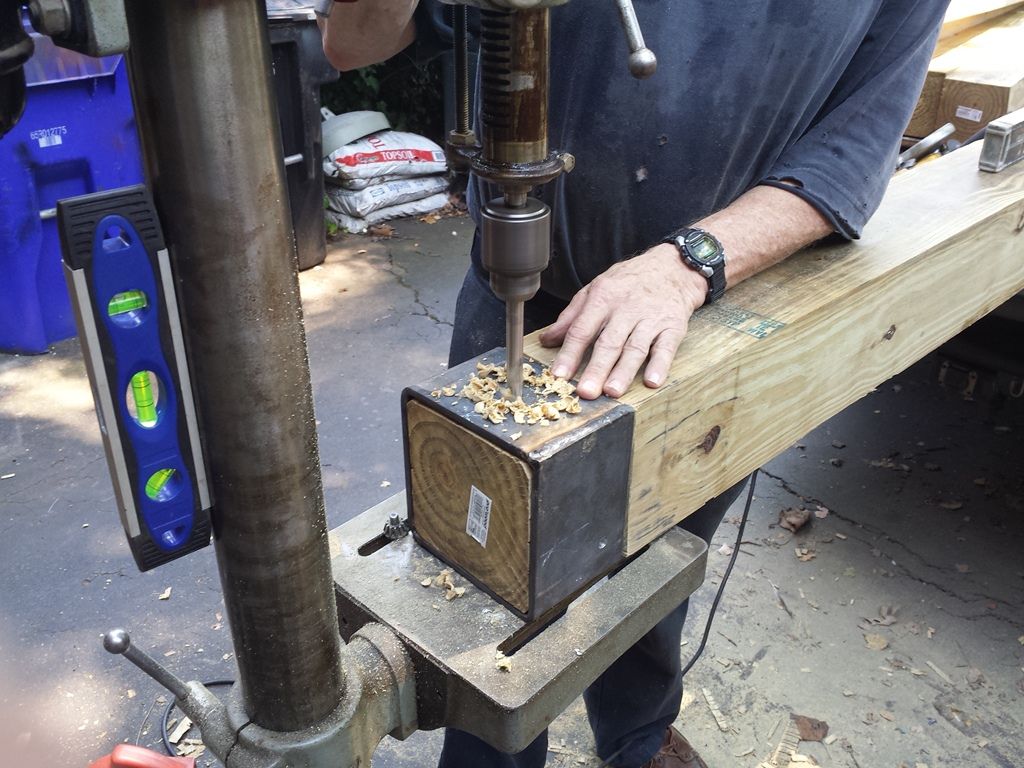 Each was cut to 7 feet: 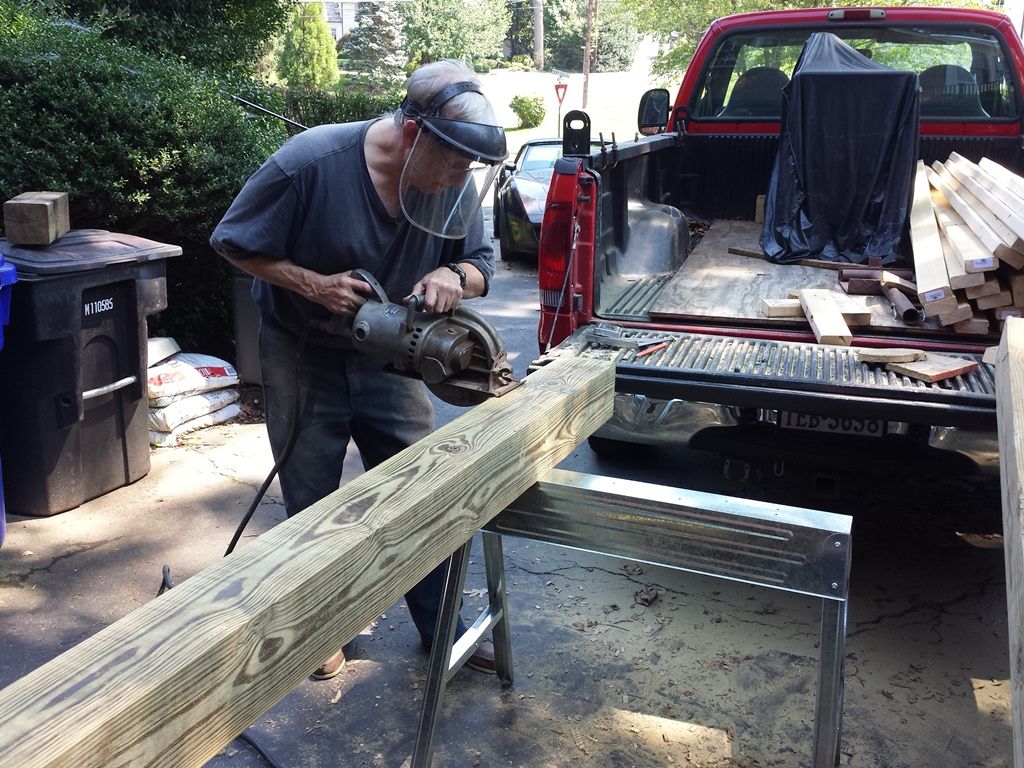 The 2” x 8” x 12’ frame will rest on homemade perches. The wood will then get fastened to the four posts: 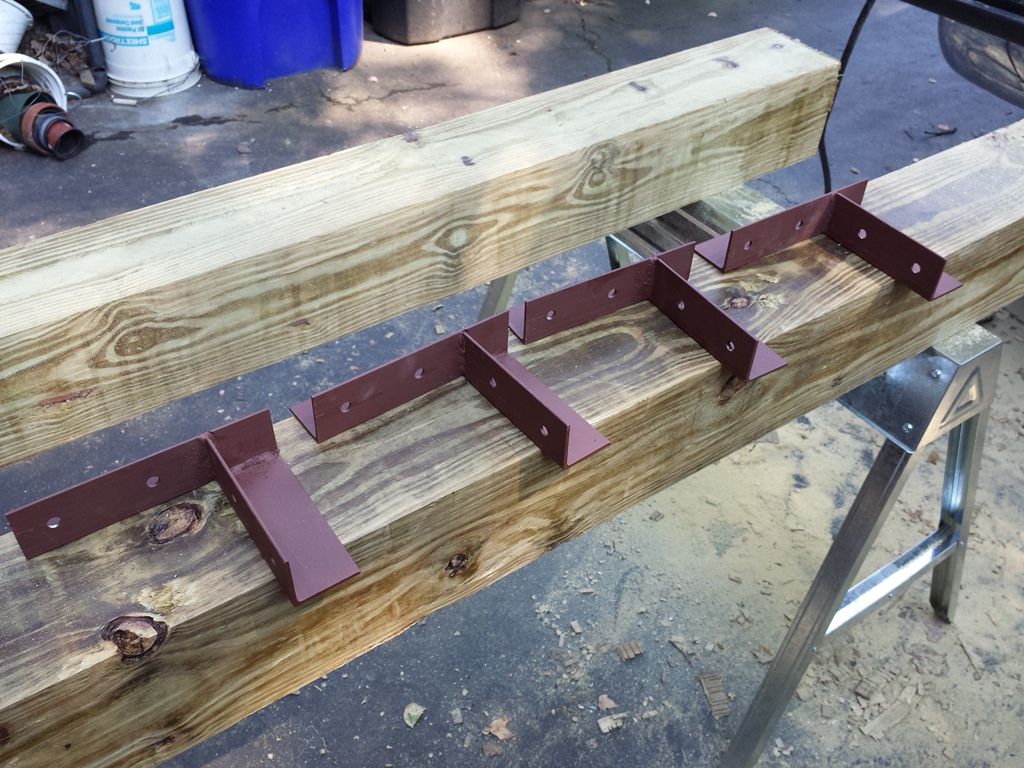 Drilling the pilot holes through a spud we machined: 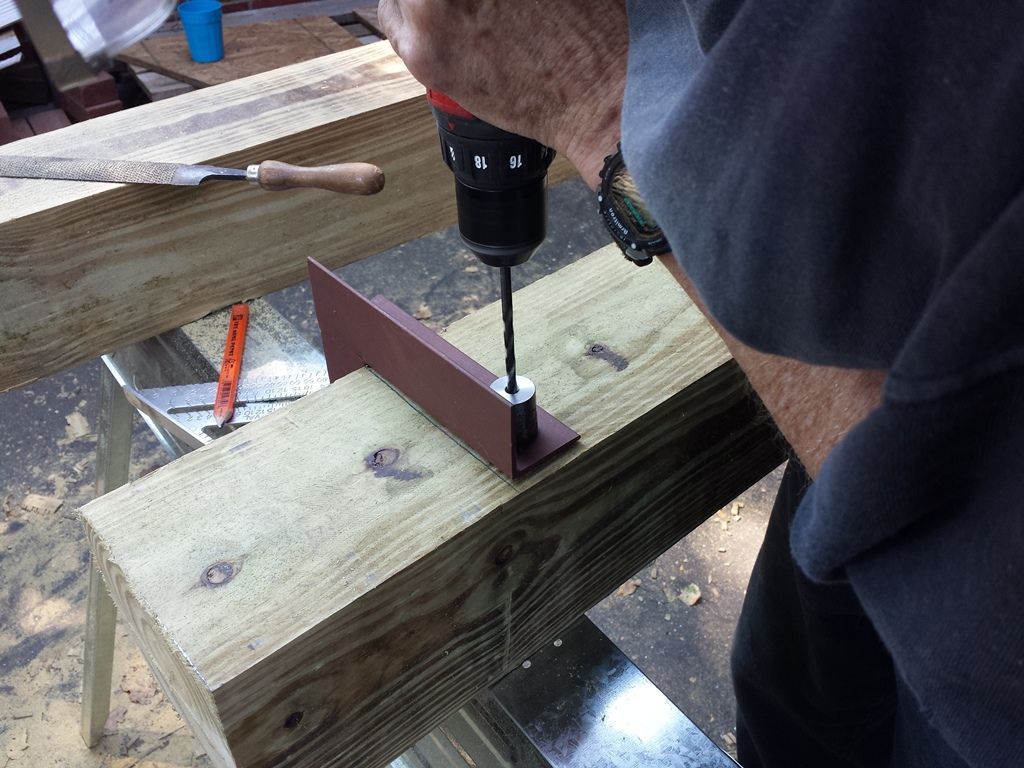 Heavy screws were used to affix the brackets: 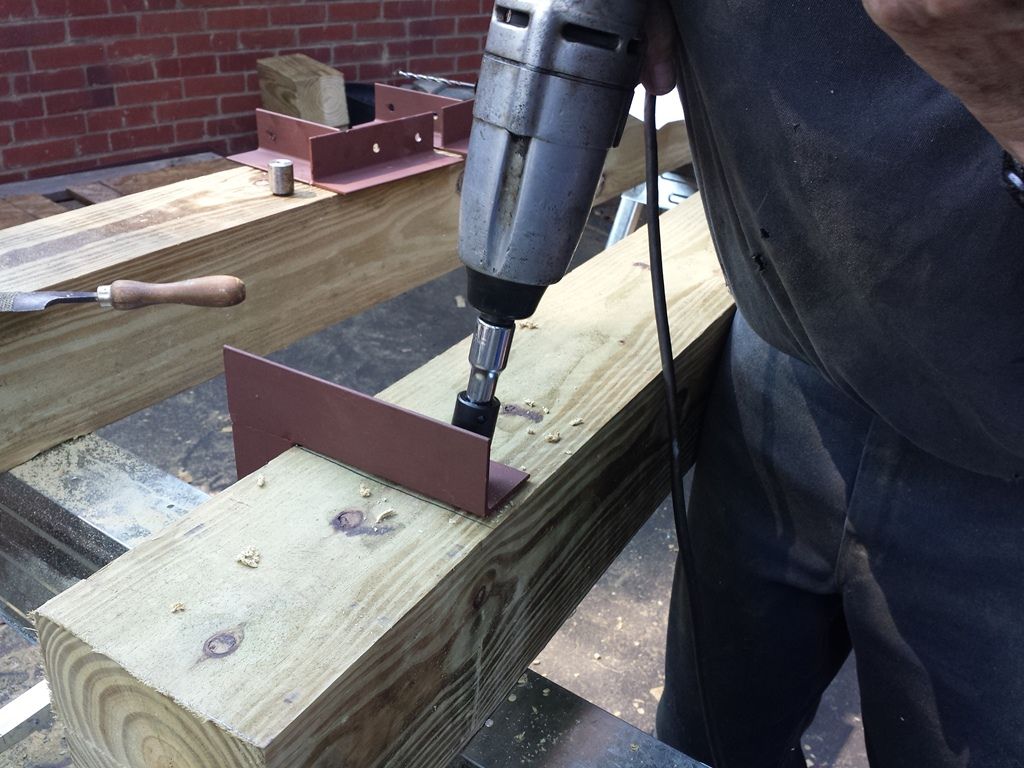 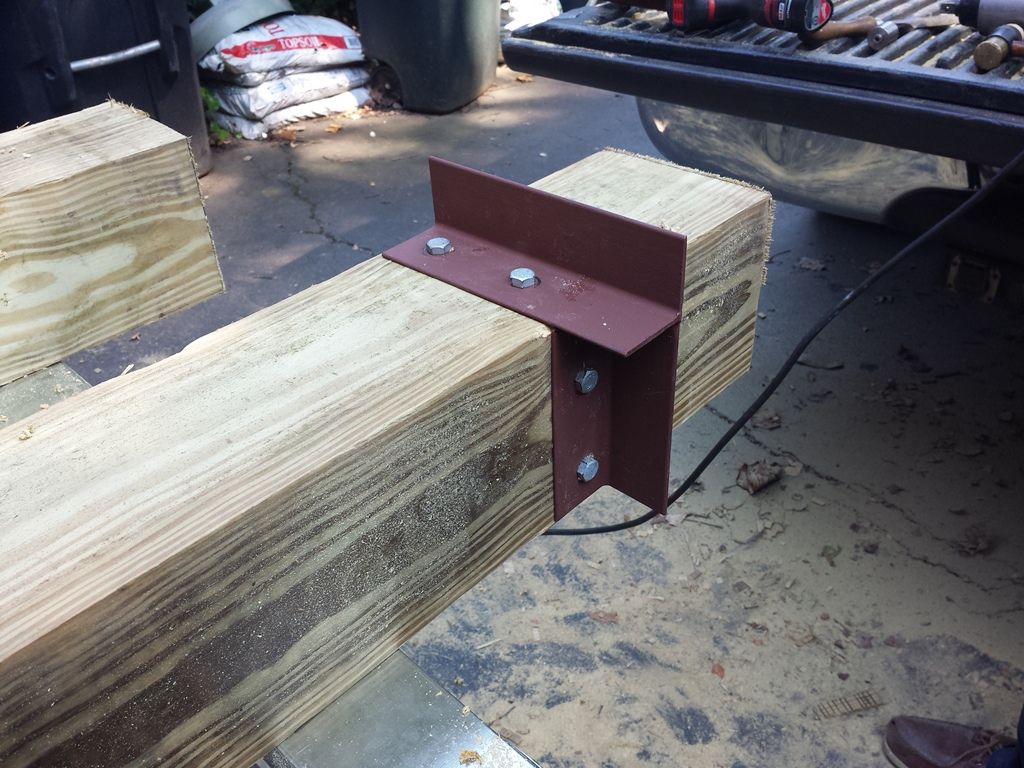 -Lee www.singleactions.com"Chasing perfection five shots at a time" |
|
|
|
Post by cherokeetracker on Aug 17, 2015 20:34:40 GMT -5
Cool I see you are getting ready for me to come there. I like the Shade. That Worm Gear saw looks like an older model... I have a few all Metal cased Tools. That's back when they were made to last. HUH. Thank God for electric impacts.
|
|
|
|
Post by seancass on Aug 18, 2015 20:13:05 GMT -5
That Worm Gear saw looks like an older model... I have a few all Metal cased Tools. That's back when they were made to last. HUH. Thank God for electric impacts. This covers my thoughts and reminds me I have a restoration idea for some old tools my grandpa had lieing around. |
|
|
|
Post by Lee Martin on Aug 19, 2015 19:42:49 GMT -5
That old saw is a worm geared Skil from the 1940's. Dad got it from the widow of one of his patients. The guy was a capenter and he used it daily until his death in 1989. We've logged many more hours on it since. After 60+ years of service the damn thing has never even hiccuped. And you're right...they don't build them like that anymore. -Lee www.singleactions.com"Chasing perfection five shots at a time" |
|
|
|
Post by Lee Martin on Aug 20, 2015 19:24:15 GMT -5
Benchrest History – Precision Shooting Magazine ________________________________________________ Last week I lucked into a significant chunk of benchrest’s beginnings. A fellow shooter from New York bought a firearm collection and it came with Precision Shooting magazines. The set contained every issue from 1969 through 1994. He had his own library though and offered them to me. I paid a small finder’s fee and covered the 115 pounds worth of shipping. When the box arrived I was pleasantly surprised. These were meticulously kept without any tears, missing pages, or creases. In addition they were the personal copies of famed gunsmith and author Creighton Audette. His name/address label is stuck to the cover of all 312 which is neat. For those unfamiliar with the rag it started in 1956 when the sport was in its infancy. It quickly became the foremost publication in that arena. If you shot BR you had a subscription. 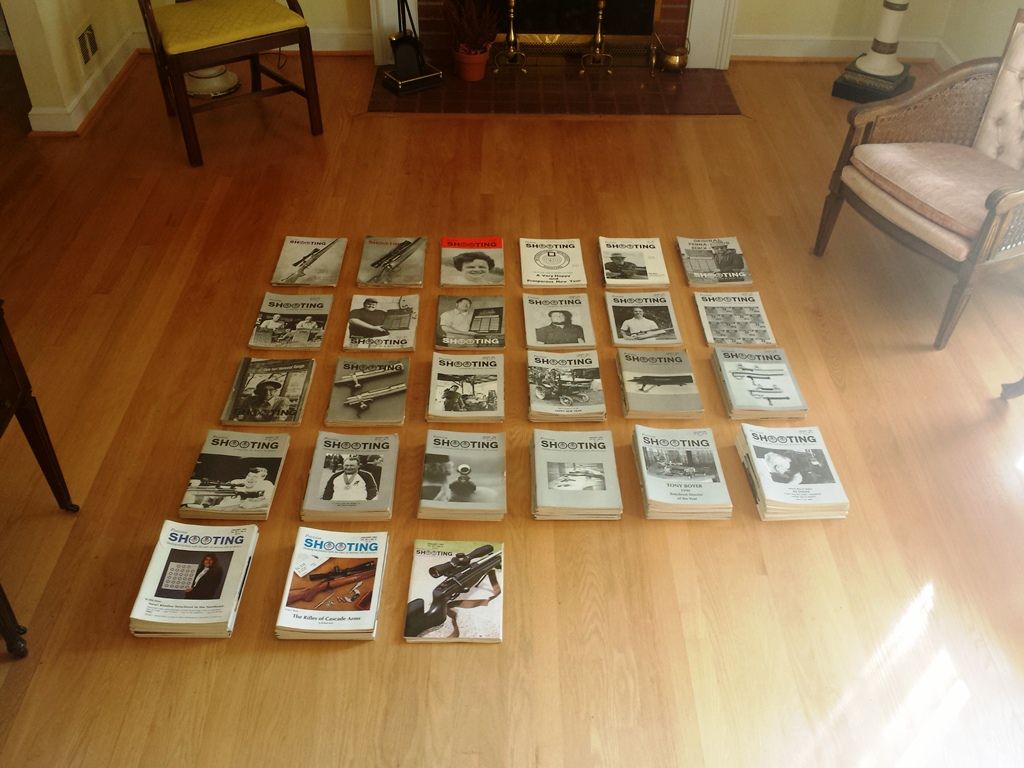 Precision Shooting wasn’t a marketing arm for the gun industry. Their writers held day jobs and nearly all of them competed. Featured articles and product reviews were highly technical. In most cases these guys purchased the equipment and were brutally honest in their assessments. If it worked as intended and advanced the subject, it was recommended. If it lacked quality or didn’t perform that was bluntly conveyed in black and white. Proposed improvements were always made in such cases. But the magazine’s greatest impact was the innovation is spawned. Landing in your mailbox each month was another round of think tank. It got you to ask a lot of “why’s”, “how’s”, and “what if’s”. Answering those over 56 years hatched monumental progress. Examples include the 6 PPC & 30 BR, dedicated benchrest actions, the celebrated “T” surplus powders, neck-turning, fiberglass target stocks, in-line seaters, and high magnification optics. And all of this played out in the pages of PS by those closest to the game. In the purest sense it existed to improve our shooting, not some P&L. Then came the day Editor Dave Brennan mailed this letter:  I plan to read every issue front-to-back and am already up to 1971. We also had a subscription from ‘87 on so there’s 46 years of history before me. -Lee www.singleactions.com"Chasing perfection five shots at a time" |
|
|
|
Post by cherokeetracker on Aug 20, 2015 22:18:16 GMT -5
That is really cool to grab that much knowledge and History together. It has been sad to see publications go by the wayside. I can think of several. Having the web at our disposal probably does not help. I have always liked being able to refer back to something in a magazine. And looking back at pioneers and what they learned, back in the day, sometimes it's amazing.
|
|
|
|
Post by squawberryman on Aug 24, 2015 5:41:53 GMT -5
I'd asked this question of Lee in a PM a while back during this thread but now that rounds are going downrange I'll ask it again on the public side. When we shoot long range we are taught grip, cheek weld, breathing and a number of other things for consistent shot placement. In this discipline the only thing touching the gun during firing (I believe) is the pad of the index finger. How do you train the body and mind for such a small contact patch and super light release? How much pressure difference is there between knowing your finger is on the trigger and the release of the sear? Two ounces I'm guessing but it just seems hard to grasp.
|
|
|
|
Post by Lee Martin on Aug 24, 2015 19:49:15 GMT -5
I'd asked this question of Lee in a PM a while back during this thread but now that rounds are going downrange I'll ask it again on the public side. When we shoot long range we are taught grip, cheek weld, breathing and a number of other things for consistent shot placement. In this discipline the only thing touching the gun during firing (I believe) is the pad of the index finger. How do you train the body and mind for such a small contact patch and super light release? How much pressure difference is there between knowing your finger is on the trigger and the release of the sear? Two ounces I'm guessing but it just seems hard to grasp. Free recoil takes a lot of getting used to. Fundamentally you want to nix disruption of the gun on the bags. Muscle tension, nerves, and breathing are the main offenders. And to be clear free isn’t universally done in benchrest. Gary Ocock still holds and he’s in the Hall of Fame. My dad never warmed to it either and is all over the gun (and I might add he’s good). Pure free recoil involves only touching the trigger. Some use a variant thereof by resting a finger or lightly leaning their face on the stock. But irrespective of the style you must be comfortable and the gun has to track steadily. A balanced rig will glide back to your shoulder and do so with ease. Push it forward to the stop and POA should be the same. However if the rifles drags on the rests we lose this much needed consistency. Minimizing friction can be done any number of ways. The most common involves applying Teflon tape to the bottom of the stock. Baby powder, silicon spray, or dryer sheets on the bags also cut bite. This video illustrates free recoil: Describing how these triggers feel is difficult. To appreciate the dynamic you really have to try one firsthand. Obviously tripping 2 ounces doesn’t take much. They break sear when touched, meaning there isn’t any sense of pull. I took my Bix N Andy down to one ounce and it felt too light. Backing off to 2 ounces was better but still something to behold. These triggers have absolutely no creep and mine is adjusted for zero over-travel. Recently I switched to 100% free recoil. My wrist lies on a pad and my finger is in the guard. One eye is on the scope, the other is checking the flags. There’s less than a half-inch between my shoulder and the butt. My face is off the stock by a similar amount. When I want to send one I simply move my finger 1/4” to the spur. It goes bang on contact. Next time I have the PPC out I’ll video all this. -Lee www.singleactions.com"Chasing perfection five shots at a time" |
|
|
|
Post by Lee Martin on Aug 27, 2015 19:29:17 GMT -5
New Range, New Bench – Step 13 ______________________________________ We started constructing the enclosure last Sunday. Dimensionally we landed on 12’ x 12’ to keep lumber cost in check. That size also puts the perimeter well off the edge of the pad. The post buckets were laid out and squared: 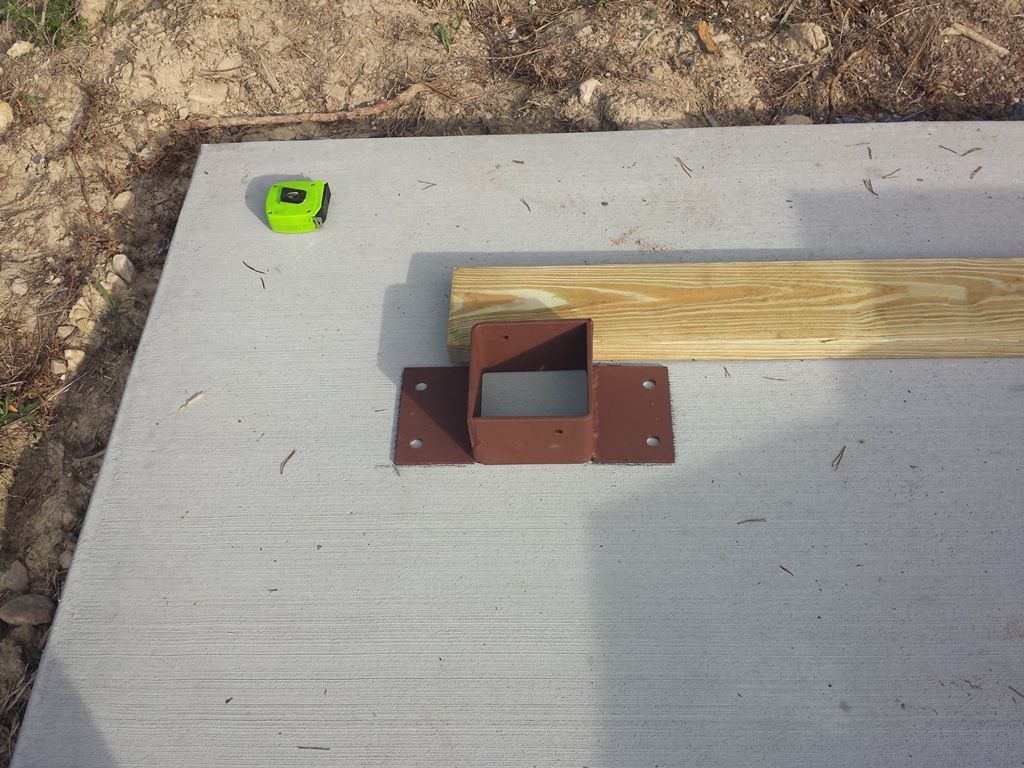 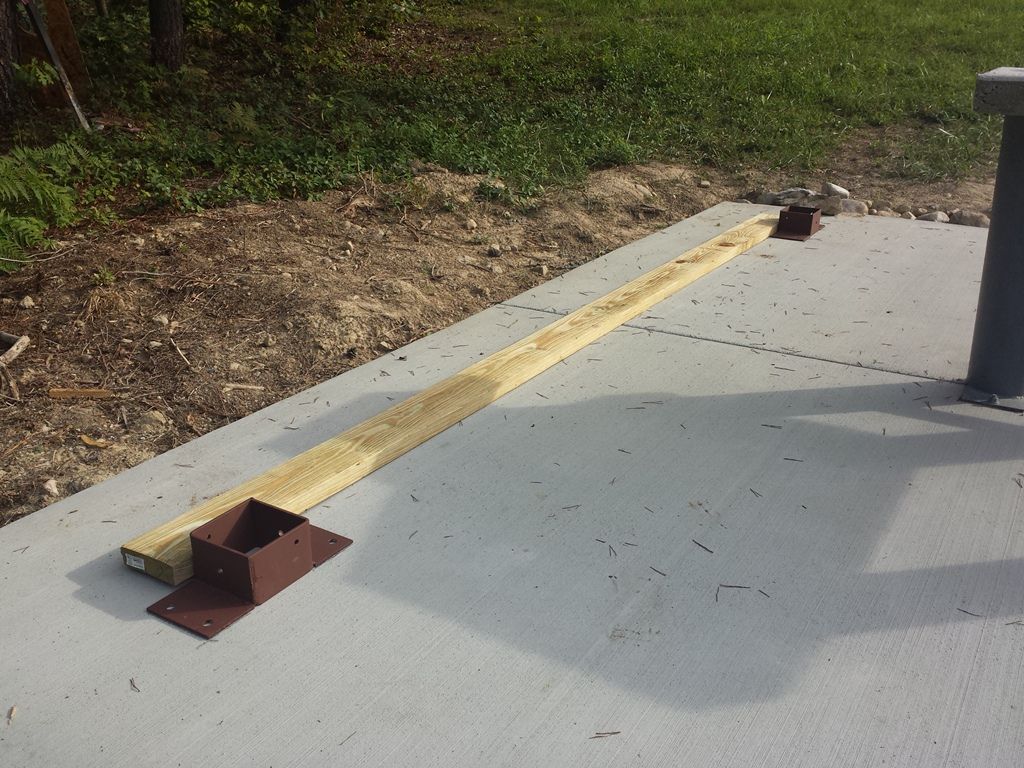 5/8” holes were made with a hammer drill: 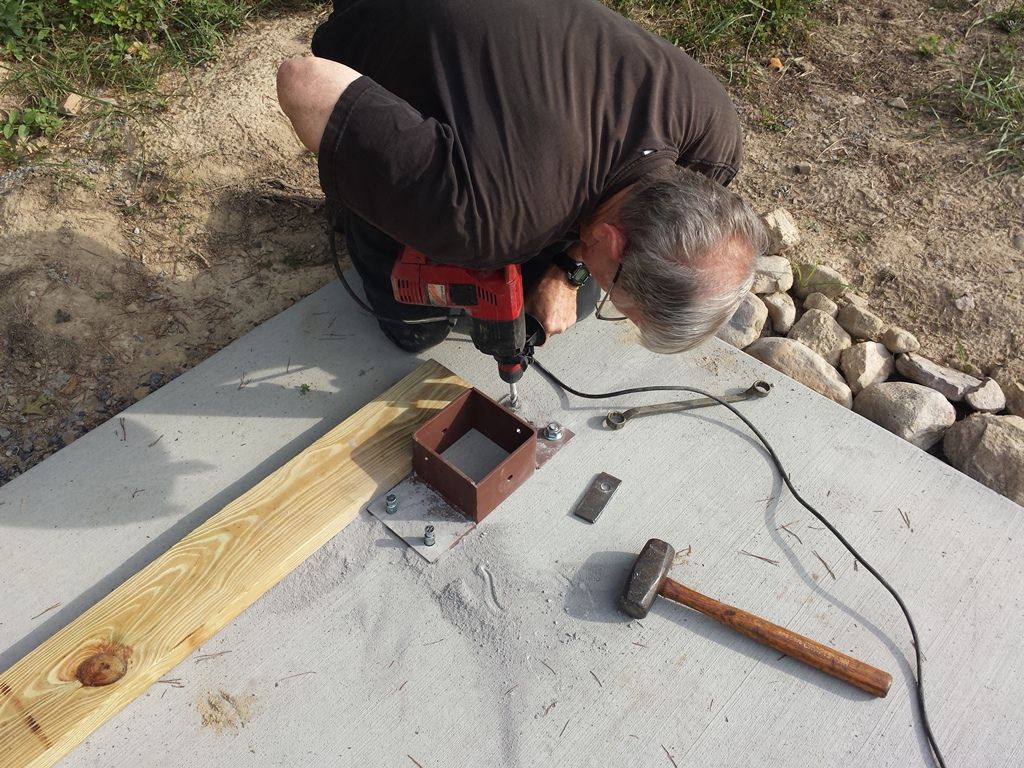 Simpson strong tie bolts were pounded into the concrete. Each has load strength of 7,000 pounds. With four per post that’s 28,000 pounds total on each corner. 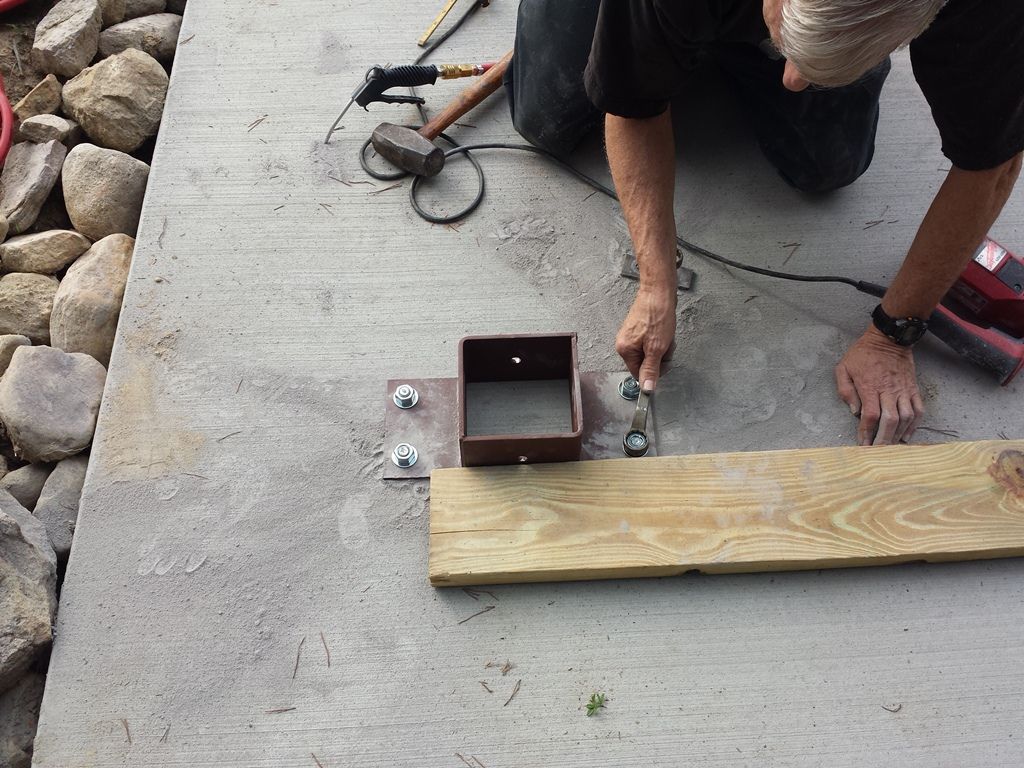 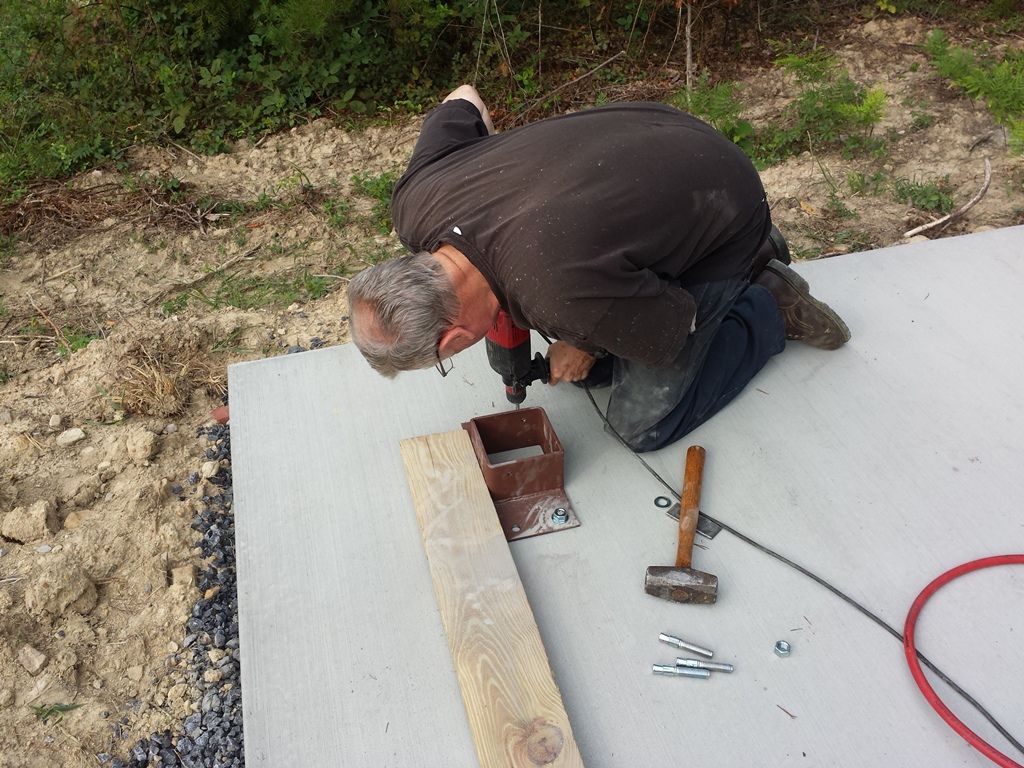 The posts were placed in the buckets: 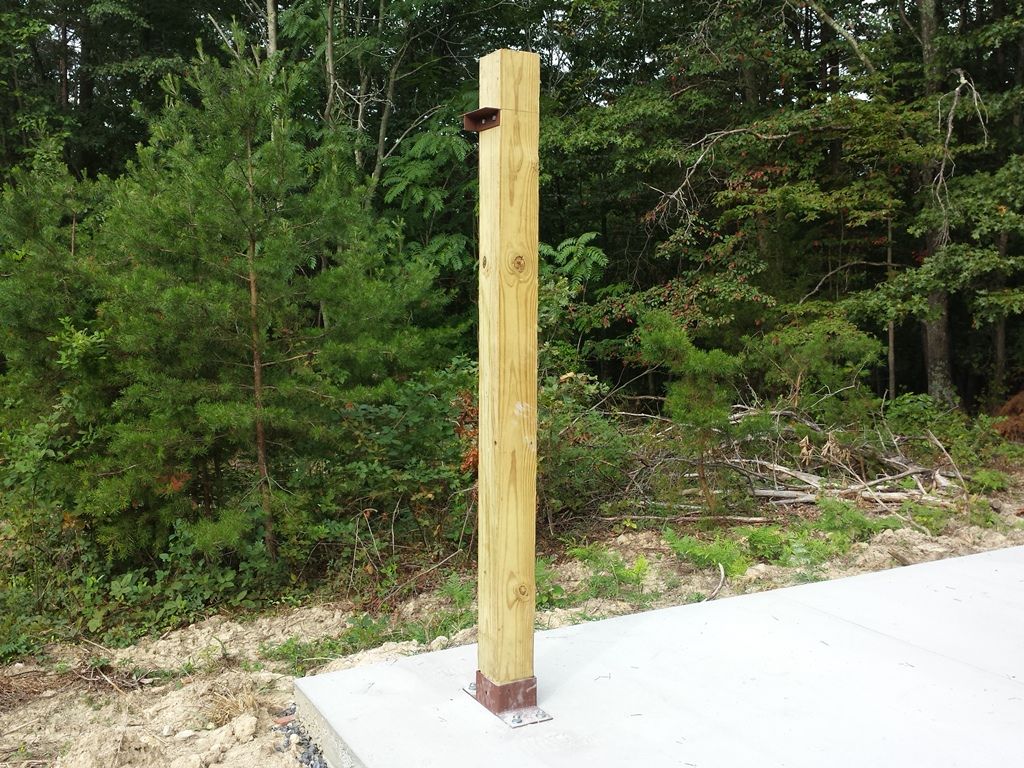 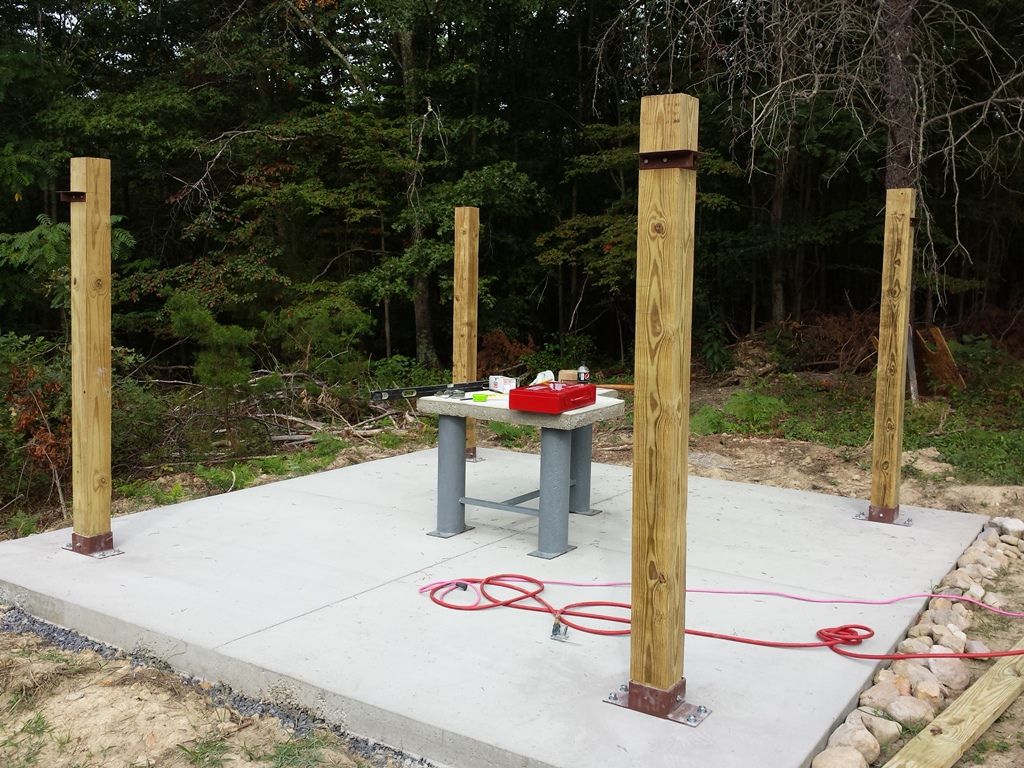 Before they were torqued and side bolted we attached the cross members (2” x 8” x 12’): 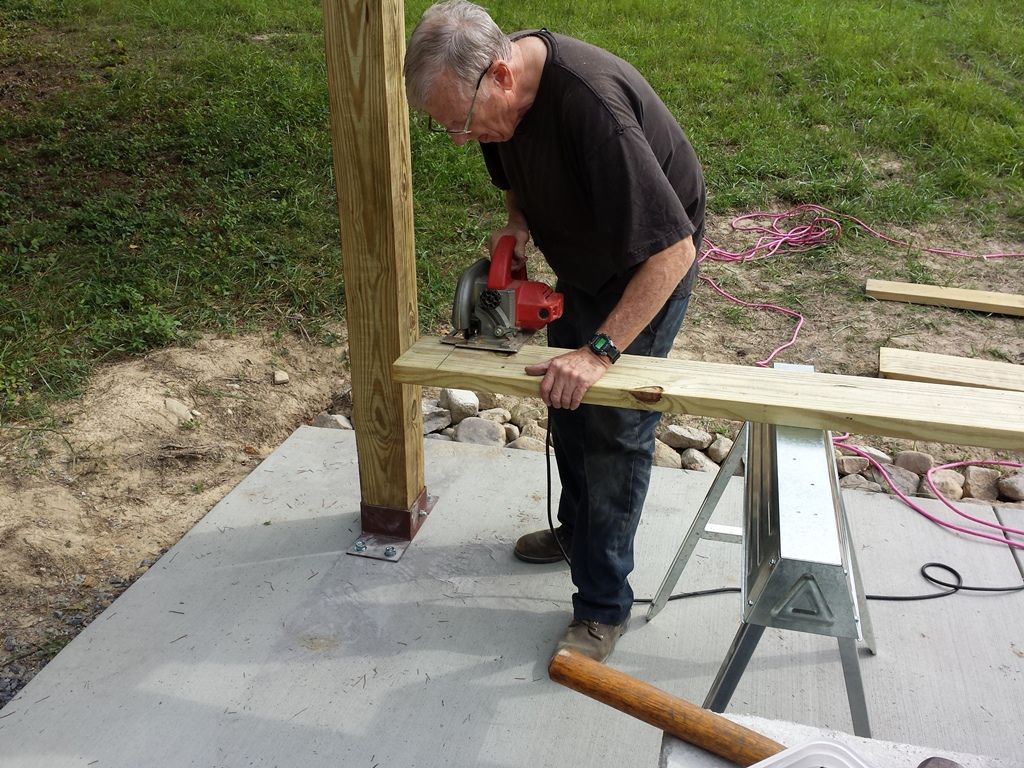 Thank god for nail guns: 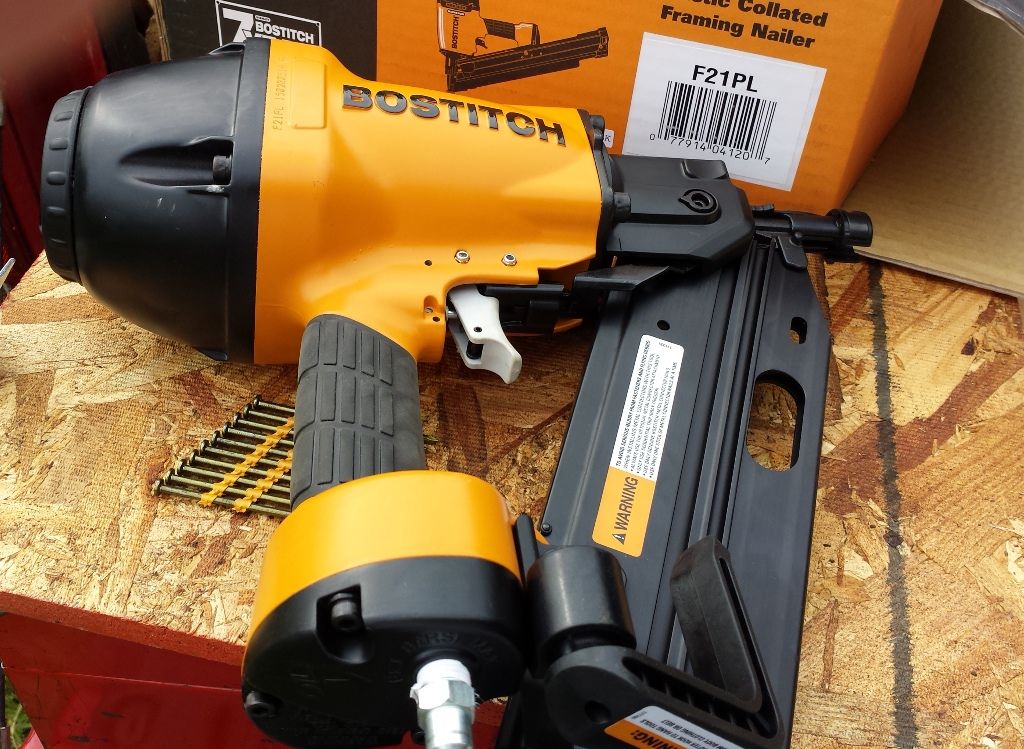 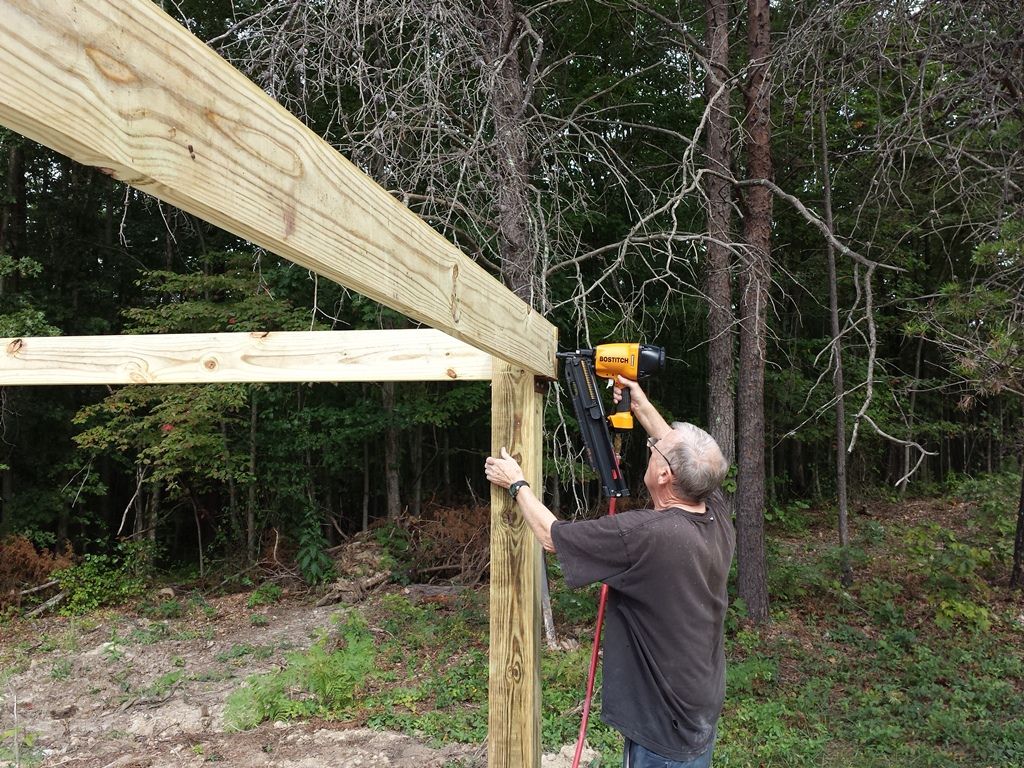 Once nailed in place we tightened the nuts, installed the all-thread cross bolting, and set two screws for additional support: 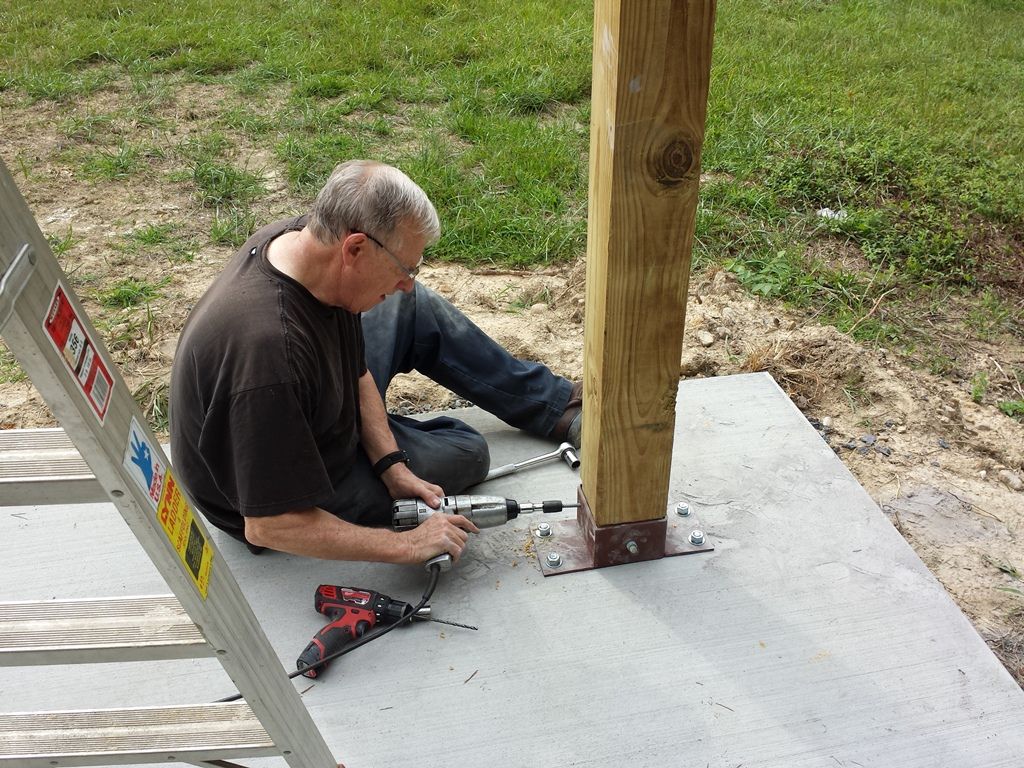 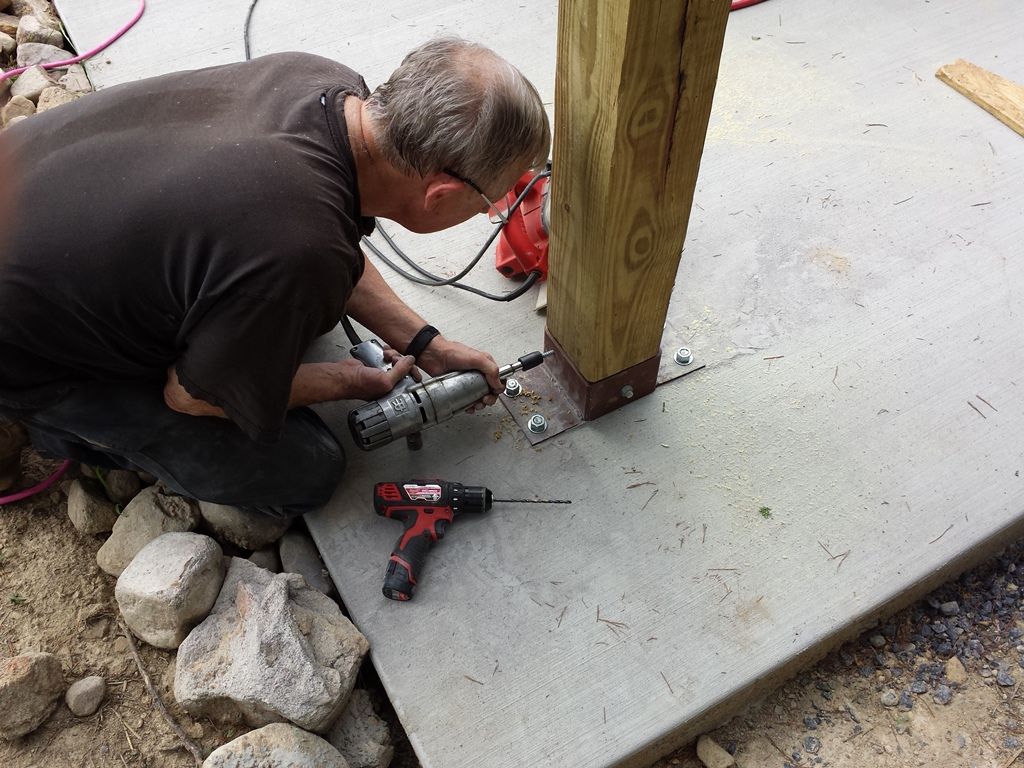 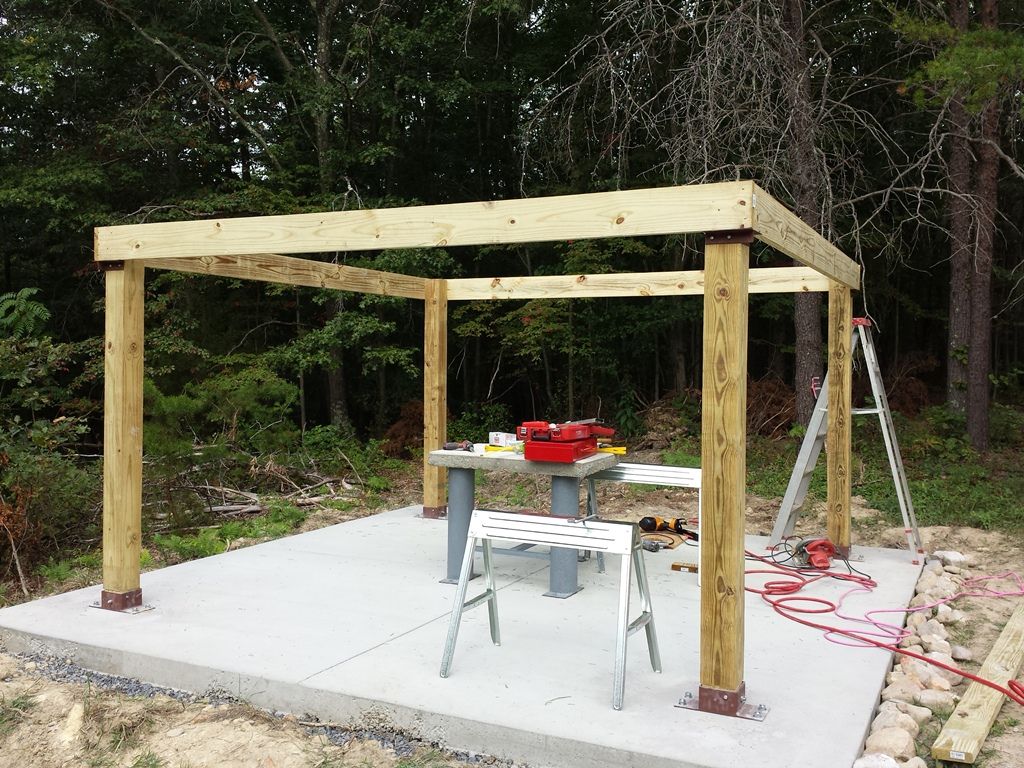 -Lee www.singleactions.com"Chasing perfection five shots at a time" |
|