|
|
Post by maxim2841 on Dec 31, 2014 17:41:59 GMT -5
Happy New Year dear Lee Martin
|
|
|
|
Post by Lee Martin on Jan 5, 2015 18:57:52 GMT -5
Practice, Practice, Practice ___________________________________ 2014 was a busy year. Work travel, home projects, drag racing, and other gun builds prevented us from finishing this action. In retrospect, it was a good thing. The delay allowed me to practice benchrest shooting and refine tuning techniques. It also gave me a chance to catch-up on changes throughout the sport. Strategies and products advanced plenty since my dad and I were into benchrest. In no particular order, the following emerged over those twenty years: 1) Boat-tails in short-range 2) Full-length sizing the PPC after every firing 3) More generous neck clearance 4) No turn brass, though still relatively uncommon 5) Optics explicitly designed for benchrest’s stringent POA requirements 6) Commercially available powders that are less temperature sensitive 7) Dual ogive bullets 8) Improved cleaning compounds We’re back on the action and updates are forthcoming. In the meantime, nearly all of my shooting will be devoted to BR. We have a number of guns to practice with, some very close in form to the PPC. At any rate, I’m switching to my light-varmint .22. It’s tougher to shoot than the pending heavy varmint for several reasons. First, bag management is trickier with 3 pounds less weight. Second, the smaller caliber doesn’t buck wind as well. Flag reads are always vital, but they’re surely amplified using 52 – 55 grain bullets. Handicap is also inherent to the gun itself. Unlike our port 6mm’s, this is a Martin shell-holder design. Cycling requires the bolt be completely removed, the case slid into the face, reinsertion, and closure. Running shots isn’t possible and the added movement increases the risk of disrupting its plant. Then there’s the glass. Atop all this is a 60’s vintage Lyman 20x Target Dot. These Perma-Centers were ultra-competitive when magnifications rarely exceeded 20x – 25x. Some were boosted to 30+, but all were known for holding POA and outstanding clarity. Mine is no different. At lower power though, its reticle pinpointing can’t match the 36x’s or higher. Lyman got out of optics in the 1980’s and the Leupolds and Weaver T’s quickly moved in. Both drew heavily upon the All-American internals. Hindrances accepted, here’s what this rifle does well. My dad built the gun in 1991 and it was our first glue-in. Immediately, it showed an appetite for many powders and seating depths. I’ll get into the exact loads later, but on a calm day it’ll routinely do low twos and sometimes ones. Other details: • Action – Martin shell-holder, 4140. Flat lugs. • Barrel – Shilen, LV 1:14”. Length = 21 3/4". • Scope – Lyman 20x Perma-Center Target, fine cross-hair w/dot • Stock – McMillan, 3" • Bedding – Devcon glue-in with one safety bolt on the receiver • Trigger – Shilen set to 3 ounces 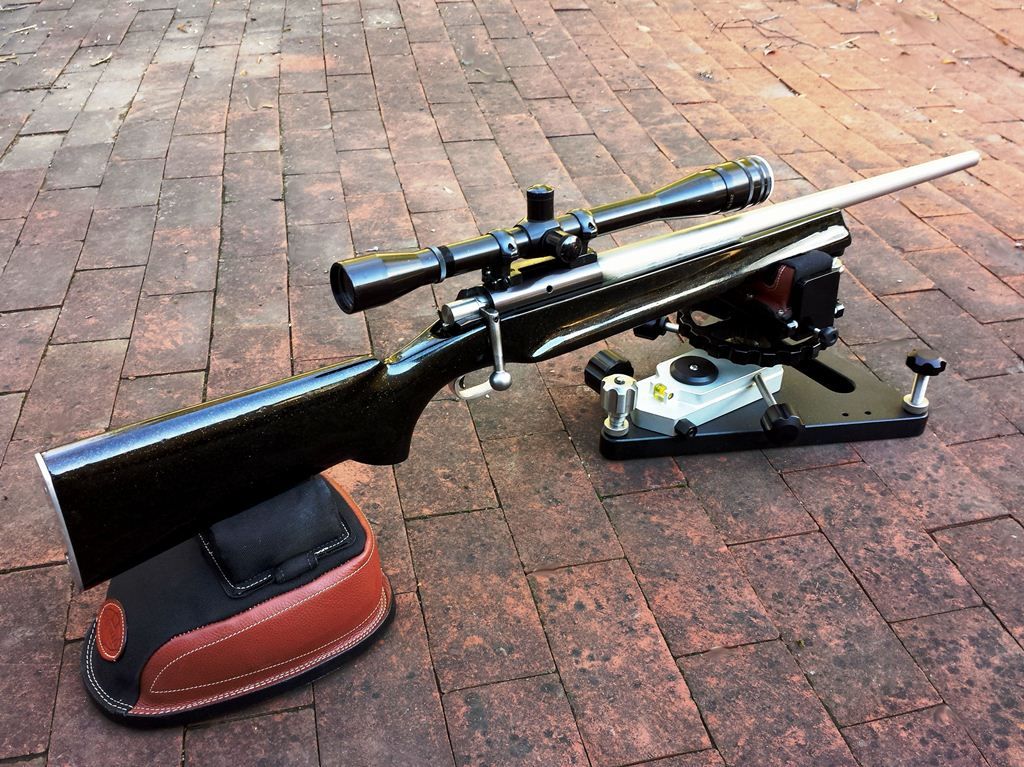 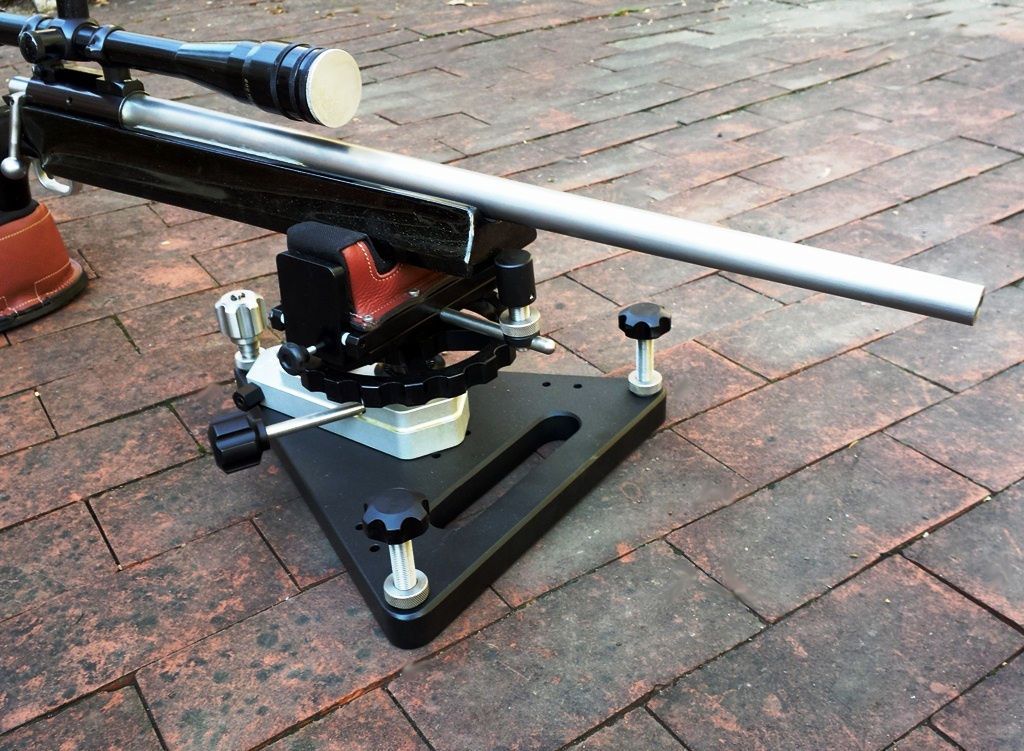 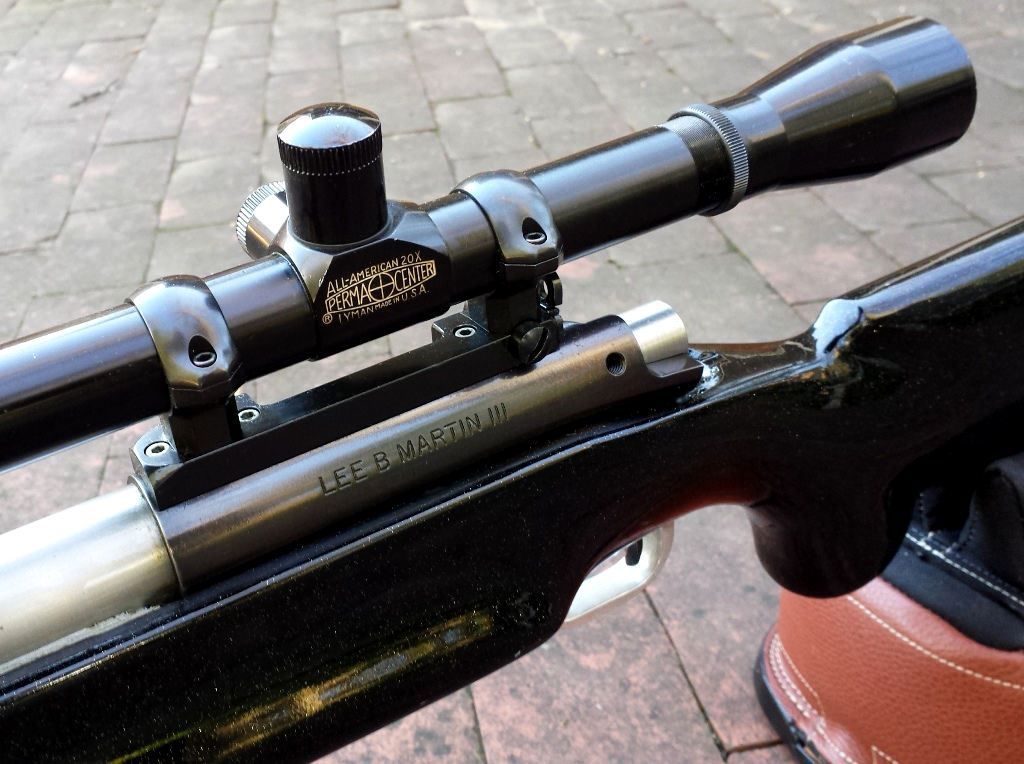 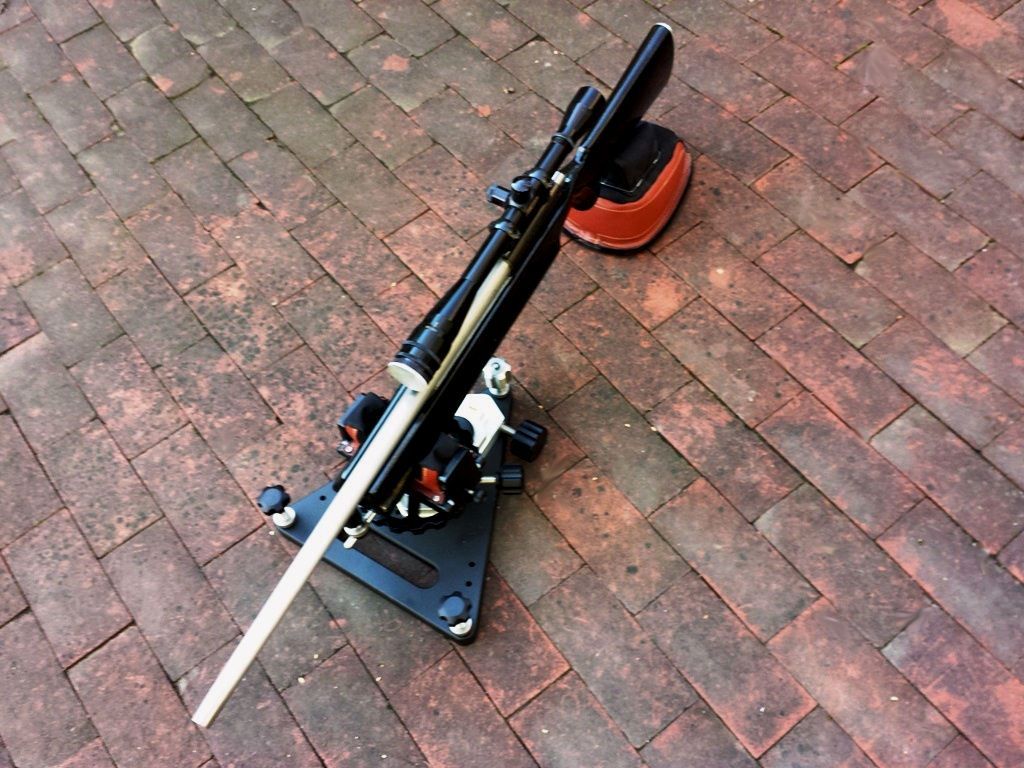 The processes and disciplines I’ll apply to the PPC are mirrored with the .22. If anything, their importance is heightened by lower caliber and total weight. Practicing under less than ideal or stressed conditions should reinforce good habits. Analogous to the light to heavy varmint jump is a baseball player using bat weights for warm-up swings; except in benchrest the heavier mass works in your favor. -Lee www.singleactions.com"Building carpal tunnel one round at a time" |
|
cmillard
.375 Atomic
   MOLON LABE
Posts: 1,996
|
Post by cmillard on Jan 5, 2015 19:53:44 GMT -5
is the barrel glued in and the action floated? nice looking set up
|
|
|
|
Post by Markbo on Jan 6, 2015 14:04:22 GMT -5
One quick question - I dont remember reading anything here, but was your 21.75" barrel length in any way related to the Houston Warehouse tests of yesteryear?
|
|
|
|
Post by Lee Martin on Jan 6, 2015 18:27:35 GMT -5
is the barrel glued in and the action floated? nice looking set up You're correct but this isn't a traditional glue-in. Commonly, you epoxy the full action and 4 - 5" beyond the main ring. On ours, we simply glued 8" of the barrel and free-floated the action. A retainer bolt and guard screws are present, but only add mild tension. Back then my dad was experimenting and thought this may act like a barrel block. -Lee www.singleactions.com"Building carpal tunnel one round at a time" |
|
|
|
Post by Lee Martin on Jan 6, 2015 18:47:14 GMT -5
One quick question - I dont remember reading anything here, but was your 21.75" barrel length in any way related to the Houston Warehouse tests of yesteryear? No, we picked 21 3/4" before the secrets of King and Fisher's warehouse went public in 1993. And we chose it for no other reason than it balanced well on the bags. But I know what you're referring to. In the Precision Shooting article, Virgil mentioned the magic of 21 3/4". Apparently fellow benchrester Jim Gilmore passed that tidbit to the warehouse crew and it worked. Jim said it yields the most consistent vibration pattern for small-bore tuning. Since then, multiple tunnel tests have been conducted on the claim and guess what they found? There isn't anything special about 21 3/4". It nodes no better than 20 1/2", 22", 21 1/3", and so forth. A lot came from those 8 years in Houston though. Certain findings have been successfully applied, other warehouse rules have been debunked. Incidentally, my dad was close friends with H.L. Culver throughout the 80's and 90's. Homer knew TJ Jackson very well and he shot extensively there (so we heard about the place long before Precision Shooting '93). As Culver told us, straight from Jackson himself, the warehouse took on a life of its own as time passed. I suspect much of that was an outgrowth of the setting. They shot mostly at night, sometimes deep into the AM. They used strategically placed lighting and fans to dissipate mirage. You had to be invited and the site was a guarded secret, etc, etc. No surprise there was an aura around this elite project. Oh, and if you're wondering, the location has never been formally disclosed. But here's the address along with current day photos: 9838 East Freeway East Houston, TX   -Lee www.singleactions.com"Building carpal tunnel one round at a time" |
|
|
|
Post by Markbo on Jan 7, 2015 15:18:20 GMT -5
I'll be. Lot closer to downtown than I thought it was. I have driven by it 1000's of times late night/early morning headed for the Port of Houston. Never heard a thing.  |
|
|
|
Post by Lee Martin on Jan 13, 2015 19:42:50 GMT -5
Step 44 – Attaching the Bolt ______________________________________ Proper bolt handle orientation is a must. Otherwise the lug timing will be incorrect. The industry norm is to silver solder or furnace braze them to the body. Those bonds are sound and simple to apply, but occasionally they fail. In the 60’s and 70’s benchrest shooters used Remington bolts in custom receivers. Talk to enough of them and you’ll hear some horror stories. Stuff like the guy than stuck four shots in the 1’s and on the last cycle the handle came off. I had similar misfortune when the handle on a Remington 788 broke under mild lift. Today top BR actions use one piece forged assemblies or are TIG welded. Prior to welding, we’ll screw the handle to the shaft. This accomplishes two things. One, it keeps it stationary as we place the tack bead. Second, we’re able to get the exact position marked through small tweaks and test cycles. The handle is placed in a vertical mill and a centering hole is drilled. 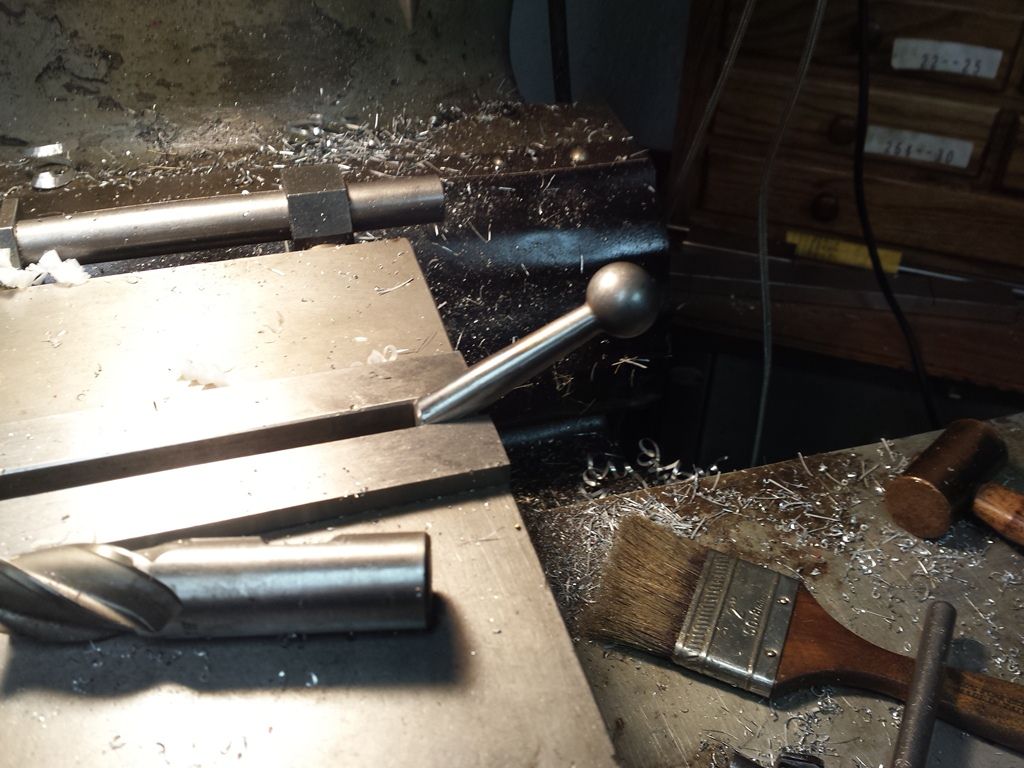 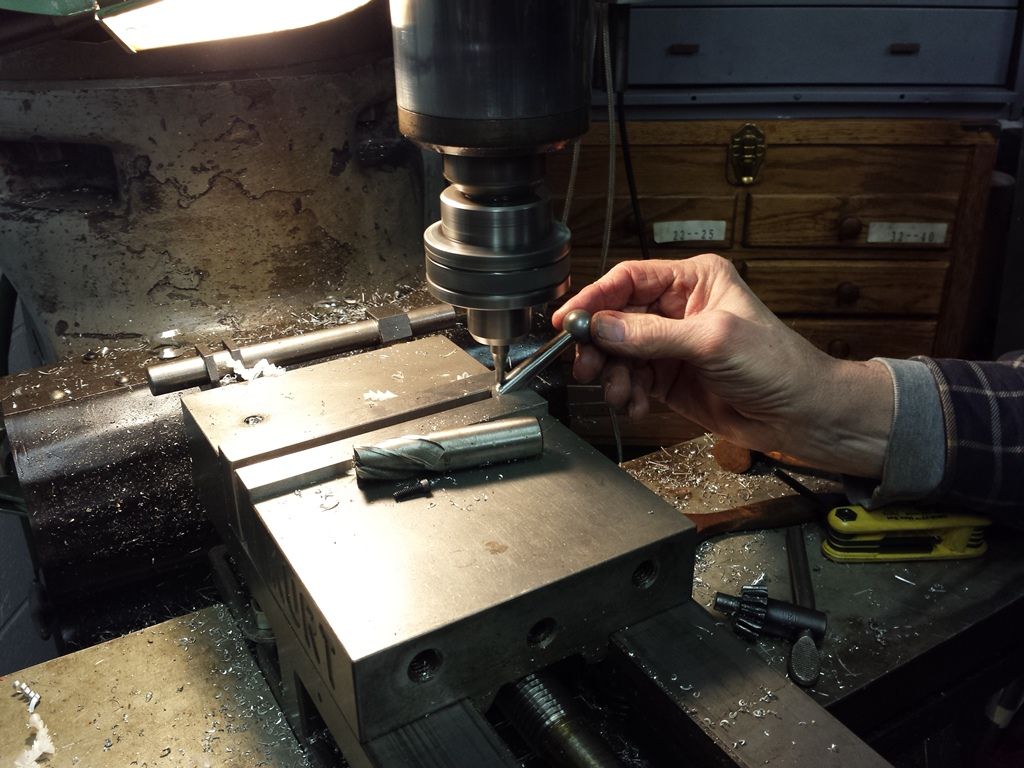 Drilling all the way through and counter sinking for the head: 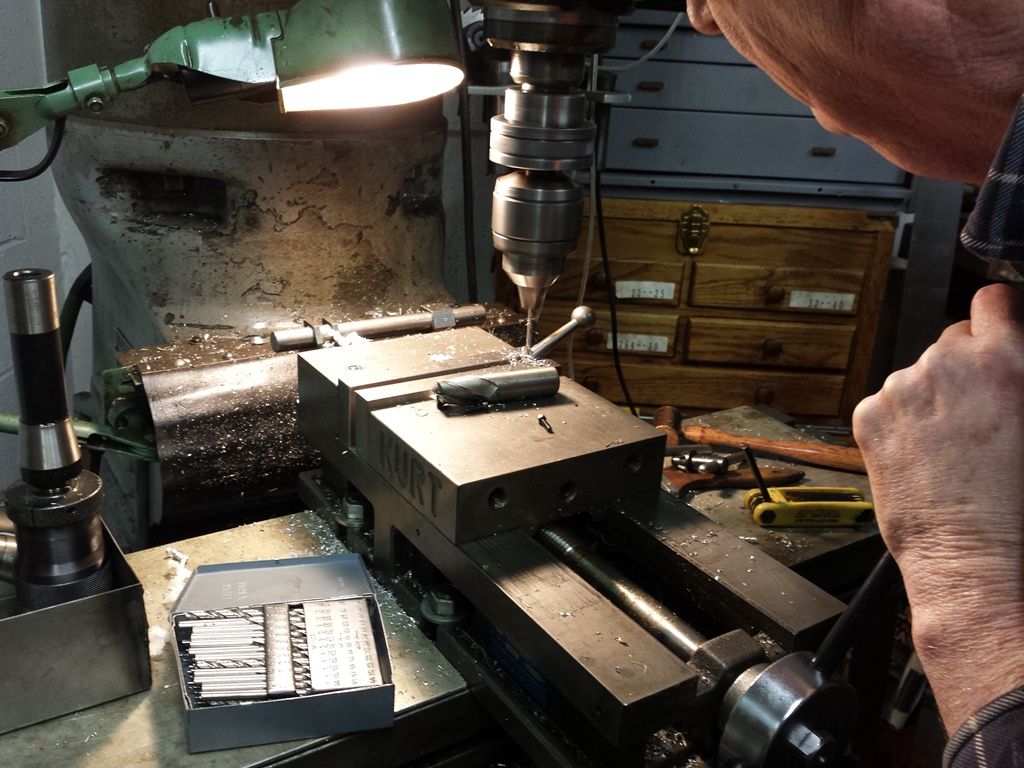 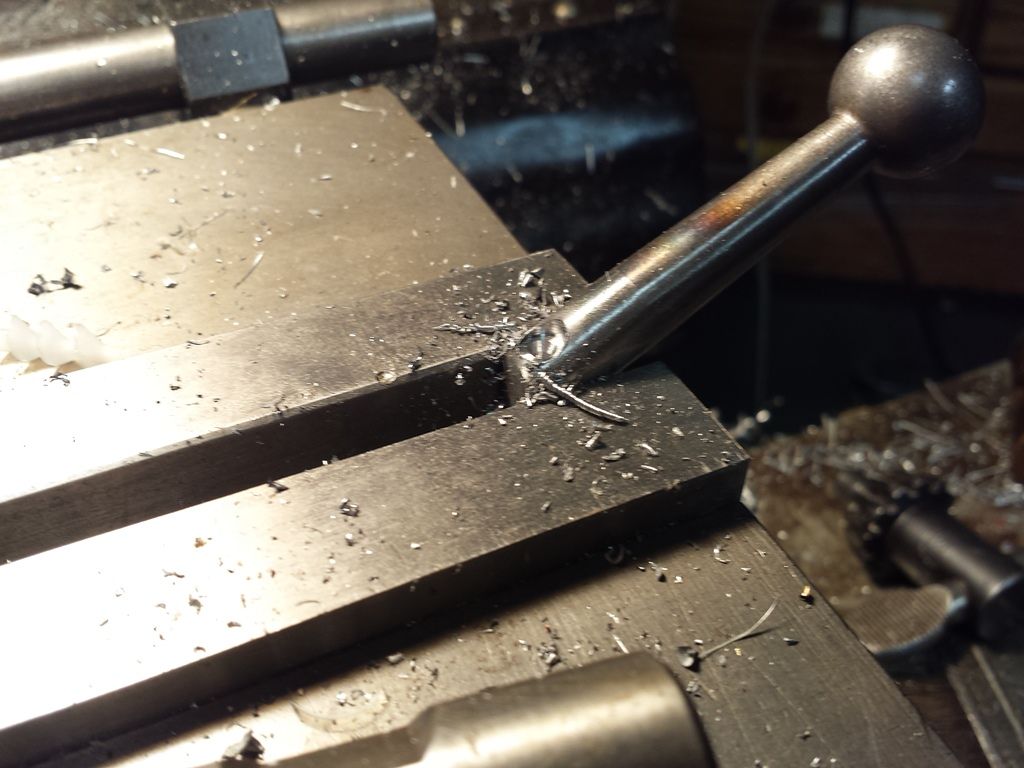 Testing the screw’s fit: 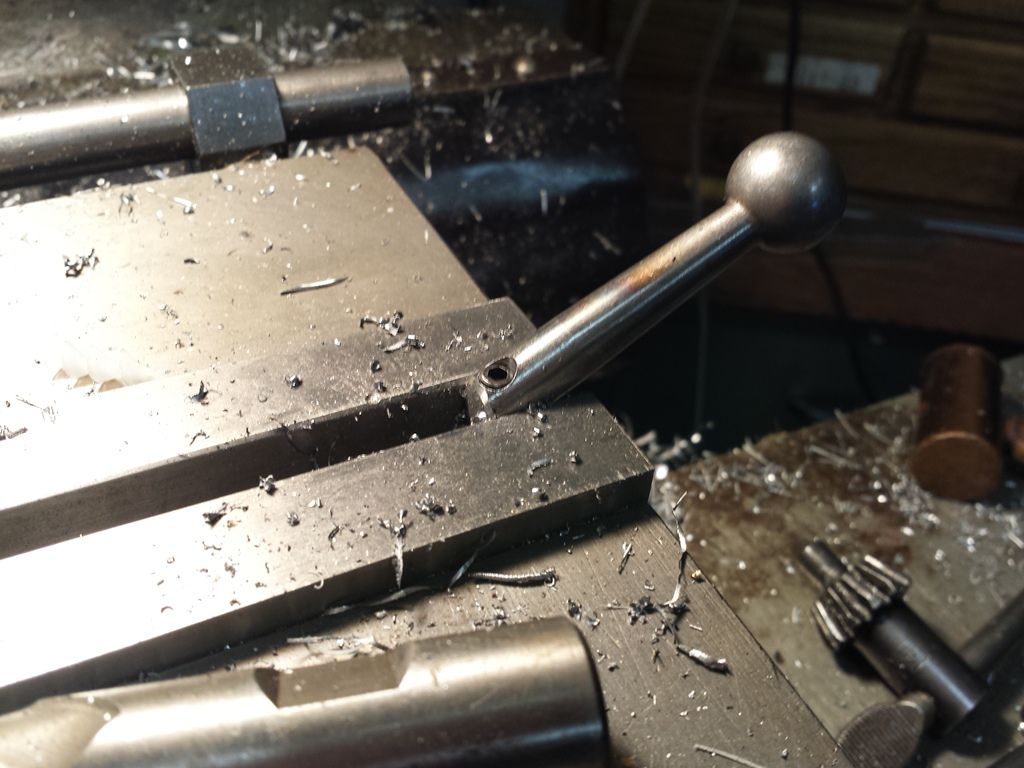 The handle is then mocked on the bolt body, paying close attention to our timing marks: 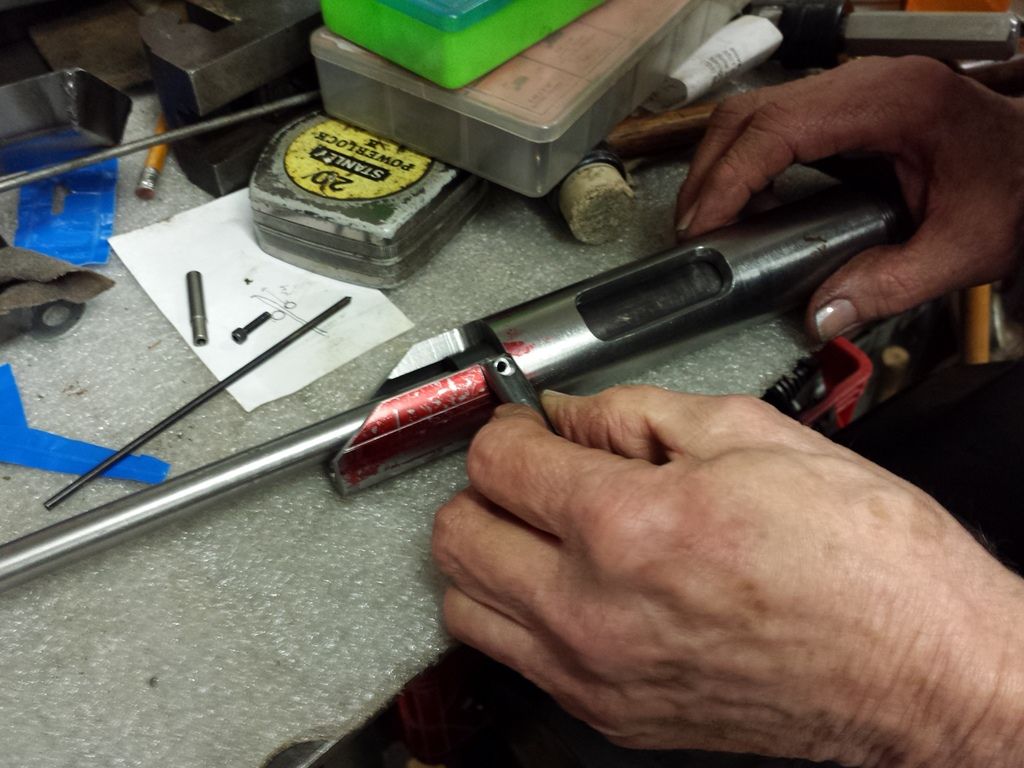 Using a scribe, we indicated the center: 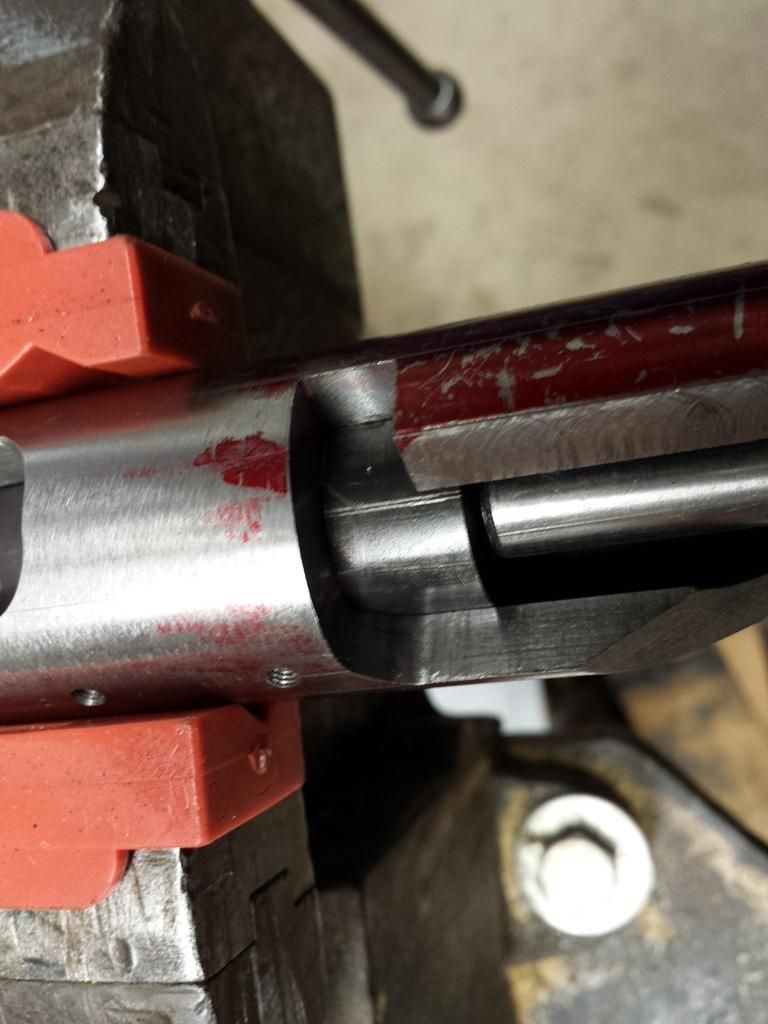 That hole is then located in a mill, spotted, drilled, and tapped for the 6-32 screw: 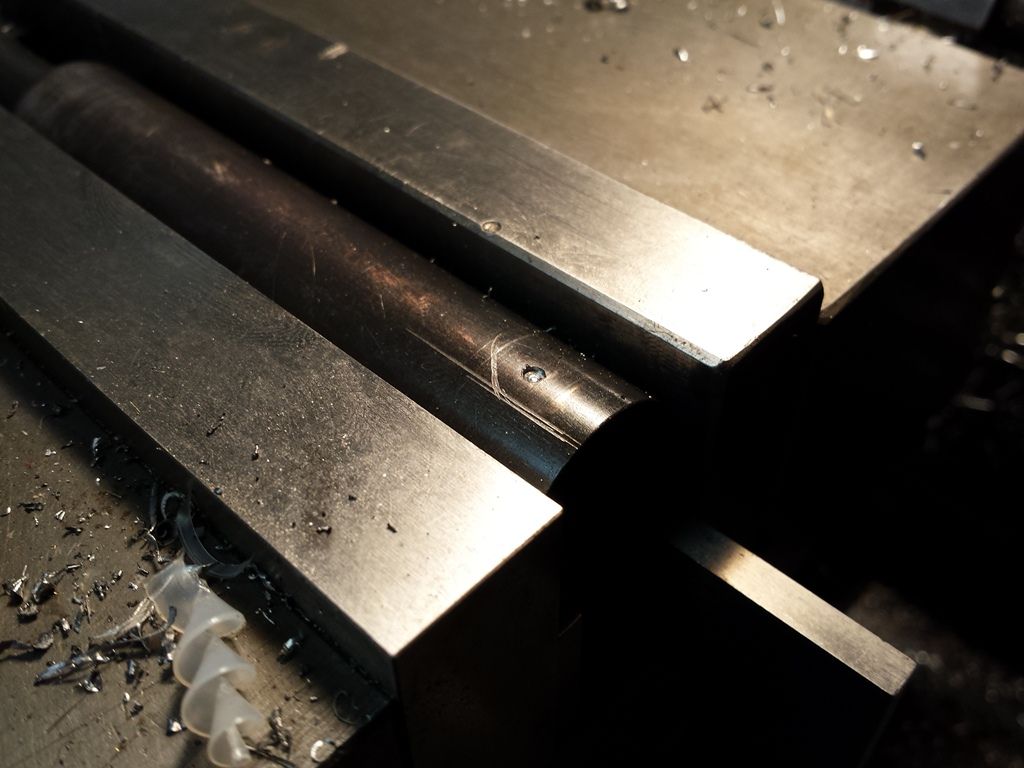 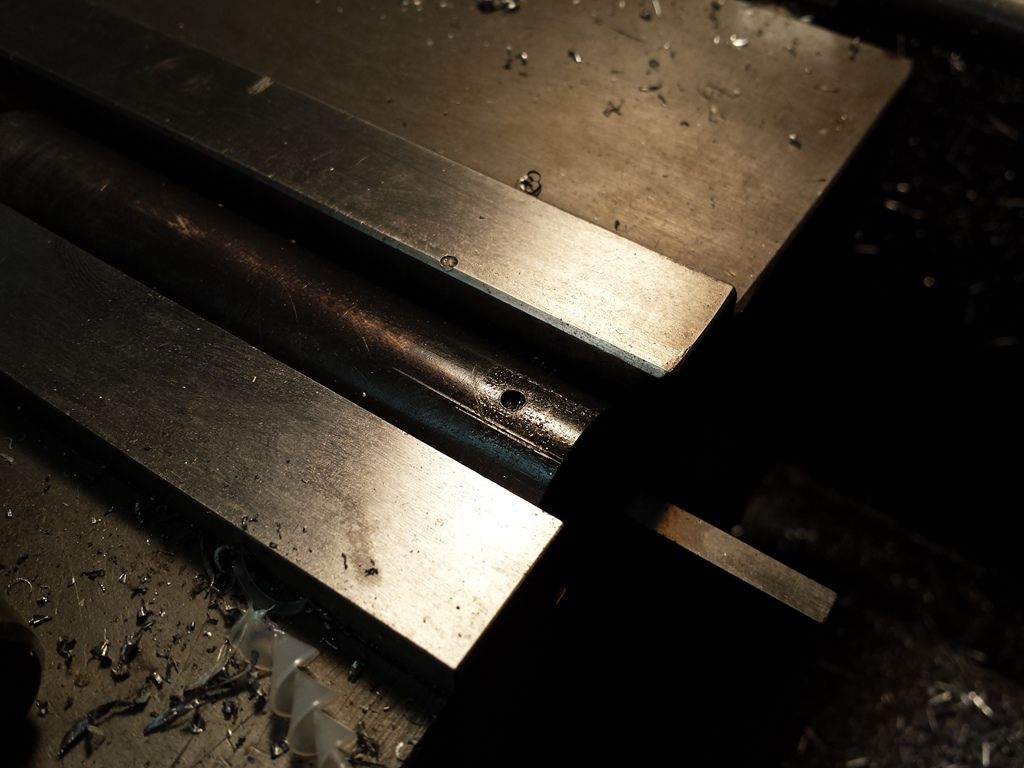 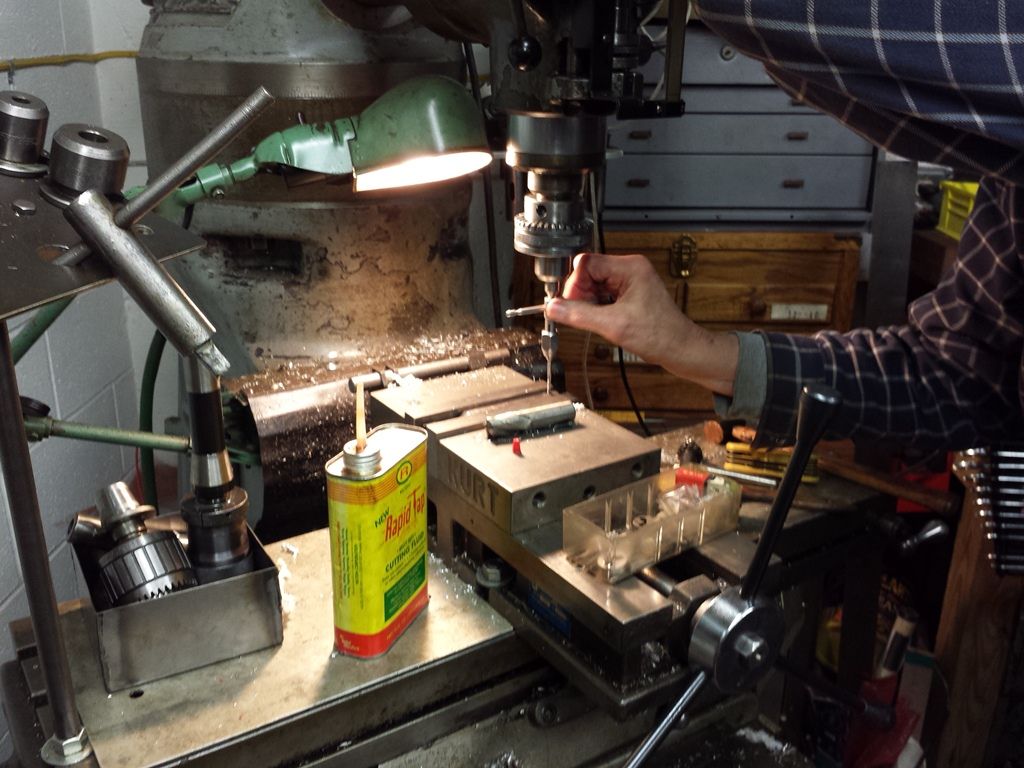 Loosely affixing the handle. The gap you see on the backside is intentional. We need recesses for the weld to flow into: 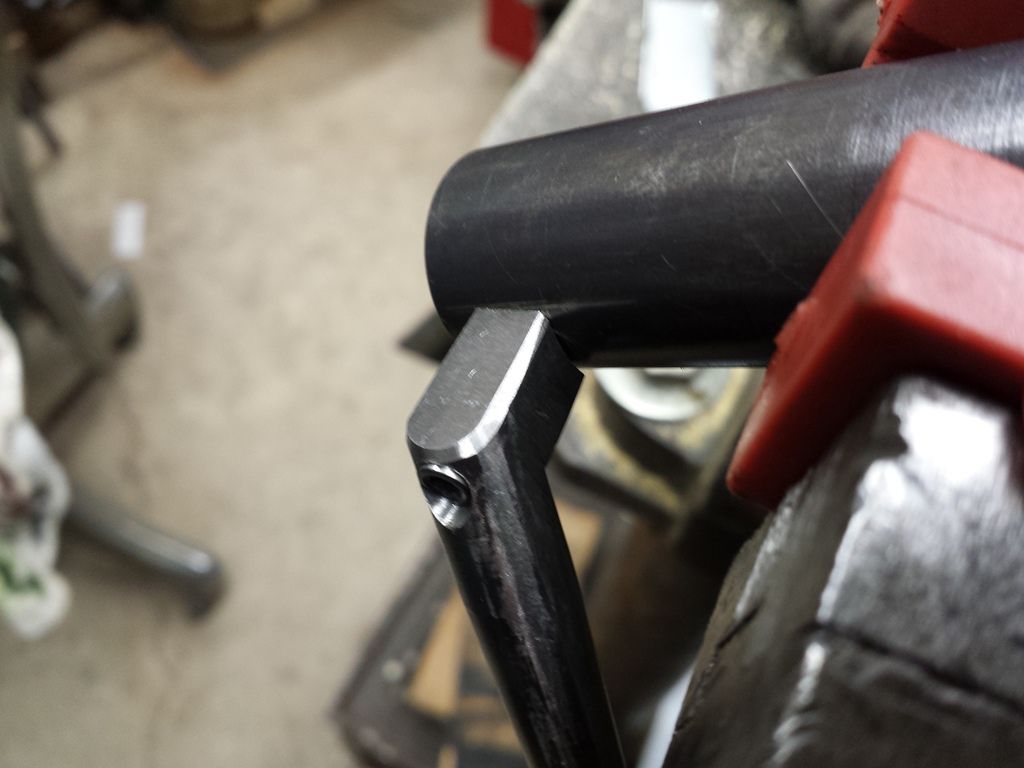 -Lee www.singleactions.com"Building carpal tunnel one round at a time" |
|
|
|
Post by Lee Martin on Jan 13, 2015 19:46:13 GMT -5
Step 45 – Welding the Handle _____________________________________ At this stage, the bolt slides forward and stops on the cocking cam. The front square edge will not clear the curvature so we have to file a radius. This is another one of those tasks better done by hand. We want close fit and slow and deliberate filing gets us there. Take a little off, test it in the gun, take a little more, re-test, and so forth. This continues until the bolt rides along the cam without visible gap. 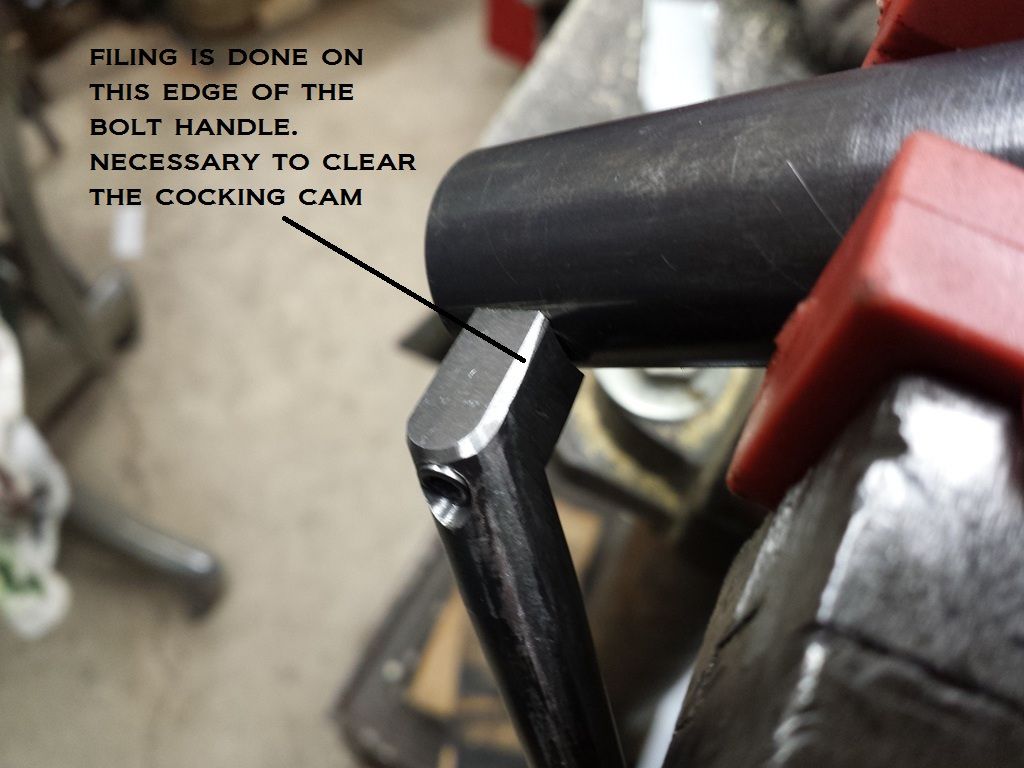 Hand filing: 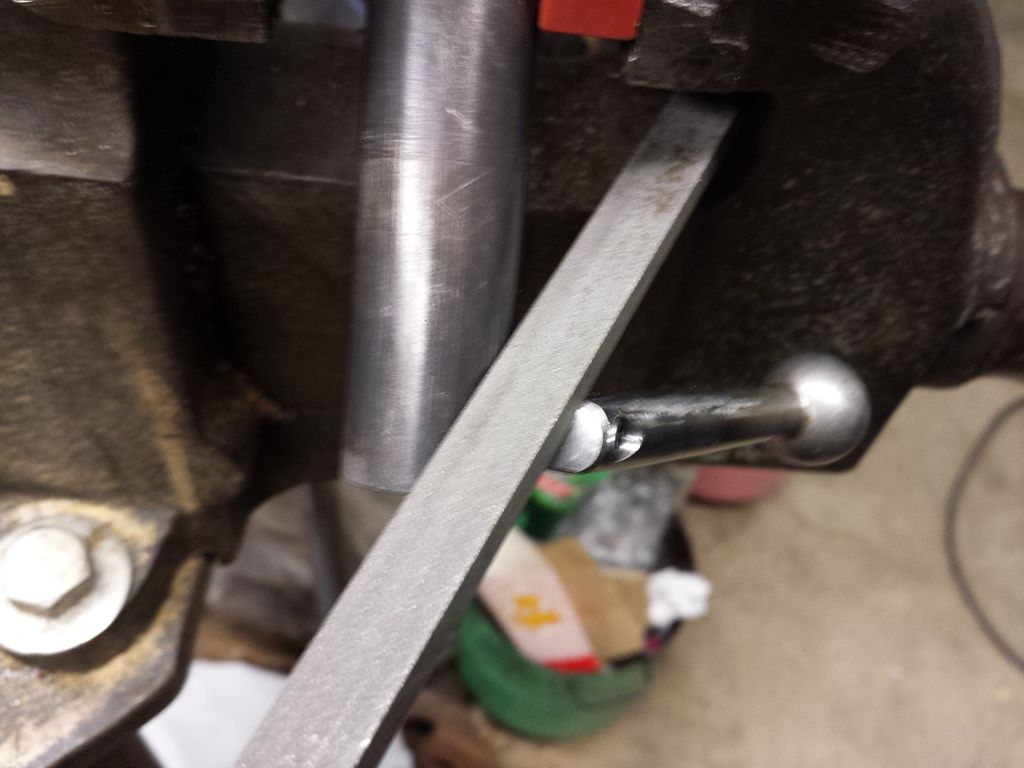 Test fitted and it now clears: 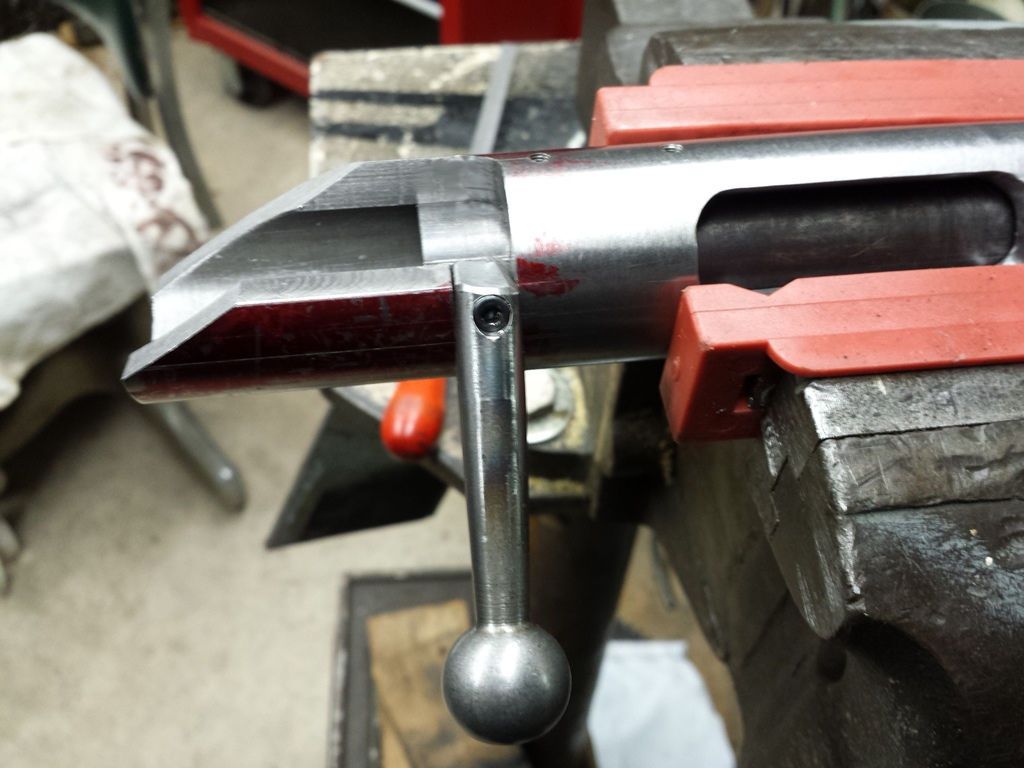 Bolt handle set for welding: 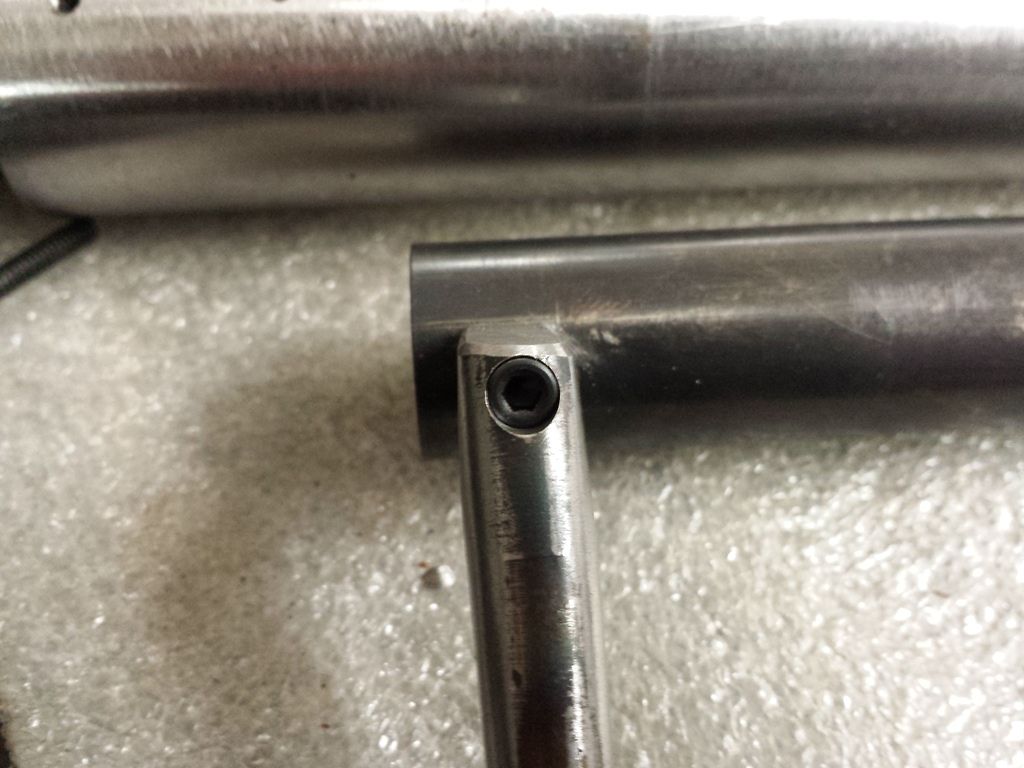 The back edges of the handle are ground for additional weld purchase: 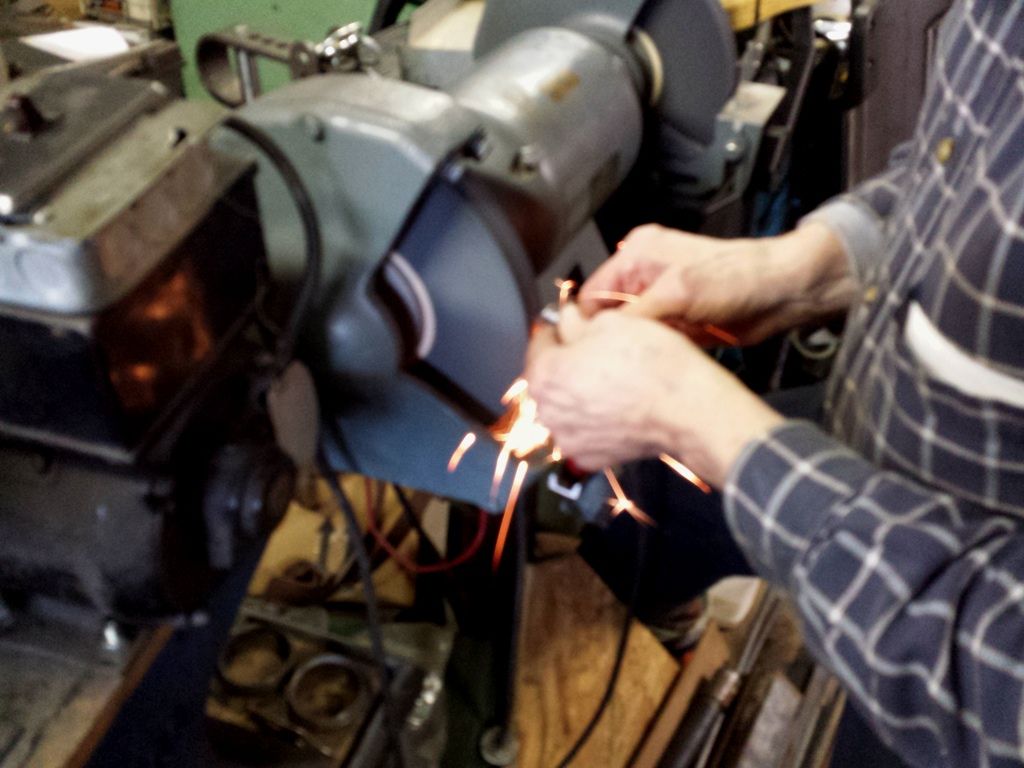 Video of dad welding one side of the handle. This is TIG done at 80 amps: The welds cooling: 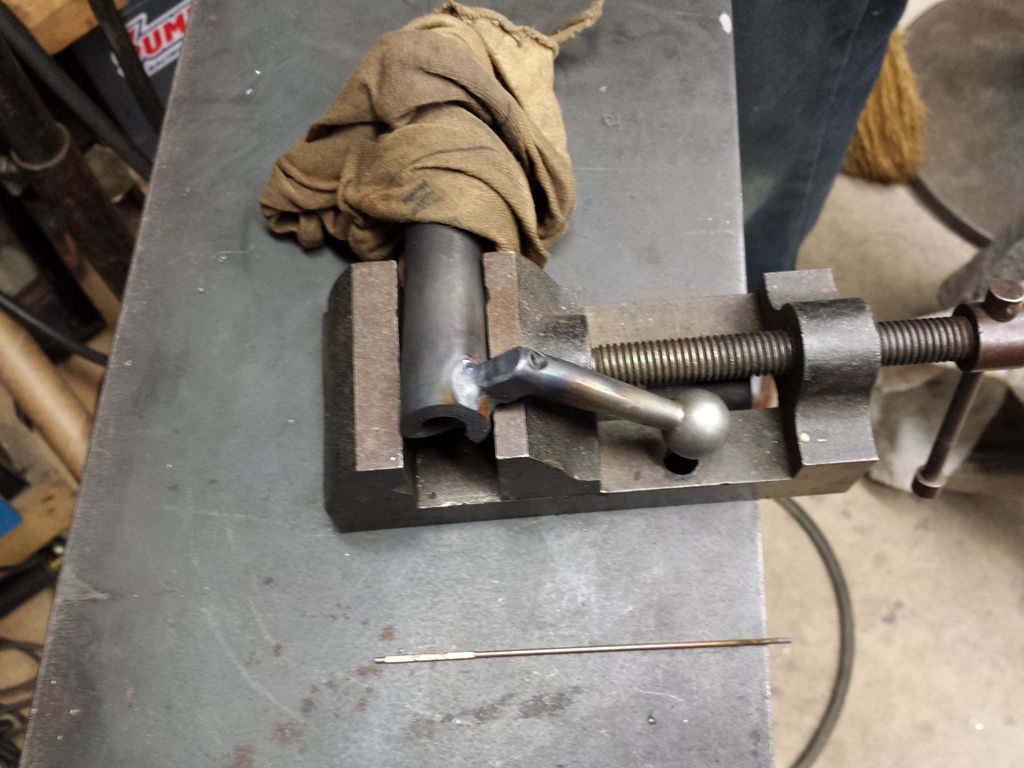 -Lee www.singleactions.com"Building carpal tunnel one round at a time" |
|
|
|
Post by Markbo on Jan 13, 2015 20:01:01 GMT -5
Coming from a NON metal guy (I am a wood guy) is there any deformation of the bolt frm that heat???
|
|
|
|
Post by maxim2841 on Jan 14, 2015 18:29:57 GMT -5
|
|
|
|
Post by Lee Martin on Jan 14, 2015 18:38:44 GMT -5
Coming from a NON metal guy (I am a wood guy) is there any deformation of the bolt frm that heat??? Good question and I can say TIG welding caused no loss of tolerances. Remember, only the bolt head is heat-treated. On the tail end, we're applying heat but not enough to compromise the metal. The front half is also shielded by a water soaked rag and we allow for significant cooling between welds. We did check the body once the handle was attached and nothing shifted. Of course, the ultimate test is whether it'll fit the receiver (see the next post). If it warped even a half-thousandth, we'll know because it won't cycle. -Lee www.singleactions.com"Building carpal tunnel one round at a time" |
|
|
|
Post by Lee Martin on Jan 14, 2015 19:00:24 GMT -5
Step 46 – Filing the Welds ____________________________________ Post-welding, the bolt will not cycle in the action. The exposed portions of the welds hit the runway edges and stop. So next up is another one of those painstaking jobs, done primarily by hand. 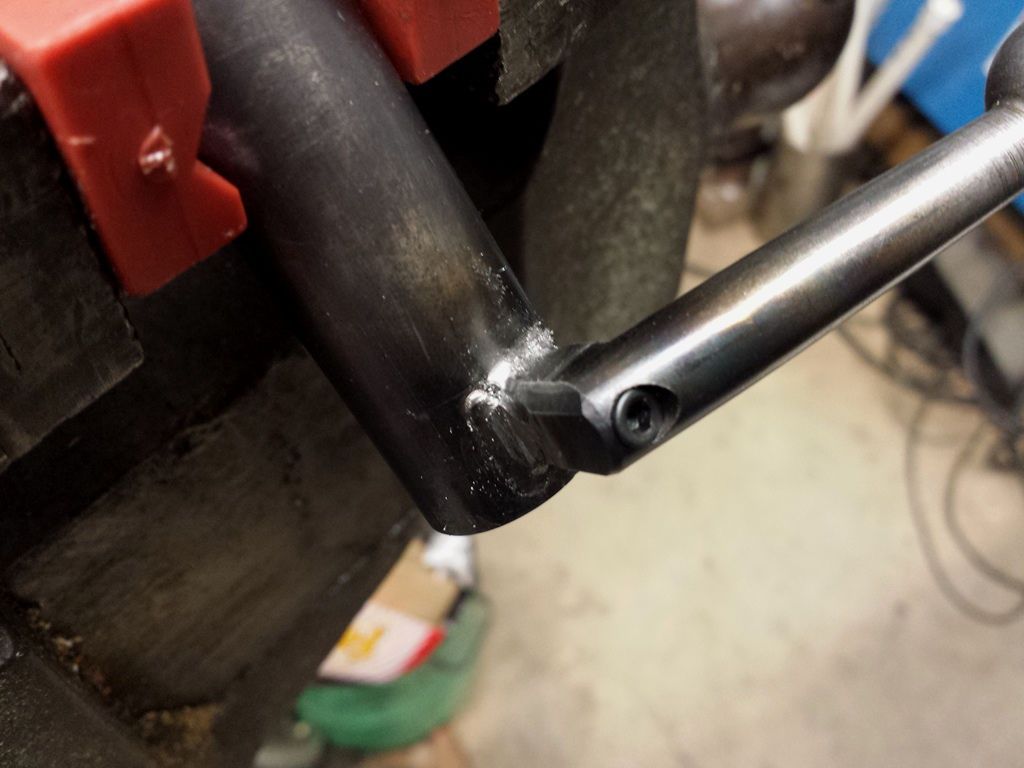 Our clearances on the bolt assembly are ridiculously tight. To tell the truth, they’re well under a thousandth of an inch. What we’re left with now is the task of grinding, filing, and meticulously polishing the four faces of the handle. This is done slowly with dozens of test insertions in the receiver. The process occurs over and over until the bolt seats. We start aggressive with a dremel: 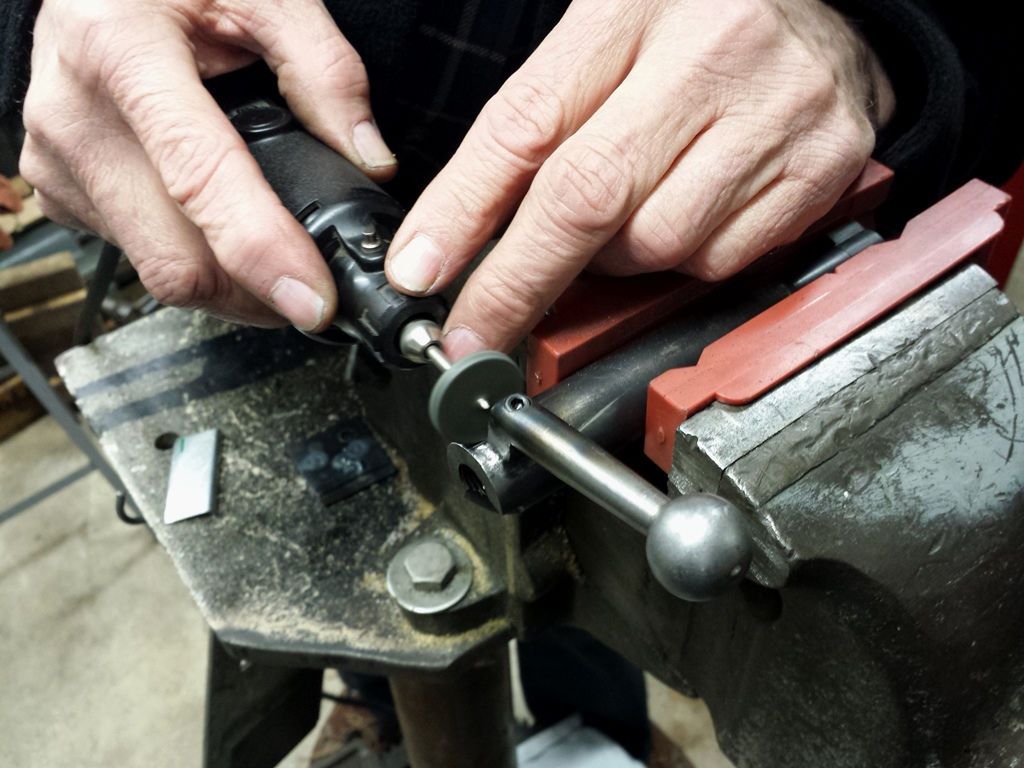 This is what it looks like after the bulk of the beads are lowered: 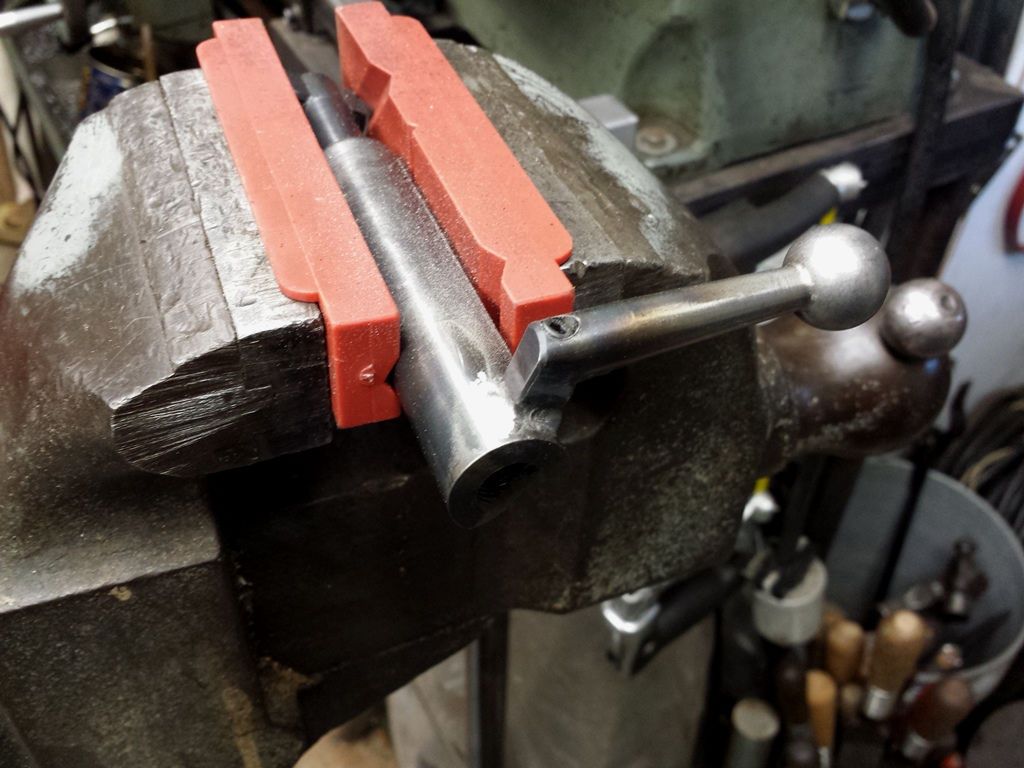 Once we get the high spots taken down, we move to a flat file. Again, I want to stress how deliberate we are with these edges. Only a few thousandths are addressed every pass. Marking paint is also used between filings to highlight areas of bind. Three hours later, the bolt cleanly goes into battery. The fit is tight but fluid and there was no loss on the camming action: 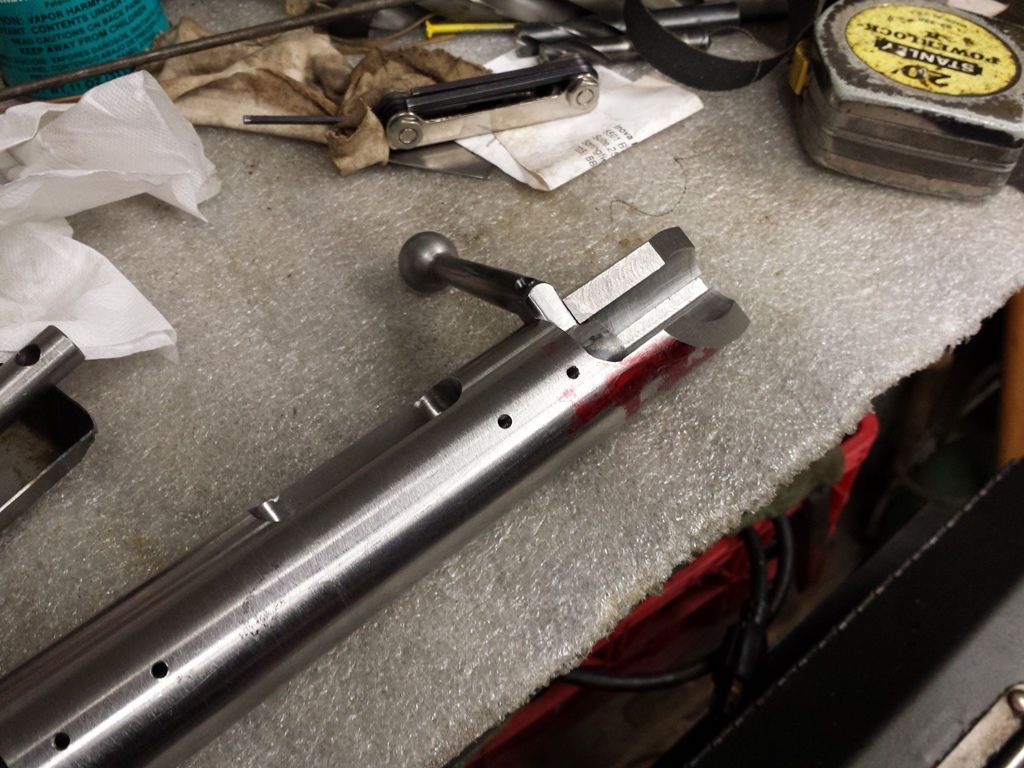 At this point the action appears pretty rough. It’s covered with scribe lines, layout paint, discoloration due to heat treating, and superficial scratches. For me, this is the best part of the project. You thrash on this thing until it looks like hell. But if the engineering goes as planned, we’ll be rewarded with the beautifying phase. -Lee www.singleactions.com"Building carpal tunnel one round at a time" |
|
|
|
Post by boltlug on Jan 16, 2015 16:36:48 GMT -5
This is the best and most informative build thread that I've ever read. An excellent tutorial. I'm saving it to Word to use as a reference later. After Lee Martin completes this, I'm going to have a hundred questions for him. There's no need to ask right now, as he's answering questions which I didn't know enough about to ask. Please continue with this amazing build, and thank you for sharing it.
|
|
|
|
Post by Lee Martin on Jan 19, 2015 18:30:15 GMT -5
Step 47 – Cocking Piece Alignment __________________________________________ In cutting the bolt inlet, we went 90 degrees from TDC. Now that the bolt is fit, final adjustment is made to center the cocking piece on the receiver notch. You’ll see below, the two are off by ~10 degrees: 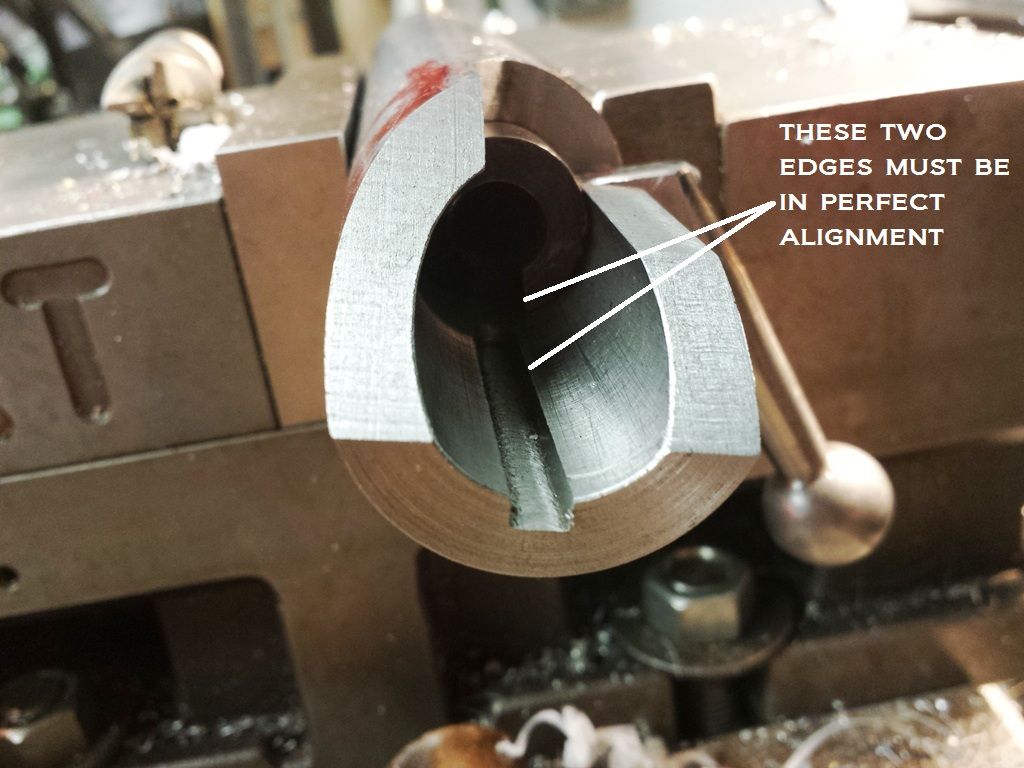 An end-mill is used to cant the landing, align the edges, and set the top of the handle flush with the action: 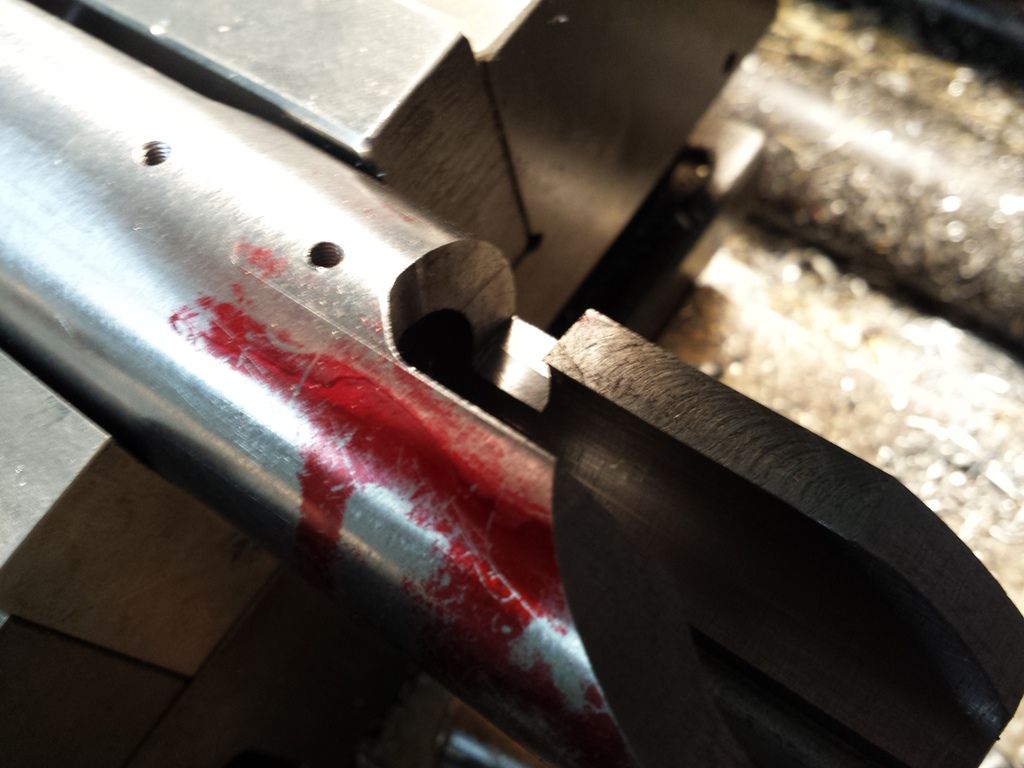 Bolt assembly, minus the cocking piece, inserted in the action. The body only looks rough because the oil quenched color is wearing. They’re just rub blemishes, the bolt is absolutely smooth. We’ll deal with cosmetics after the receiver is heated treated. 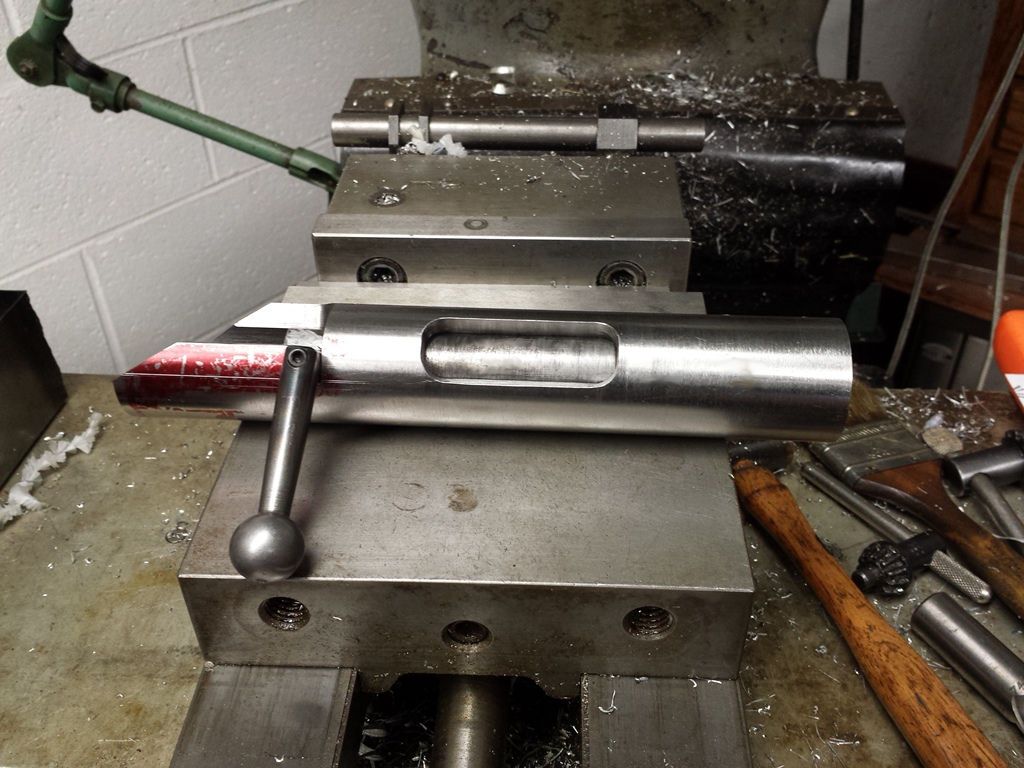 -Lee www.singleactions.com"Building carpal tunnel one round at a time" |
|