|
|
Post by Lee Martin on Aug 17, 2012 8:41:08 GMT -5
Same answer he gave me when I floated the file idea  -Lee www.singleactions.com"Building carpal tunnel one round at a time" |
|
|
|
Post by dlhredfoxx on Aug 17, 2012 14:21:46 GMT -5
No files? Hmmmmm... So you're gonna use a Dremel tool then, right?  |
|
|
|
Post by 2 Dogs on Aug 17, 2012 14:28:57 GMT -5
Im getting excited about this project now!!!!
|
|
|
|
Post by Lee Martin on Aug 17, 2012 14:44:52 GMT -5
No files? Hmmmmm... So you're gonna use a Dremel tool then, right?  One step above a dremel  Namely a vertical Bridgeport and a 3/16" endmill. 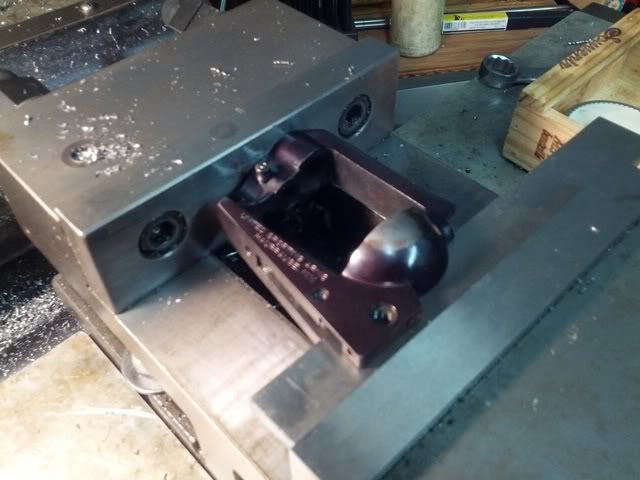 -Lee www.singleactions.com"Building carpal tunnel one round at a time" |
|
|
|
Post by tek4260 on Aug 17, 2012 16:43:12 GMT -5
To err is human, to really screw things up requires a Dremel tool
|
|
|
|
Post by Lee Martin on Aug 27, 2012 10:21:59 GMT -5
We opened the frame window this weekend so I thought I'd post some photos: Base gun disassembled: 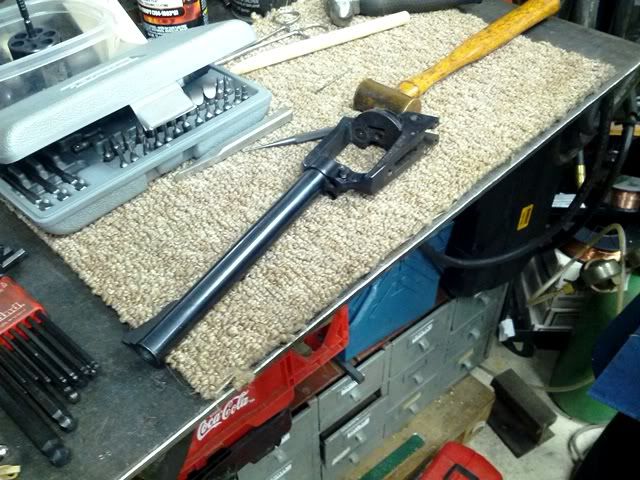 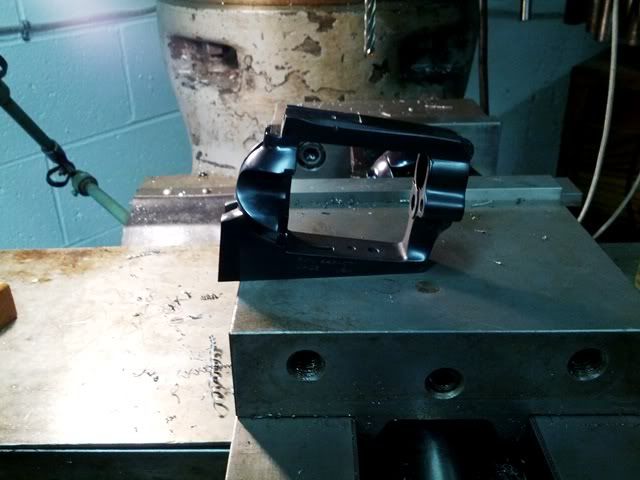 Locked in a vertical Bridgeport mill: 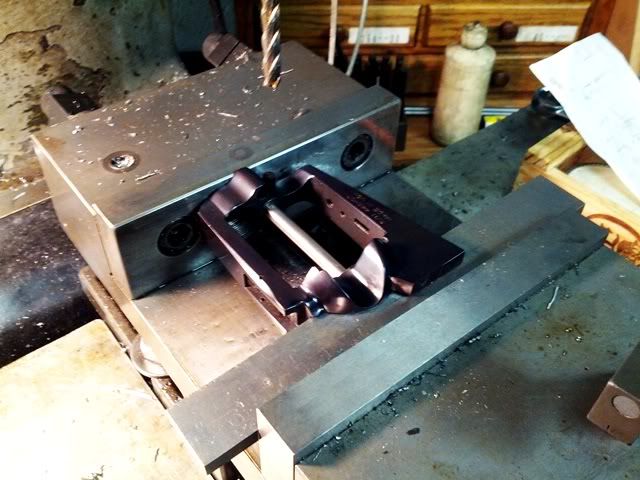 Indexing off the axis centerline (never trust that the upper and lower edge are completely parallel to the base pin): 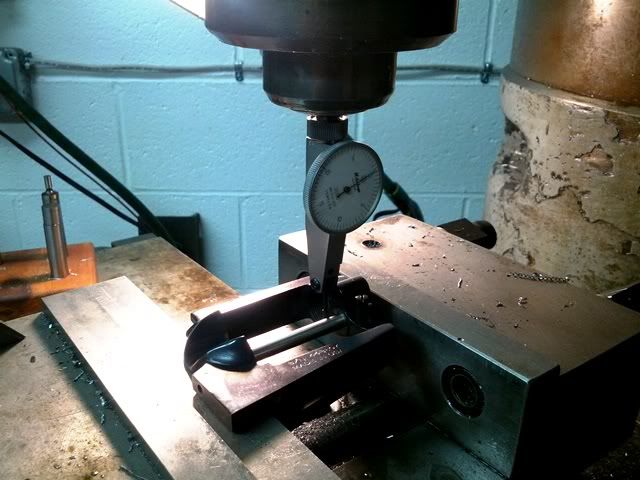 Cutting the upper edge: 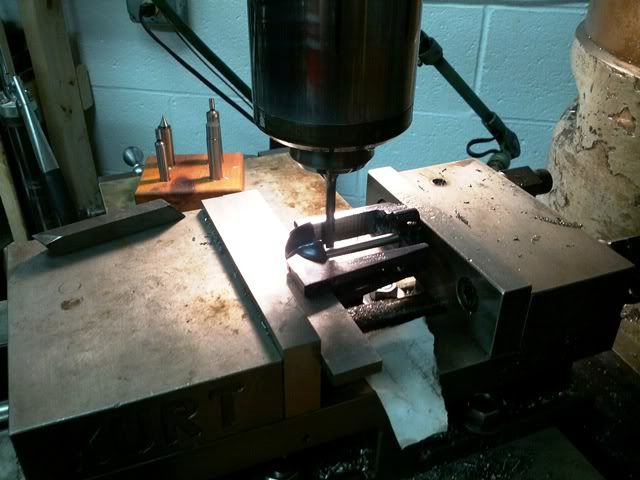 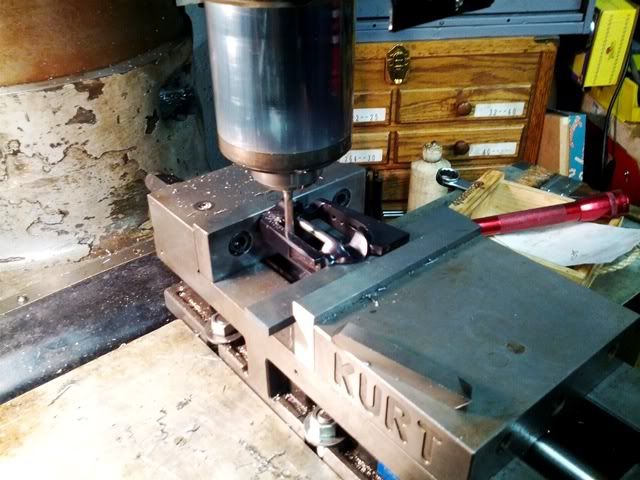 Cutting the lower edge: 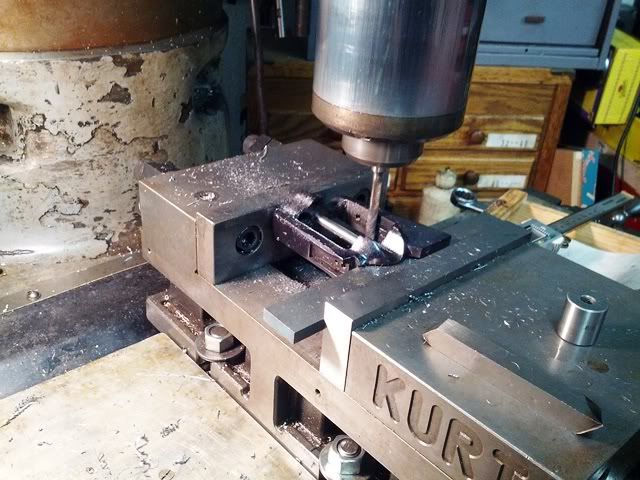 The cylinder will be 1.80" so the window was opened to 1.84". That'll give 0.020" clearance on each side. It took a lot of passes to accomplish this. The stock window was 1.764" so 0.076" was removed. That's 0.038" per side and with 0.006" cuts it required 6 passes per followed by a clean-up run. BTW, Seville frames are hard as hell. Much tougher to mill than a Blackhawk. -Lee www.singleactions.com"Building carpal tunnel one round at a time" |
|
|
|
Post by Lee Martin on Aug 27, 2012 10:23:59 GMT -5
Dad keeping an eye on things: 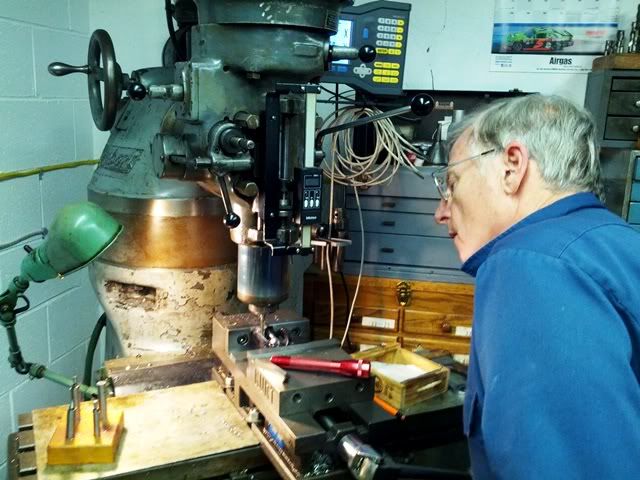 Me smoothing the mill marks with a file: 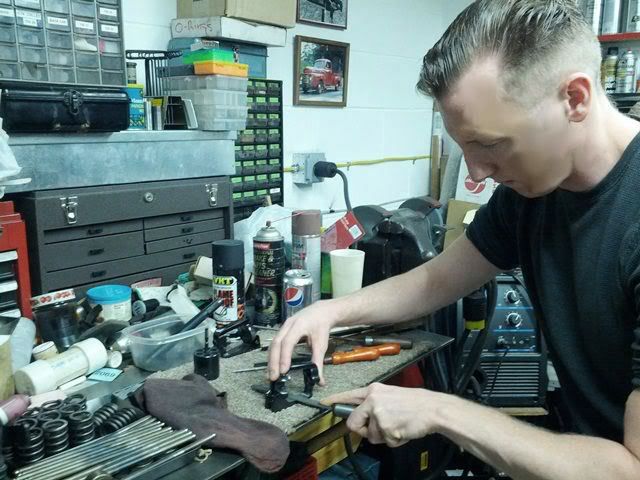 See Whit, I did get to use my file afterall. -Lee www.singleactions.com"Building carpal tunnel one round at a time" |
|
|
|
Post by Lee Martin on Aug 27, 2012 10:26:27 GMT -5
Here's some video of the milling process: -Lee www.singleactions.com"Building carpal tunnel one round at a time" |
|
|
|
Post by dlhredfoxx on Aug 27, 2012 16:35:20 GMT -5
Thats so cool, thanks for sharing Lee... I keep checking this thread for updates. What size and type cutter bit did you use?
|
|
|
|
Post by Lee Martin on Aug 28, 2012 8:14:42 GMT -5
We used a 3/16" endmill which gave just the right radius on the corners. And I'm glad you're enjoying the thread. This is a special project for us so I want to document it front to back. -Lee www.singleactions.com"Building carpal tunnel one round at a time" |
|
|
|
Post by Lee Martin on Aug 28, 2012 14:24:44 GMT -5
Just curious where the valve springs and pushrods fit in the seville? Hahha....ya, our shop is a mixed bag of gun and motor projects. Keeps things interesting though. -Lee www.singleactions.com"Building carpal tunnel one round at a time" |
|
|
|
Post by lightningii on Aug 28, 2012 16:48:28 GMT -5
the bigger the toy, the bigger the fun...
1.84 window-1.80 cylinder = .040, / 2= .020 per side, though, right?
slick project.
|
|
|
|
Post by cas on Aug 28, 2012 20:27:51 GMT -5
 I don't care how much you file, those firing pins and springs are never going to fit. ;D |
|
|
|
Post by Lee Martin on Aug 29, 2012 8:11:22 GMT -5
the bigger the toy, the bigger the fun... 1.84 window-1.80 cylinder = .040, / 2= .020 per side, though, right? slick project. Thanks. And I really do need to proof-read my posts more. Measurements corrected above. We hope to blank the cylinder this weekend so updates will follow. -Lee www.singleactions.com"Building carpal tunnel one round at a time" |
|
|
|
Post by dlhredfoxx on Aug 29, 2012 17:19:34 GMT -5
 I don't care how much you file, those firing pins and springs are never going to fit. ;D Now THAT is funny! I was thinking the same thing! Talk about an extra power cylinder latch spring! |
|