Before I show the steps involved, it is important to cover some basic metallurgy. This’ll go beyond the normal talk of cylinder hardness, alloy types, and case pressure. If understanding the ‘why’ and ‘how’ of these isn’t important to you, read no further. This is dull, but explains how cylinders absorb, and withstand, discharge forces.
The alloys commonly used in gun manufacturing are either quench hardened or precipitation hardened. Quench hardening works by quickly cooling the metal once its critical temperature is reached. Precipitation hardening, also known as age hardening, works by rapidly heating the metal to a defined temperature after a fast cooling process. This is best done in inert atmosphere. Following quench hardening, the metal must be tempered. That’s because in the hardened state, the crystalline structure is dense and finely arranged. Or put another way, it is brittle. Tempering increases toughness and reduces the brittleness. The resulting alloy is more ductile, and therefore more stable.
Strain hardening and quenching increases strength and decreases ductility. Tempering decreases strength and increases ductility. When it comes to revolver cylinders, the term ‘hardness’ does not tell the whole story. What we’re after is a compromise between the two. In fact, we must consider three variables: tensile/yield strength, elastic moduli, and fracture toughness. The below chart illustrates all three in unison:

The Y-axis represents the force or stress imparted on the object. In a revolver, that’s the pressurized gasket, aka the brass. Our X-axis depicts strain, or the deformation of the metal through bending, flexing, and breaking. Yield strength is our first tipping point. The yield strength of an alloy signifies the transition from elastic to plastic deformation under stress. Quick definitions:
• Elastic deformation - temporary deformation due to applied stress (like a cylinder wall flexing and contracting at discharge)
• Plastic deformation – permanent deformation after applied stress (like a bulged chamber)
Strain hardening occurs beyond the metal’s yield strength. Work hardening is another way to describe the phenomenon. At some point, enough strain is applied to reach the ultimate tensile strength. This is nothing more than the maximum stress tolerance before failure.
Yield strength is an important part of structural design. Yield strength is set to prevent plastic deformation under a pre-defined amount of stress. For example, a proof load which is 50% higher than SAAMI specifications. Secondly, the part must be large enough in area to absorb the defined force. So both hardness and tensile strength are indicators of a metal’s ability to resist plastic deformation. The two are correlated, but not by simple mathematical linkage. That said, yield strengths are usually 75% - 90% of the metal’s ultimate tensile strength. To recap, yield strength measures the stress at which elastic to plastic deformation occurs. Ultimate tensile strength is the most stress that can be withstood before failure. This is where toughness comes into play. Toughness specifies the amount of energy the material can absorb per unit of volume before fracturing. Clearly cylinder mass, whether it be chamber or bolt notch thickness, matters big time. Mass increases toughness exponentially. Toughness is the combination of the metal’s strength and ductility. The latter is the degree to which an object can deform plastically before fracture. Now we see why hardness isn’t the only thing to consider when discussing cylinders. That’s because strength and ductility are inversely related. Strong brittle metals can fracture easily. Weak ductile metals bend easily. Tough metals can flex elastically without fracture. Toughness and resilience improve durability and that’s what we want in a cylinder.
I chose 416 stainless for this .500 because I had some on hand and it machines beautifully. We’ve done cylinders out of 4140, 416, 17-4PH, and 465 and they’re all viable alloys for the job. Yes, some like 465 and 17-4 have higher tensile strengths than 416. To be exact - at Rockwell 40, 416 provides just under 200,000 PSI (or 1,350 mpa). 17-4 can be hardened to 230,000 while a workable 465C is 250,000 PSI. Do these numbers really matter? They sure do on the internet when folks play armchair metallurgist. Alloy types are always dropped with discussing proof loads; none more prolifically than Ruger’s 6-shot 454 Casull. I certainly don’t blame Ruger for selecting 465 for that gun. They proof the entire cylinder at 90,000+ PSI. A 4-series stainless failed at that level, prompting the change. But how many of us shoot proof loads? I sure don’t. In fact, I don’t overload period for a given cartridge and a given platform. I’ve only proofed one of our cylinders, and it was inadvertently in a 6-shot .401 Bobcat (416 SS). It happened when testing Unique under a 265 gr cast bullet. Things seemed fine as I went up in half-grain increments. That is until I opened the gate and the primers fell out when extracted. The pockets on brand new .220 Swift brass got big...way big. To our surprise, not only did the cylinder hold, the chambers didn’t bulge. How much pressure did it take? I can’t say for certain, but Swift brass is designed operate at 62,000 PSI. No doubt I was way above that.
Hardness tests are done on a host of scales to include Rockwell, Vickers, and Brinell. In most, a diamond ball is pressed into the metal and the size of the indention (either depth or area) is converted to a hardness figure. For this 416, we’ll harden to Rockwell 40 – 41, C-scale.
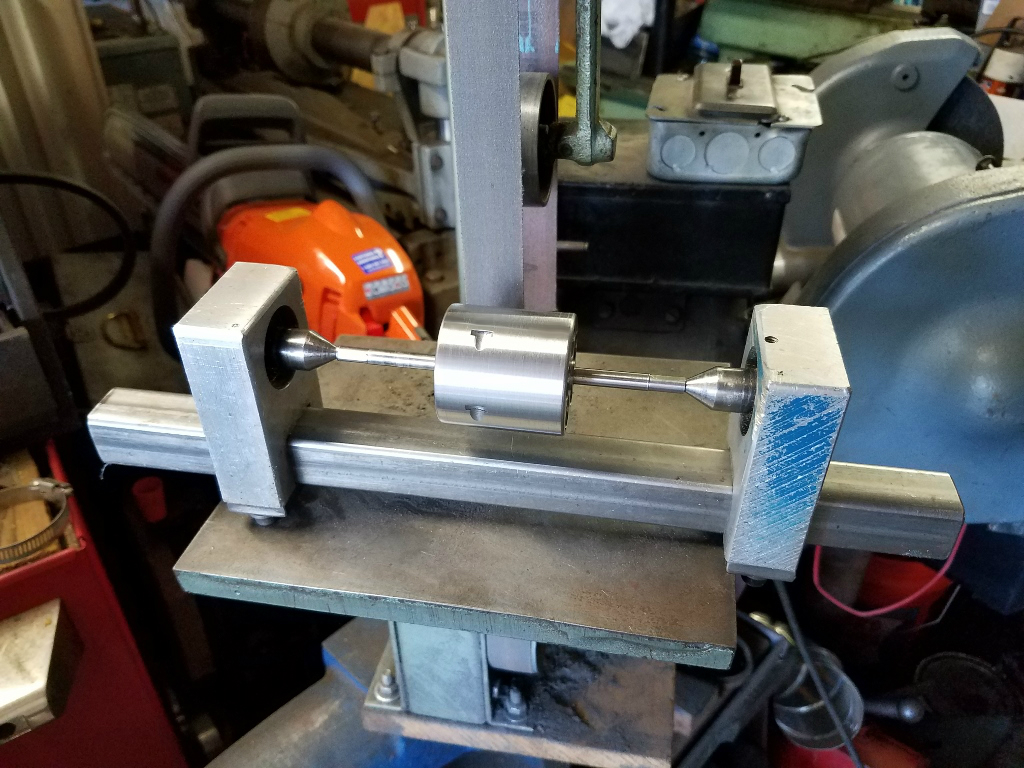
Step 1 – the cylinder is belt sanded to remove surface scratches.

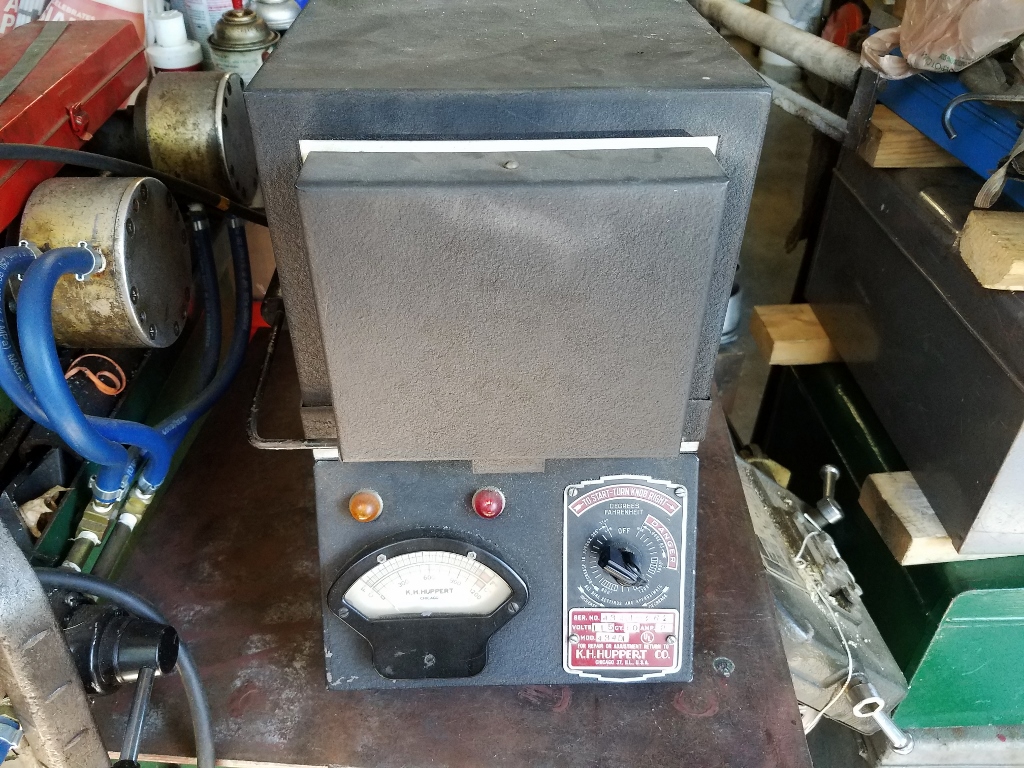
Our small furnace is tabled and plugged in. We have a larger unit for bigger items, such as rifle actions.

The furnace is adjusted to 1,750 degrees Fahrenheit.

Once it hits 1,750 F, it is held there for one hour.

Then we pull the red hot cylinder and quench it in oil. This rapidly cools the metal. I let my dad do this part for two reasons: 1) It is tough to hook the cylinder in such a small furnace, and 2) I’m better than him at videoing with my Smartphone. Video below:
Post cooling, what we have is a very hard piece of steel. However, ductility is low and the cylinder is quite brittle. Firing it at this point would likely induce stress fractures. So I tempered it at 400 degrees for one hour. Then the furnace is unplugged and I walked away.
Next time I’ll confirm hardness on a Rockwell tester, hone the basepin hole and throats, and polish the entire exterior.
-Lee
www.singleactions.com"Chasing perfection five shots at a time"