|
|
Post by Lee Martin on Aug 3, 2017 19:48:21 GMT -5
 How the bore aligns with the throat is vital. Even though forcing cones guide the bullet, we want to minimize that task. Line-boring and line-indexing do that on the cylinder end. But the second leg of the journey, namely cylinder-to-barrel transition, is often overlooked. The cone is the first thing the slug sees beyond the throat and gap. I’ll cover forcing cones at length when I make mine. This step focuses on cutting the barrel threads and cone dead-on to the bore centerline. To repeat a point I made earlier: “Line indexing and line-boring are tied to barrel installation. Remember, we’re talking throat-to-barrel bore alignment here. If you thread the blank and lathe the cone with any runout to center, you’re nixing the precision throat. A lot of guys index on the outside of the blank when adjusting the chuck. Forget that. Even the highest quality blanks exhibit a thousandth or two of O.D. runout to the rifled bored. And most of the pistol blanks we use show 0.002” – 0.004” over the entire length. I’m a stickler for this, but you really need to center the blank by zeroing across every groove.” The front of the frame was checked and does not need trued. Next the blank was put in a four-jaw chuck and spot indicated using a Sharpie (lathe running). That got me close enough to indicate the lands with a pin gauge. The bore is 0.500”, but I don't want to force a tight 0.500” pin and scuff the rifling. Instead, I lightly lubed a 0.499” and slid it in. Mind you, this is only preliminary centering. The precision work is done on the grooves with a horizontal dial test indicator. 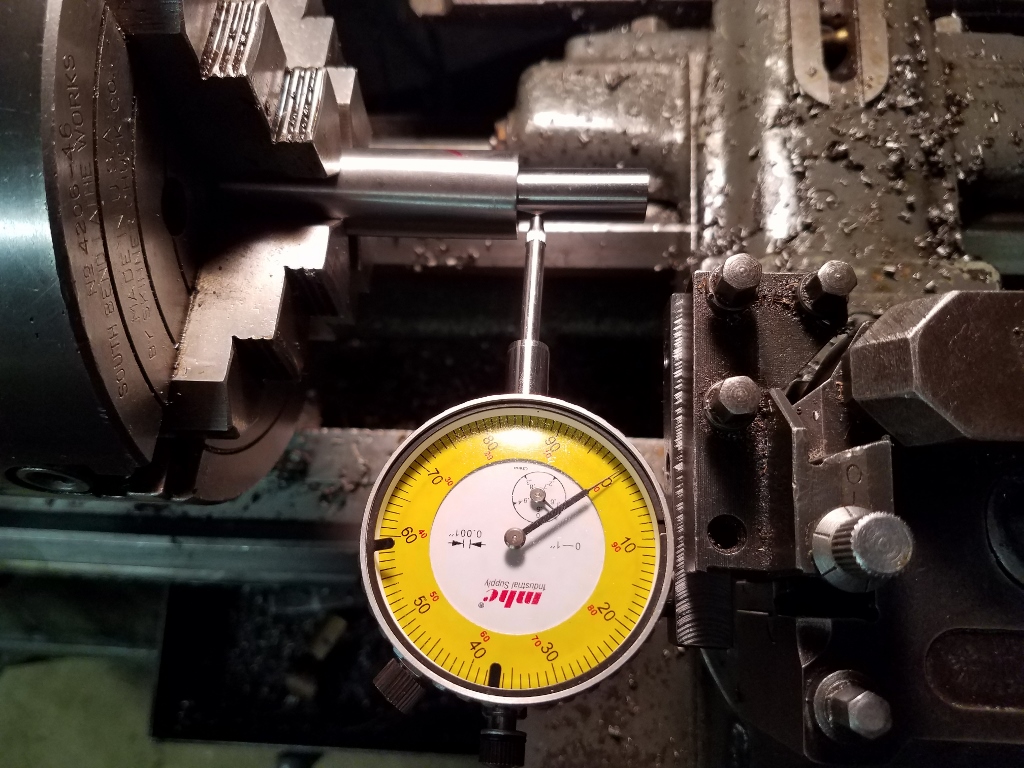 A horizontal dial test indicator is used to true all six grooves. These have 0.0005” graduations, but splitting the marks gets to 0.00025”. The probe is run into the rifling and the 4-jaw chuck is slowly rotated. As the finger rides over the lands and back into the grooves, the dial moves. Low spots are grooves, high measurements are lands. Once a groove is found, the dial is zeroed. Using the chuck key, the headstock is gently moved 180 degrees. Runout is noted by how far from zero that groove is relative to the opposite side. The chuck jaws are finely adjusted until both opposing grooves read 0.0000”. This procedure is repeated for the other two pairs of opposed grooves. There is no more accurate way to indicate a bore. Every barrel we do, whether it be a Ruger conversion or benchrest rifle, gets this treatment. 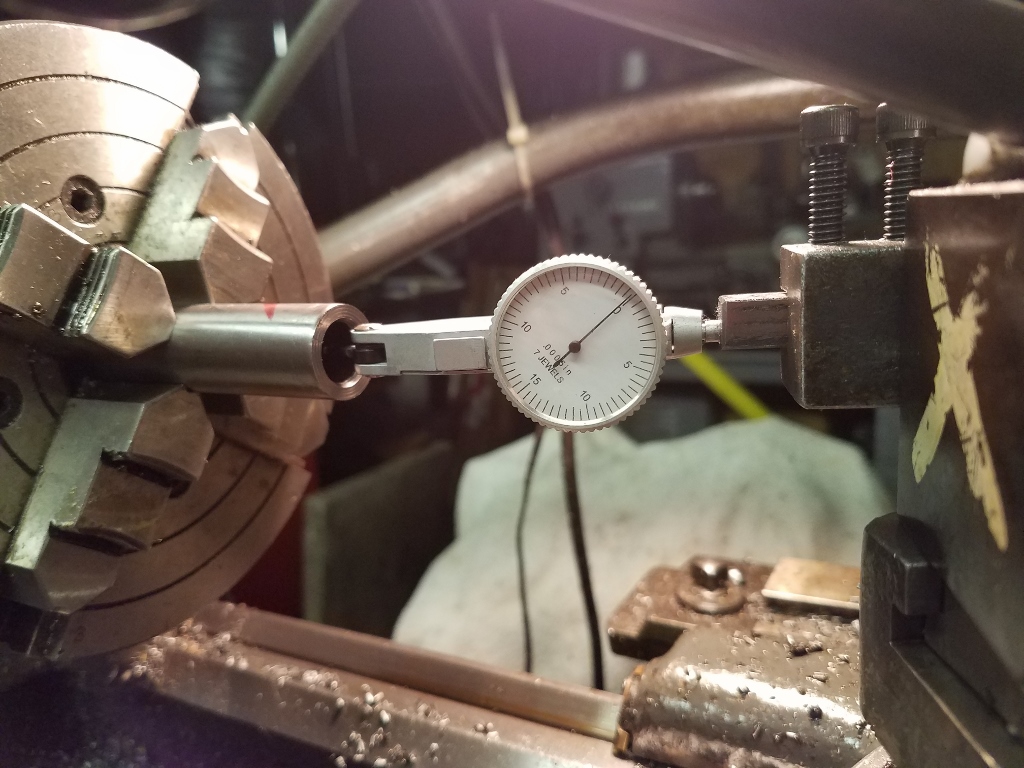 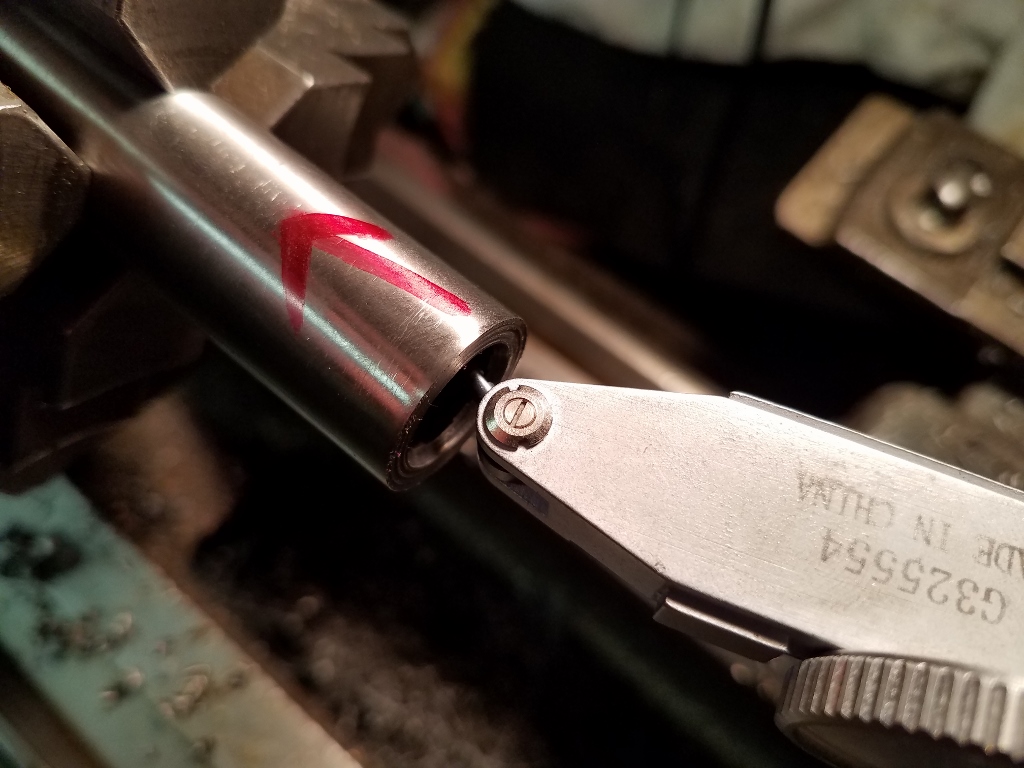 I shot a quick video to better illustrate the technique. So are these measures that necessary? They certainly don’t hurt accuracy, but can’t guarantee it either. Truth be told, our nerves, respiration, and eyesight are way more critical to shooting revolvers well. My dad and I do this stuff because all it costs us is time (plus I truly believe it matters). Up next, I'll cut the threads and lathe the forcing cone. -Lee www.singleactions.com"Chasing perfection five shots at a time" |
|
|
|
Post by Markbo on Aug 3, 2017 20:34:58 GMT -5
You are men of unusual patience, talents and knowledge.
|
|
|
|
Post by sportster on Aug 4, 2017 6:00:49 GMT -5
How much time does it take you to center a barrel that way?
|
|
|
|
Post by Lee Martin on Aug 8, 2017 19:57:41 GMT -5
How much time does it take you to center a barrel that way? It took me about 20 minutes. My dad, who is an experienced machinist, can do it in less than half that time. -Lee www.singleactions.com"Chasing perfection five shots at a time" |
|
|
|
Post by Lee Martin on Aug 8, 2017 20:04:23 GMT -5
 I start by rough facing the end of the barrel. This isn’t the final pass however; that’ll come when I set the cylinder gap.  A depth mic is used to measure the front of the frame to the cylinder face. This one mic’d 0.641”. I’ll turn the shank to that exact length, 0.690” o.d.     Ruger frames are 24 tpi. Since Blackhawk barrel inlets are countersunk, there’s no need for a relief cut before the shoulder. The depth of compound feed for a single form vee tool is 0.036”. Total depth on the compound then equals ~0.072”. This is a rough approximation though. Ultimately, the frame dictates how deep I’ll have to go to obtain nice, tight mating.   Using a cutting bit, I lathed off the first two threads. Otherwise, these would show through the frame window.   Testing the frame on the threaded barrel - this one turned out perfect. It was snug but had no bind or tight spots.  The forcing cone - there are a lot of theories around which style works best. The angle isn’t an exact science, as long as it isn’t too shallow or too steep. 5 to 15 degree cones work, but we normally use 11 degrees. I don’t like deep forcing cones and I’m not a fan of throating. My throats are properly indicated and the cylinder is rigid in battery. Big forcing cones and free-bore only do two things well: 1) They correct poor alignment, and 2) They eliminate choke. My dad summed it up best. If the cylinder-to-bore alignment is dead nuts and the cylinder doesn’t move, get the bullet into the lands ASAP. The compound feed is moved to 11 degrees and a boring bar is mounted.   A close-up of the shallow 11-degree cone prior to polishing. It was hard to take a crisp picture of it due to dim lighting, metal bits, and oil.  The barrel is screwed into the frame and as expected, the shank just touched the cylinder. I removed it and faced 0.002” off the end. The barrel was re-installed, verifying a 0.002” cylinder gap.   Two things to note: 1) Since I haven’t drilled the ejector hole or installed a sight, I’m not bound by thread timing. From what I'm told, Ruger adds the front sight and drills the housing hole prior to final installation. If the thread timing isn’t perfect, they’re chasing TDC on the sight when torqueing. This is why barrel choke is so common in today’s Blackhawks. 2) Step 19 and barrel indication – again, if this is off, the threading and cone will show runout to the throat. Line-boring and line-indexing only work if the barrel is installed with precision alignment between the bore’s axis and the frame inlet. -Lee www.singleactions.com"Chasing perfection five shots at a time" |
|
|
|
Post by kings6 on Aug 8, 2017 21:08:42 GMT -5
I want to live in Lee's shop! I'm house trained and don't eat much😊
|
|
Joe S.
.401 Bobcat
  
Posts: 2,517
|
Post by Joe S. on Aug 8, 2017 22:51:34 GMT -5
Excellent!
|
|
|
|
Post by Rimfire69 on Aug 9, 2017 8:09:19 GMT -5
Fantastic up close pictures, great job Lee on making us feel like were right there with you.
|
|
cmillard
.375 Atomic
   MOLON LABE
Posts: 1,997
|
Post by cmillard on Aug 9, 2017 16:42:51 GMT -5
lee, what do you torque you barrels at?
|
|
|
|
Post by Lee Martin on Aug 16, 2017 19:28:15 GMT -5
lee, what do you torque you barrels at? We don't have a specific torque setting. We do it by hand using a piece of old axe handle through the frame window. First we hard snug the barrel to 10 degrees before TDC. The last 10 is done by force with the handle. You can feel when it's just right. "Right" is tight, but not over crushed. Sounds primitive, but it has worked well on close to 100 conversions. BTW, the torque applied to the frame isn't a concern. It is no where near enough to compromise it. -Lee www.singleactions.com"Chasing perfection five shots at a time" |
|
|
|
Post by Lee Martin on Aug 16, 2017 19:30:47 GMT -5
 Using the process described in step 19, the muzzle is indicated in the chuck. I marked 6.100” on the blank and cut it to length. 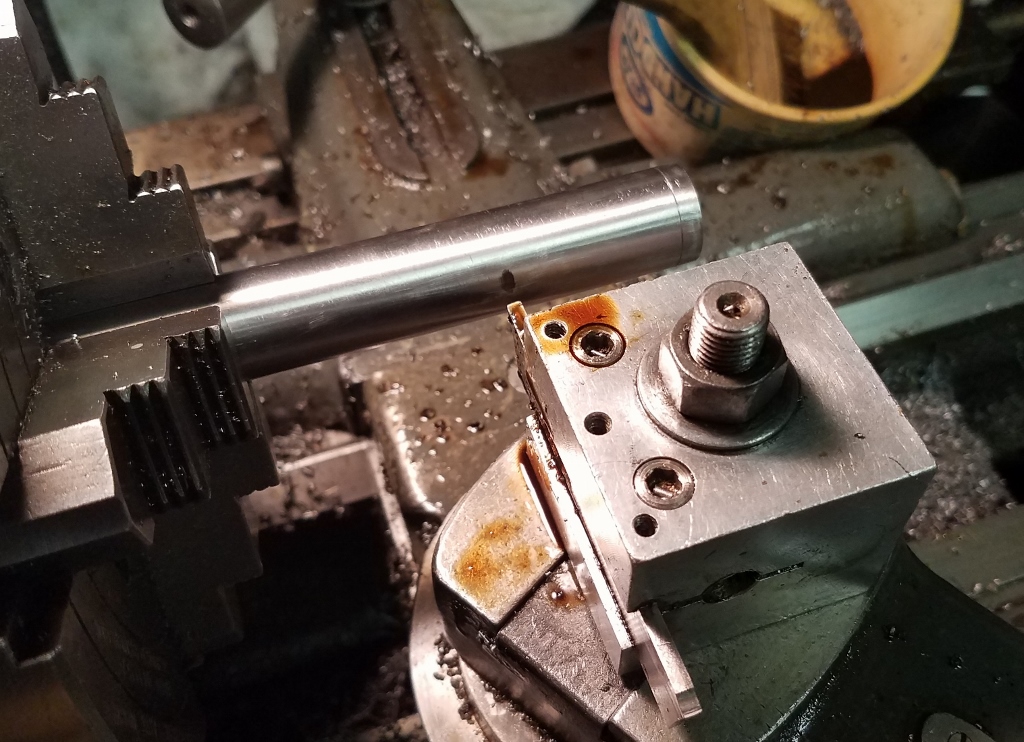 The extra 0.100” is faced and a small crown is machined. On a bore this big, I don’t lathe a wide, square crown. It just creates unsightly, thin sidewalls. Instead, a mild instep was made, which is plenty for this 500. It won’t be bounced off rocks. 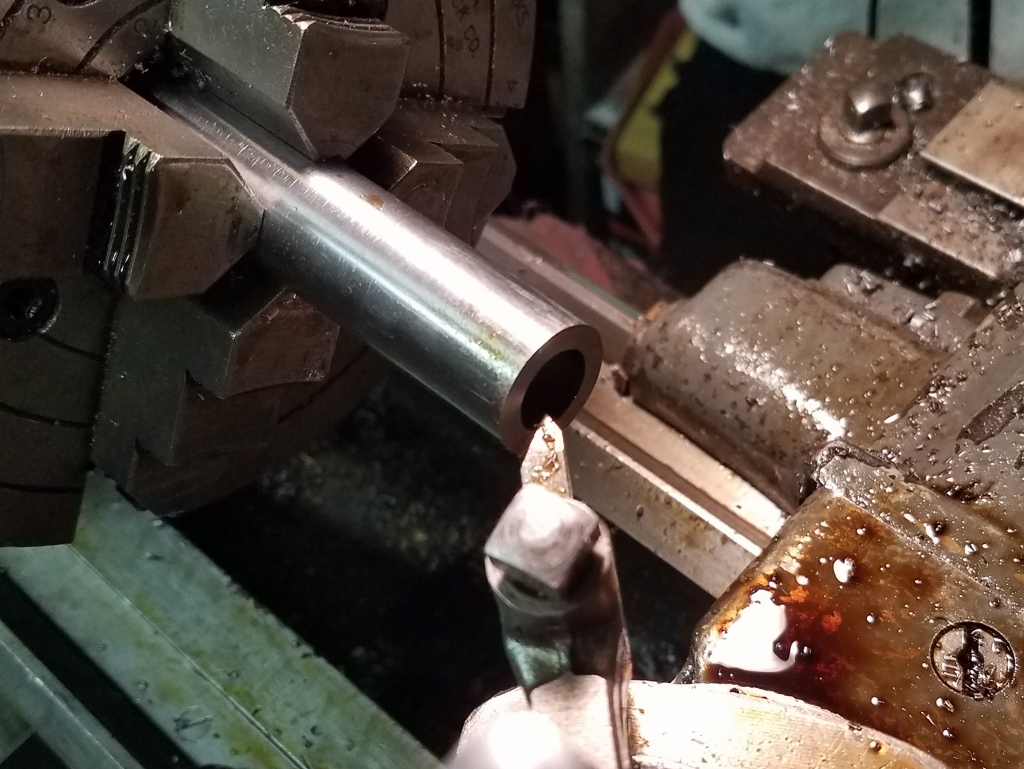 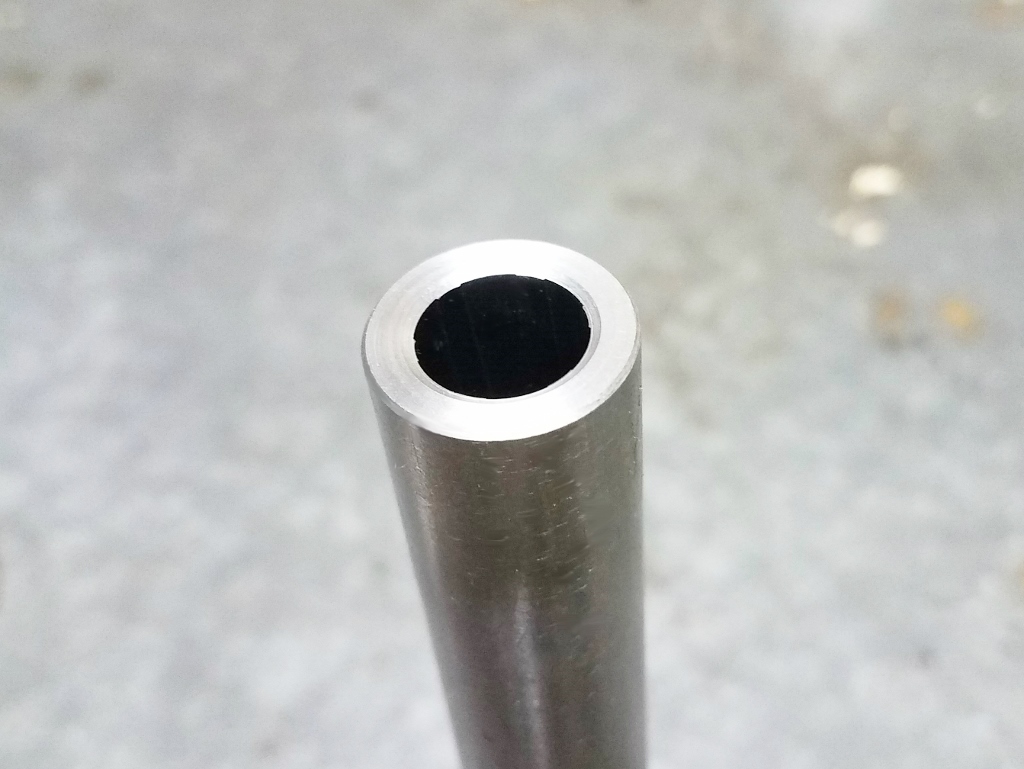 Before installing the ejector housing and milling the front sight, I’ll test fire the gun. That’ll happen this weekend with 505 gr LFNs of my design. These were cast on a Mountain mold and lubed with Alox. Alox may not be the prettiest lube, but it flows beautifully and stays put. 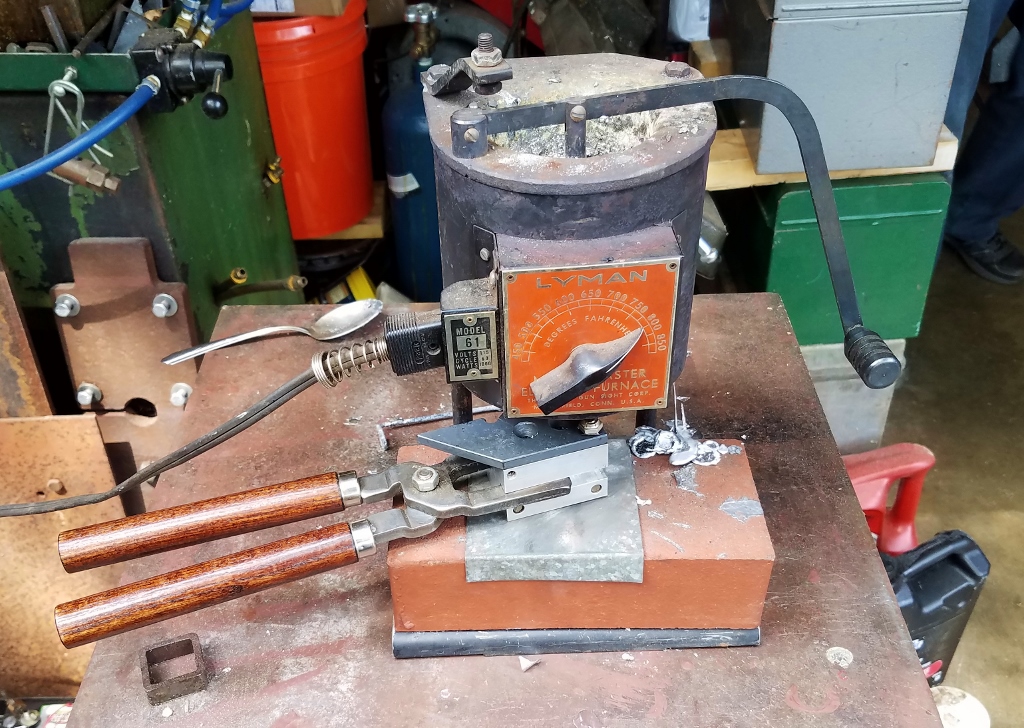 I poured a few boxes of these on Sunday. 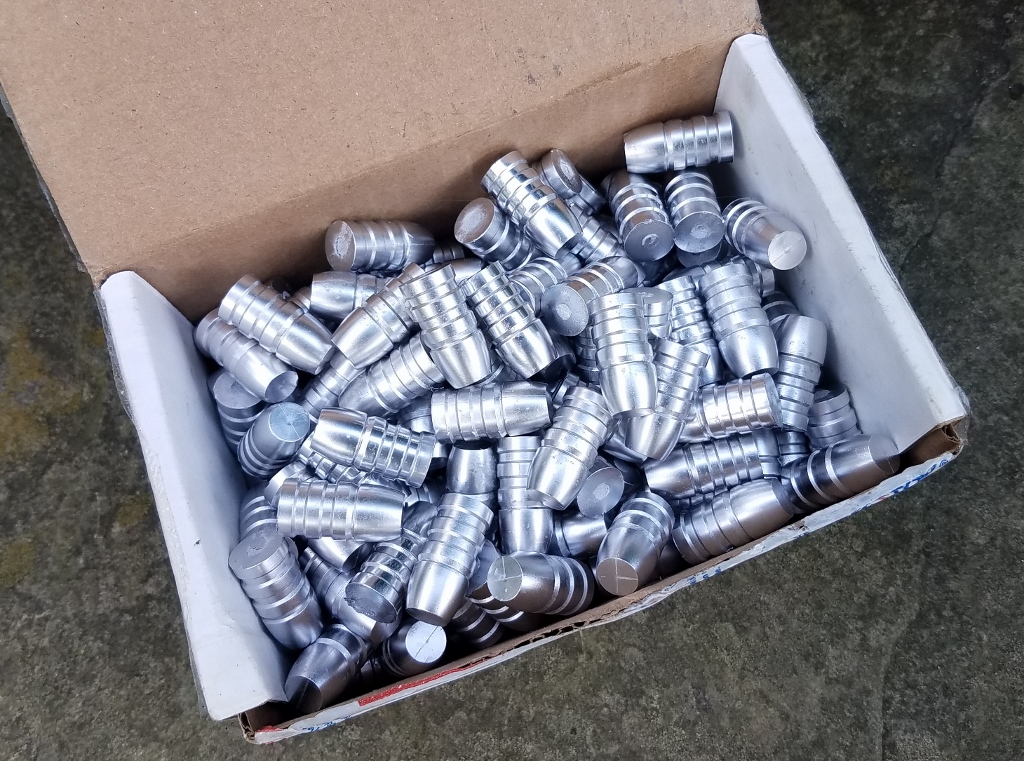 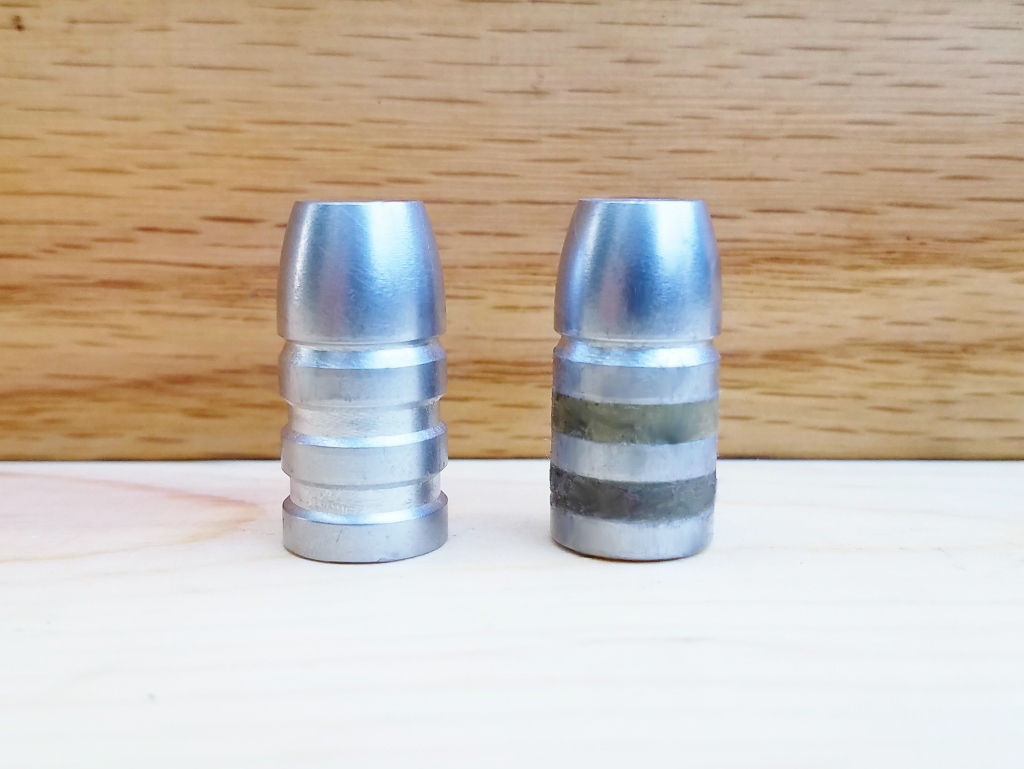 -Lee www.singleactions.com"Chasing perfection five shots at a time" |
|
Joe S.
.401 Bobcat
  
Posts: 2,517
|
Post by Joe S. on Aug 16, 2017 20:21:39 GMT -5
That's a big ol boolit Lee!
Cant wait to see the report on this one.
|
|
|
|
Post by Markbo on Aug 17, 2017 1:59:07 GMT -5
I've never seen Alox used IN lube grooves.
|
|
Joe S.
.401 Bobcat
  
Posts: 2,517
|
Post by Joe S. on Aug 17, 2017 7:03:14 GMT -5
There is an ALOX lube sizer recipe out there. I don't know if they make that already or if this is home made lube but the home made stuff works good.
|
|
|
|
Post by Lee Martin on Aug 24, 2017 19:15:59 GMT -5
 I didn’t get a chance to shoot the gun last Saturday. But I did mill the front sight and install the ejector housing. My eyes take to contrast between the rear notch and front blade. That's why I make my sights out of aluminum. I start by cutting a piece of aluminum square stock. 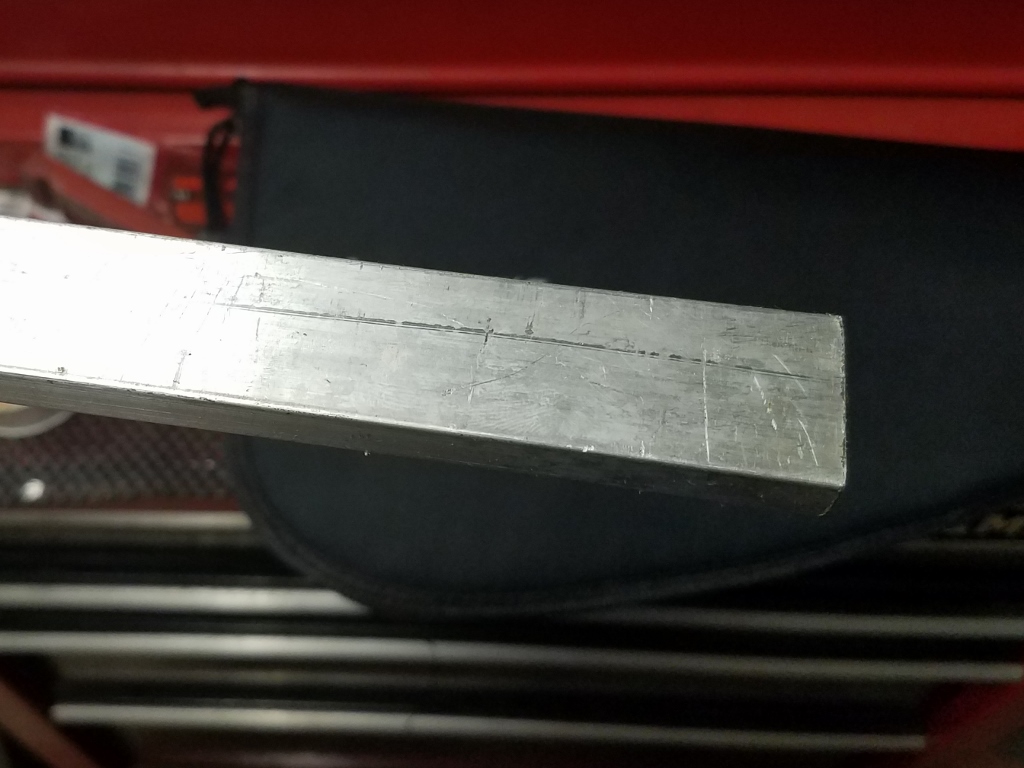 The ends are faced in a Bridgeport. 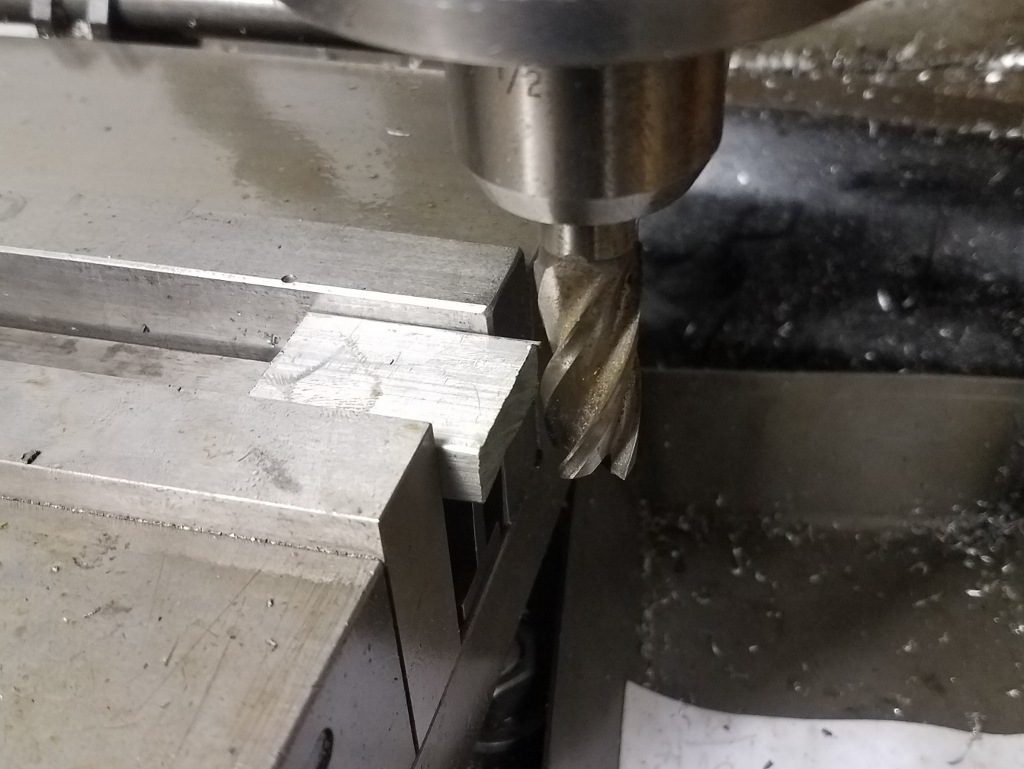 Using the same endmill, the sides are trimmed to form the blade. 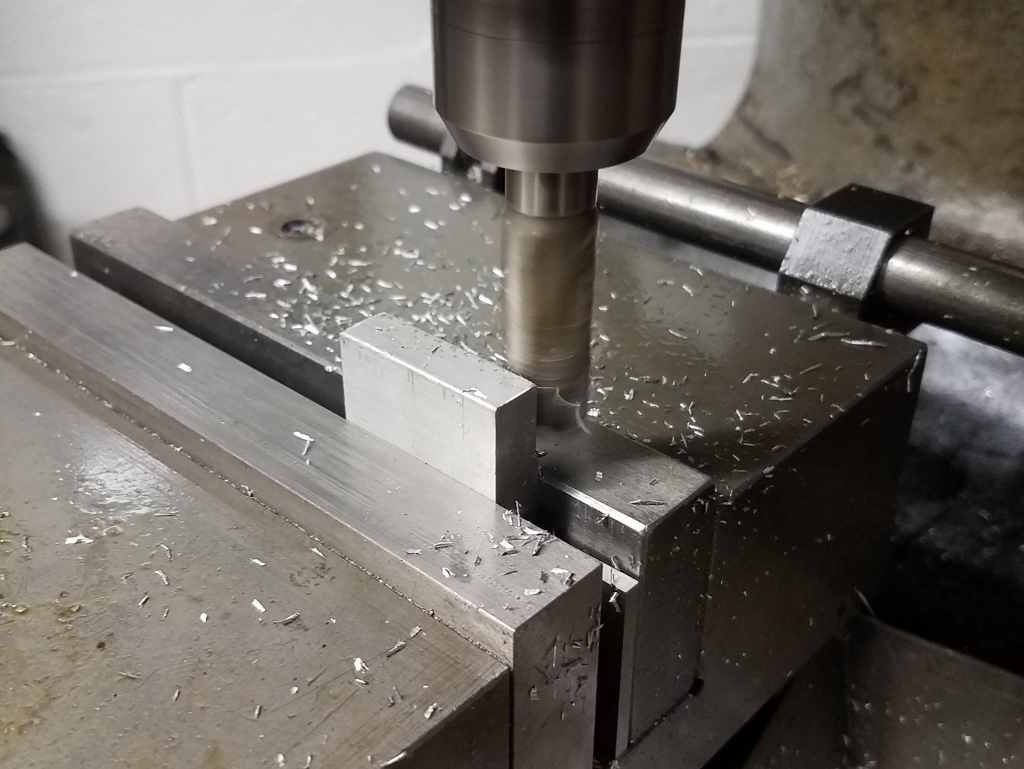 The rear portion is hogged out, setting the blade’s length. Tilting the sight forward allows for the rear ramp to be milled.  The barrel is 0.800” in diameter. Holding the sight vertically in a vise, the underside is radiused. 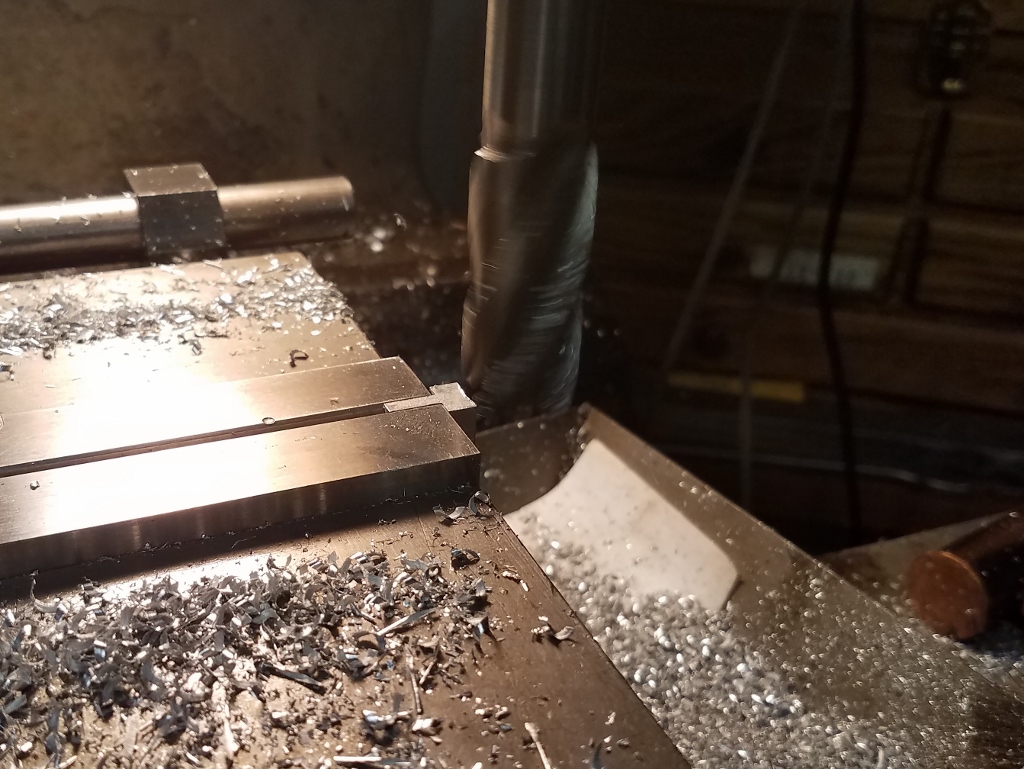 Spotting the sight for the screw hole. 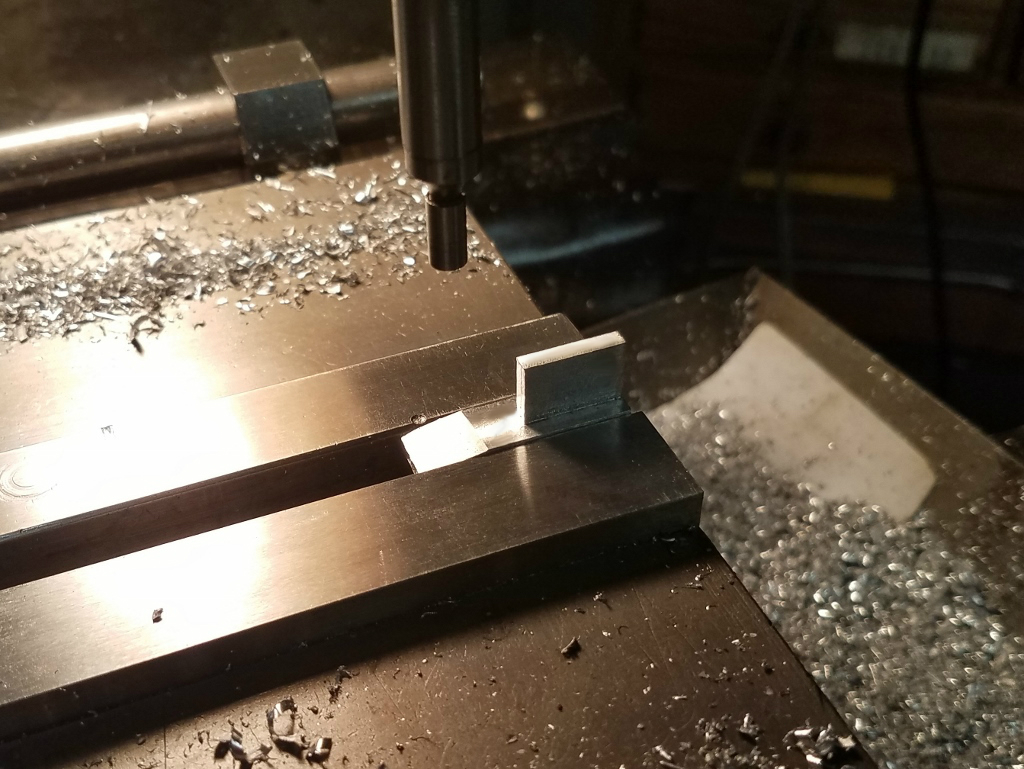 The hole after drilling and recessing. 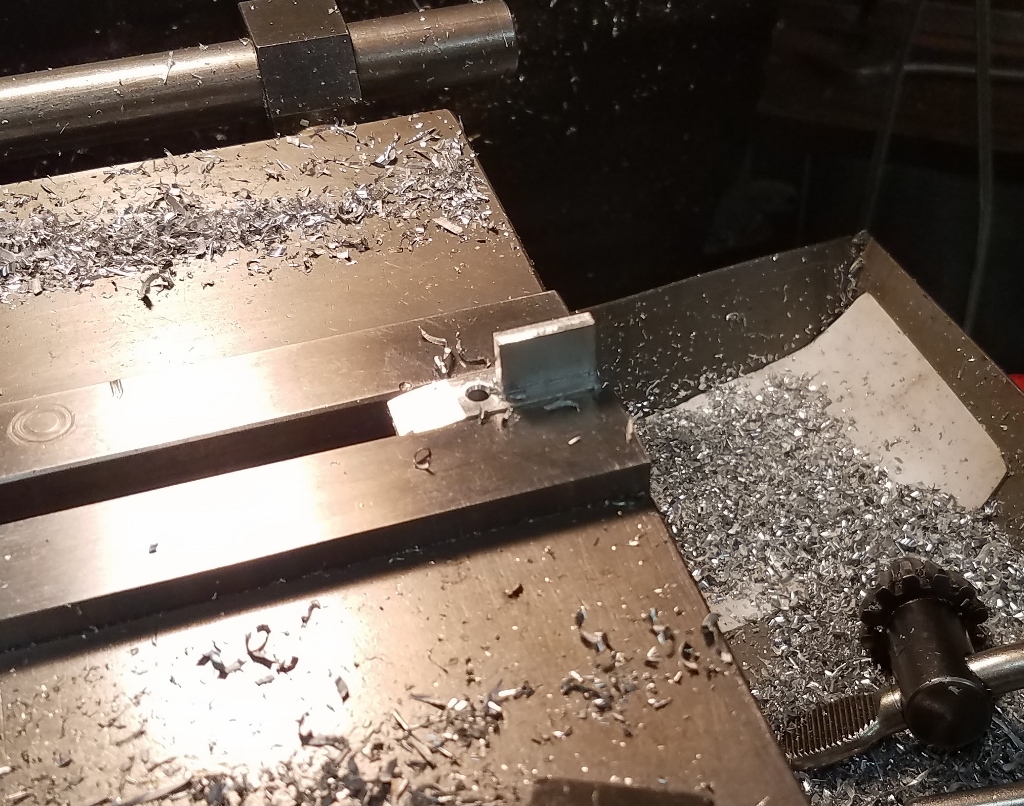 The ejector housing is mocked on the barrel and the table is positioned. It’s critical to have the ejector firmly pressed against the frame when you indicate the hole.  Drilling and tapping for the ejector screw. 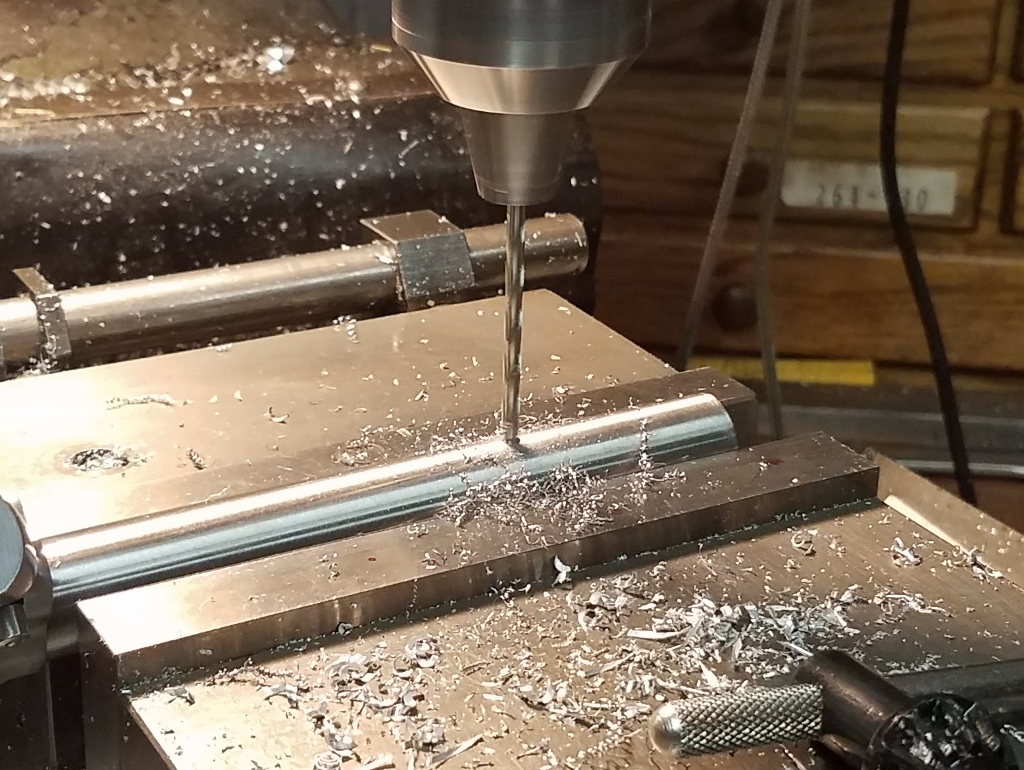 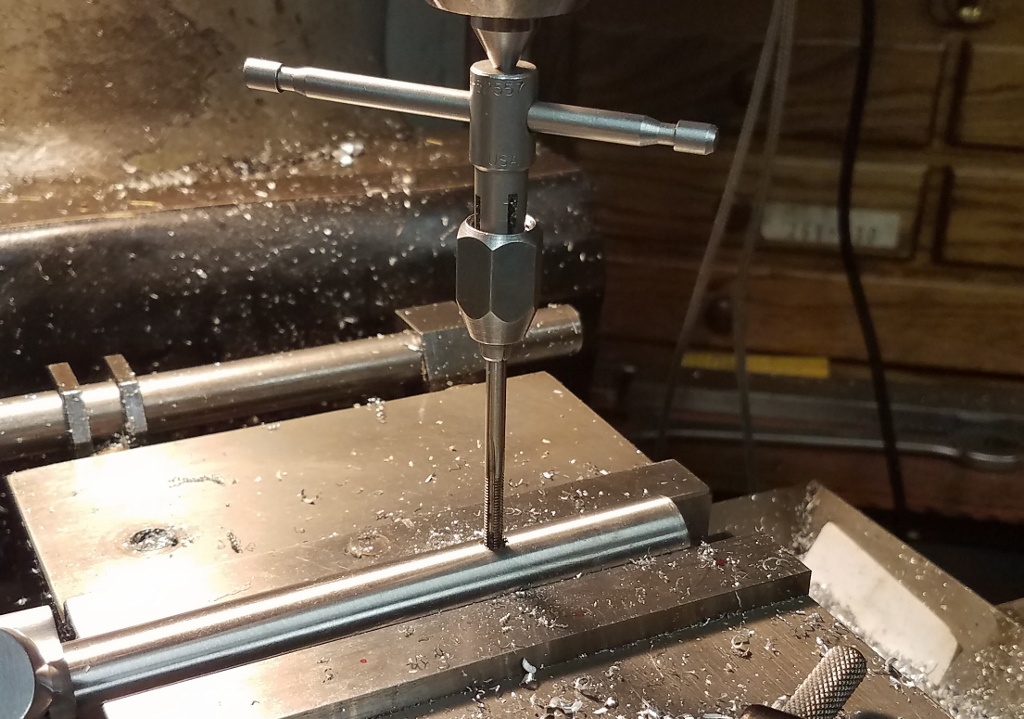 Lastly, the front sight is positioned on the barrel. Once affixed, the table is moved until the sight touches the muzzle end. In the below photo, you’ll see the barrel overhangs by about a 0.100”. To remove this, the table is dialed to the left so the sight is flush.  The table is locked and the hole is drilled and tapped. Later, the sight will be sanded to remove the machine marks. I’ll also round the front edge on a belt sander. 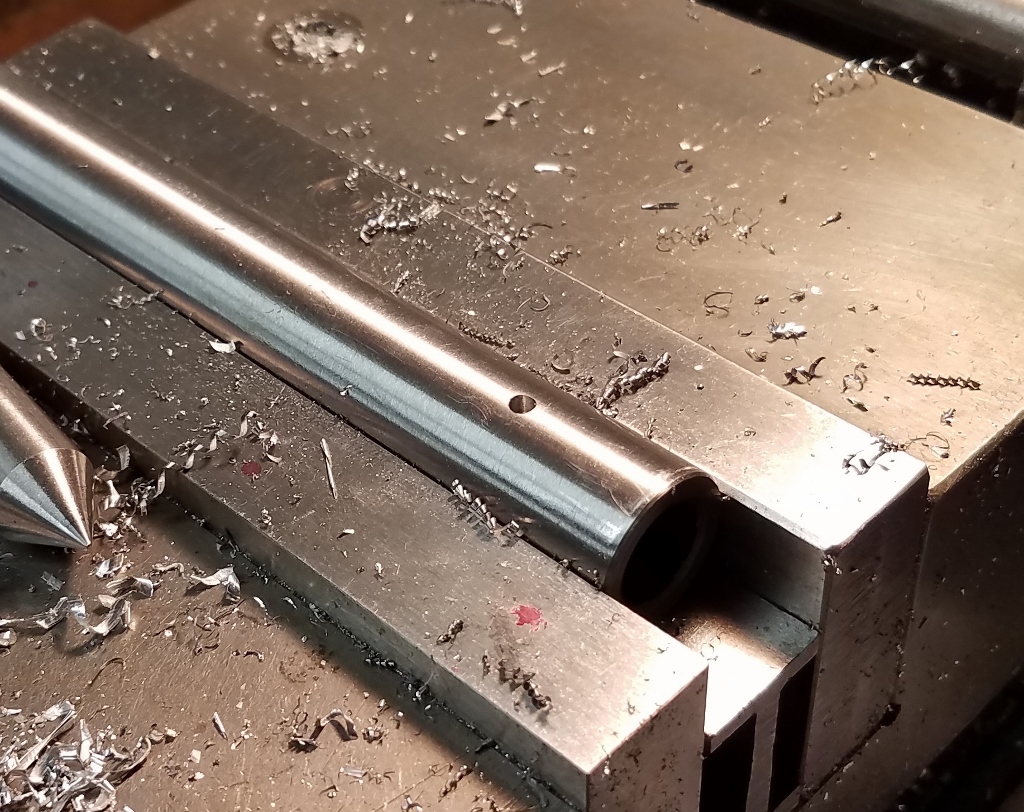 It’ll go bang on Saturday. Using the 505 LFN, I’ll try two loads - 14.0 of HS6 and 26.0 of H110. -Lee www.singleactions.com"Chasing perfection five shots at a time" |
|


