|
|
Post by Lee Martin on Nov 26, 2013 11:32:40 GMT -5
Step 8 – Threading the Receiver _________________________________________________________________________________________ We made some more progress last night: The internal threads will be 1”-16 and are done with a single-point cutter: 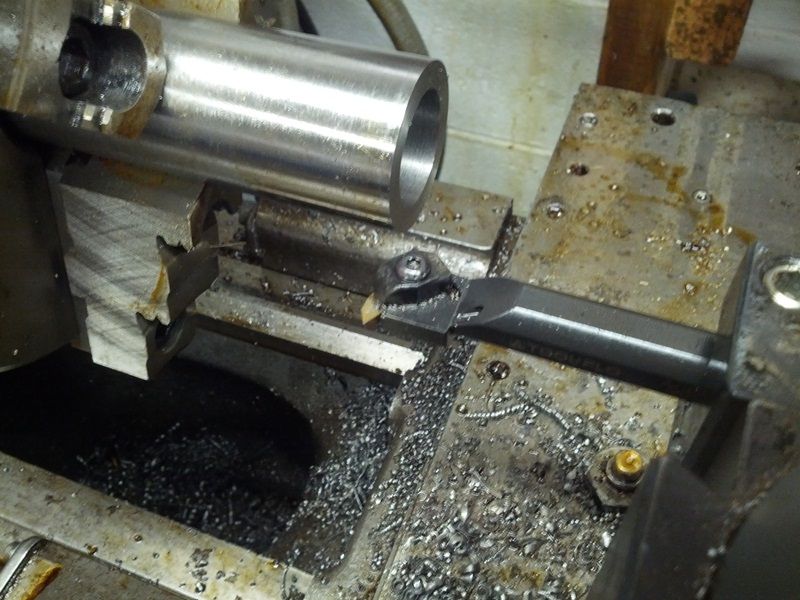 The initial pass (~0.015”): 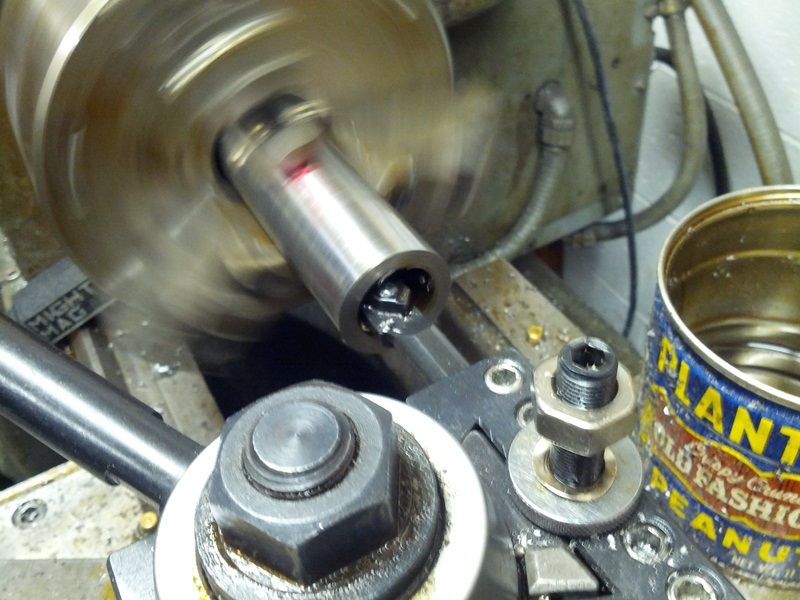 Midway: 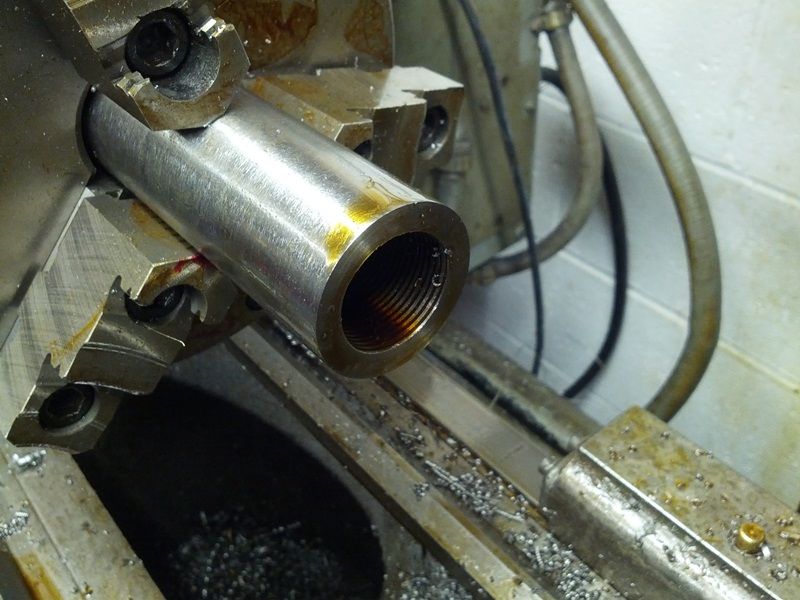 A dial indicator is used to determine the thread depth front to back. From the lug seat to the end of the receiver equals 1.5”. You don’t want to thread to the raceway though for obvious reasons. 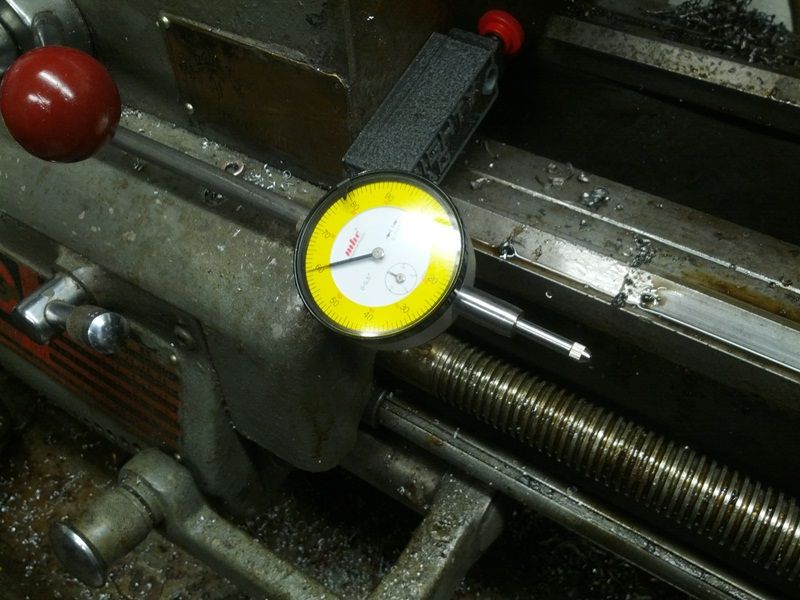 Cleaning the finished threads with a tap: 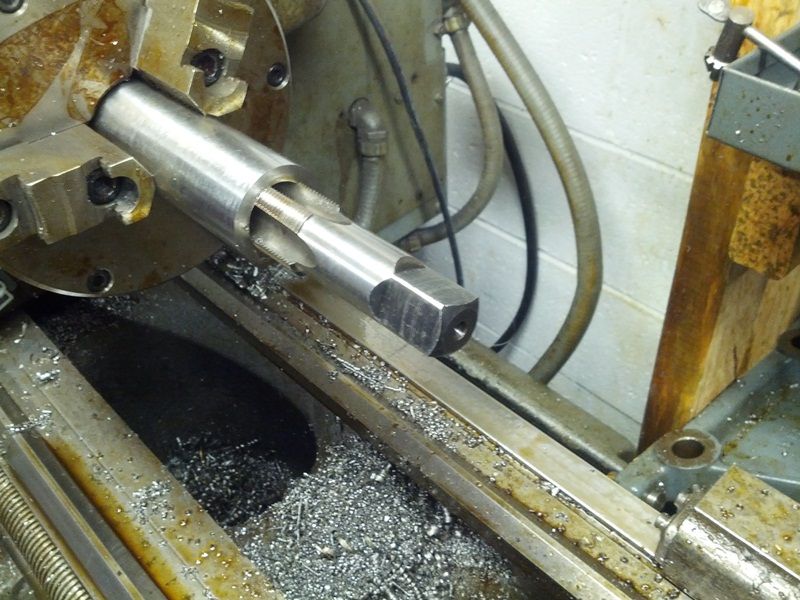 Testing the threads with a mock barrel shank: 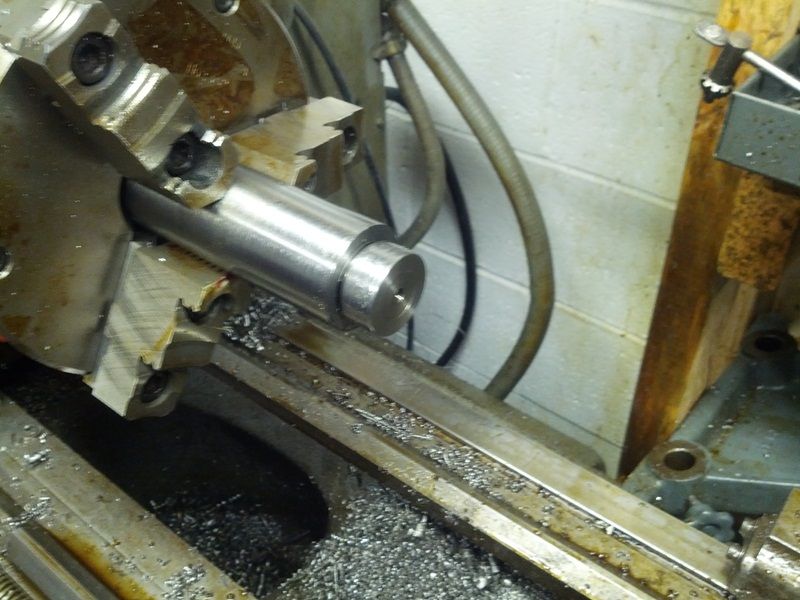 We plan to hit this hard on Friday so stay tuned. -Lee www.singleactions.com“Building carpal tunnel one round at a time” |
|
|
|
Post by ermont0825 on Nov 26, 2013 18:44:37 GMT -5
Yes please do. I would enjoy following along from a distance.
|
|
|
|
Post by Lee Martin on Nov 29, 2013 10:26:24 GMT -5
Step 9 – Boring the Bolt Hole _______________________________________________________________________________________________ We like 0.75” in length for the lug-way. Since the action is 9.0” overall and the barrel shank is 1.5”, 6.75” had to be drilled from the back edge. Mocking the position of the lug seats: 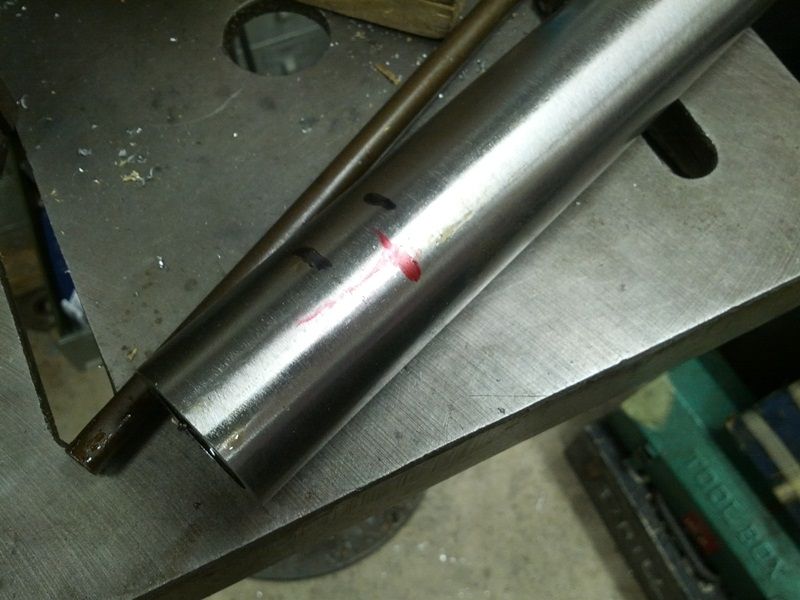 The first pass was made with a 3/4” drill bit: 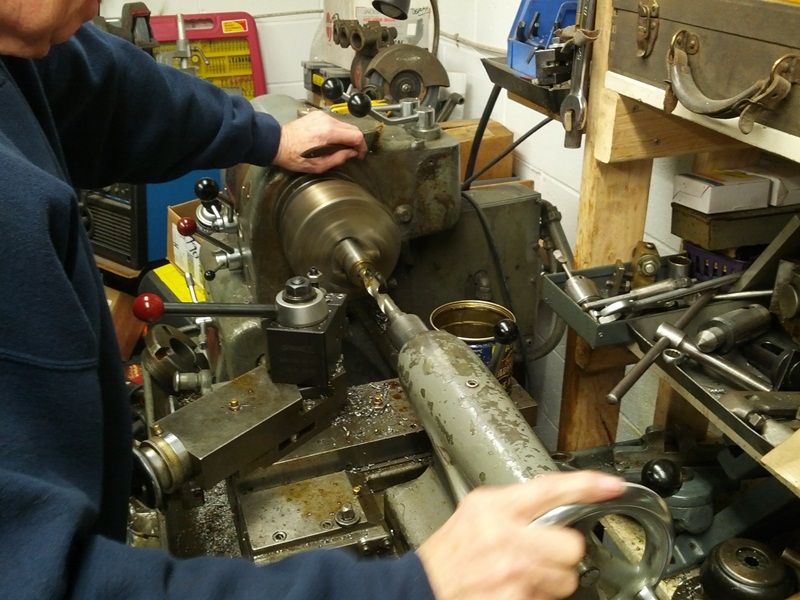 As evident by the oil and chips we’re removing a lot of steel: 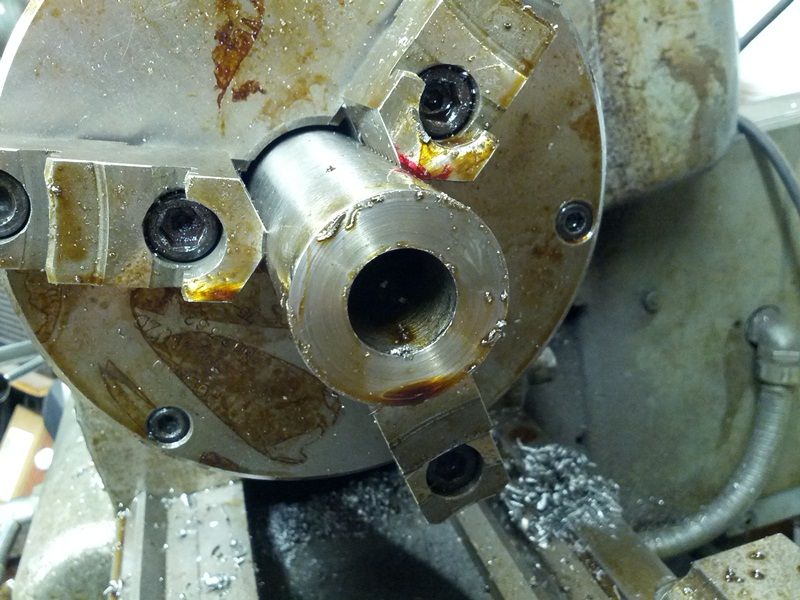 The next drill was 27/32”: 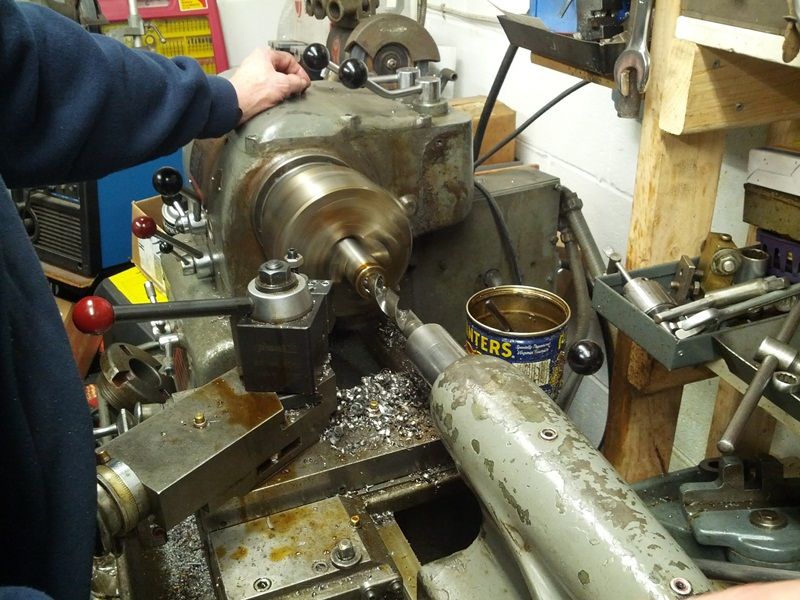 This was followed by a 0.875” reamer with a very short 45 degree bevel. Of course the bolt will be contoured to match that mild lead (note – the transition is only a few hundredths in length): 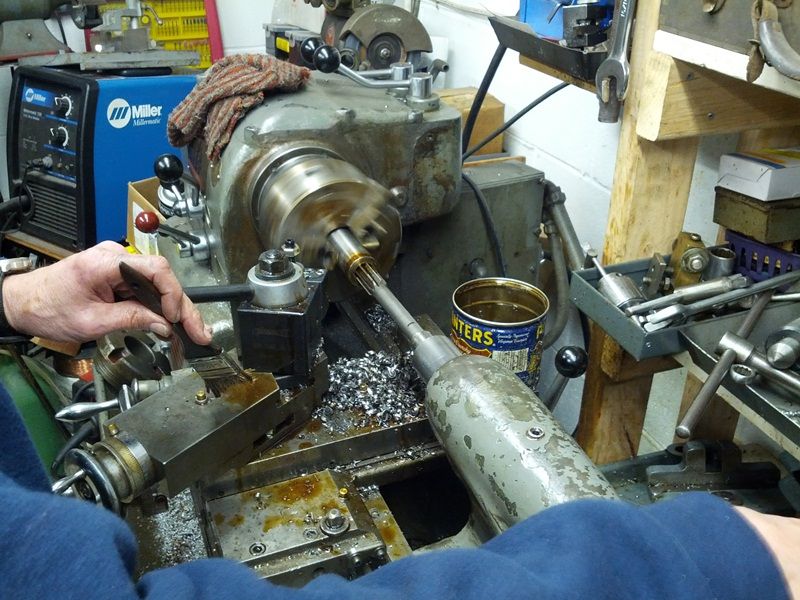 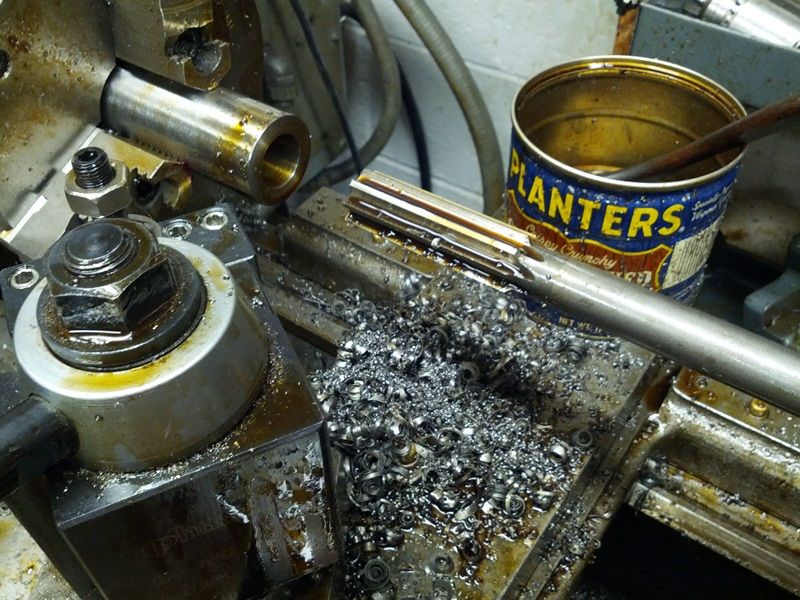 -Lee www.singleactions.com"Building carpal tunnel one round at a time" |
|
|
|
Post by Lee Martin on Nov 29, 2013 10:39:10 GMT -5
Step 10 – Finalizing the Bolt Hole _____________________________________________________________________________________________ The lug seats prior to finish honing the center: 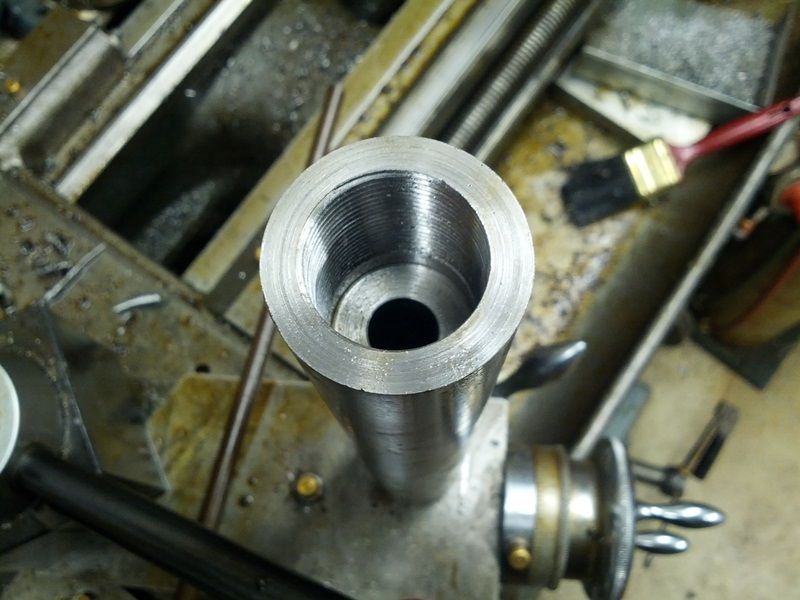 The bolt right behind the lugs will be 0.550” in diameter. Using a boring bar we opened the passage from 0.500” to 0.546”: 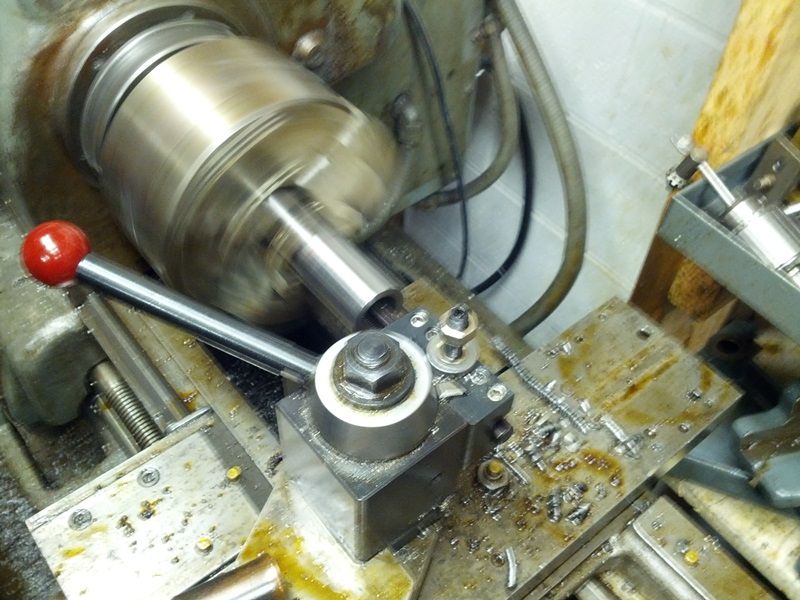 A bore gauge was used to measure the inside diameter: 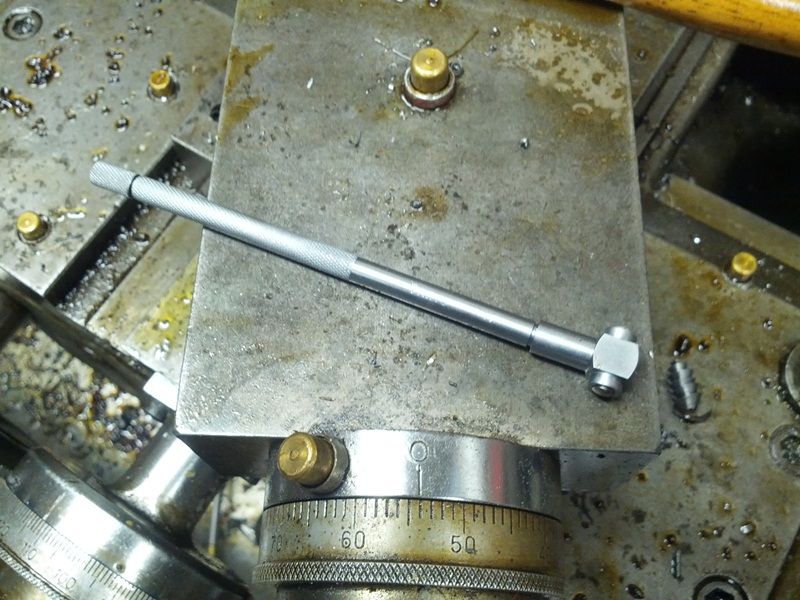 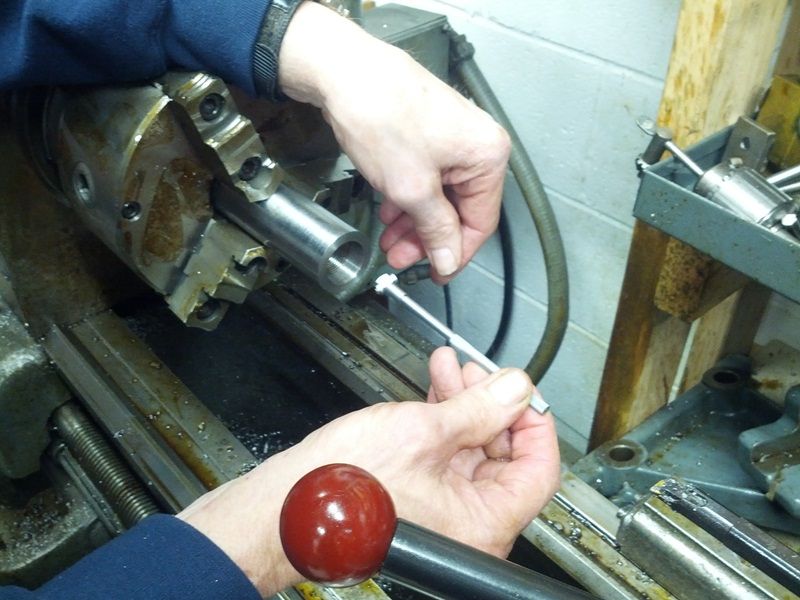 The final hole was done on a Sunnen hone holding to 0.5515”. That gives us 0.0015” total clearance or a very tight 0.00075” per side: 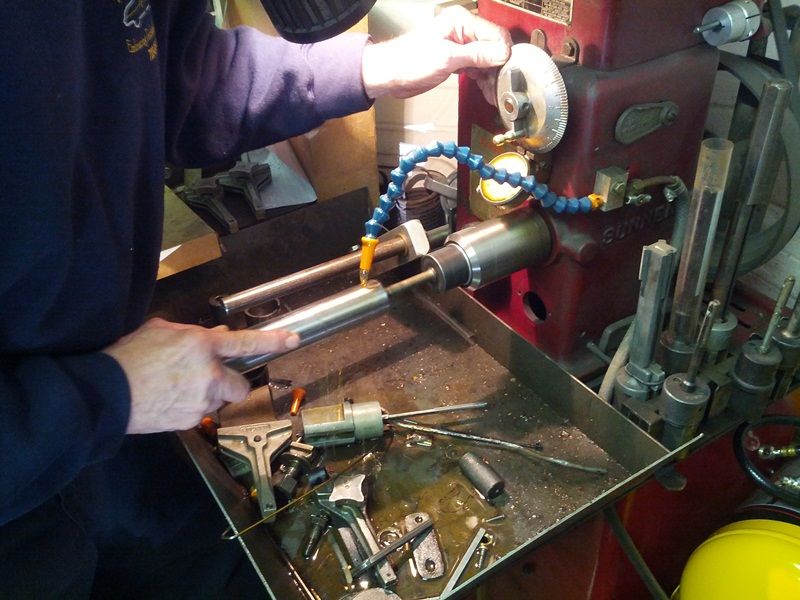 There will be a tiny amount of shrinkage post-heat treating so we’ll likely re-hone it prior to bluing. We're heading back into the shop now to mill the lug slots. This is one of the more critical steps in making this action; I should have details and photos posted by this evening. -Lee www.singleactions.com"Building carpal tunnel one round at a time" |
|
|
|
Post by Lee Martin on Dec 2, 2013 12:50:41 GMT -5
Step 11 – Milling the Lug Slots ___________________________________________________________________________________ This is one of the more intricate steps in making the receiver. First we had to find an end mill wide enough to cut the width of the lugs. It also had to be small enough to clear the main threads. A four flute 3/8” end mill was dug up but the shank was too large in diameter. In other words there was a lip that wouldn’t clear the front of the action and/or the threads. Our fix was to grind it just under 3/8”: 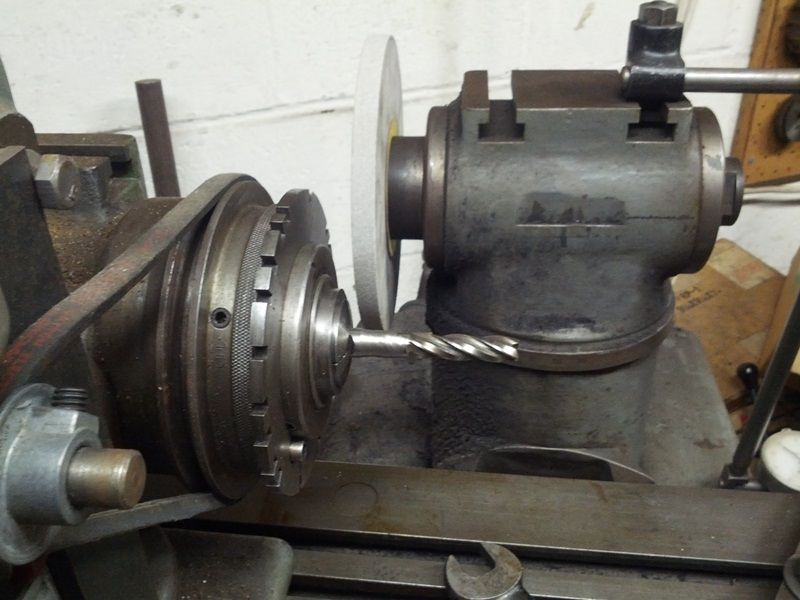 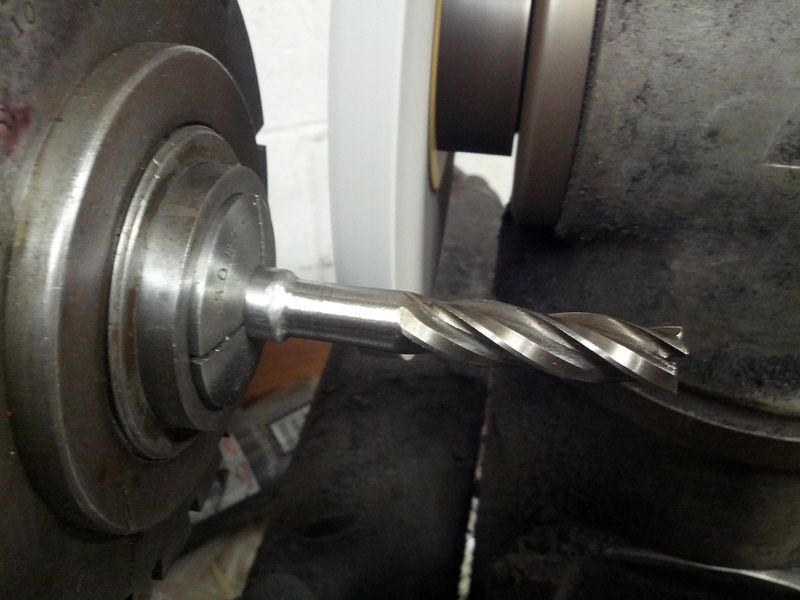 Using a centering device we positioned the action nose forward in a Hartford Super Spacer: 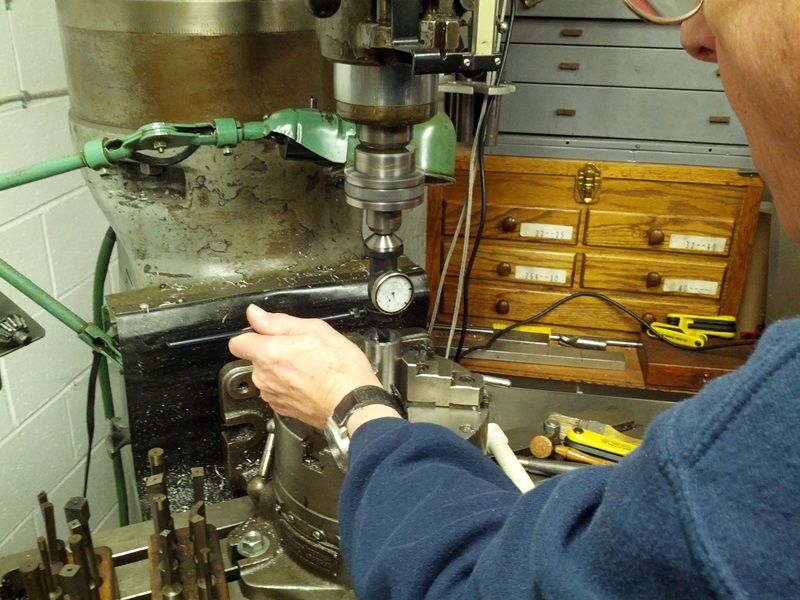 A depth gauge was set so the milling would go just beyond the 3/4” long raceway: 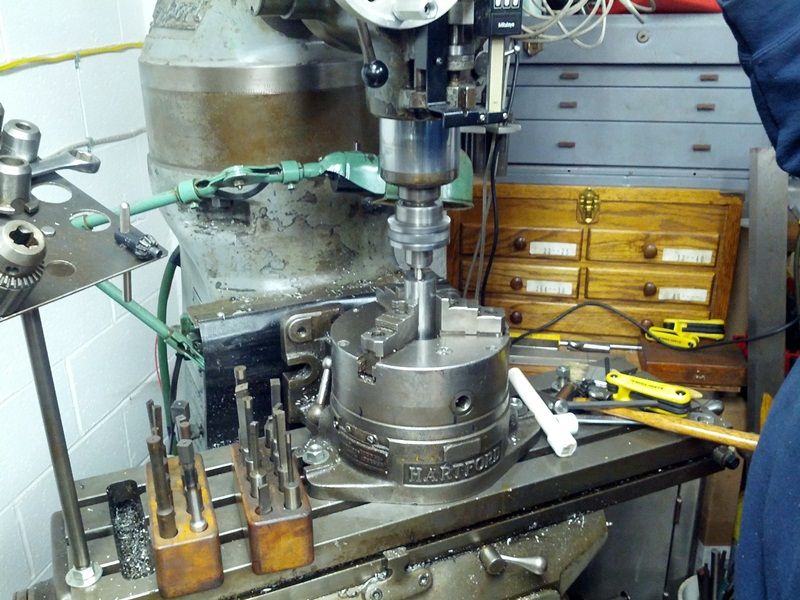 Initial cut on one edge: 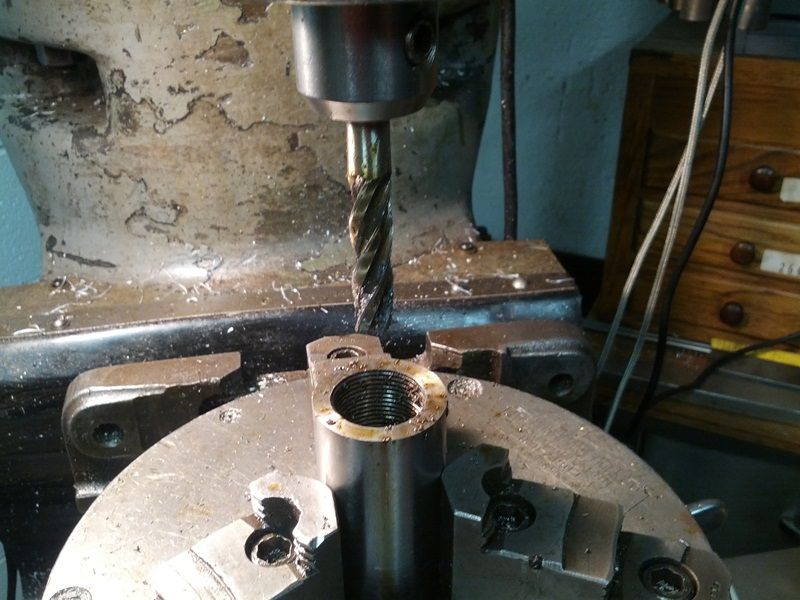 The final pass, left side. Note our digital readout at 2:00. You can go off the mill dials but to hold to ten-thousandths these are a must: 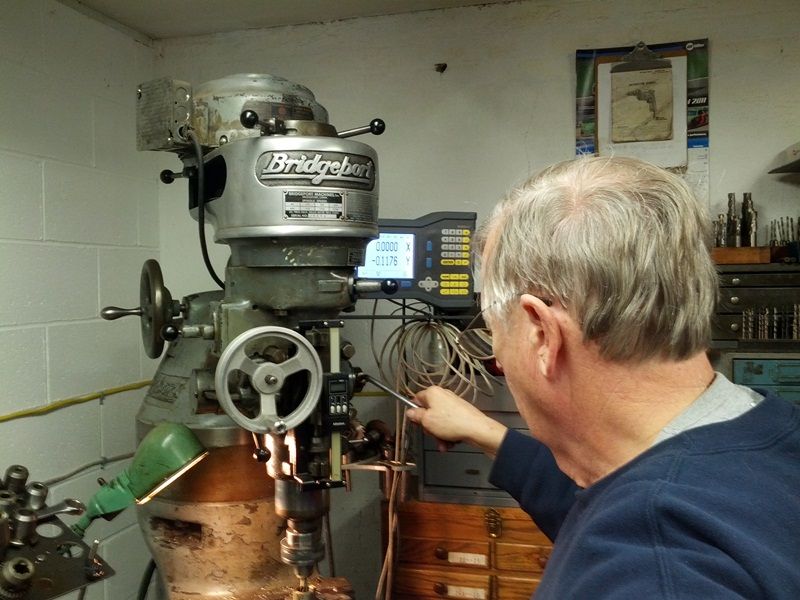 The radiused lug passage before slotting: 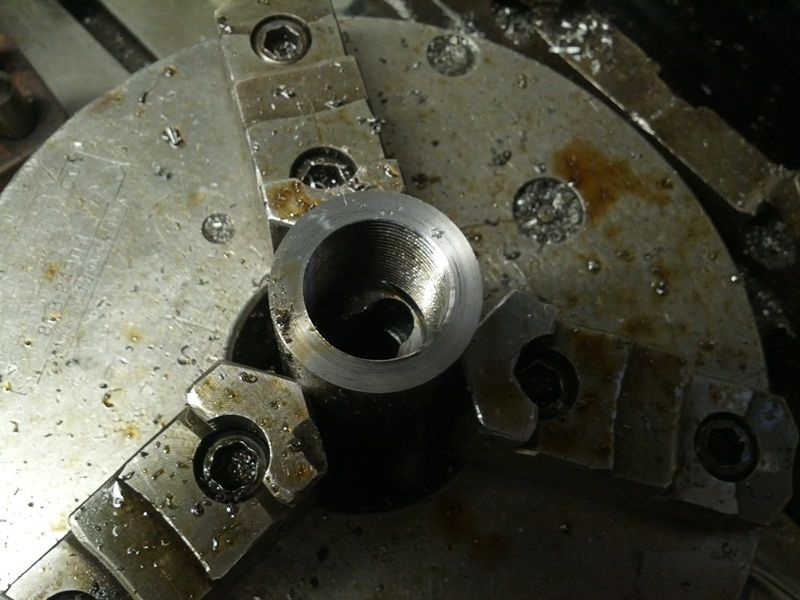 -Lee www.singleactions.com"Building carpal tunnel one round at a time" |
|
|
|
Post by Lee Martin on Dec 2, 2013 12:53:18 GMT -5
Step 12 – Slotting the Lug Passages _______________________________________________________________________________ In the last photo you’ll see there’s radius on the upper edge of the lug-way (caused by the shape of the end mill). Our Bridgeport has a slotting head on the backside so after some reconfiguring: 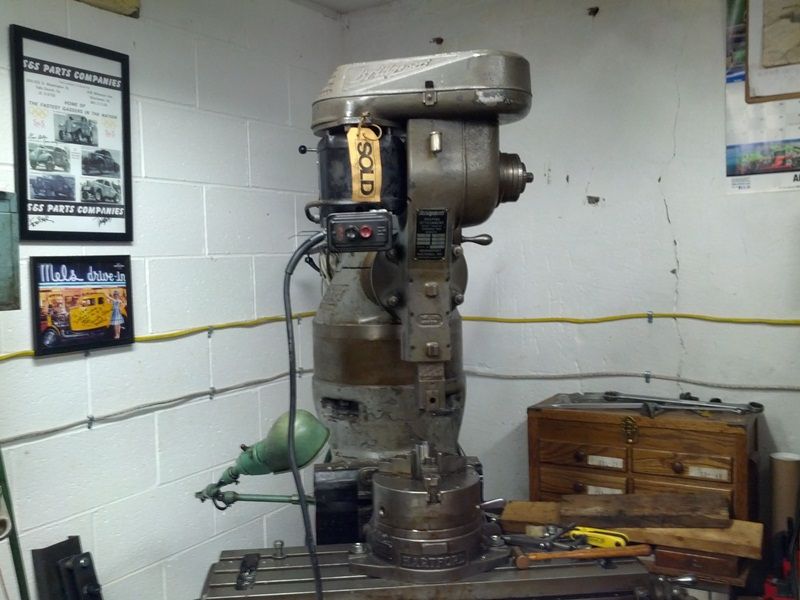 Testing the square slotter in the main ring. There isn’t much clearance so we had to be very careful not to nick the threads: 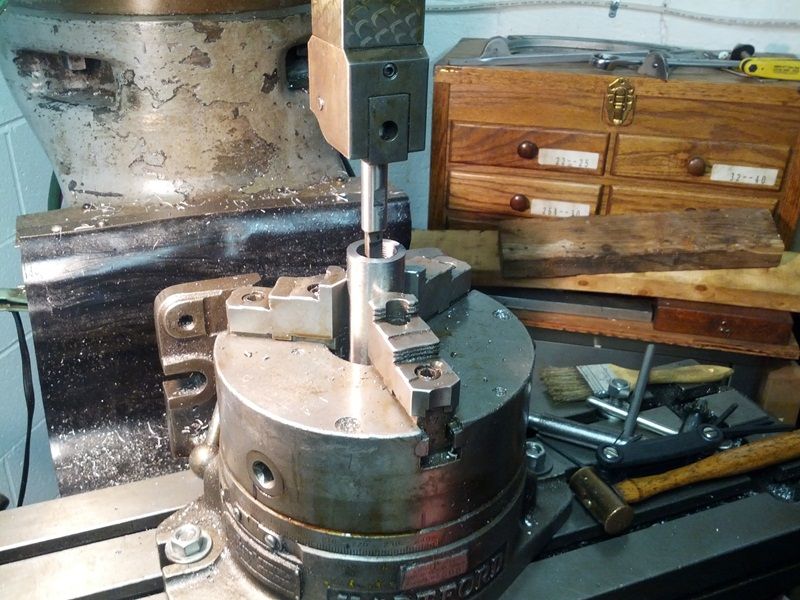 Video of the slotter in action: Raceways prior to lapping. The 90 degree corner and straight edge from the center hole out were made by the slotting process. 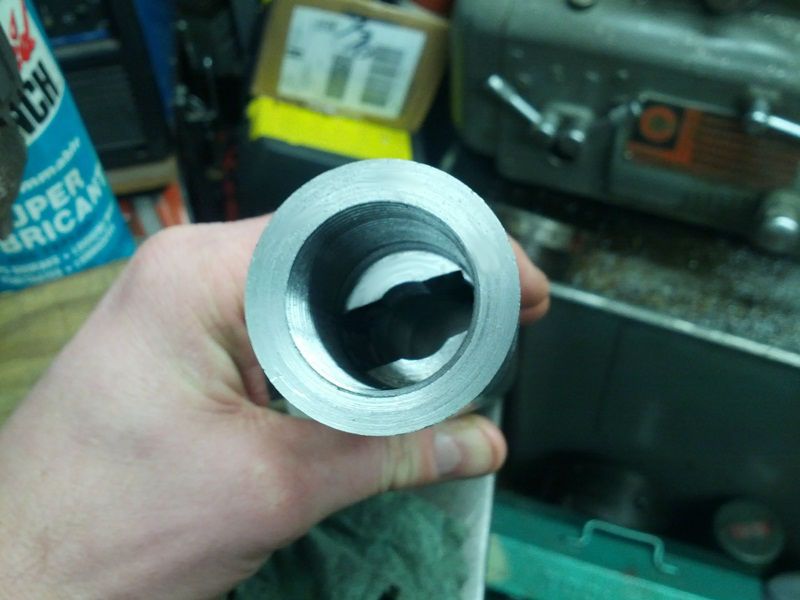 -Lee www.singleactions.com"Building carpal tunnel one round at a time" |
|
|
|
Post by squawberryman on Dec 3, 2013 14:43:15 GMT -5
I love Jimmy Durante singing in the video...
|
|
|
|
Post by Lee Martin on Dec 4, 2013 9:48:26 GMT -5
Step 13 – The Lug Ramps _________________________________________________________________________________________ In order for the bolt to cam over the cartridge rim and ride into the lug seats there has to be a transition; or as I call it a ramp. Like the passages we made in step 11 this is done in a vertical mill. First the head is canted to 10 degrees: 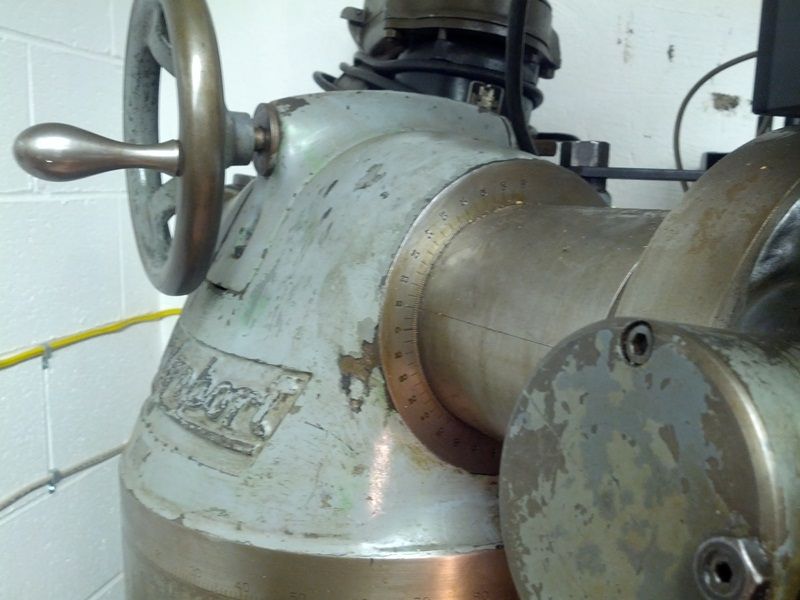 A small end mill is positioned and the depth stop is locked at 0.003”: 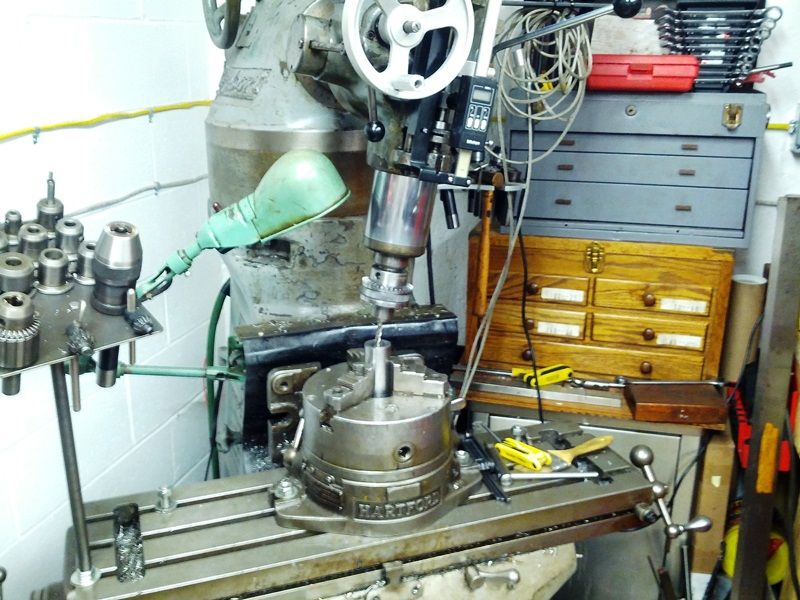 The cut is very mild. Starting at the outer edge the table is indexed until the end mill reaches the center hole. It touches but doesn’t extend into the shaft recess; if it were to we’d lose concentricity. Here’s a picture of the transition, right side. Note the depth appears much deeper than the actual pass. Again we only took a couple of thousandths. 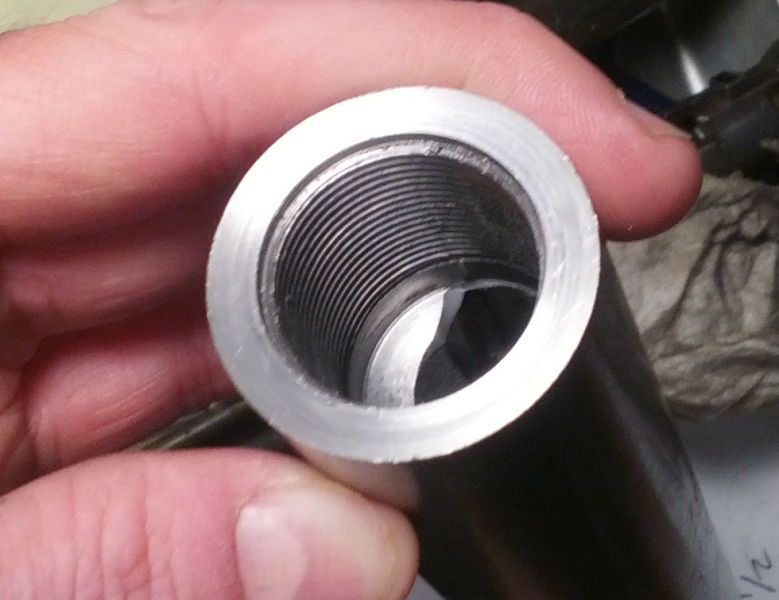 You’ll also notice we counter bored the main threads. Here are two photos of that process: 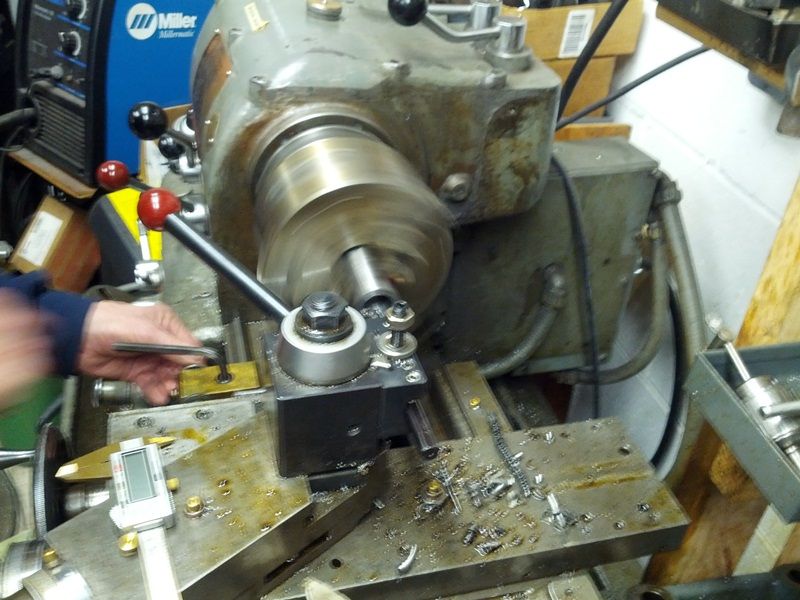 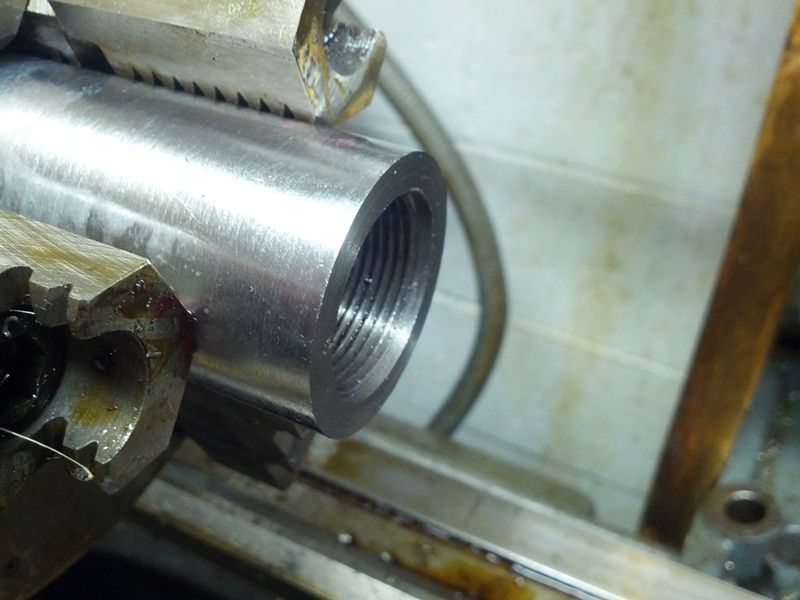 Next up is milling the side port. -Lee www.singleactions.com"Building carpal tunnel one round at a time" |
|
|
|
Post by Lee Martin on Dec 5, 2013 12:49:43 GMT -5
Recessing the Threads - Explained ____________________________________________________________________ I thought I’d touch on why we counter-bored the main threads. While seems like a logical step the reason may not be so obvious. When you internally thread an action there’s a transition to the edge of the shoulder. The outer most thread actually becomes weak as the cutter transverses the opening. What you’re left with is what I called “ringing”. See below: 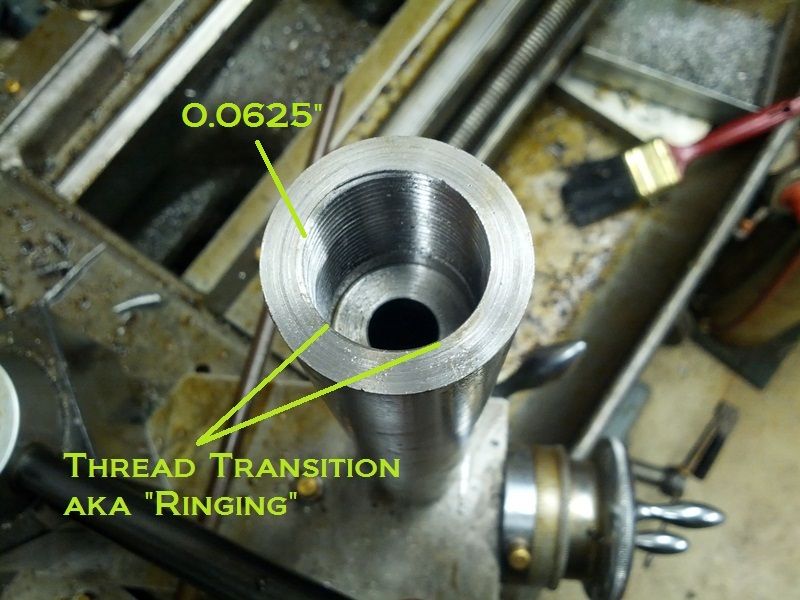 The thread is so thinned between 5:00 and 8:00 it’s pulled out by the tool bit on exit. If you run your finger across the face you’ll feel it protrude a few hundredths. And at 10:00 you’ll see the entry point of the previous turn, or 0.0625” cut. Combined these generate ~0.08” in delta from 5:00 to 11:00. How much that affects barrel harmonics is a source of debate. What I can positively say on the matter is this. If it’s left the exposed lip will be wedged causing pitch deformation. The other concern is shank crush where the action and shoulder engage. Ideally you want full contact throughout the threads. This load should be evenly applied at the bearing surface but not the upper and lower ends. Touch between the top of the barrel threads and bottom of the action threads should not occur. By lathing a 30 degree lead over 0.10” the barrel can evenly shoulder on the action. The tricky part is ending the recess right at the lead of a thread; cutting across one spawns the same problem just farther into the receiver. -Lee www.singleactions.com"Building carpal tunnel one round at a time" |
|
|
|
Post by Markbo on Dec 9, 2013 15:39:43 GMT -5
It's like watching DaVinci sculpting. Awesome.
|
|
snappy
.30 Stingray

Posts: 421
|
Post by snappy on Dec 10, 2013 22:37:12 GMT -5
Lee, big thanks to both you and your Dad for sharing your craft with us, and in such detail! Truly awesome. That Bridgeport is an amazing machine!
|
|
jefats
.30 Stingray

Posts: 309
|
Post by jefats on Dec 12, 2013 13:39:47 GMT -5
Good choice the 22BR. You will be pleased.
Jim
|
|
|
|
Post by Lee Martin on Dec 17, 2013 15:22:10 GMT -5
Step 14 – Laying Out the Port ______________________________________ We made more progress last night.... Before hogging the port we honed the tail end of the receiver: 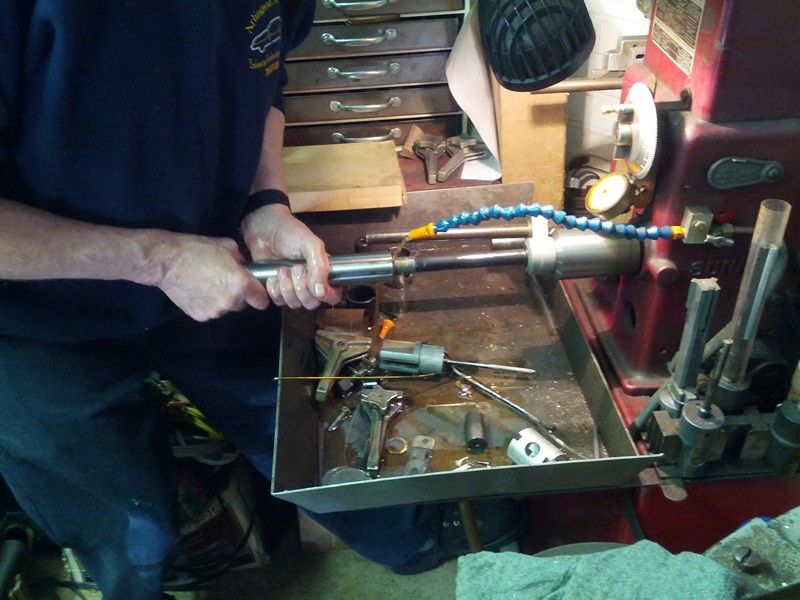 The port position is set off the back of the raceway. Some quick math: Barrel shank = 1.5” Bolt passage = 0.75” Port set-back = 0.25” Total from the main ring = 2.50” So 2.50” from the receiver face is where the port begins. 6 PPC brass is 1.50”, OAL is 2.10” when loaded with 65 – 68 grain bullets. We settled on 2.25” length by 0.810” height. That port provides plenty of room to load and remove shells without being overly generous (rigidity is important on a precision action). Layout was done with red marking paint: 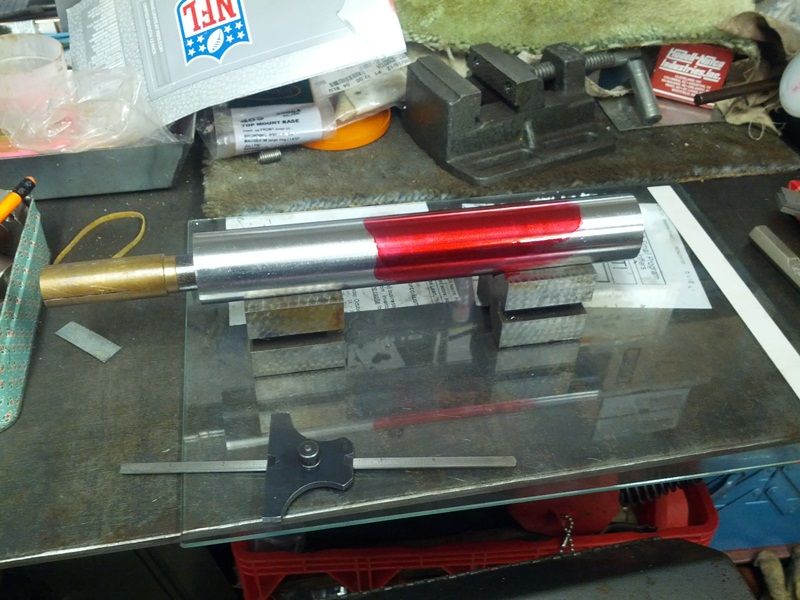 With a measuring scribe the upper edge was lined at 2.50”. The rear edge was marked at 4.75”: 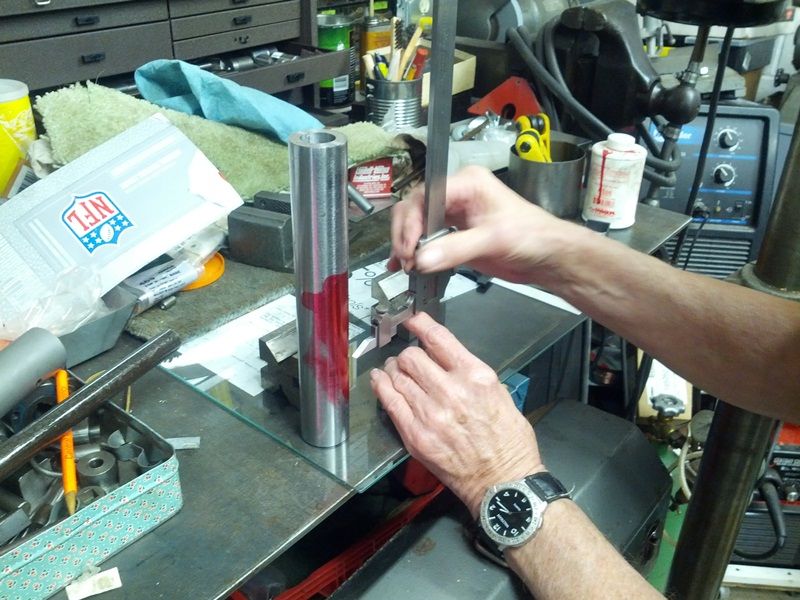 The two were connected 0.810” apart; the bottom was set 15 degrees off the X-axis centerline: 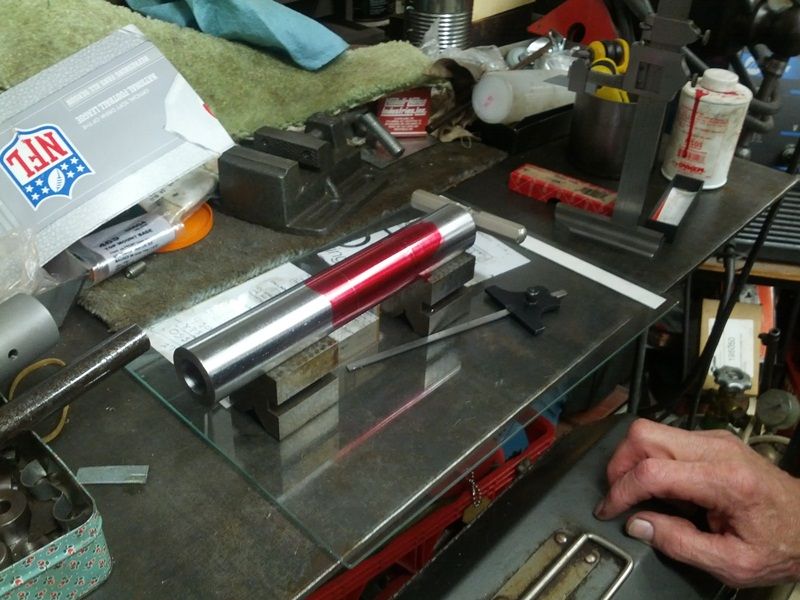 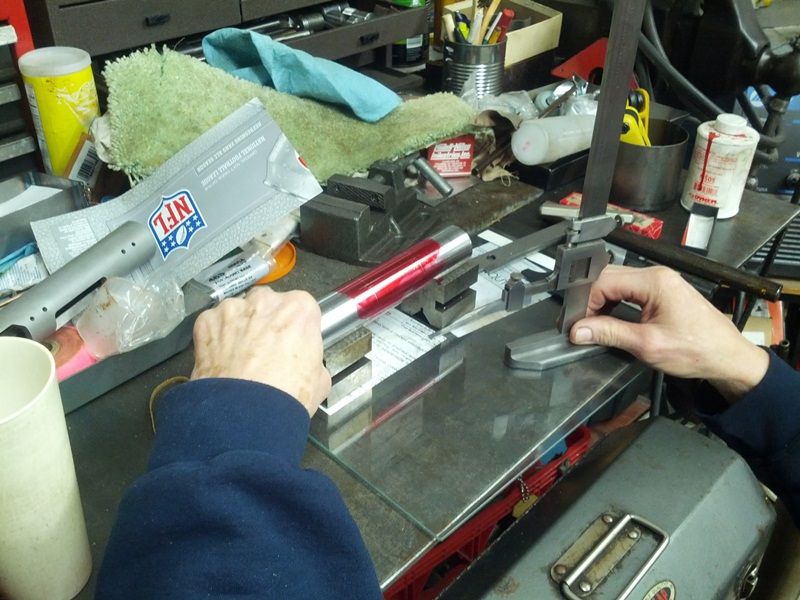 -Lee www.singleactions.com"Building carpal tunnel one round at a time" |
|
|
|
Post by Lee Martin on Dec 17, 2013 15:26:39 GMT -5
Step 15 – Milling the Port _______________________________ Back to the Bridgeport. We tabled a Brown and Sharpe indexing head and centered the action: 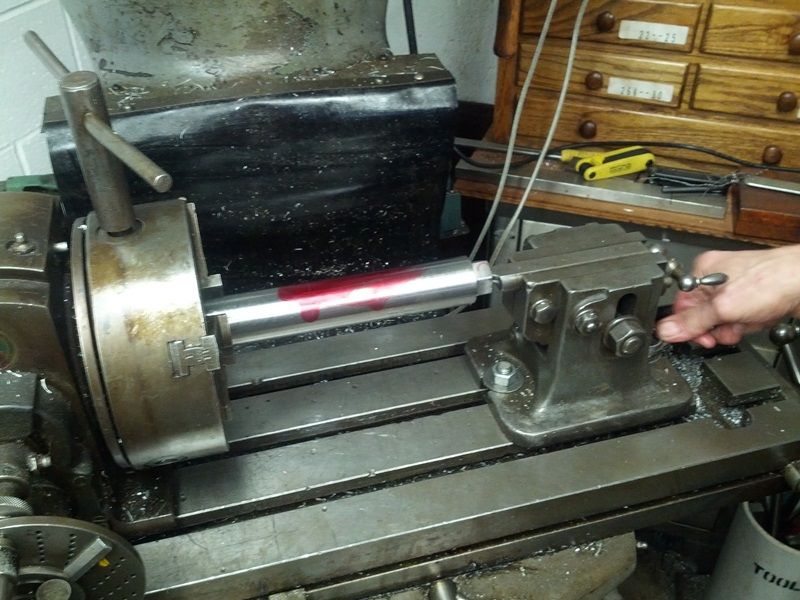 Four starter holes were drilled: 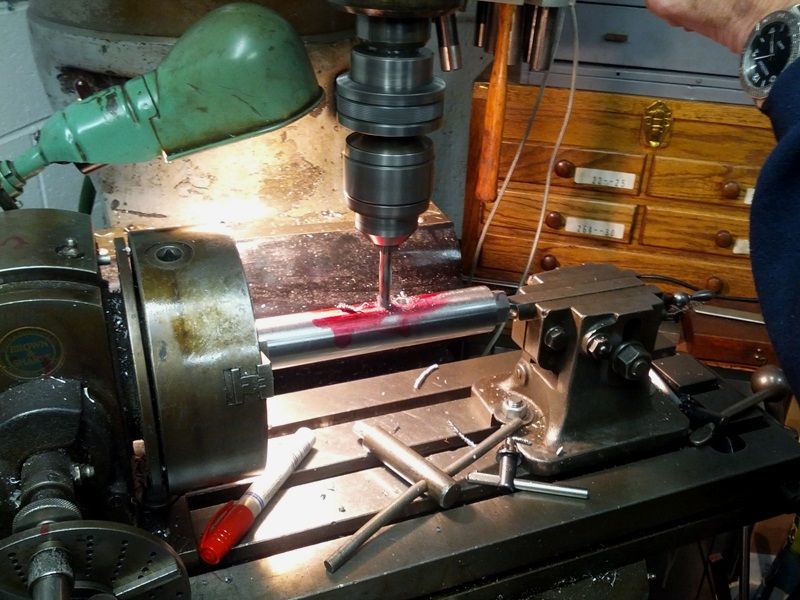 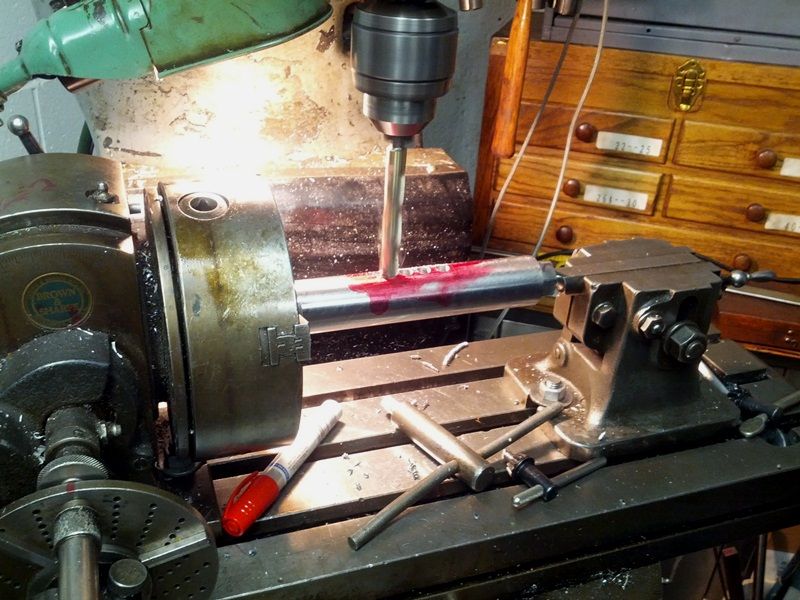 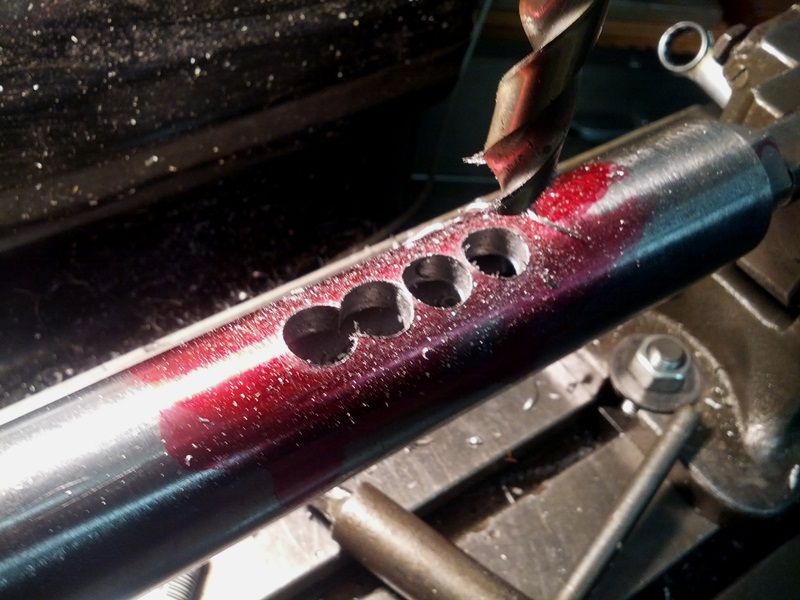 Next a large end mill removed the metal between the guides. The indexing head accounted for the curvature: 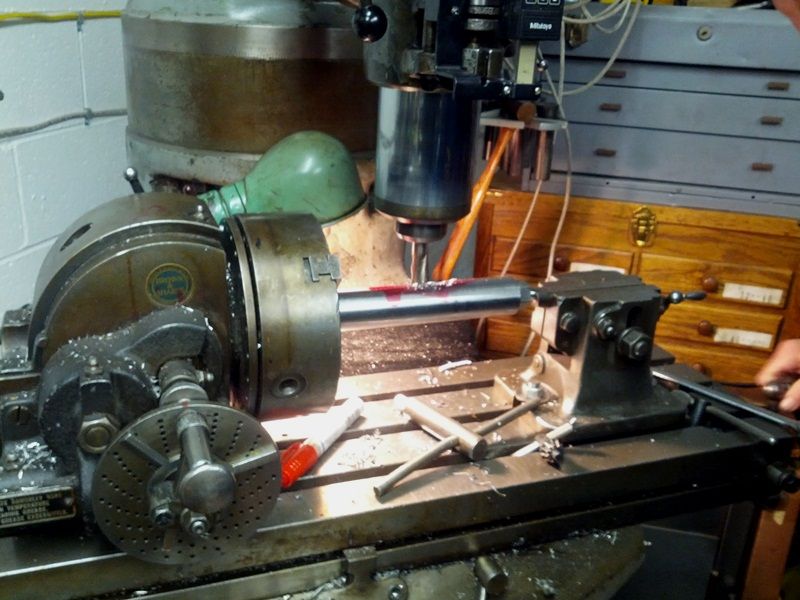 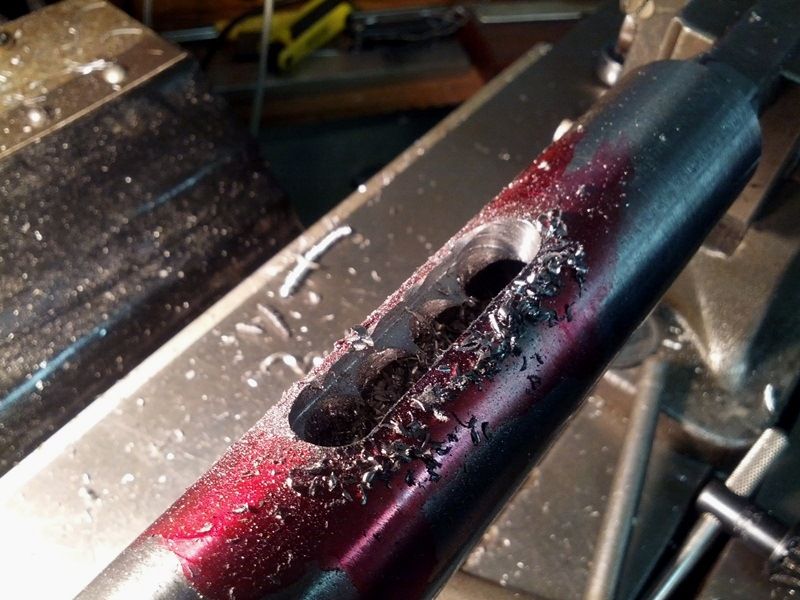 Video of the milling: A smaller end mill cleaned-up the sides and corners: 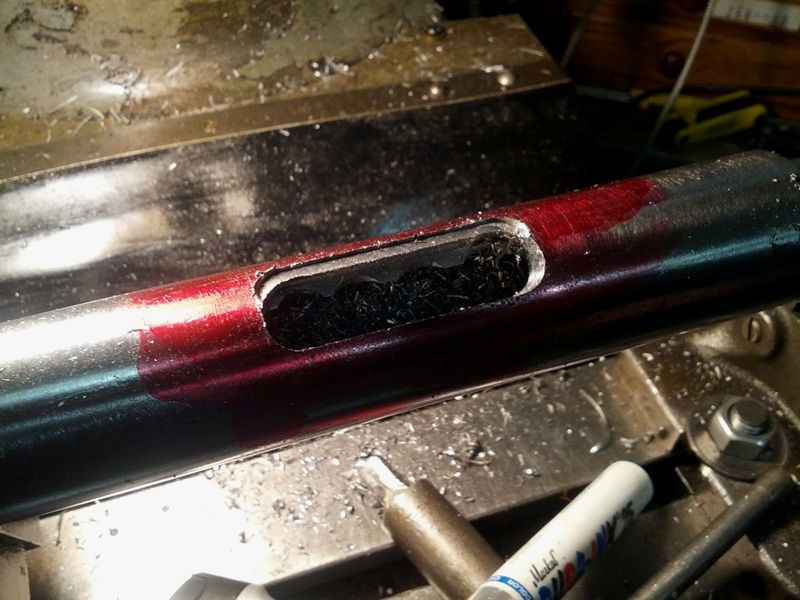 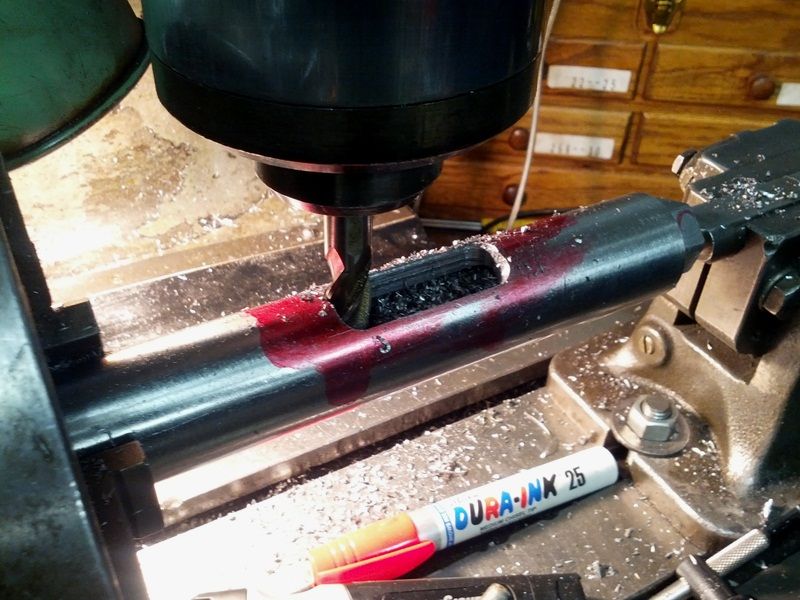 This looks rough with the shavings and burrs but it’ll give you an idea of the shape: 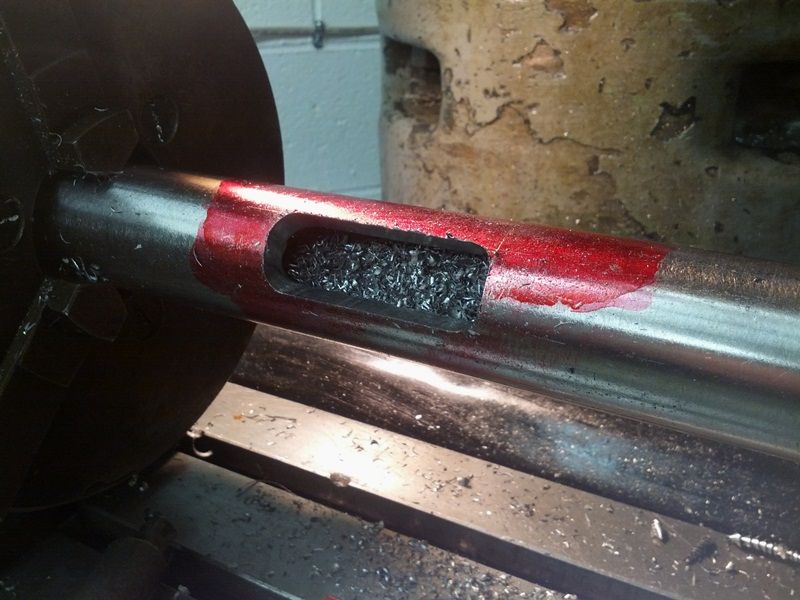 Mill arrangement; 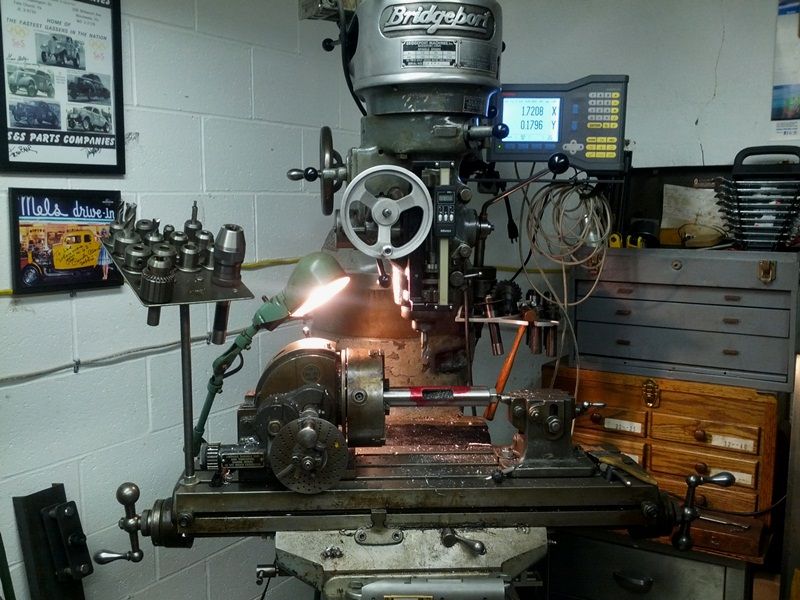 Grinding and polishing was done with a dremel: 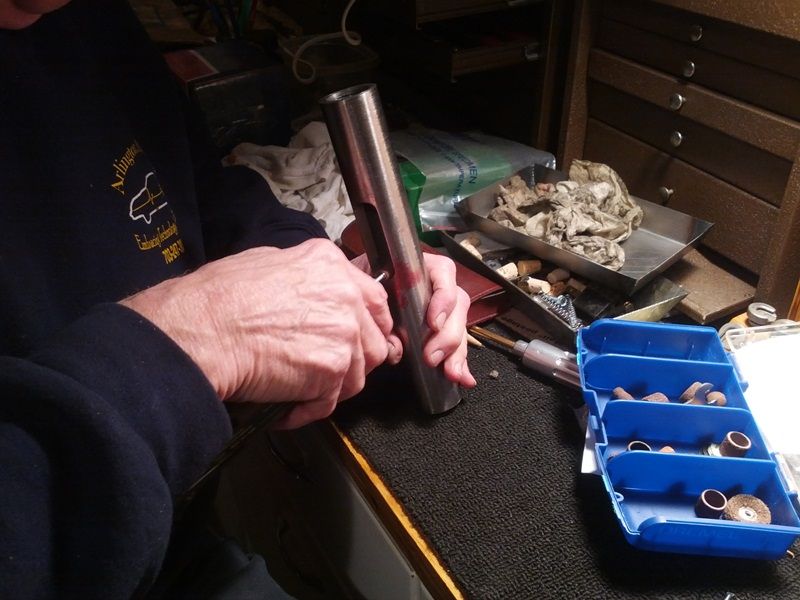 There’s more to polish so I’ll post the final port in a day or so. -Lee www.singleactions.com“Building carpal tunnel one round at a time” |
|
steve
.375 Atomic
  
Posts: 1,547
|
Post by steve on Dec 17, 2013 20:46:44 GMT -5
The things you and your Dad can do are simply amazing!! These "how it's made" posts are absolutely fascinating!!!
|
|