|
|
Post by Lee Martin on May 7, 2015 21:08:00 GMT -5
Step 74 – Barreling Part IV __________________________________________ With no fired cases for this chamber, I purchased a PTG go-gauge: 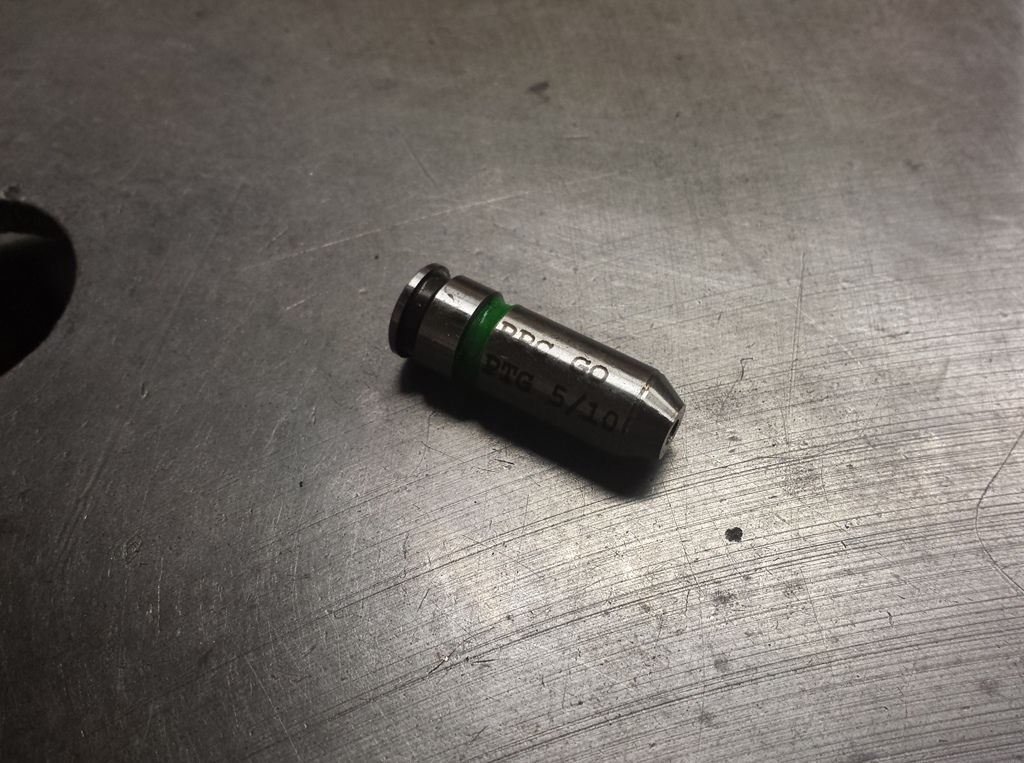 More math - headspacing uses the measurements taken above. We need to know: • How far the brass should stick out of the barrel • The amount of steel to remove in roughing First the headspace: the distance from the shank’s ledge to the bolt face is 1.071”. The shank is 0.937” long, meaning 0.134” of the case protrudes. Our in-shop spreadsheet: 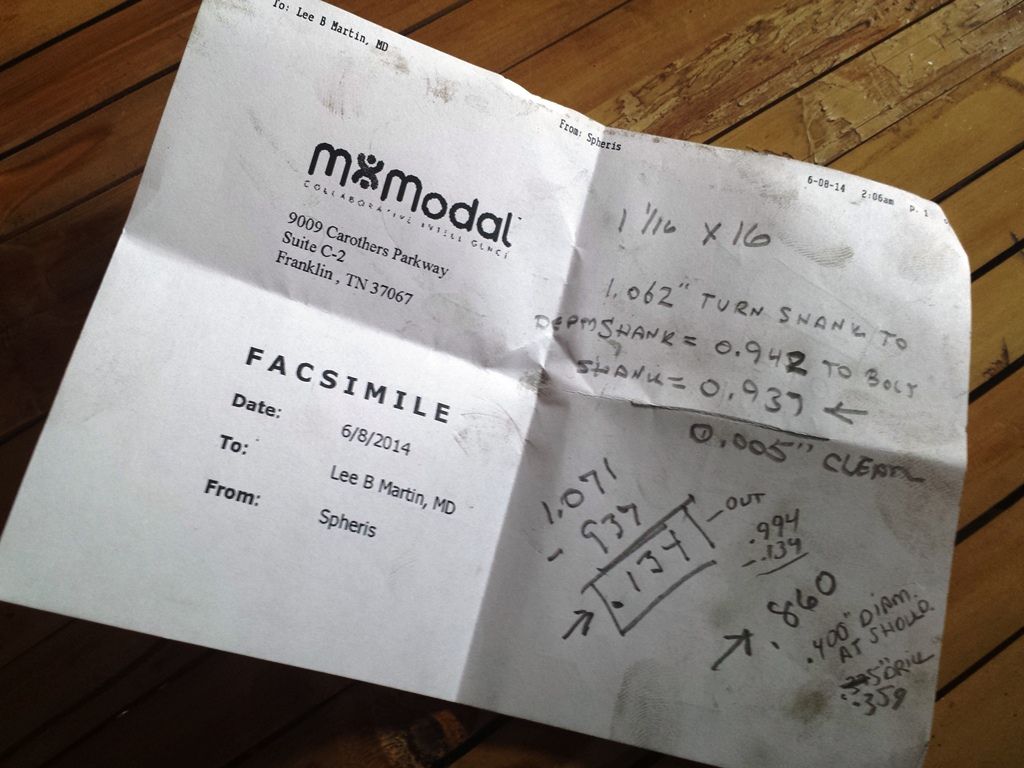 It’s 1.075” from the rim to the shoulder on a PPC. The diameter is 0.431” at that point. Dad and I don’t use carbide roughers, instead preferring to step drill the body. We’ll stop right before the shoulder, choosing 0.994”. But remember, 0.134” sticks out which dictates we drill 0.860”. To play it safe, a 23/64” (0.359”) bit was selected because they walk a little when boring (you don’t want to approach 0.431”): 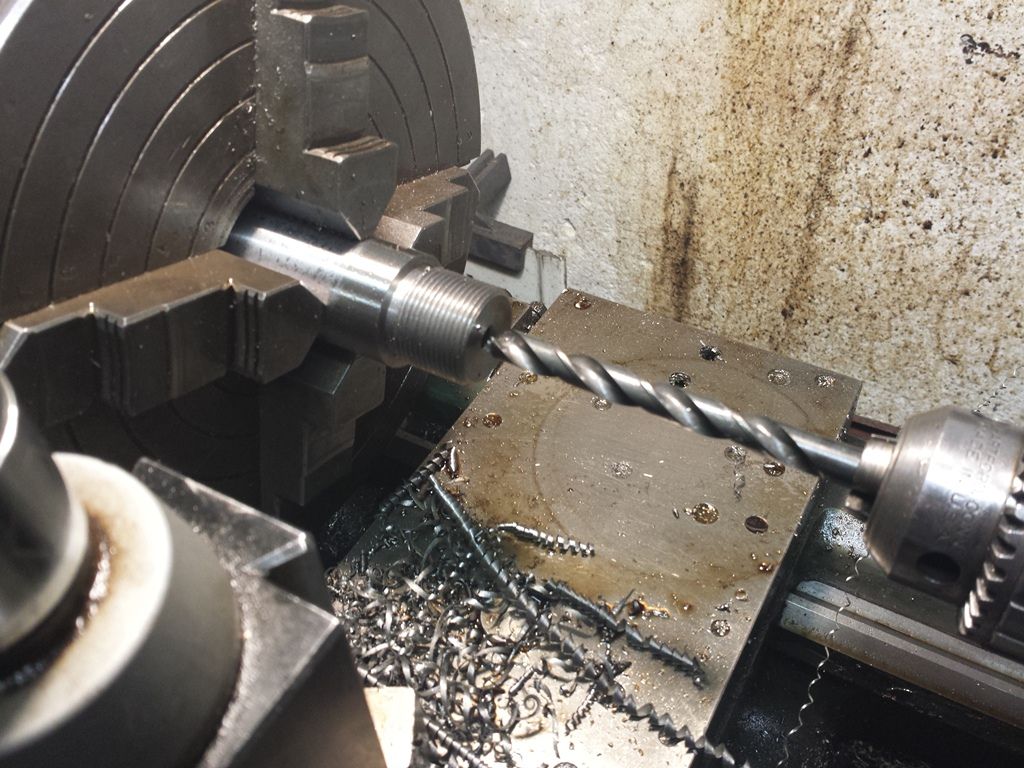 Drilling done, we go in with the finishing reamer: 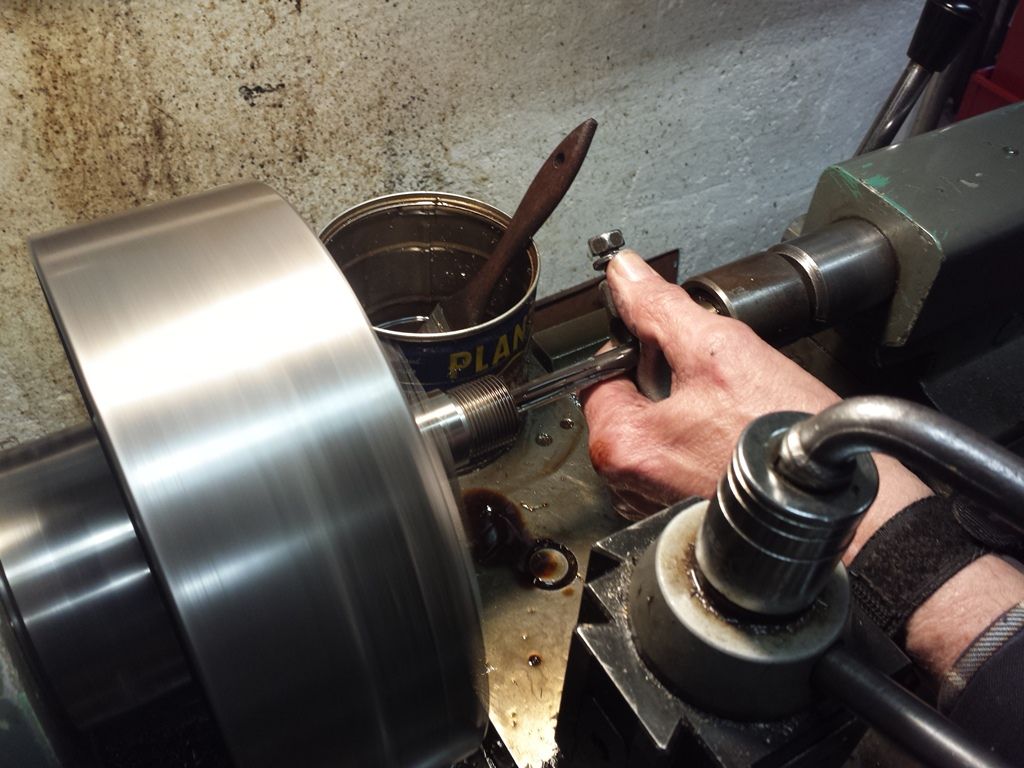 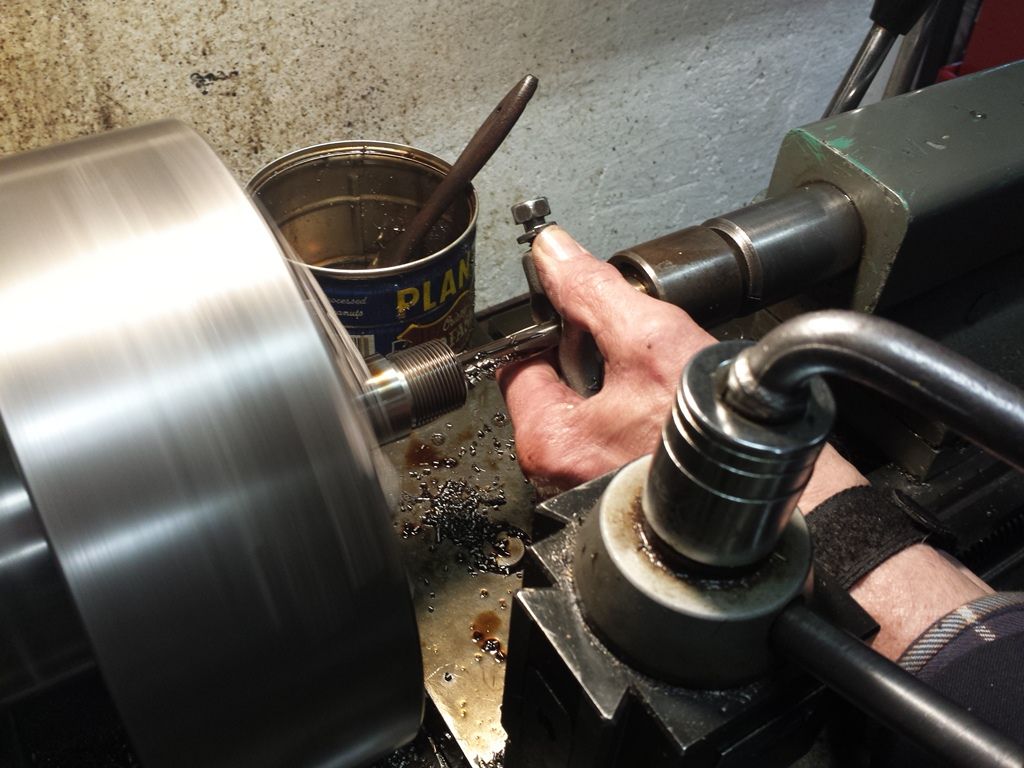 Testing the go-gauge and as you’ll see, we have more to remove: 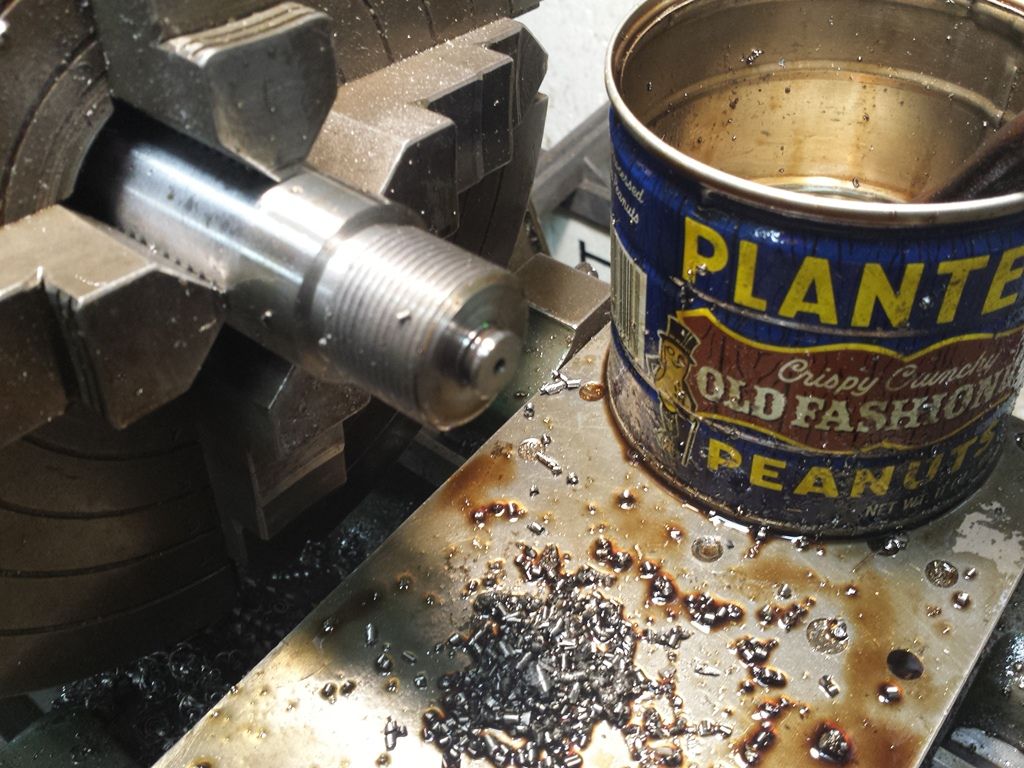 Measuring the gauge protrusion: 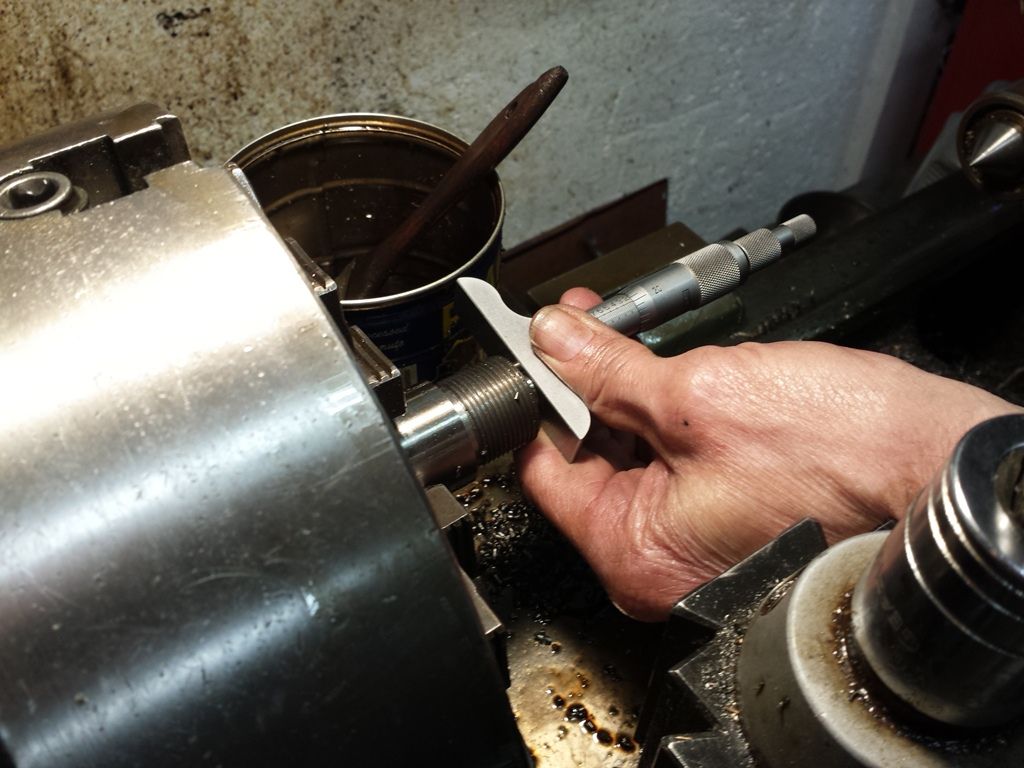 When we’re within a few thousandths of 0.134”, we try the action and the gauge together: 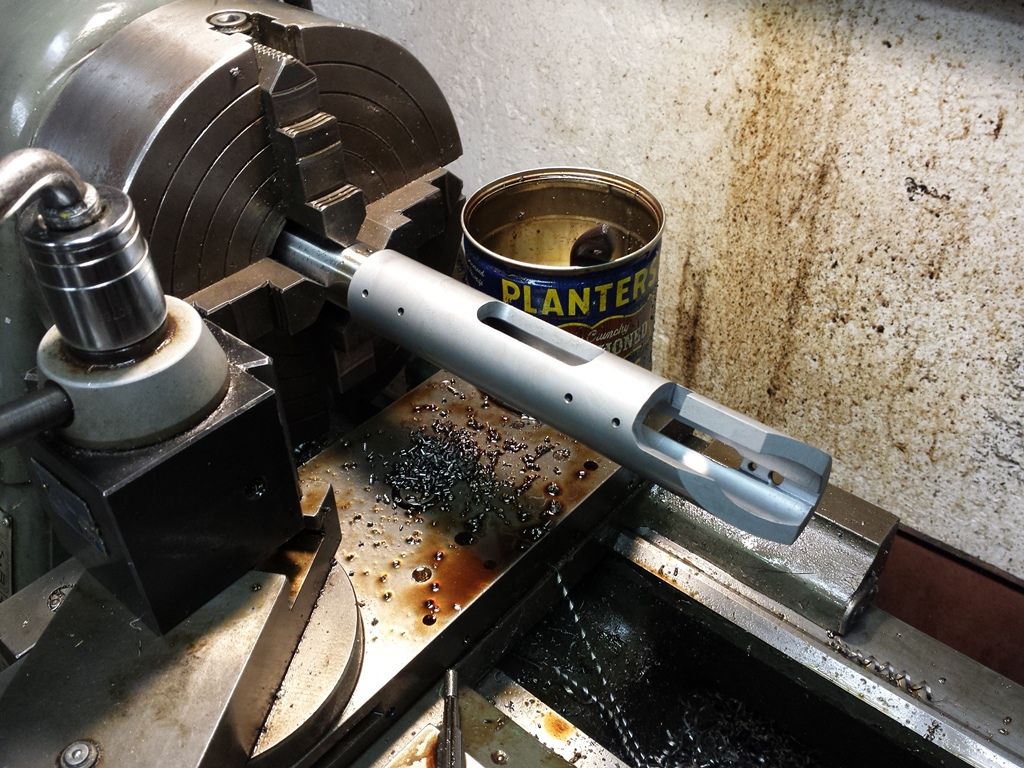 Reaming continues until the bolts closes with very mild resistance. 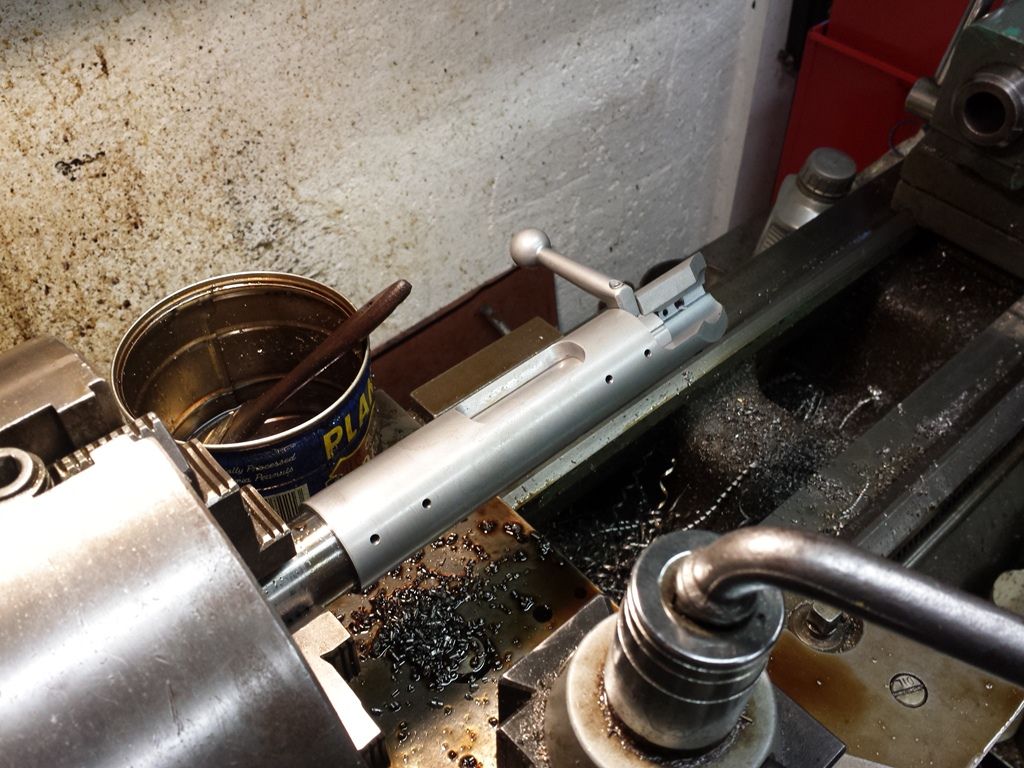 -Lee www.singleactions.com"Building carpal tunnel one round at a time" |
|
|
|
Post by Markbo on May 8, 2015 8:16:12 GMT -5
Just curious, what exactly is the oil in the peanut can?
|
|
|
|
Post by Lee Martin on May 10, 2015 19:15:00 GMT -5
Just curious, what exactly is the oil in the peanut can? Valvoline 5W-30 that's been pre-processed in a Ford V-8 (to the tune of 3,000 miles). -Lee www.singleactions.com"Building carpal tunnel one round at a time" |
|
|
|
Post by Markbo on May 10, 2015 20:15:44 GMT -5
Ahh. Hi tech.  |
|
|
|
Post by Lee Martin on May 11, 2015 20:08:26 GMT -5
Step 75 – Barrel Length ________________________________ If you remember the post on barrel harmonics, short & thick deflect less than long and thin. Finding nodes and maintaining that tune is easier with the former, but vibration patterns aren’t an end-all. Velocity and weight are equally important. The PPC and mild ogive bullets respond well to 3,200 – 3,400 fps. That window is ideal for 62 – 70 grain flat bases and boat tails alike. Common BR powders, such as N133 and LT-32, need 19+ inches to get there. Adding length boosts speed while creating a trade-off; grow the barrel to gain fps and you up weight. Unless you shoot unlimited class, benchrest holds us to a 10.5 or 13.5 pound cap. Secondly, longer barrels make the gun nose heavy and this hurts bag tracking. So what can I glean from those actively competing? In light varmint, 20” – 22” is the norm. Heavy varmint may bump that an inch but they rarely exceed 24”. I talked to a few folks in the know they recommend 22” or less. I’m not sure how mine will scale and thus started with 22.5” The muzzle end is chucked and centered with a dial: 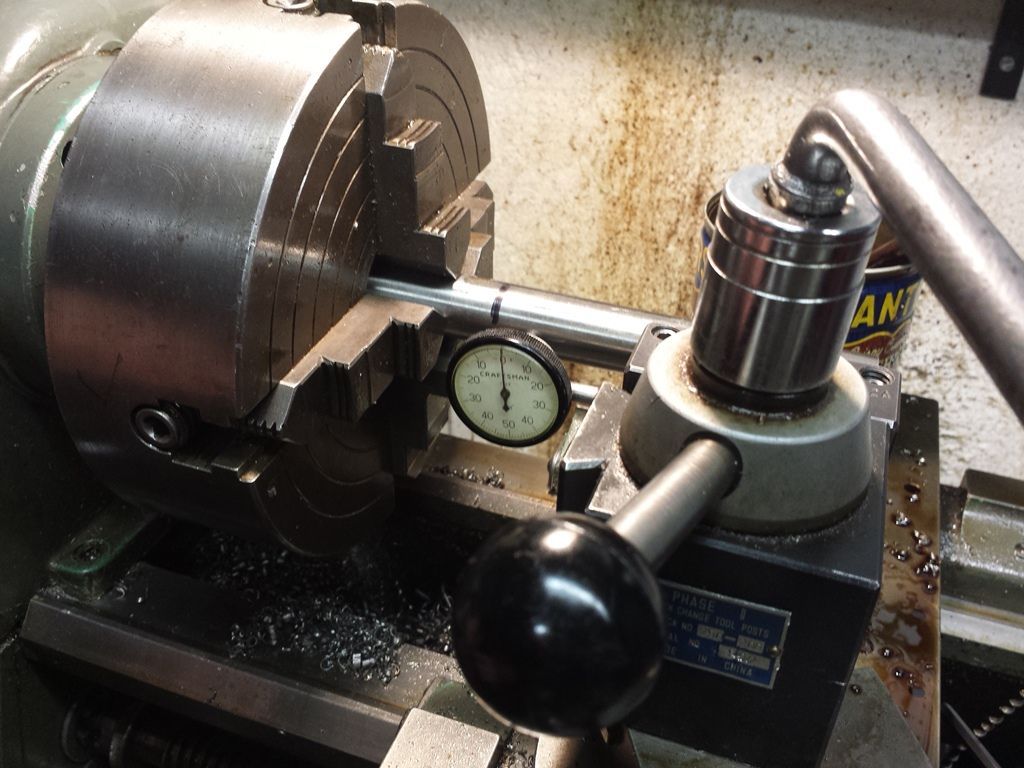 Cutting to just over 22.5”, which leaves room to true the face: 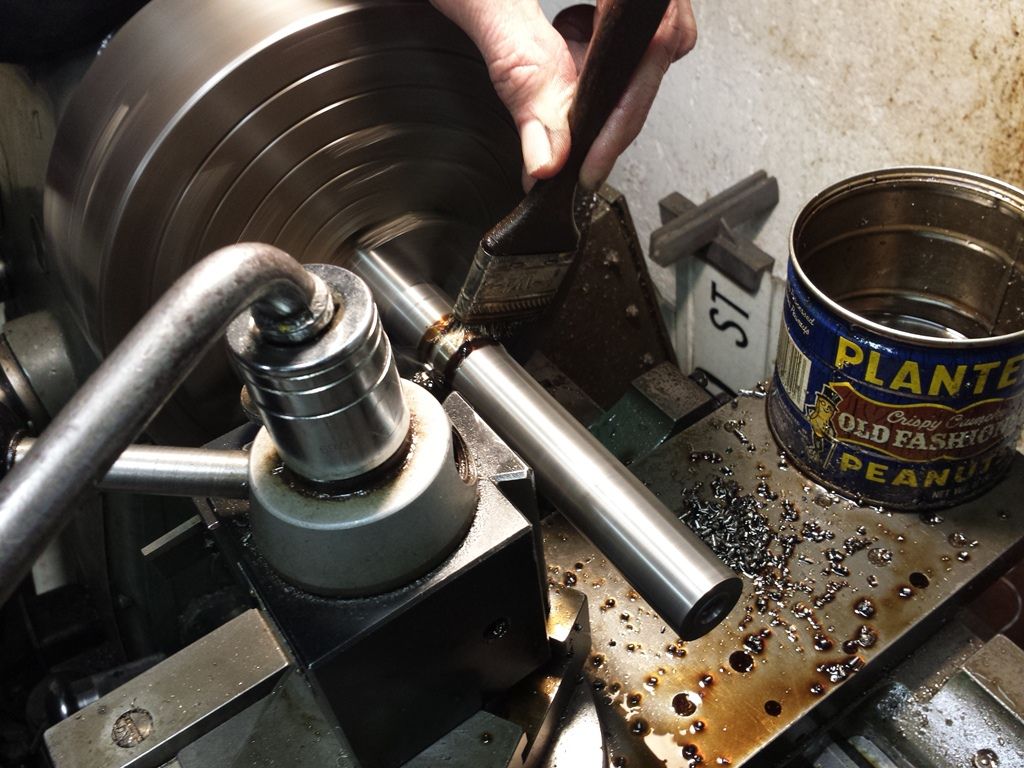 Facing: 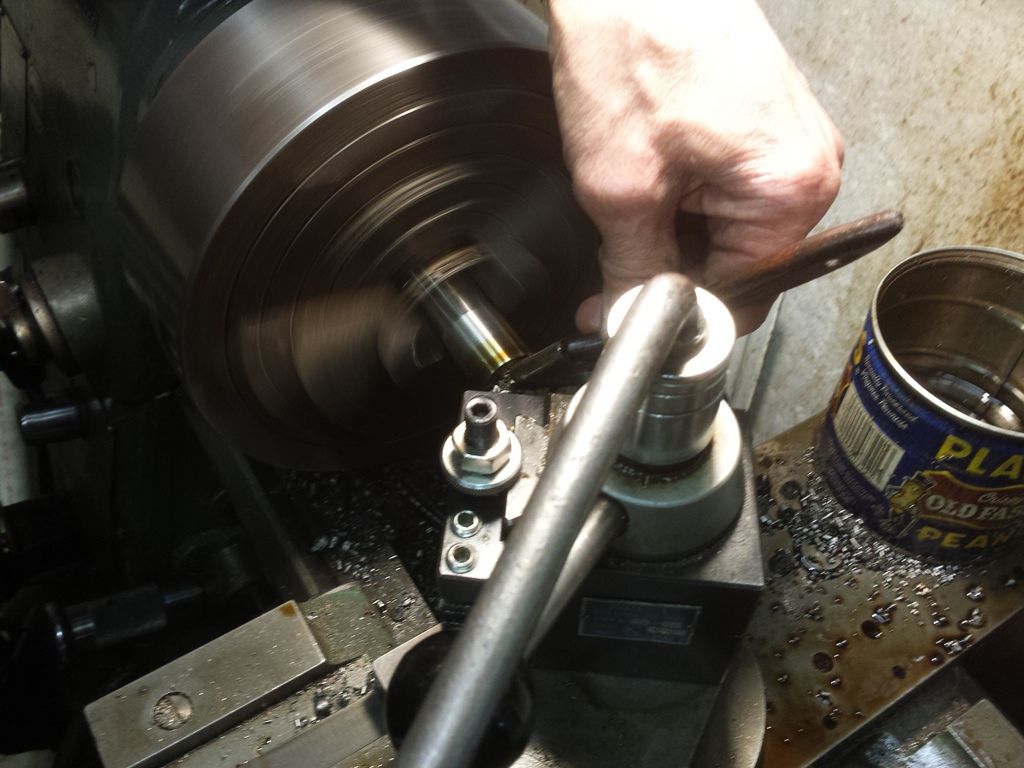 The target crown: 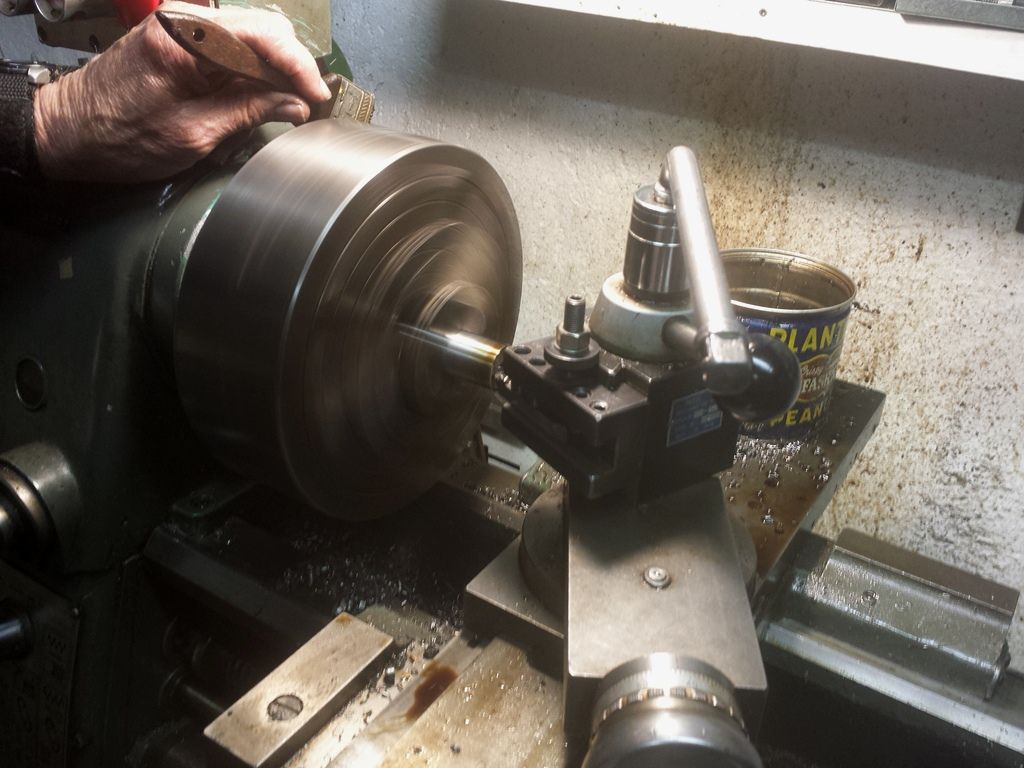 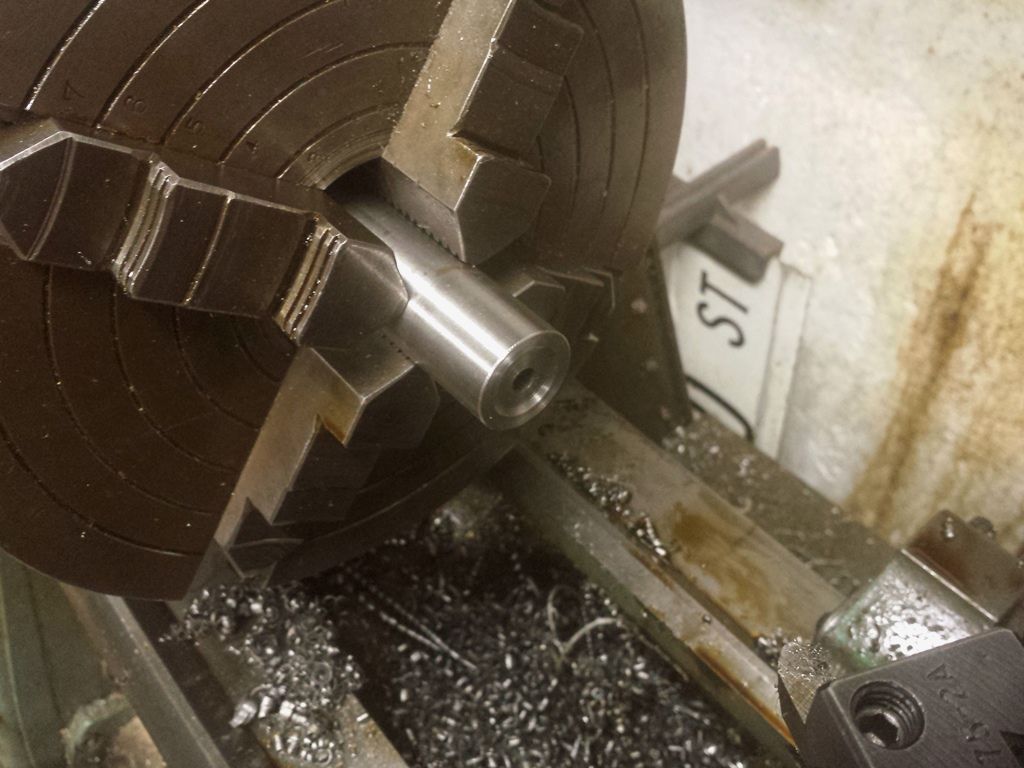 A tangential topic - here’s a neat little device called an optical collimation gauge. It’s used to visually assess the degree and location of bore misalignments; or in other words the straightness of the lands and grooves. This one is homebuilt and fits 6mm: 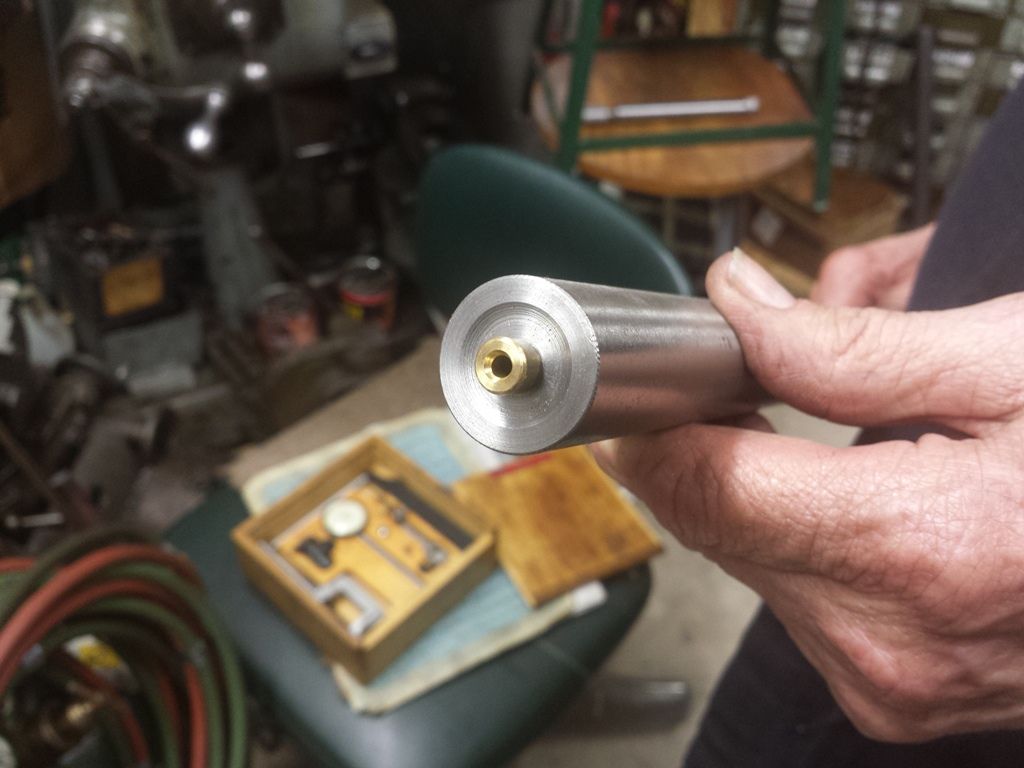 By inserting the plug in the muzzle it acts as an aperture. Its opening is the light inlet, causing reflection along the polished surface. Circular rings of light then appear at discrete points and can be observed from the chamber. If they’re uniform and concentric to the aperture, the rifling is straight. If they wander from the spud’s hole, even by a hair, the bore is off. Below is a shot of my Shilen. It was next to impossible to arrange the barrel, aperture, fluorescent bulb, and the camera. Nonetheless, it’ll give you an idea of the output: 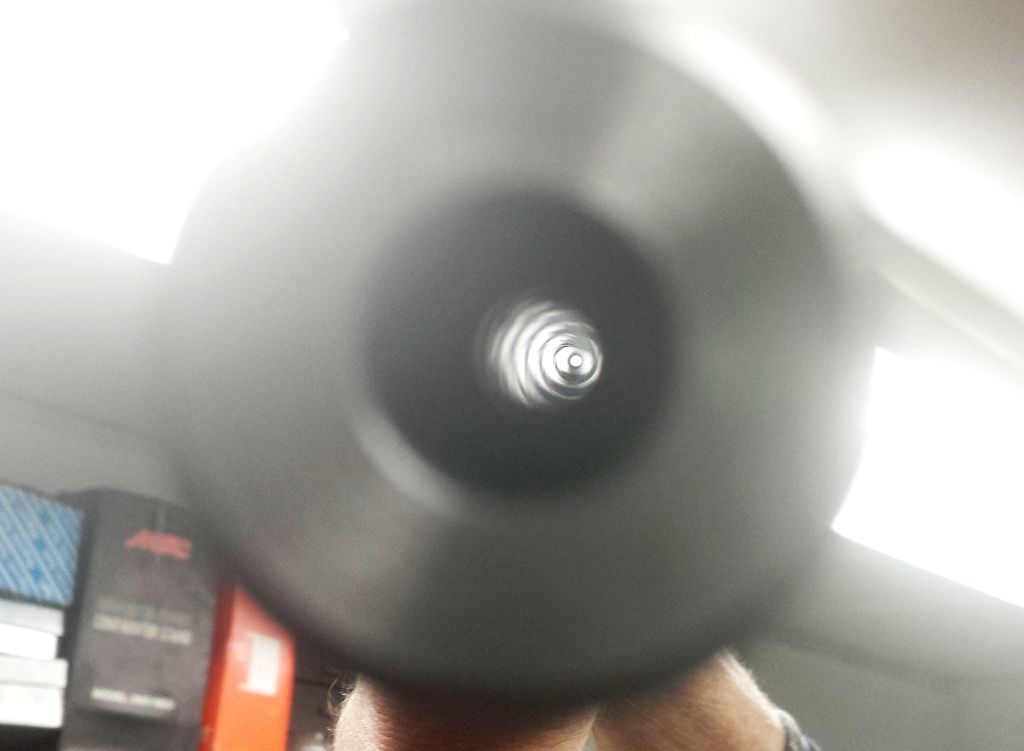 No surprise, the Shilen was perfect. -Lee www.singleactions.om"Building carpal tunnel one round at a time" |
|
|
|
Post by Lee Martin on May 13, 2015 19:21:29 GMT -5
New Range, New Bench – Step 2 __________________________________________ The bench’s foundation can be constructed a couple of ways. Common materials include cinder block, formed concrete legs, or steel. For longevity sake, I chose pipe and went big. Our old benches were done on 3-inch i.d., but for a concrete top I want larger. Six inch diameter has adequate footprint and support for the thick upper slab. The kicker is the cost and minimum purchase length. Before opening my wallet, I checked with dad and low and behold – he had 15 feet of water pipe. It was purchased in the 1970’s when he built our pond. The leftover section was part of the dam’s overflow system and it hasn’t been used in 40 years. Last weekend we dragged our torches to the location and cut three 31” sections. The pipe as it sat for 40 years: 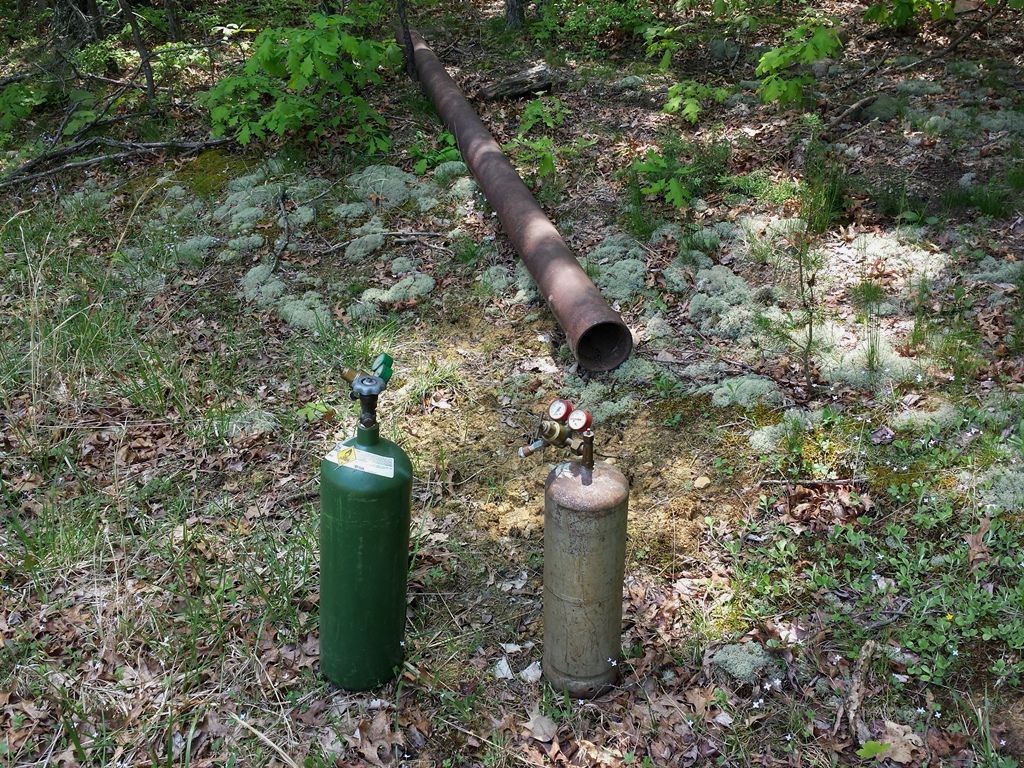 Measuring off 31”: 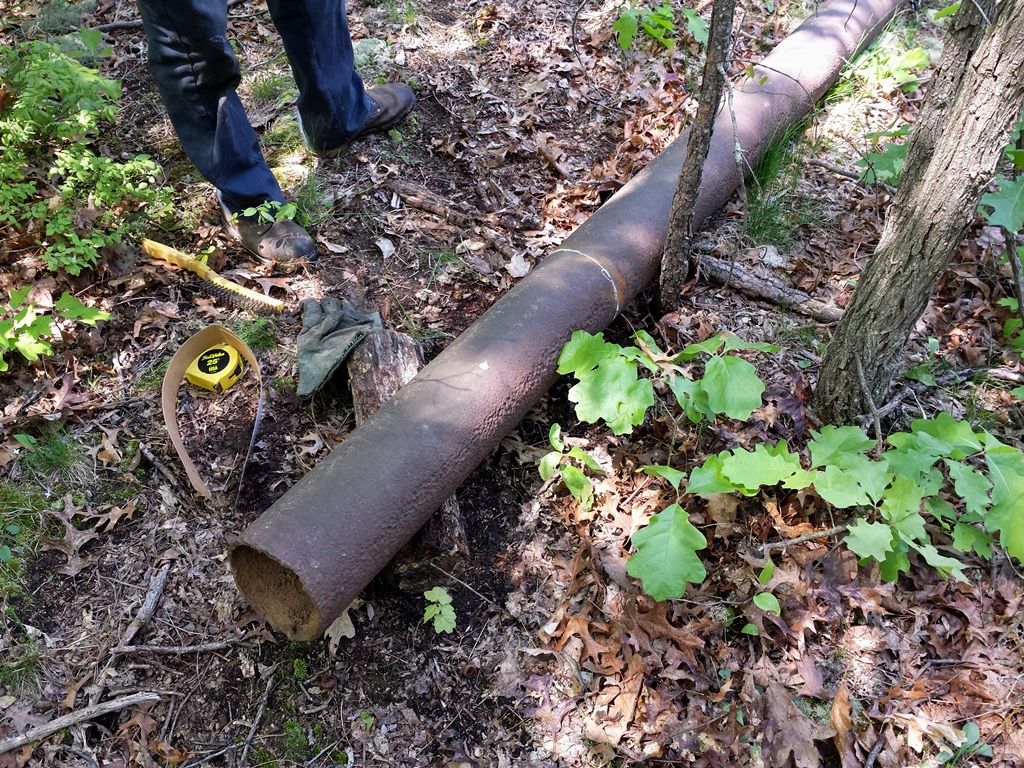 Torching: 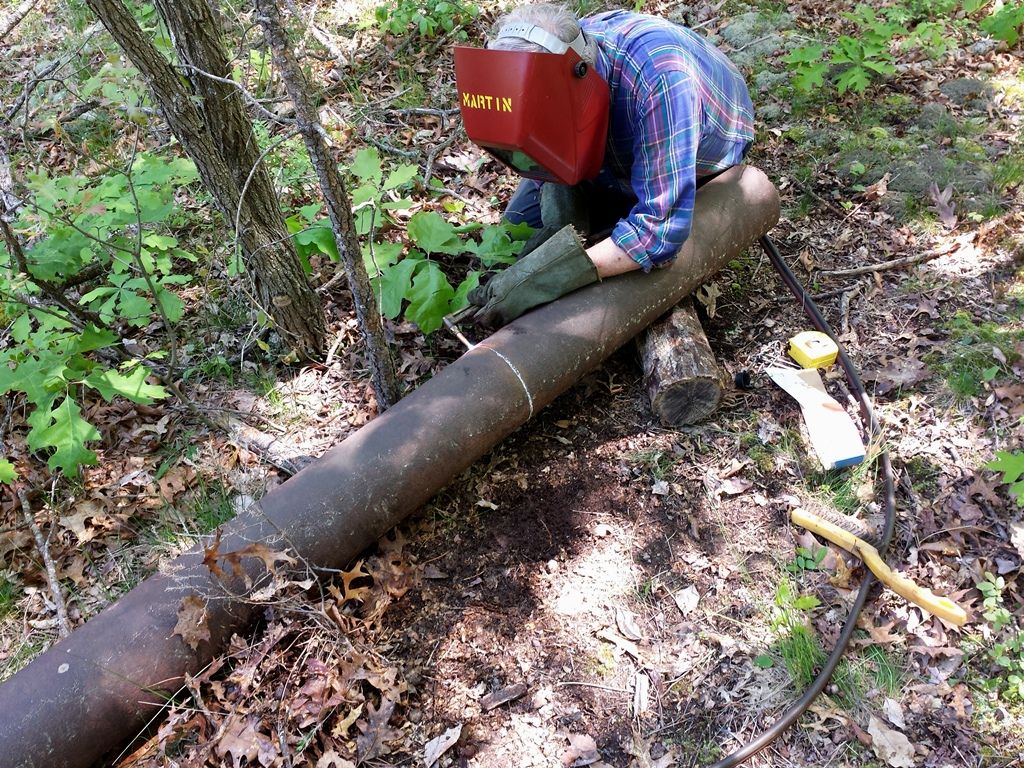 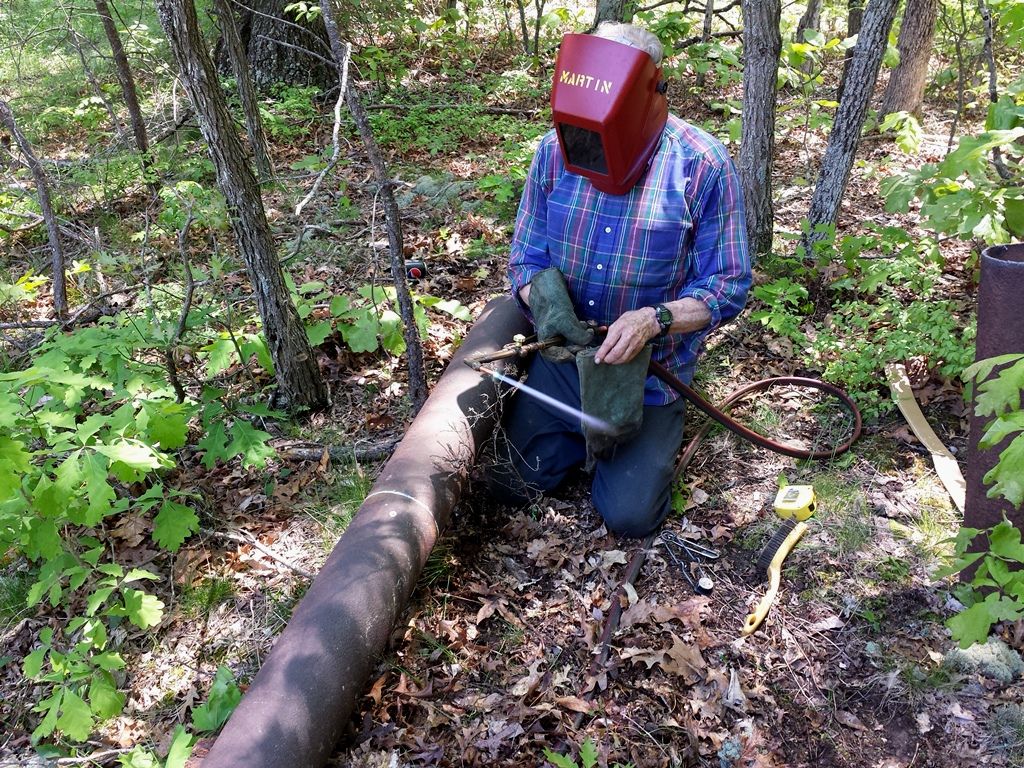 The three cut legs: 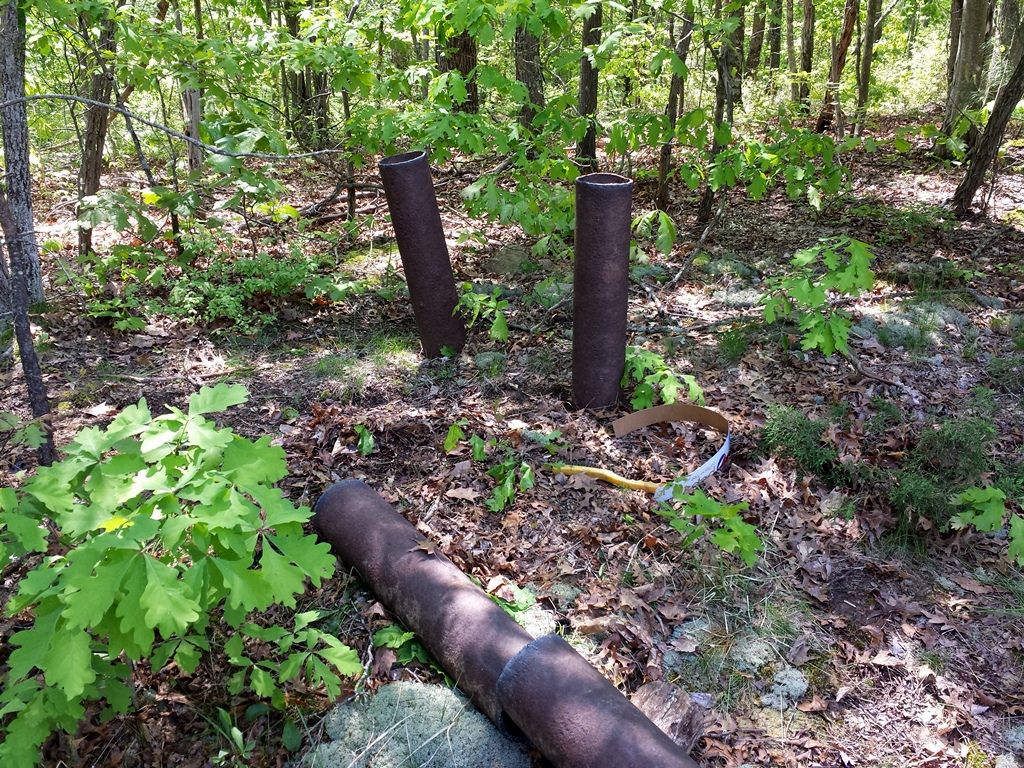 I have contractors coming in this Friday to bid the 15 x 15 concrete pad. -Lee www.singleactions.com"Building carpal tunnel one round at a time" |
|
|
|
Post by Lee Martin on May 14, 2015 19:30:27 GMT -5
Step 76 – The Bore Guide ______________________________________ Our bore guides are cut from nylon and precisely match the bolt inlet: 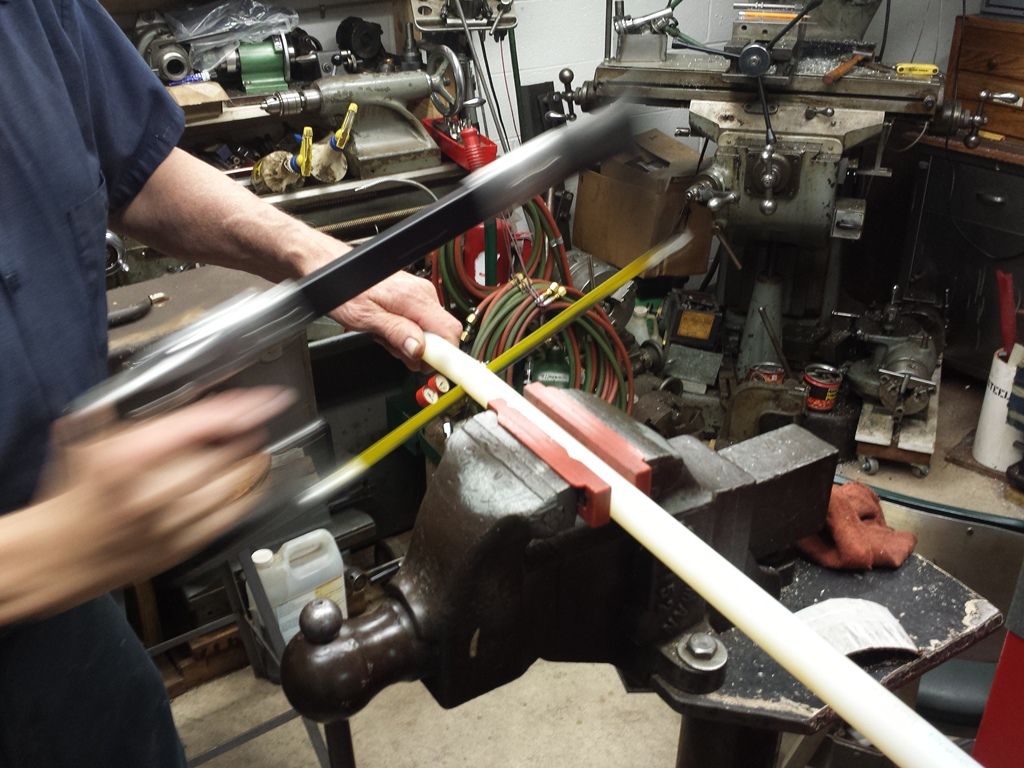 Lathe turning the body to 1.43”. Notice how gummy it gets? 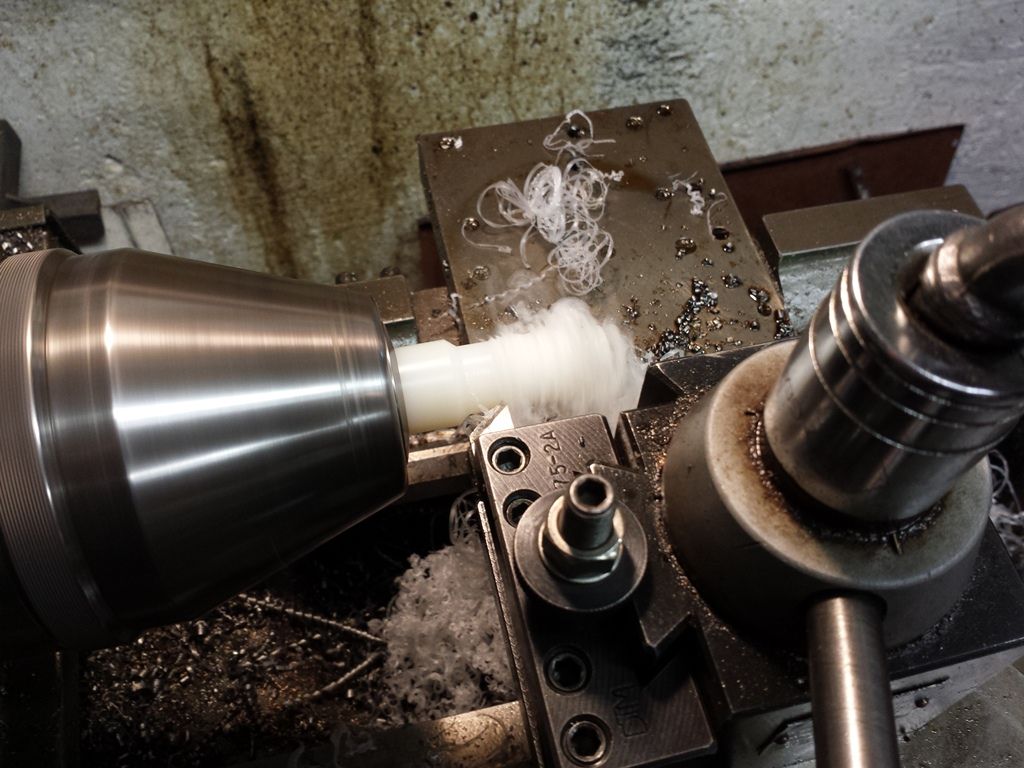 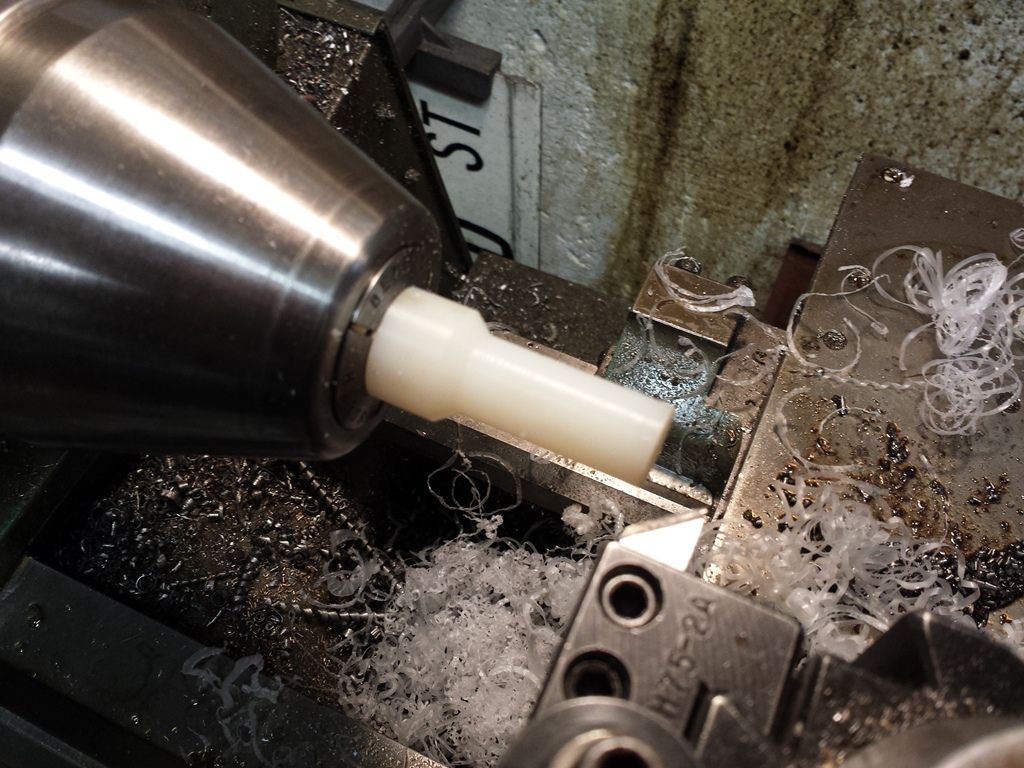 A step is made that fits through the raceway and butts against the barrel shank. 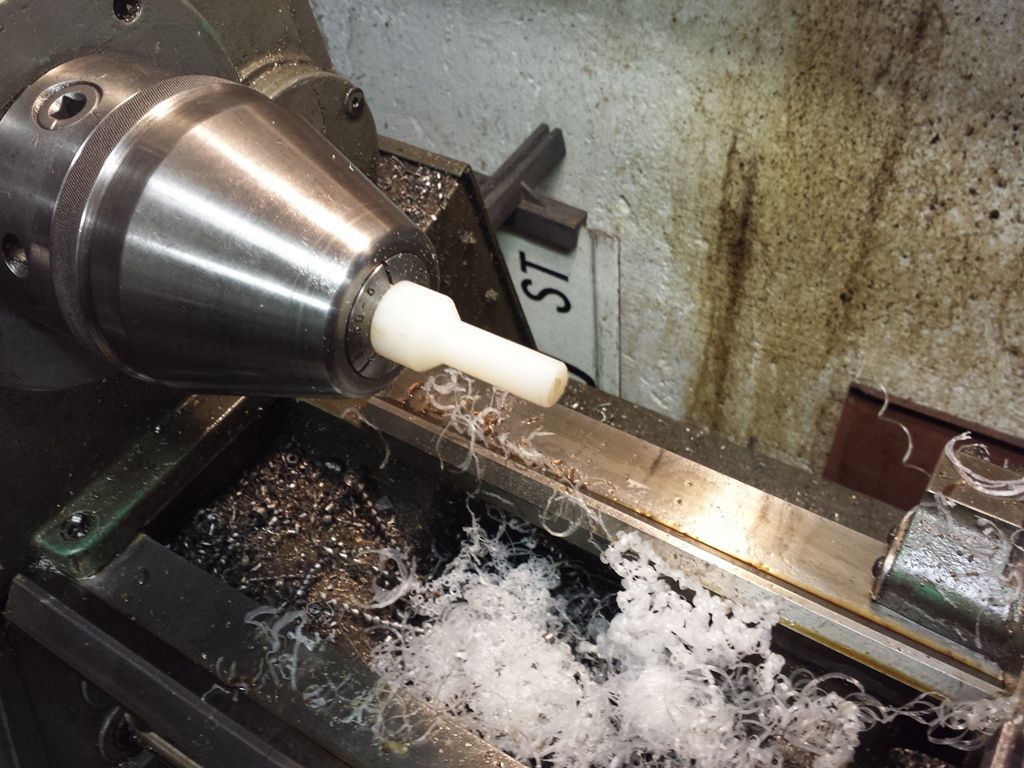 My Dewey cleaning rod mics 0.221” so we bored the hole 0.235”: 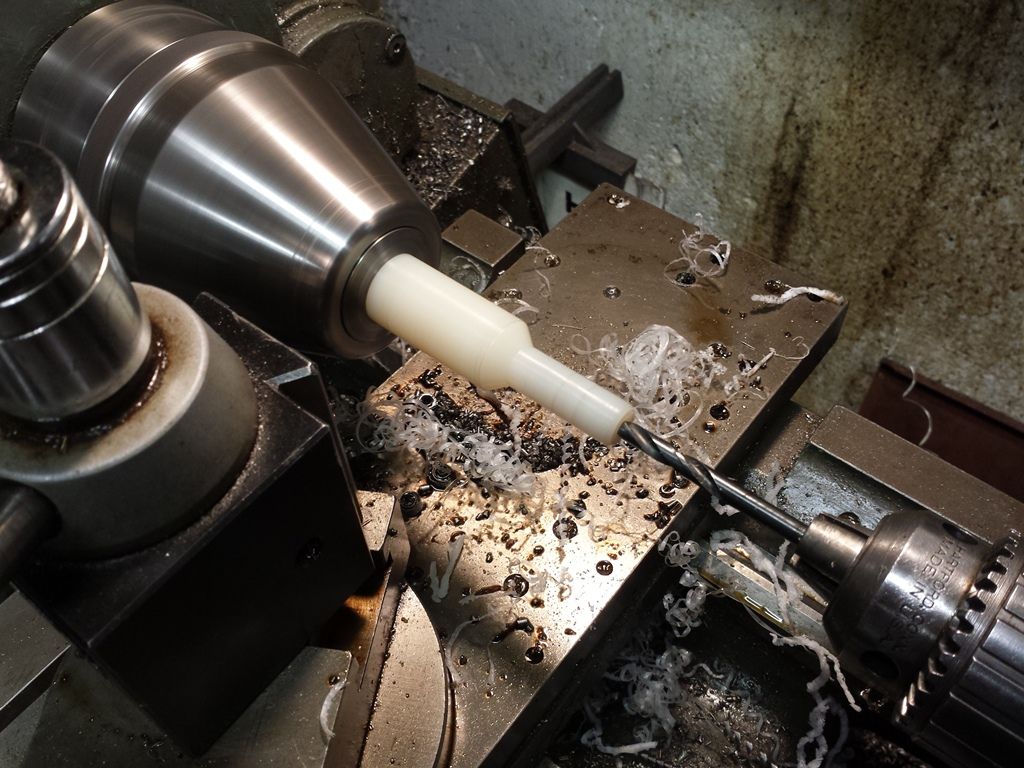 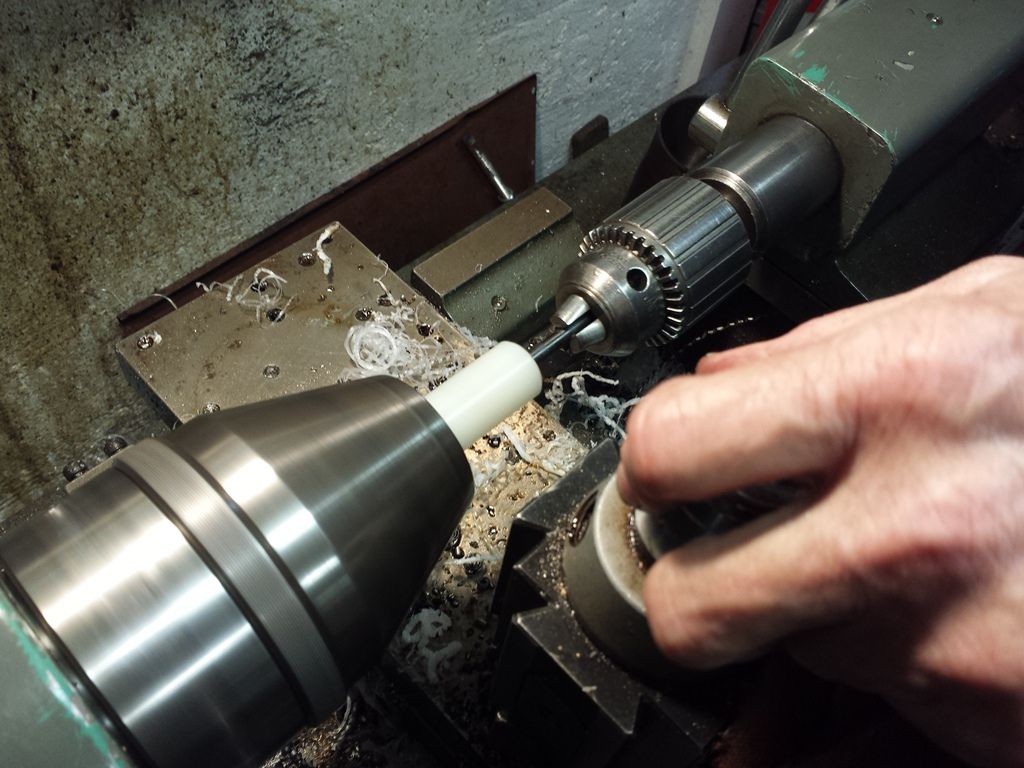 50 rounds ready for fire-forming. After 18 months, the gun gets test fired this weekend: 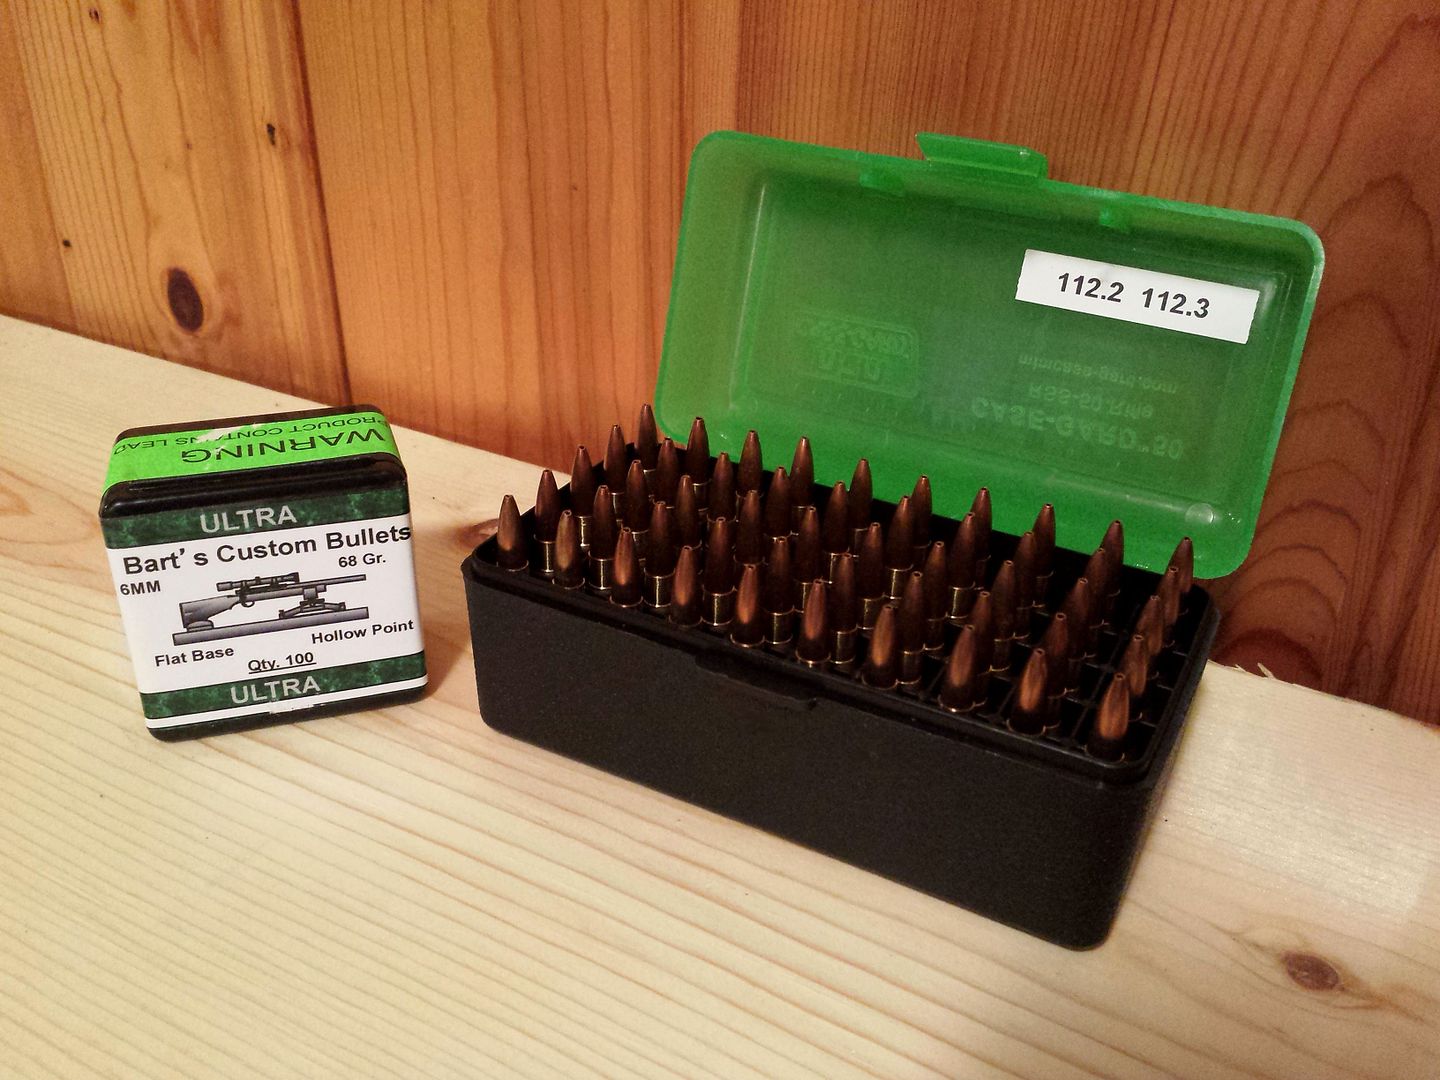 -Lee www.singleactions.com"Building carpal tunnel one round at a time" |
|
|
|
Post by cherokeetracker on May 14, 2015 21:52:54 GMT -5
Lee, this has been the most awesome amount of information. I am not familiar with Bart's bullets. Do you do anything to the meplat? or do the bullets come with anything done to them?
Charles
|
|
|
|
Post by squawberryman on May 15, 2015 4:19:32 GMT -5
Bet that's an American made face shield. Again, the toooooools
|
|
|
|
Post by bradshaw on May 15, 2015 5:58:19 GMT -5
Bench top
Couple of months ago Lee and I discussed dimensioning the concrete shooting bench to accommodate benching handguns as well as rifles. Bench technique for heavy recoiling revolvers has a safety issue as well as facilitating correct technique. To put it in third grade English, correct technique means REPEATABILITY. For the recoiling handgun, a bag or padded support should overhang the back of the bench. with the forearms rested against this padding. The elbows are behind the bench----in the air----to prevent recoil driving the elbow of the gun hand into the concrete or bench top.
Thus, the "T" or forward dimension of the bench should be wide enough to properly bag the handgun, while allowing the shooting elbow to hang in the air.
Two items on rifle bench rest, with Lee's quotes:
1) Bag Tracking
"... longer barrels make the gun nose heavy and this hurts bag tracking." The same observation applies to long barrel handguns. To rest the butt without barrel support results in poor grouping.
2) Optical Collimation Gauge
"... neat little device called an optical collimation gauge. It's used to visually assess the degree and location of bore misalignment; or in other words, the straightness of the lands and grooves." Amazing, in neutral light how the eye detects something out of whack by a thousandth of an inch. this optical centering is what makes the aperture sight so accurate, and explains the fierce ability to hit a target a third the width of the front sight with a handgun.
Prior to Lee's photo and description of his optical collimation gauge, I hadn't heard of such. I've used a close fitting cleaning rod guide to assess barrel-to-receiver straightness on bolt actions. But the rings of shadow Lee sees in the bore with his his device begs the question: how does it work?
David Bradshaw
|
|
|
|
Post by Lee Martin on May 19, 2015 19:51:53 GMT -5
Lee, this has been the most awesome amount of information. I am not familiar with Bart's bullets. Do you do anything to the meplat? or do the bullets come with anything done to them? Charles Charles - these are made by benchrest Hall of Famer Bart Sauter. He has a few styles with the Ultra being double radius (9 ogive at the shank to a 6.5 up front). As for the nose, the point blank guys shoot them as is. Meplat truing is more widely seen in long-range, say 600 yards and beyond. It nets you nothing at 100 - 200. -Lee www.singleactions.com"Building carpal tunnel one round at a time" |
|
|
|
Post by Lee Martin on May 19, 2015 20:06:08 GMT -5
Bench topPrior to Lee's photo and description of his optical collimation gauge, I hadn't heard of such. I've used a close fitting cleaning rod guide to assess barrel-to-receiver straightness on bolt actions. But the rings of shadow Lee sees in the bore with his his device begs the question: how does it work?David Bradshaw David - very few people have heard of optical collimators for testing bore straightness. That's probably because they're a poor substitute for modern air gauging. It is a patented device however - US 3920335 A. Submitted by Jack Seehase in 1974 and approved in 1975. In his own words from that filing: ______________________________________________ "SUMMARY OF THIS INVENTION My invention provides a unique device that can be used by an unskilled individual to determine within extremely close limits the alignment or straightness of a gun barrel, or similar tube-like device. A basic implementation of my invention for use with gun barrels comprises a plug-like cylinder having a small circular concentric hole or aperture longitudinally through its exact center. The length of this plug is not critical although it must be short compared to the length of the barrel. The outer surface of one end of the plug is accurately turned to fit snugly into the sight end or muzzle of the barrel. A knurled shoulder at the other end of the plug provides a seat for the barrel end and a convenient grip for handling.
This plug is used either alone or in combination with an eye piece comprising a second plug also having a generally cylindrical shape of shell-like construction and having a shoulder on one end. This second plug also includes a small circular aperture hole in the shoulder end concentric to the cylinder. The cylindrical body of the plug has an outer diameter such as to fit snugly into the breech of the gun barrel against the shoulder. The combination of the front and rear plugs when inserted as described in a gun barrel forms a unique optical collimation gaging device.
In operation, the user places his eye at the aperture in the breech plug. The aperture in the muzzle plug constitutes a point source of light much in the manner of a pinhole camera lens. By holding the muzzle near a source of light the viewer will then observe a central spot of light due, of course, to the direct ray oflight emanating from the muzzle plug aperture. In addition, and most importantly, he will observe a phenomenon due to diffraction of the light as it reflects from the highly polished interior surface of the gun barrel. The phenomenon consists of diffraction patterns in the form of generally concentric rings of light that are due to the interference of the various light rays reflected along the interior surface. If the barrel is perfectly straight and the muzzle opening and breech opening are exactly aligned, these rings seen by the viewer will be perfectly concentric and the width of each ring will be uniform around its circumference.
The number of rings observed will depend on several factors such as: focal length of the pinhole type lens formed by the aperture; length of barrel; diameter of barrel; and the degree of taper of inner surface of the barrel. For example, I have found that a certain popular brand of 12 gage shotgun having a moderate taper will produce three rings while another brand having a lesser taper will show seven rings.
If the barrel is bent, then one or more of the rings will appear to be uneven in width. The location of the wide and narrow portions of such light rings will be indicative of the location of points of distortion of the barrel and the relative width ratios will be indicative of the degree of distortion.
It should be noted that the rings of light produced by my unique muzzel plug will be evident even though the eye piece plug is not used in the breech opening. A skilled gunsmith can judge the straightness of a barrel in such instance by looking into the breach opening. However, I prefer that the eye piece plug be used by individuals not highly experienced in the art. The eye piece ensures that the viewers eye is accurately held at the barrel center line.
Thus my novel invention provides a simple and accurate device so that by the use of which a relatively unskilled person can quickly judge the straightness and alignment of his gun barrel over its entire length. It is easily seen that my device is also useful during a straightening operation for determining when accurate alignment and straightness have in fact been achieved.
For example, while a barrel is clamped in a jig or other apparatus for straightening, my optical gage plugs can be left in place. The gunsmith can make frequent observation as he proceeds.
Therefore, it is a primary object of my invention to provide an optical collimation gage to allow even a relatively unskilled individual to measure the straightness and alignment of gun barrels, precision tubes and simi lar devices.
It is another object of my invention to provide a device for gaging the straightness and alignment of a gun barrel. tube, or the like during a straightening operation.
It is a further object of my invention to provide a device for use in adjusting the sights of a gun.
These and other objects, features and advantages of my invention will be more clearly seen by reference to the detailed description of my invention hereinbelow"_______________________________________________ -Lee www.singleactions.com"Building carpal tunnel one round at a time" |
|
|
|
Post by cherokeetracker on May 20, 2015 15:41:40 GMT -5
Thanks for that info about meplats. I (obviously) don't shoot Benchrest. This has as a whole been so informative I may have to have it in a library. What I appreciate the most, is the way that you can explain things where that I can easily and fully understand it.
|
|
|
|
Post by Lee Martin on May 20, 2015 21:07:26 GMT -5
Step 77 – Test Firing ___________________________________ It’s been a long road but this PPC is almost done. Last weekend I assembled the rifle and checked overall function. The action was simply bolted together to see how it fed, fired, and extracted. All three passed with flying colors. And in spite of unglued pillars and a non-bedded base it cut really tight groups. Now all that remains is to Devcon the receiver, followed by stock painting. 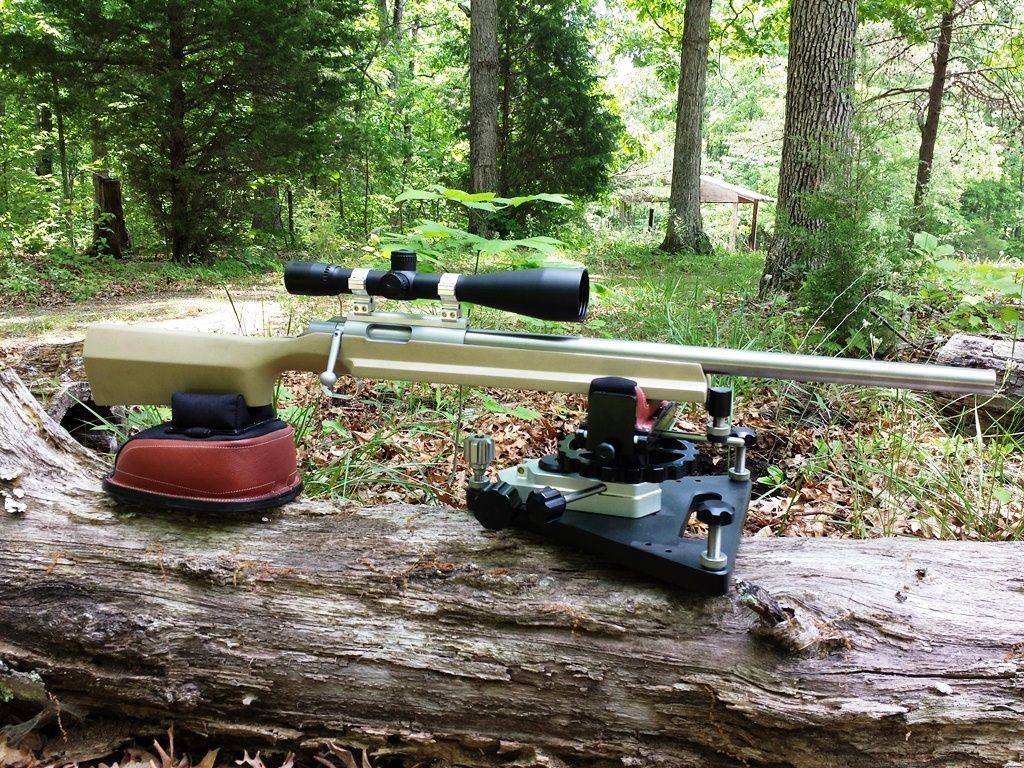 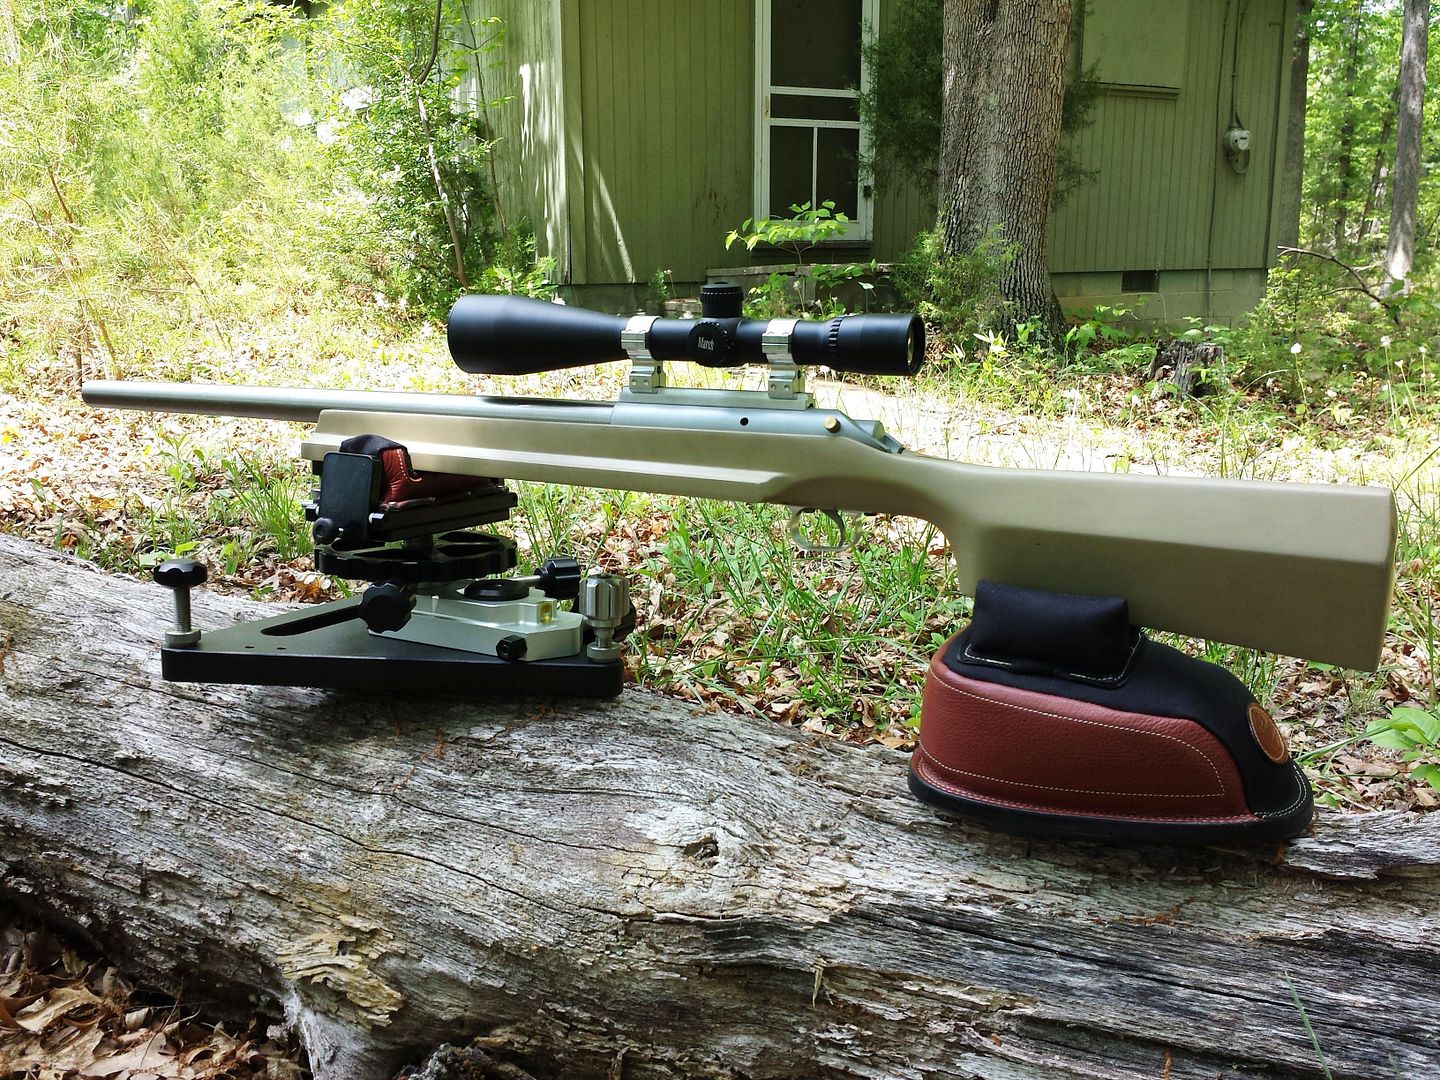 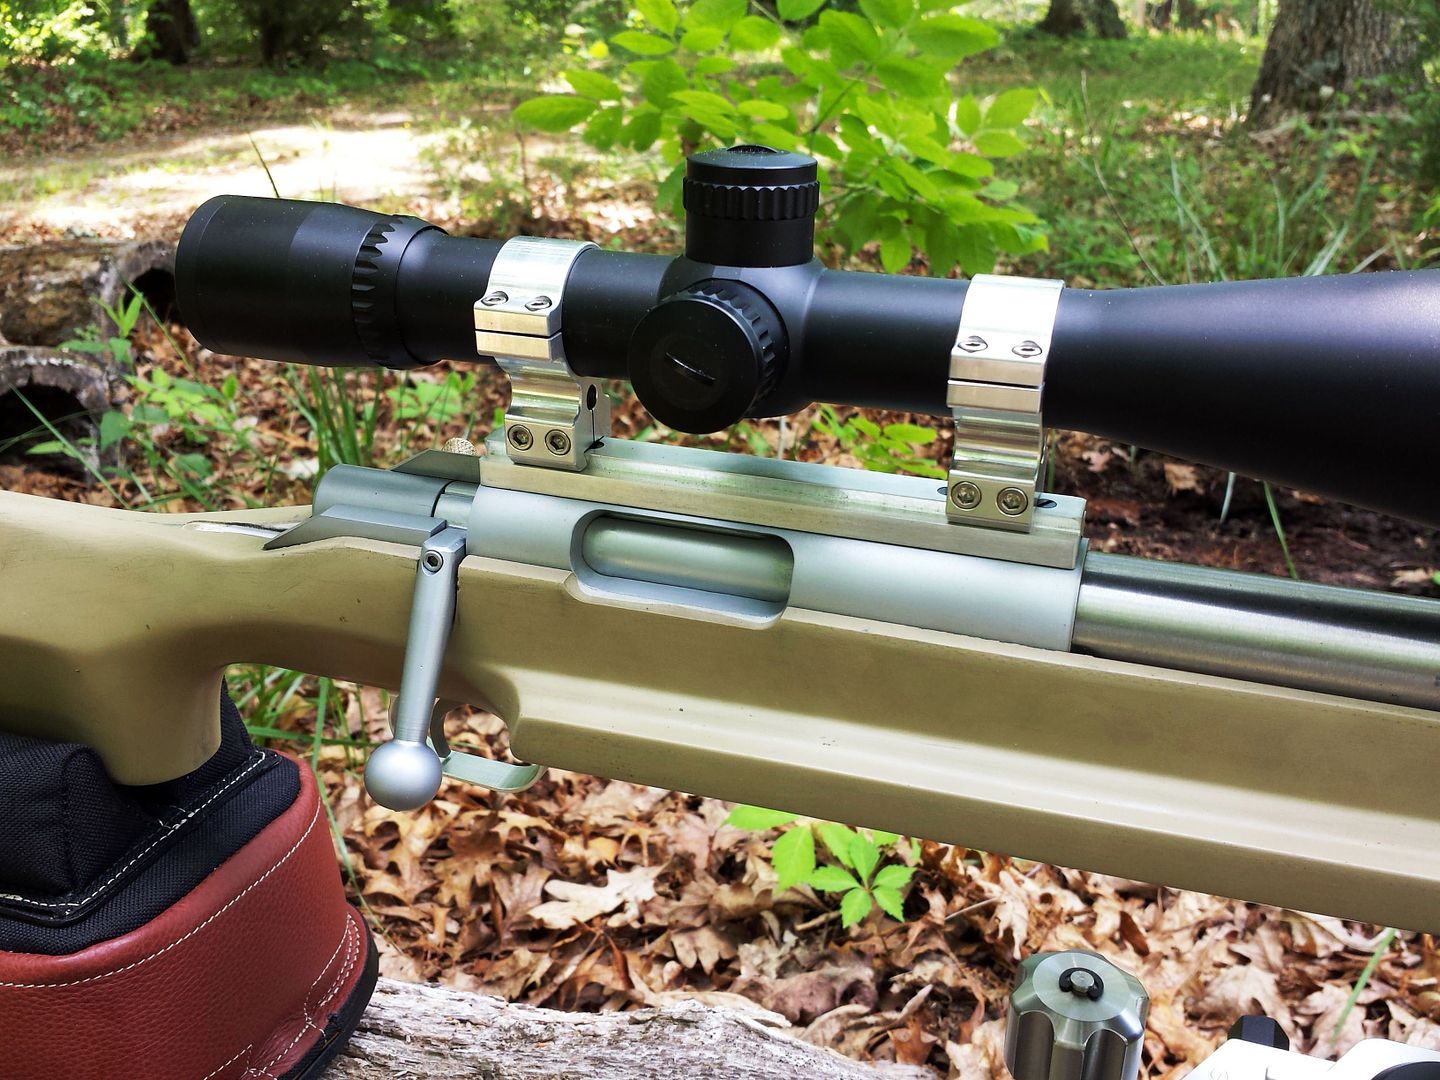 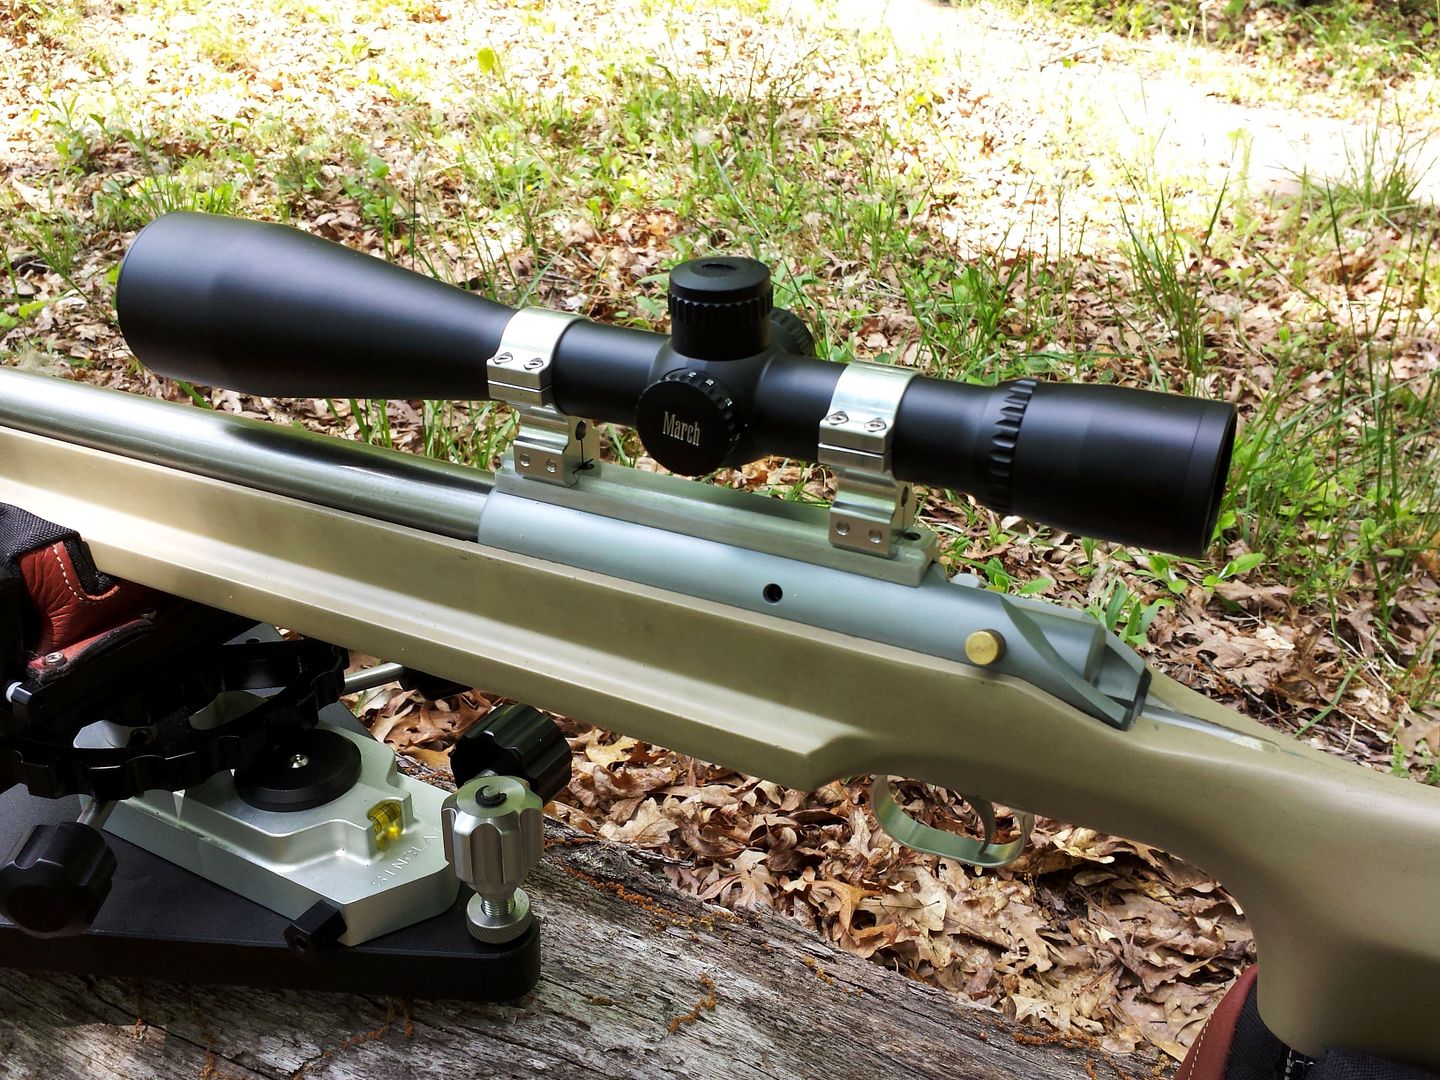 -Lee www.singleactions.com"Building carpal tunnel one round at a time" |
|
|
|
Post by oregon45 on May 20, 2015 21:19:53 GMT -5
Beautiful! What are you going to paint the stock? Mild or wild?  |
|