New Range, New Bench – Step 1
_________________________________________
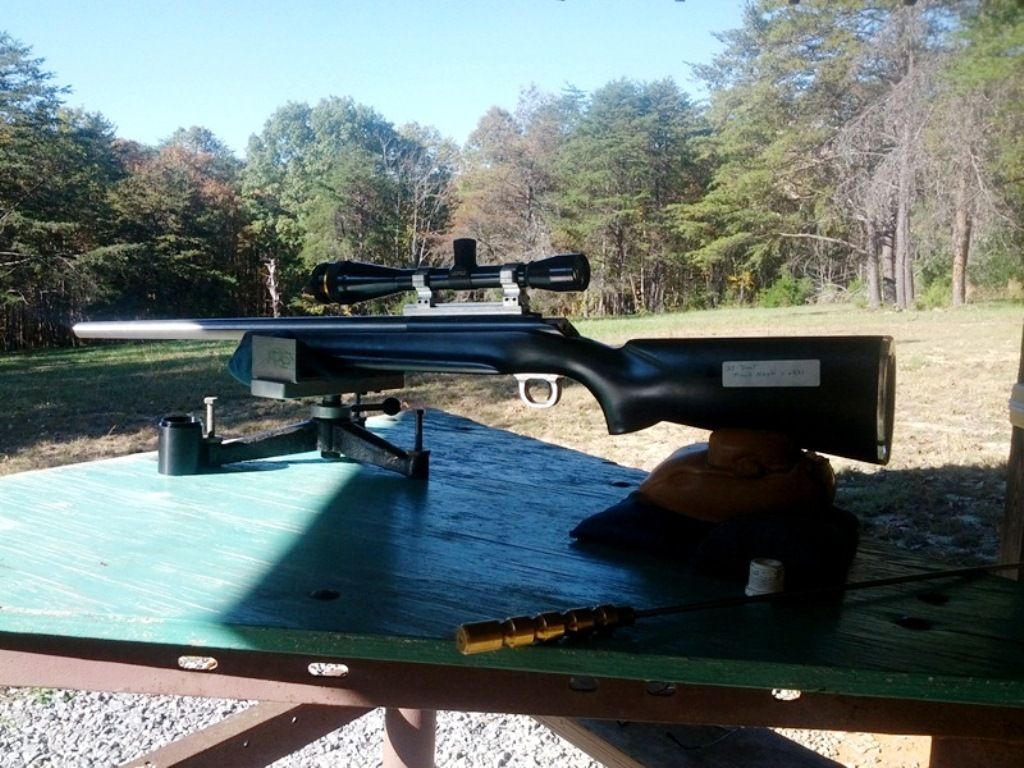
Our existing 100 yard range serves us well for handgun and general rifle work. However it is ill-suited for benchrest shooting. The major knock is its location up-range from the target. Initially I thought we could lower the bench and raise the backdrop but the grade is too steep. The second shortcoming is the top itself. It’s made from plywood and bolts to angle iron. That frame is welded to 3” pipes which are set in concrete. Albeit quite rigid, the wood can buckle over time. It also does a poor job at dampening vibration.
A picture of our current bench:
We’ve decided to build a new range and bench with the following goals:
1) The entire 100 yard span must be level
2) The bench will use a solid, reinforced concrete top
3) This will reside on a large concrete pad
4) A shelter will be constructed big enough to cover the bench, a permanent work table, and be accessible by car
5) The designated area must have room to add an adjacent 200 yard range in time
Recently Dad and I walked our land and found the ideal location. We hope to fire-up the bulldozer soon and clear the space. This’ll also involve pushing a massive dirt impact area, minimum 6-foot high. Based on the layout we can extend to 200 yards, possibly as soon as next year.
Unlike many disciplines, competitive BR doesn’t have a regulation bench. Many shapes exist as depicted here:
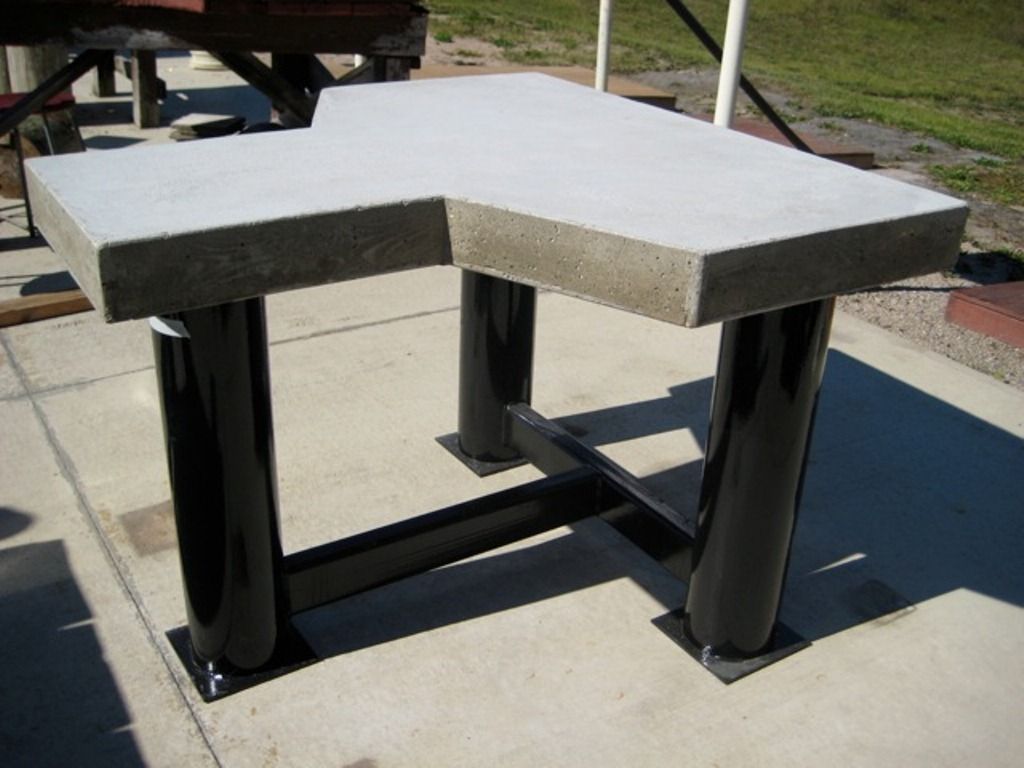
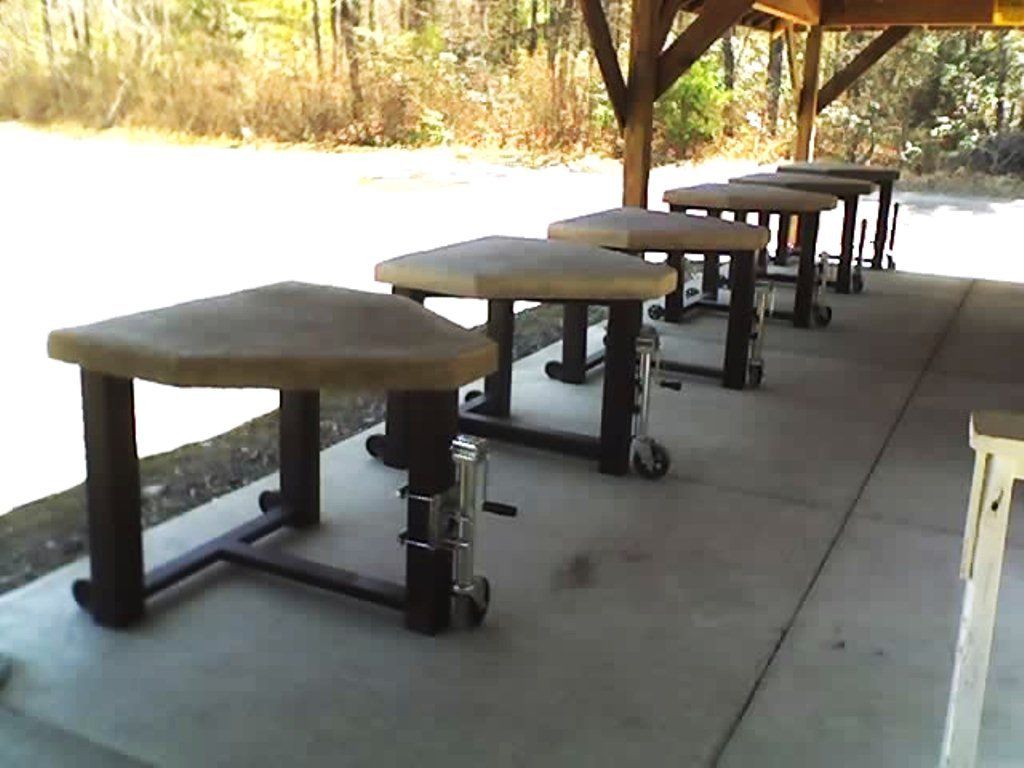
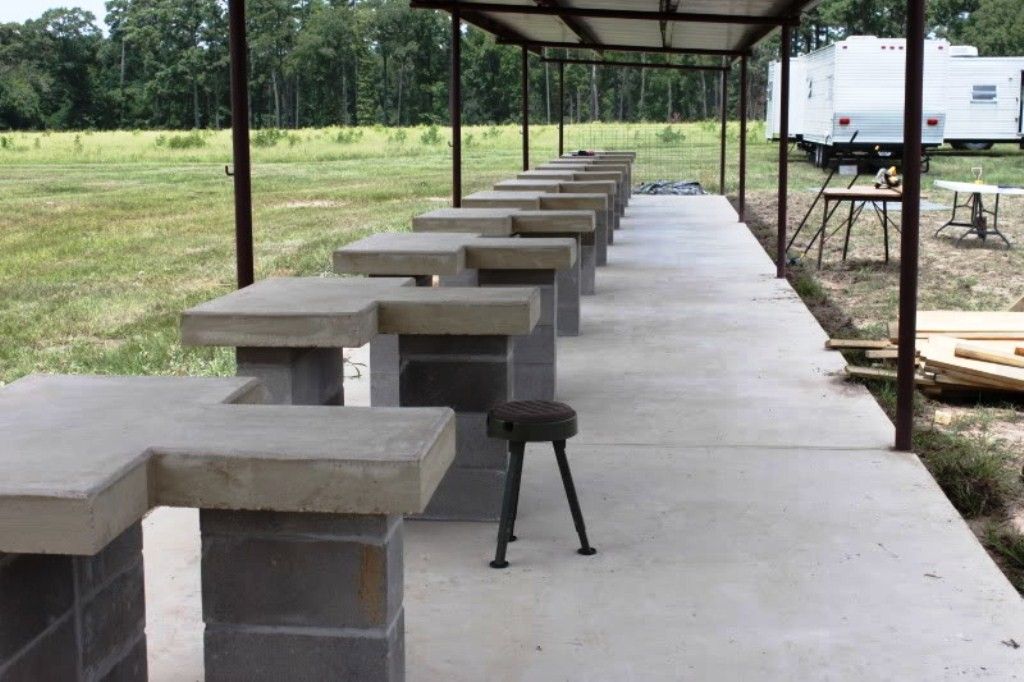
I’m most familiar with the first style and will build to these measurements (minus the cinder block legs. Ours will be on 8” pipe):
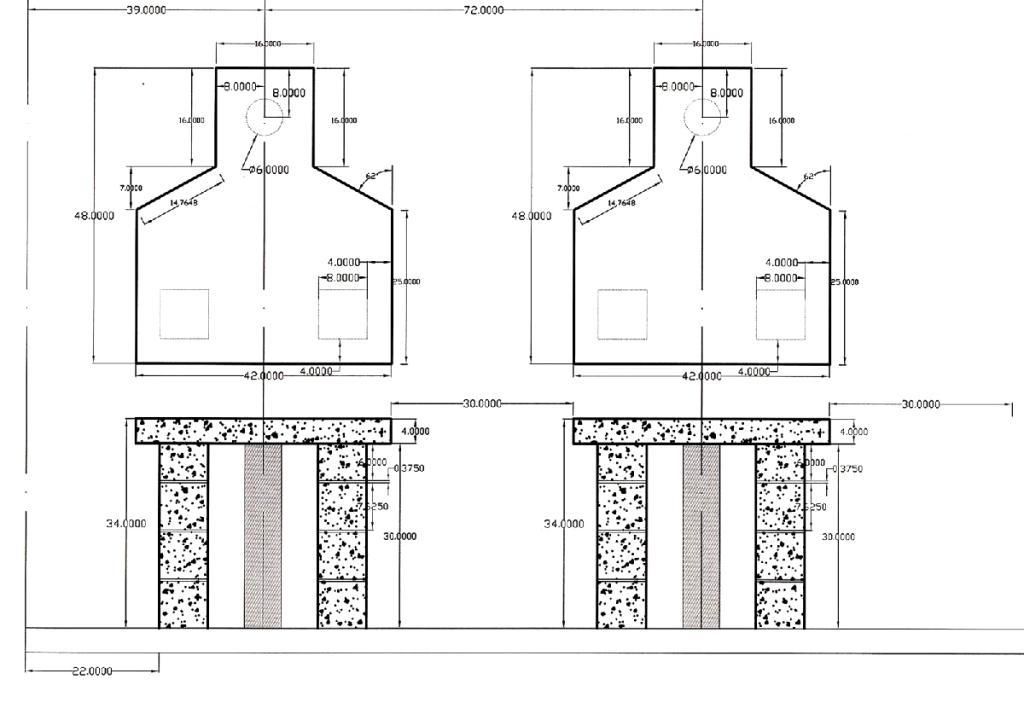
Step 1 is making the concrete form out of 2 x 4”s and plywood. From the spec sheet we drew the shape on a 4 x 8 foot piece of wood. Replicating the dimensions caused us to add 1 1/2” to account for the edge:
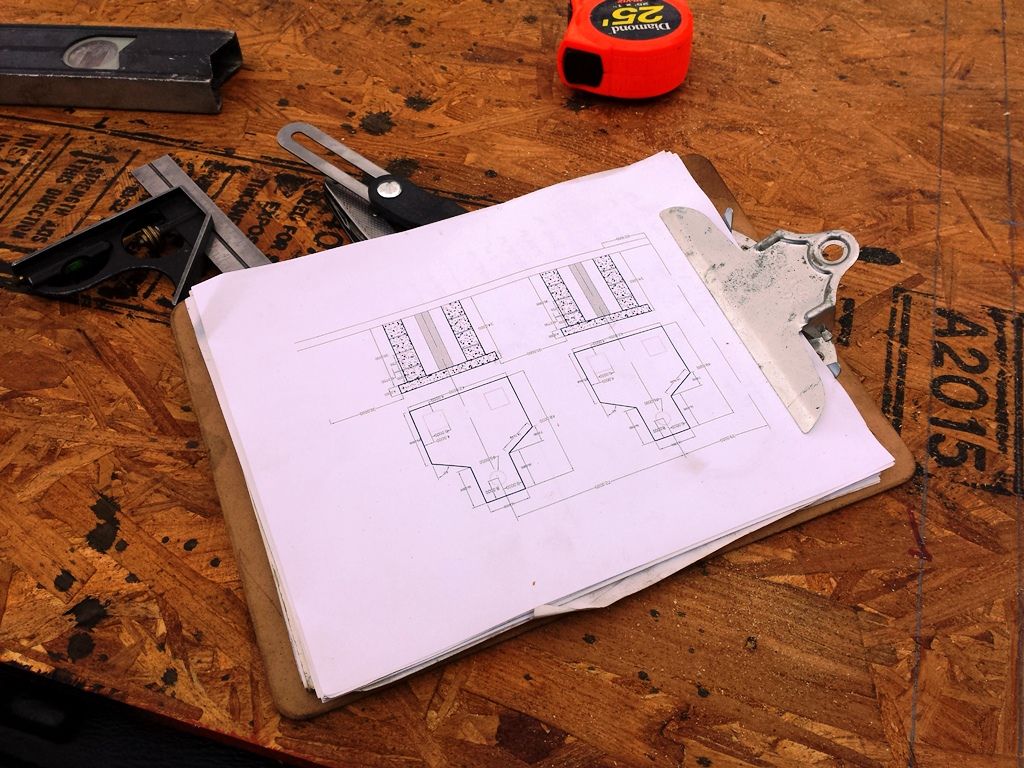
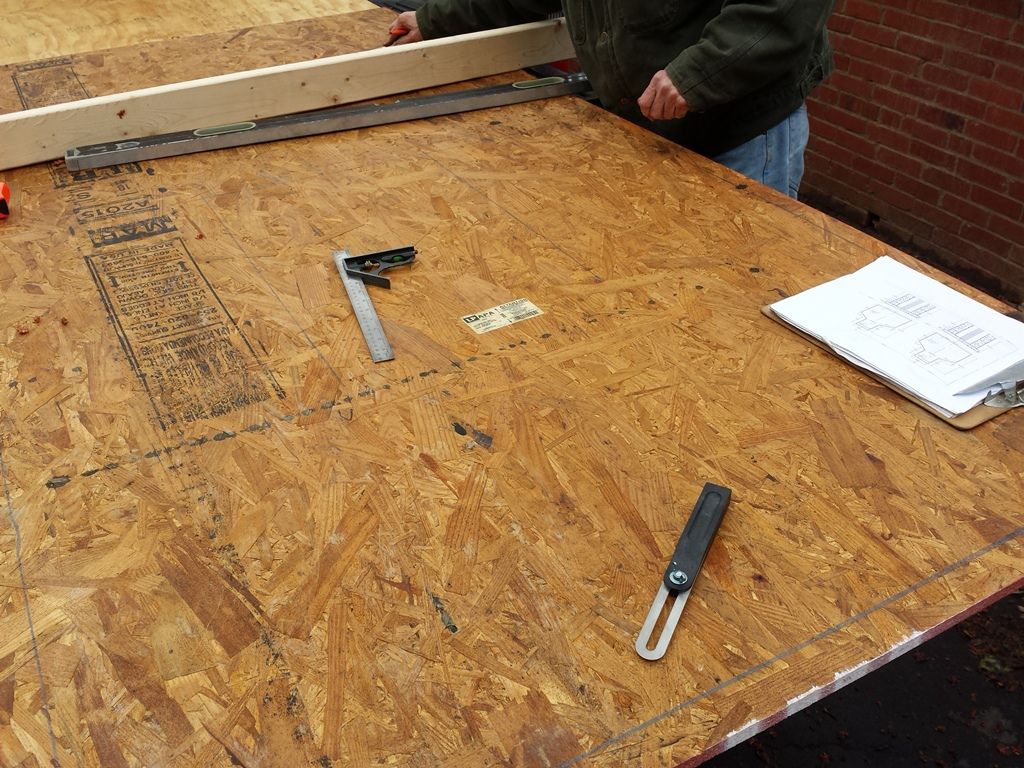
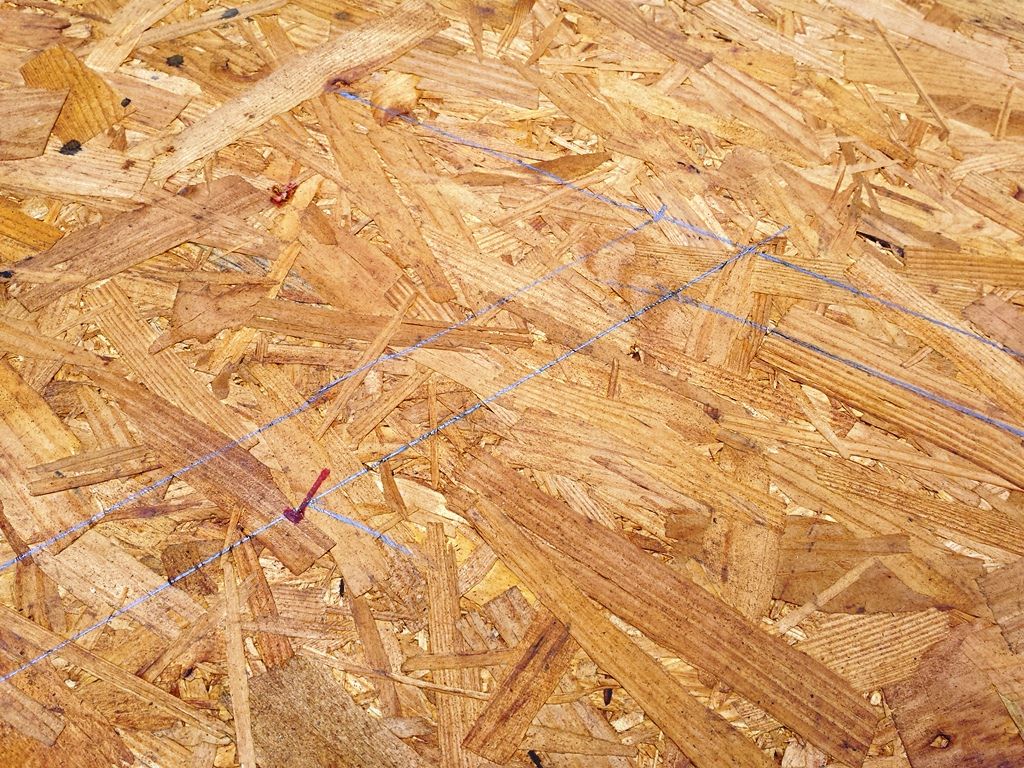
The outline is cut with a circular saw:
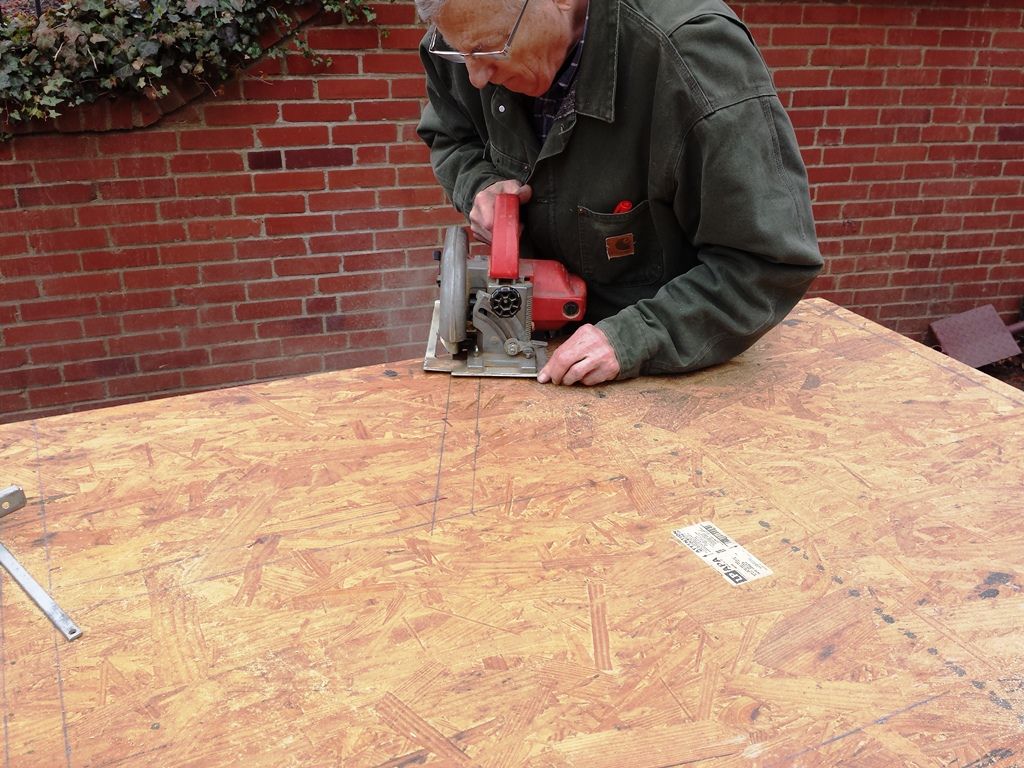
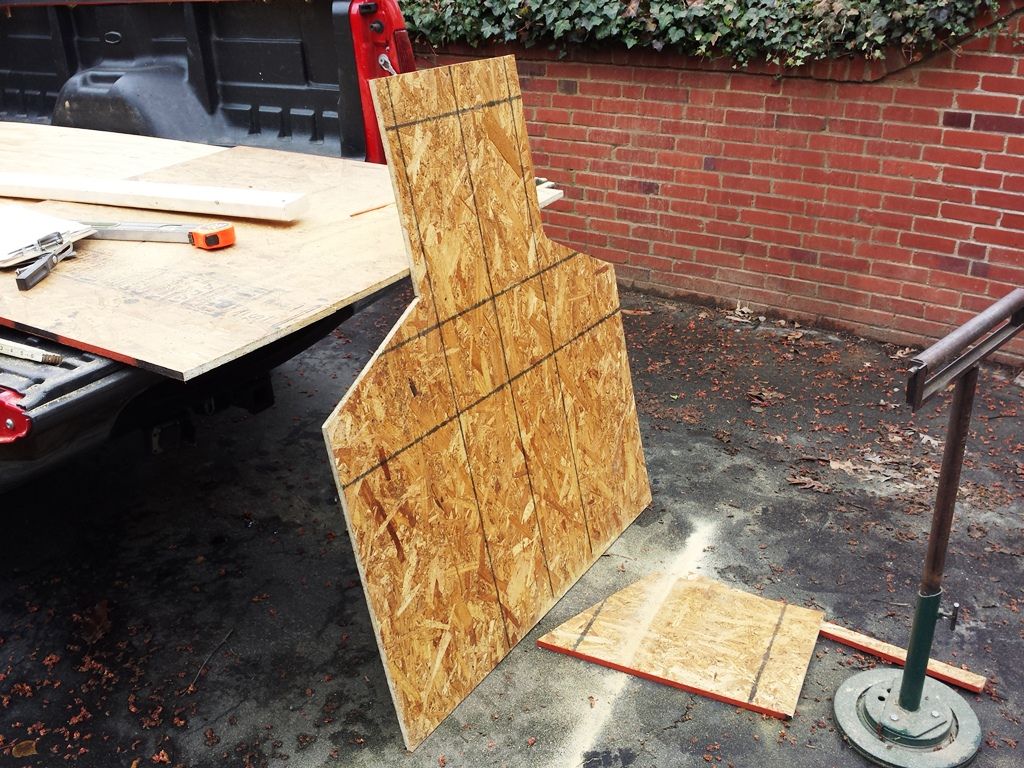
Roughed:
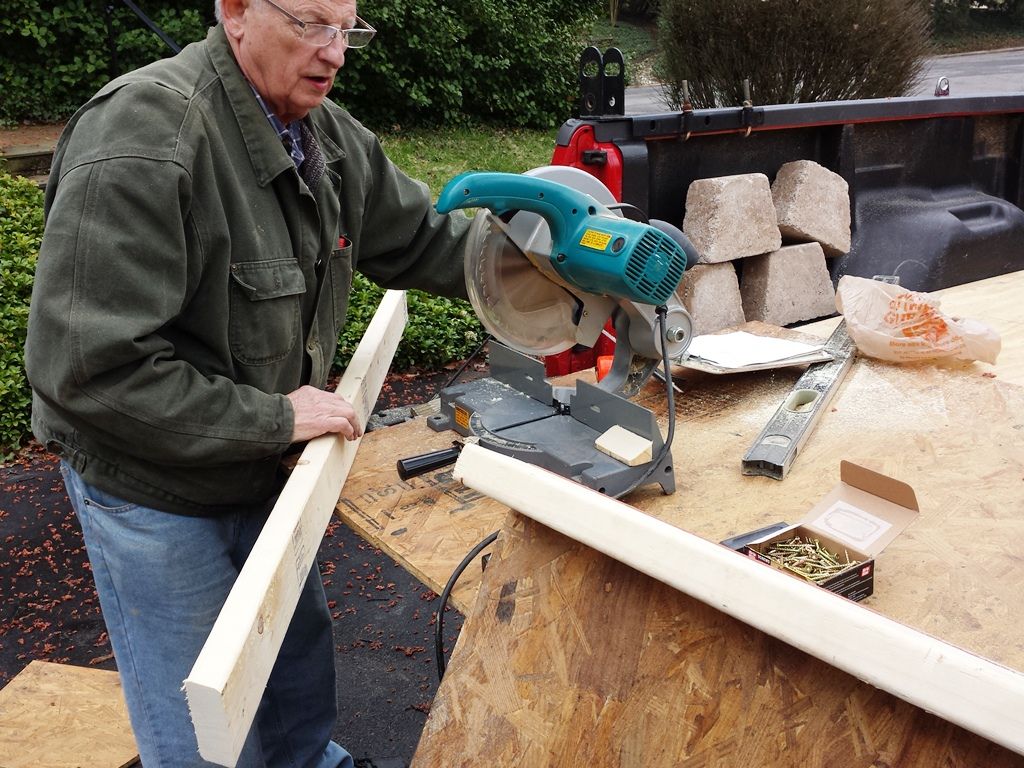
Here’s a shot of us sawing and screwing the 2 x 4”s into place. Screws were used over nails so it’ll be easy to disassemble:
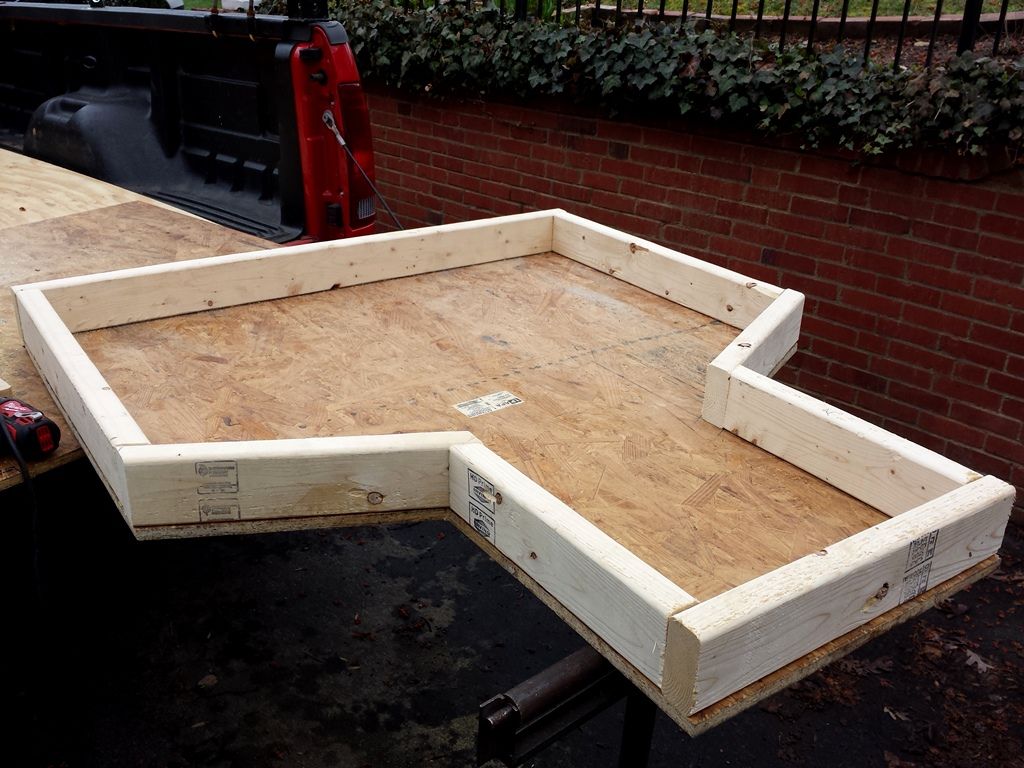
Finished form:
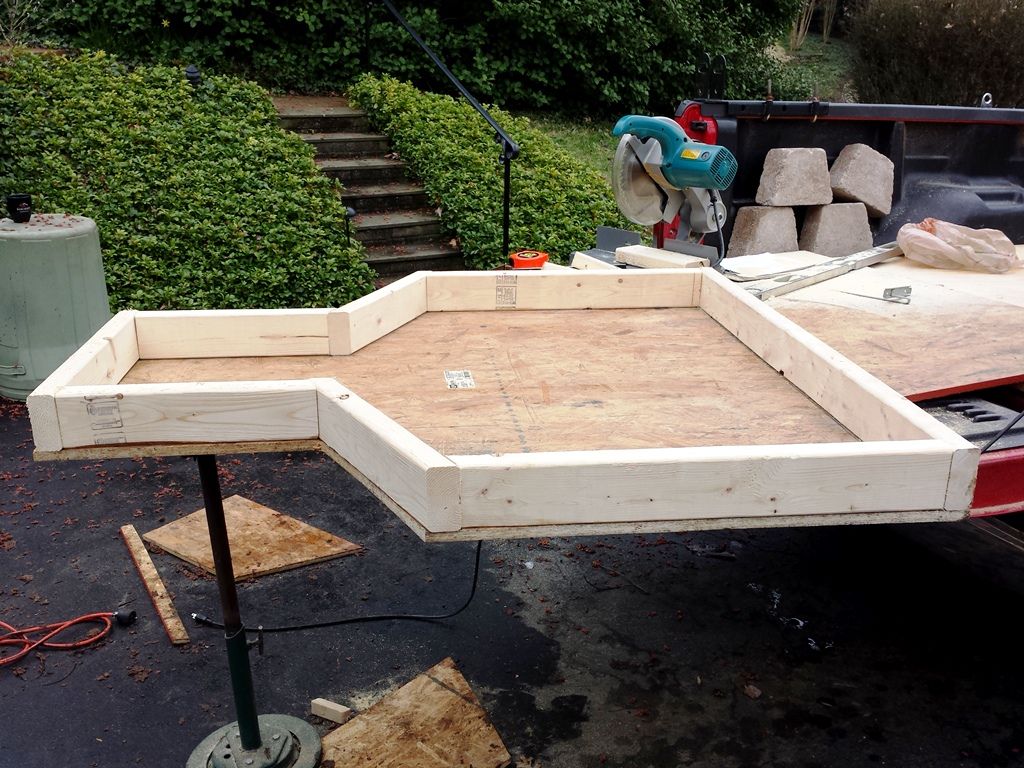
Future posts will illustrate each step of the construction (especially my favorite part, the bulldozing). But in case you’re wondering, here’s how it’ll play out:
• The range and impact area are graded with an old D6 Catepillar
• 8” pipes are cut to give a 32 – 34” height. We’re thinking of welding cross members and large metal tabs to the bottom. That way we can anchor it directly to the concrete. The alternative is sinking the posts into the dirt and pouring around them. Two problems with that approach. First, it’s harder to level the pad with three pieces of steel in the middle. Second, if the pad ever needs repaired, I could remove the bench if we go with #1.
• An area, say 15 x 15 foot, will be dugout around the bench.
• We’ll hire a concrete truck to pour the foundation
• Three holes will be cut in the bottom of the form. We'll brace it at the proper height on the pipes and pour our mix. Of course, every step will require careful leveling
• The concrete will be sealed
• The pipe feet are drilled and the entire bench is bolted to the slab
• Using 4 x 4” poles we’ll anchor them to the corners and fabricate the pitched roof
• A sizeable workbench will be installed for gear and reloading.
Even if you’re not into BR, I hope this will be a good range-build tutorial.
-Lee
www.singleactions.com"Building carpal tunnel one round at a time"