|
|
Post by bradshaw on Feb 19, 2015 23:01:01 GMT -5
True clear writing, illustrative of experience without which knowledge cannot exist.
David Bradshaw
|
|
|
|
Post by Lee Martin on Feb 25, 2015 18:26:04 GMT -5
Step 57 – Inletting the Stock ________________________________ The stock we’ll use is a McMillan Edge HV. I ordered it sealed but unfinished, with a 1.25” action inlet and a heavy varmint channel. Since barrels are free-floated in benchrest, the only portion to address is the receiver. The trigger and main body are already set. Repositioning isn’t an option therefore they’ll dictate the inlet. Our action is put along-side the stock to space the trigger relative to the grip. The front and back edges are then marked with a pencil. 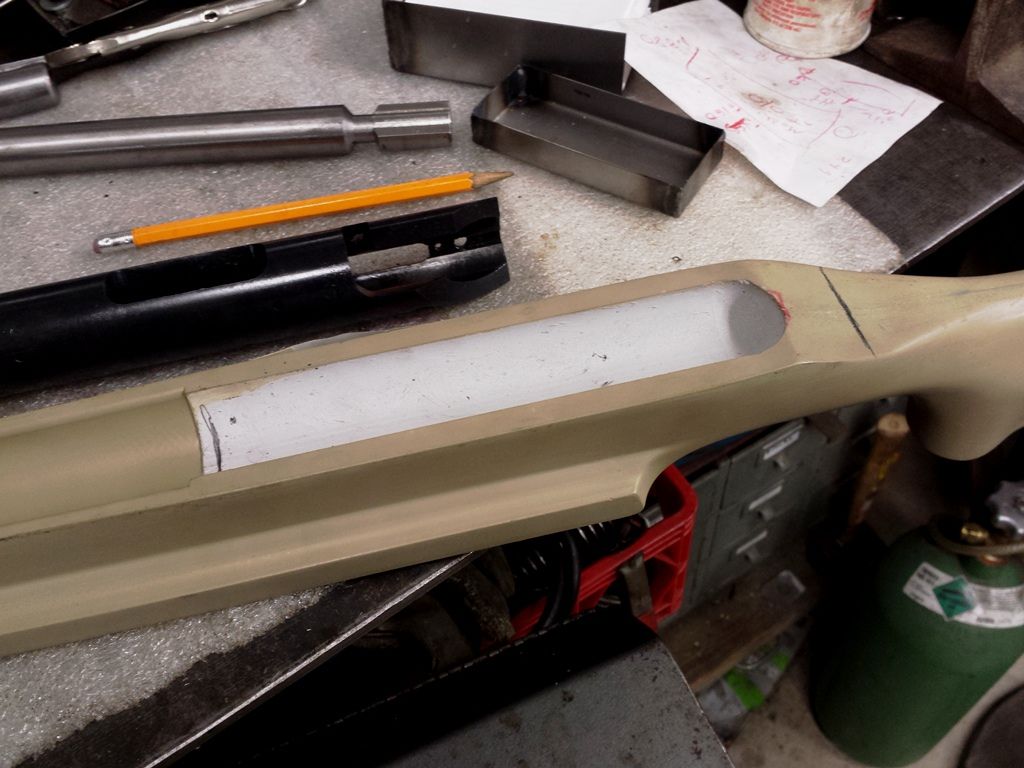 The action’s OD is 1.45”, or 0.20” larger than the factory channel. Sidewall thinning occurs in a Bridgeport using an endmill: 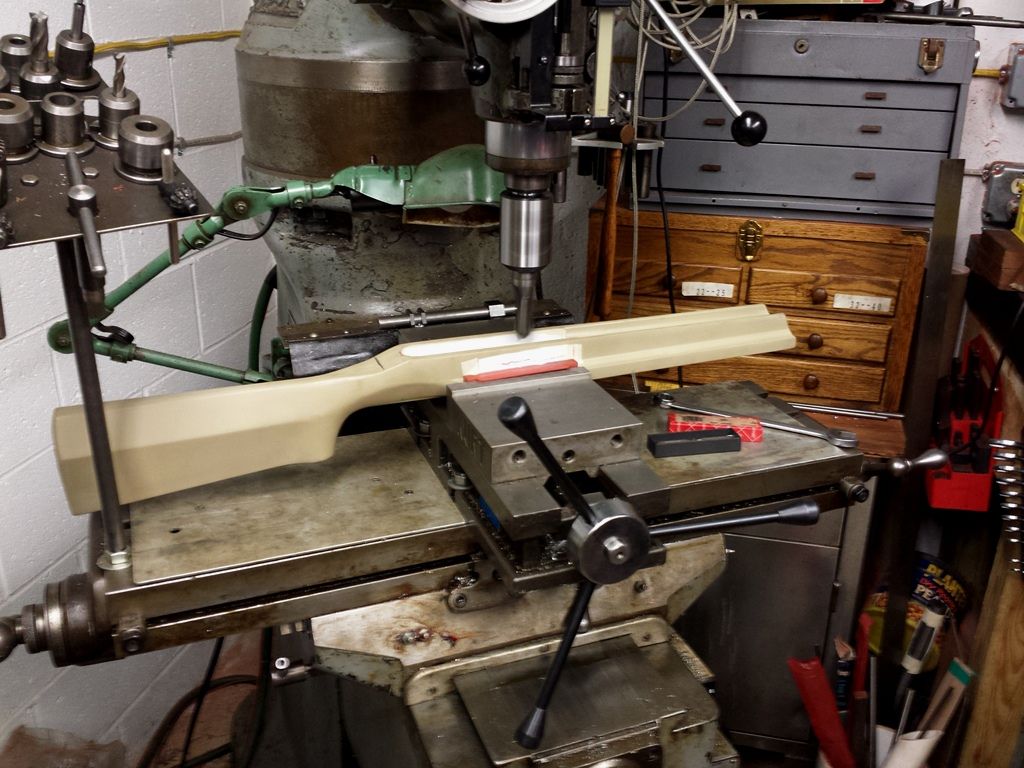 While our tang appears curved due to the rear slope, it is square at the back. A smaller 3/16” endmill trues that section: 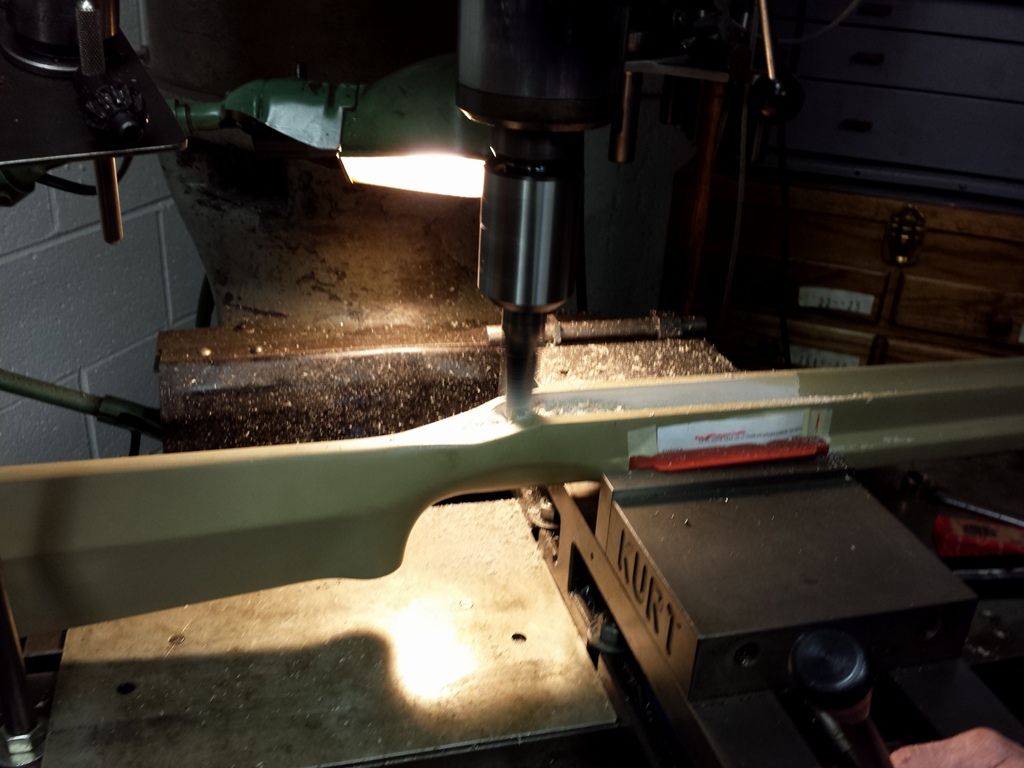 Roughed in view. All of this will be smoothly finished with Devcon before we lay down the paint. 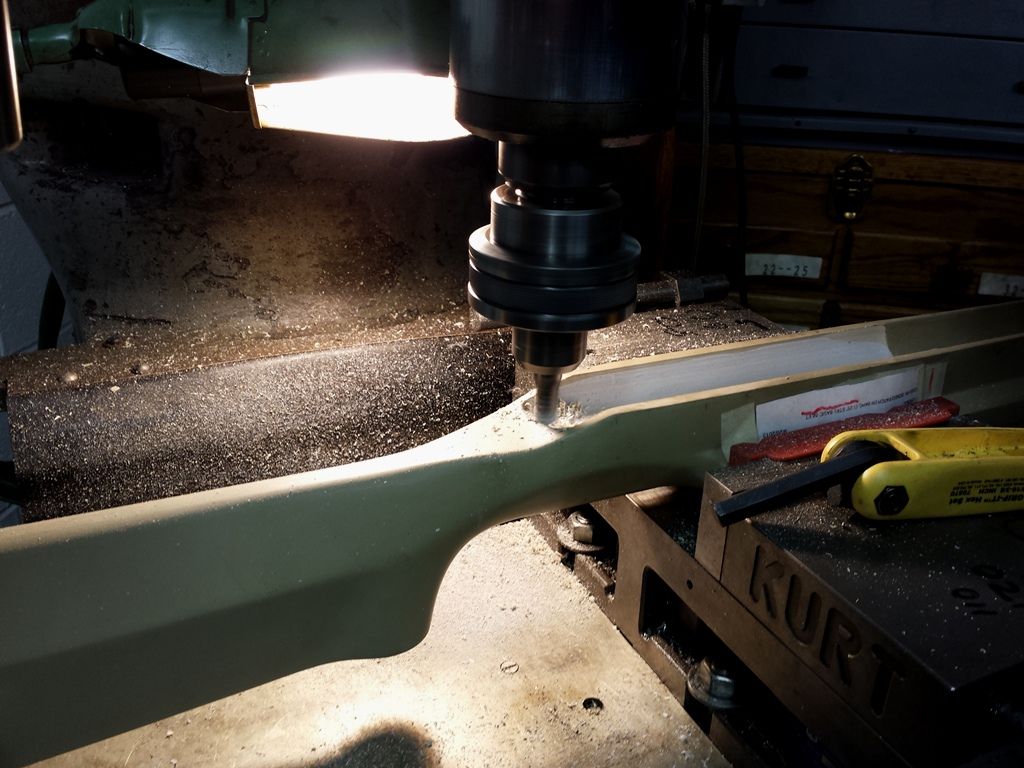 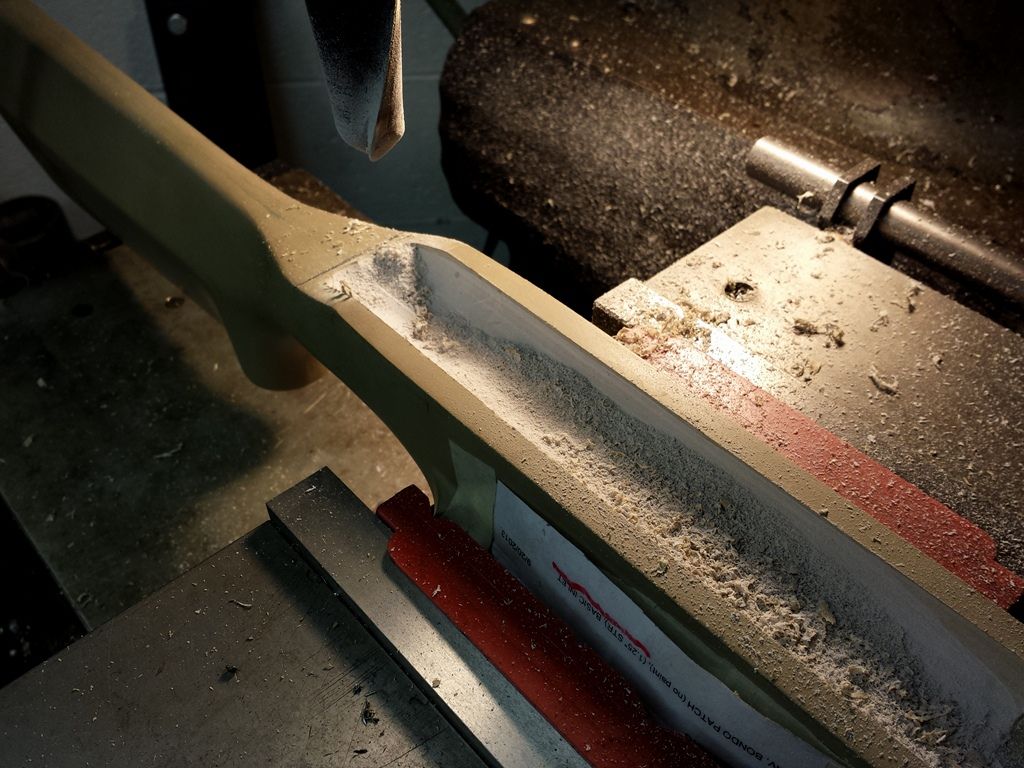 The action is tested and we’re still not deep enough. More sidewall is removed until 6:00 bottoms on the stock: 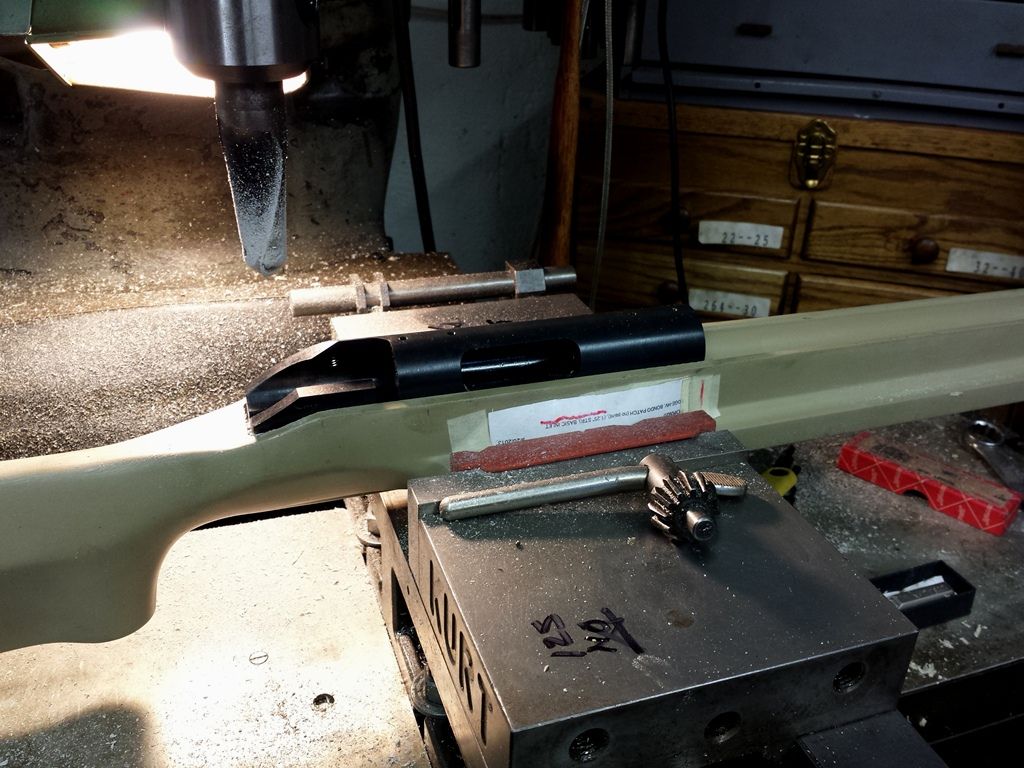 Once you get close to the core inlet, a barrel is screwed into the action. Luckily we had an old heavy varmint tube which approximates the contour and diameter of my Shilens. This template so to speak guarantees the receiver is seated straight. 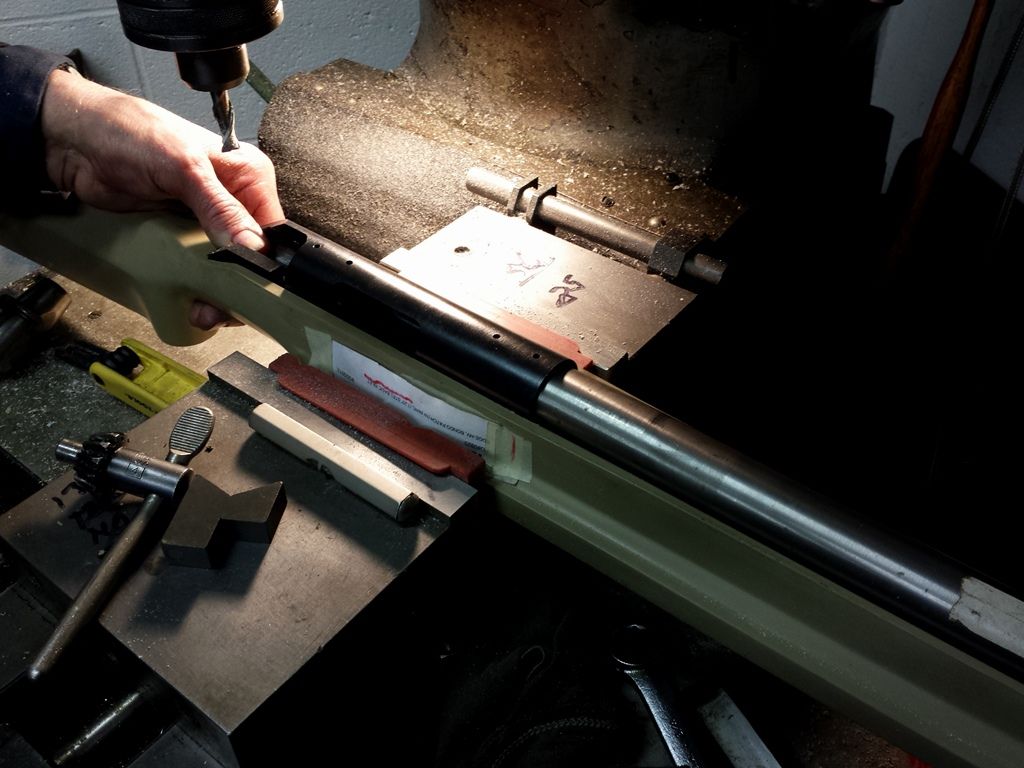 The completed inlet: 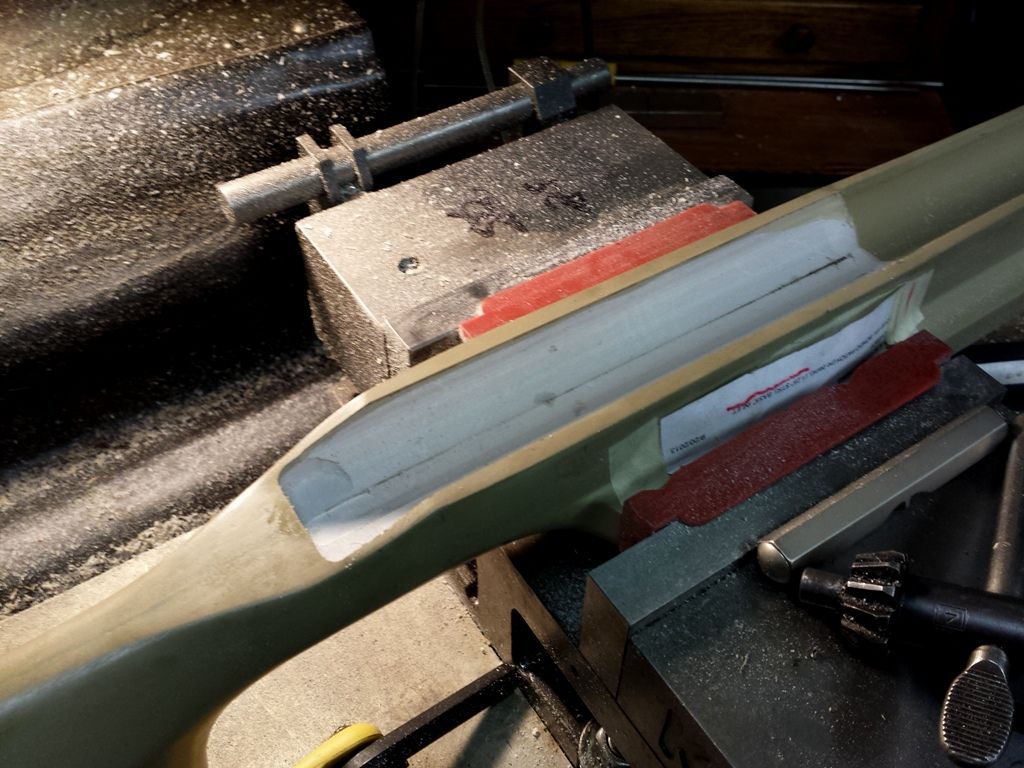 Next up is drilling the pillar holes. Our benchrest rifles get three, two ahead of the trigger and one behind. The second and third will also mate the trigger guard. Spud screws are inserted and the spacing is precisely measured. 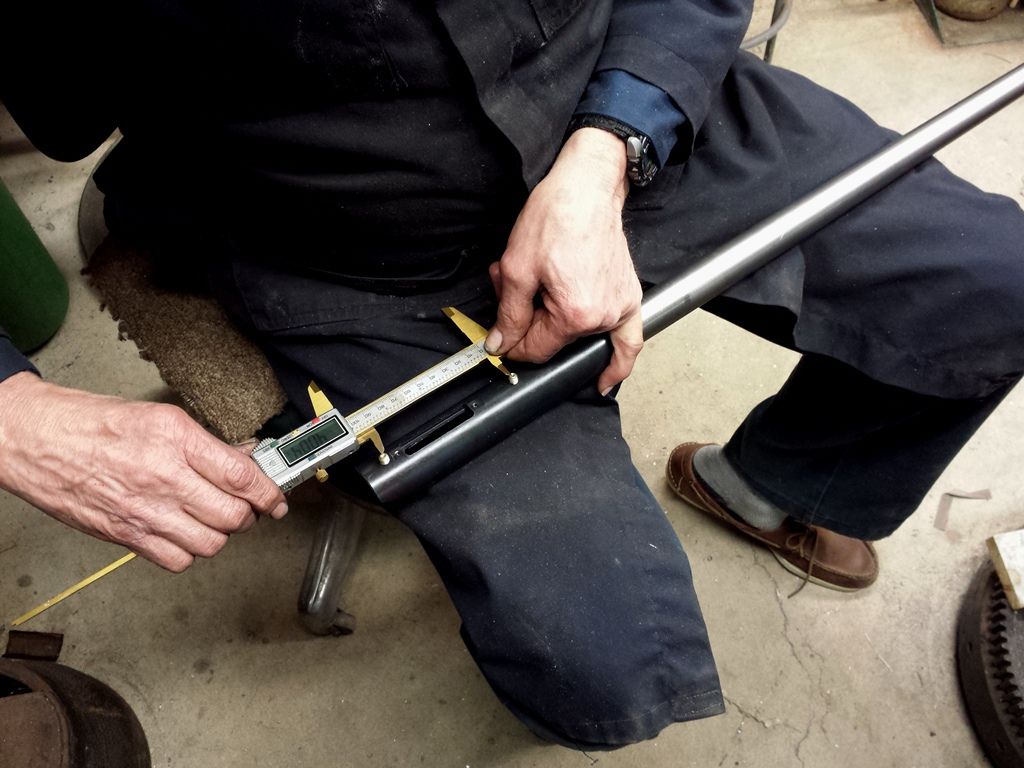 Drilling: 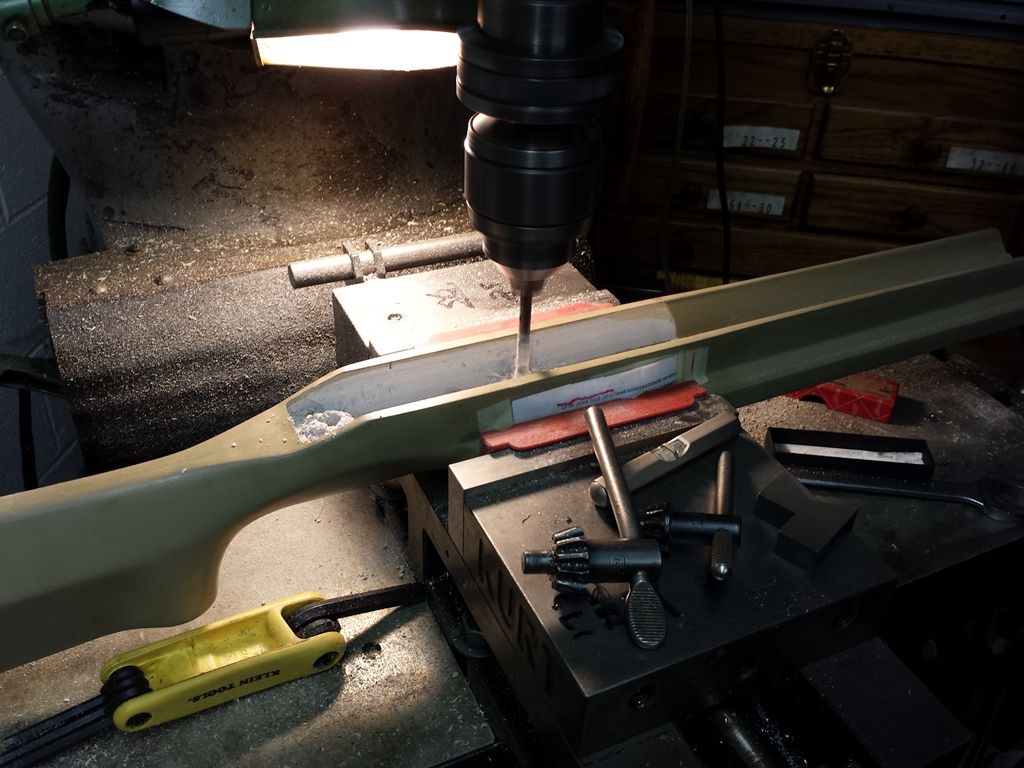 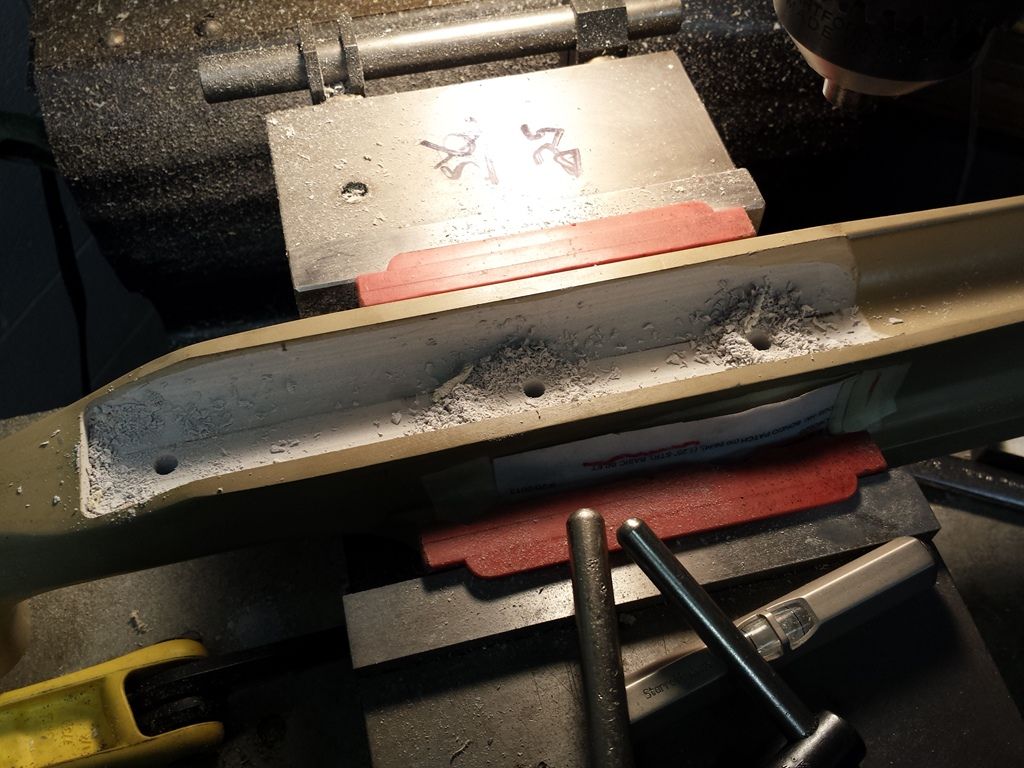 -Lee www.singleactions.com"Building carpal tunnel one round at a time" |
|
|
|
Post by Lee Martin on Feb 25, 2015 18:31:11 GMT -5
Step 58 – The Trigger Slot _________________________________ Our actions allow the trigger to be removed from the bottom of the stock. That’s a requisite on glue-ins, but even with pillar jobs I want that feature. You’ll frequently have to disassemble the trigger for cleaning and I prefer not to have to pull the receiver (the best trigger solvent is lighter fluid). A large endmill makes the recess 0.25” a pass: 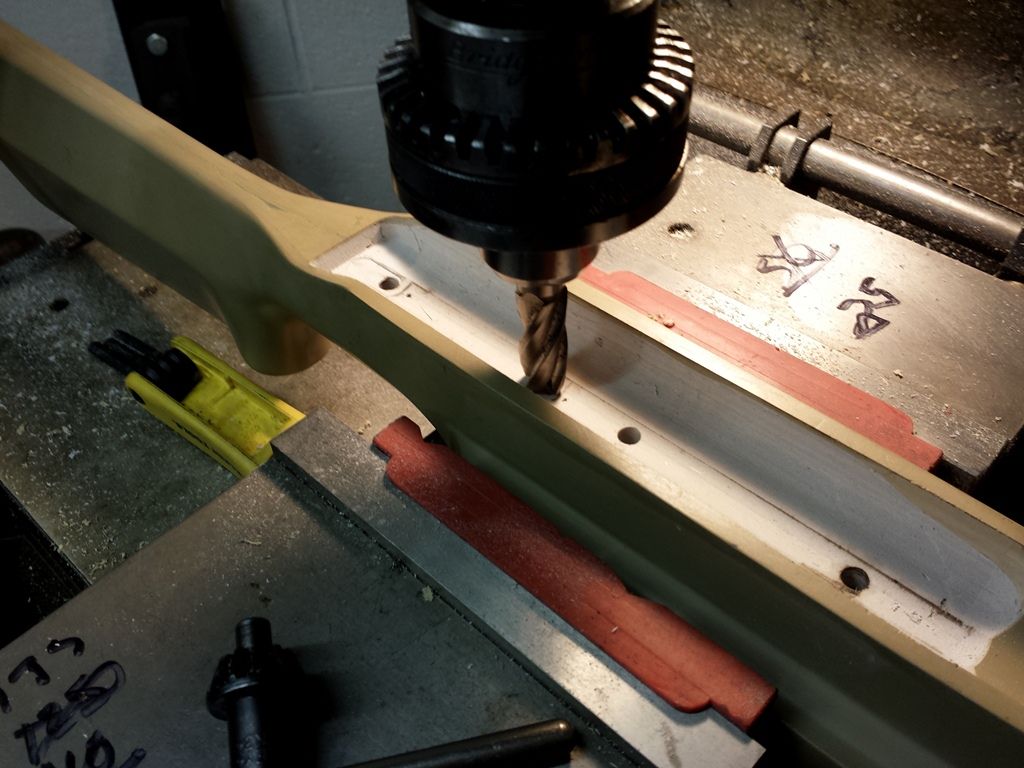 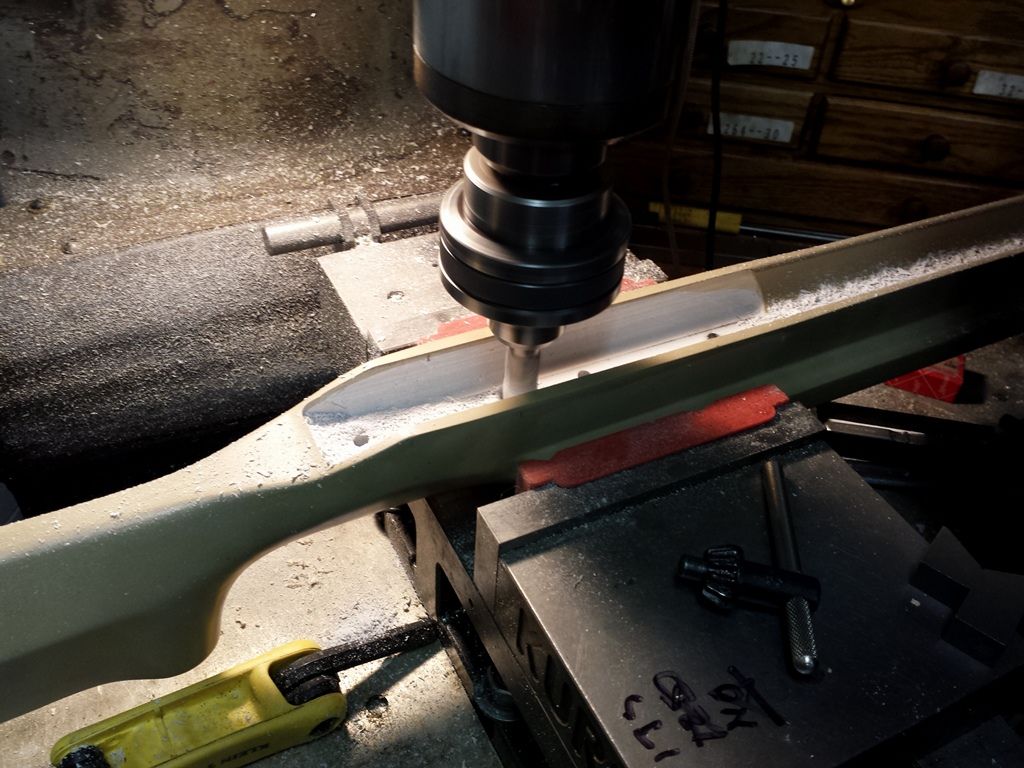 Breaking through the lower edge: 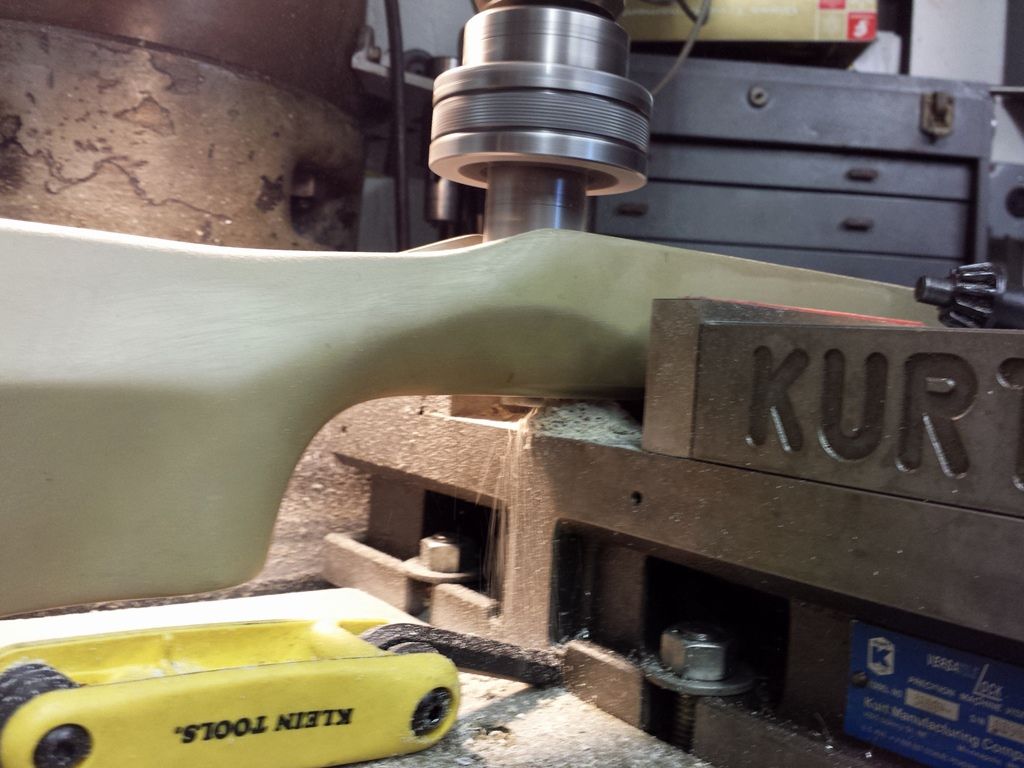 Finished slot: 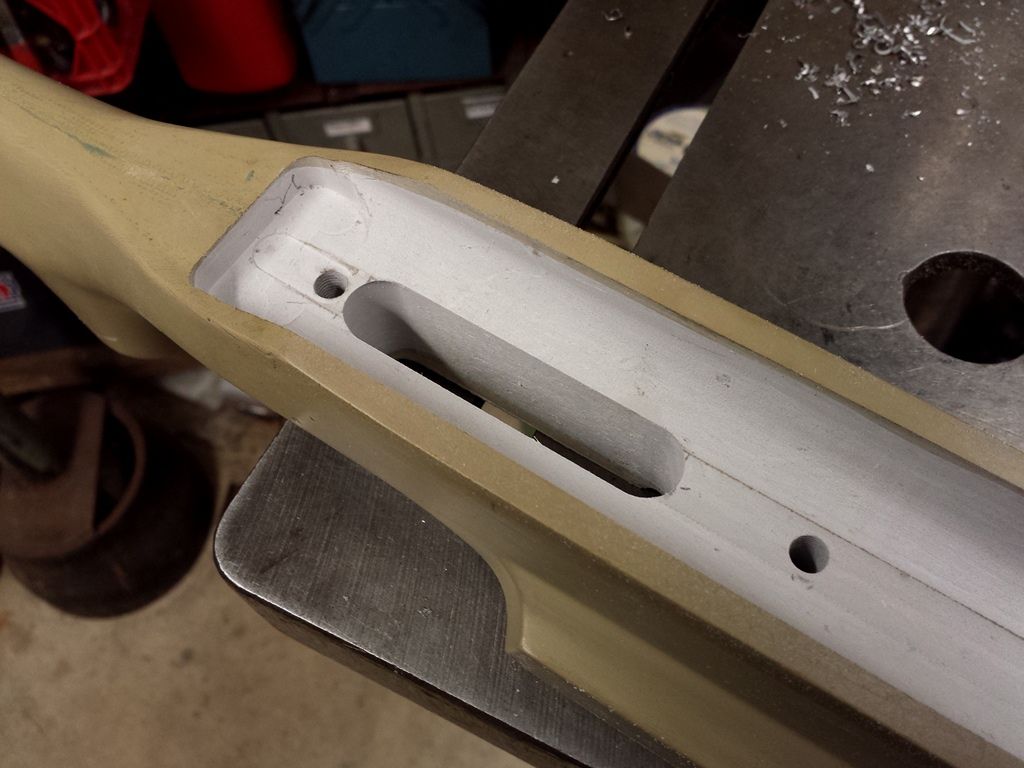 Action and test barrel: 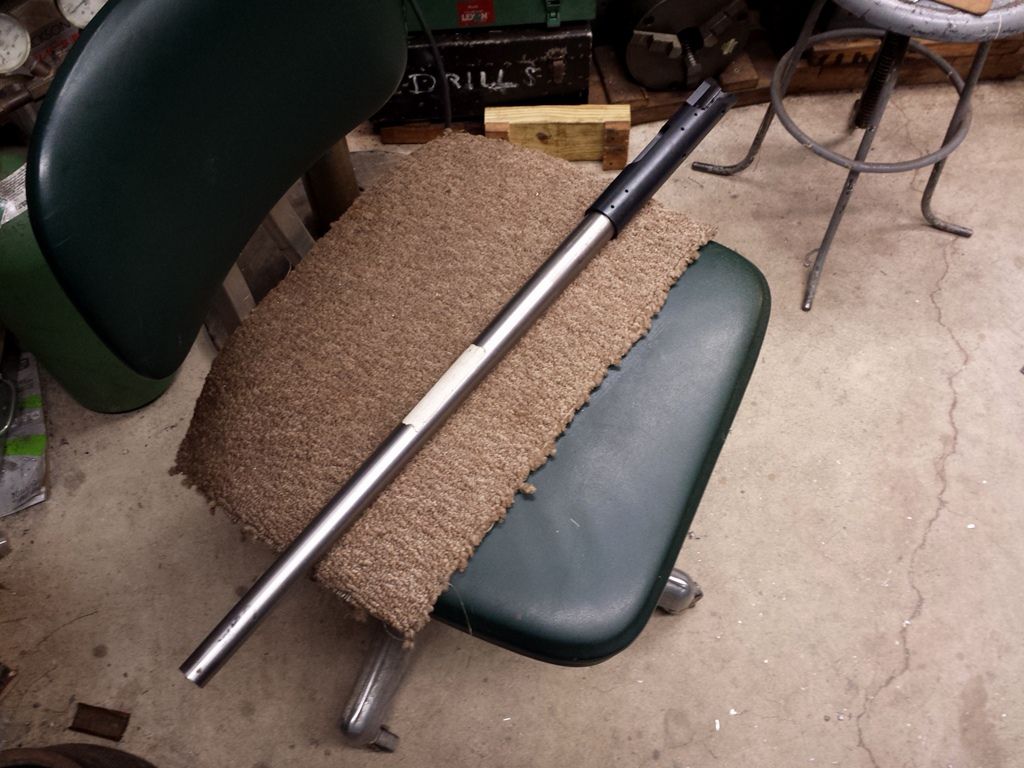 Fit to the stock. You’ll see the bolt drop and port notch haven’t been made yet: 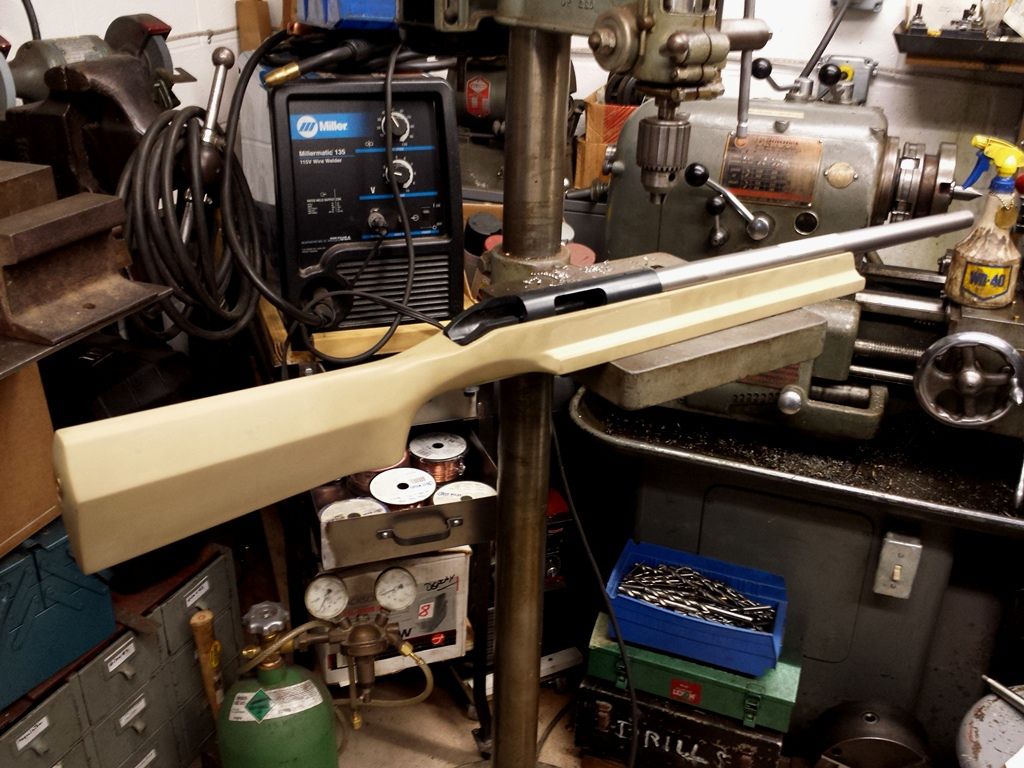 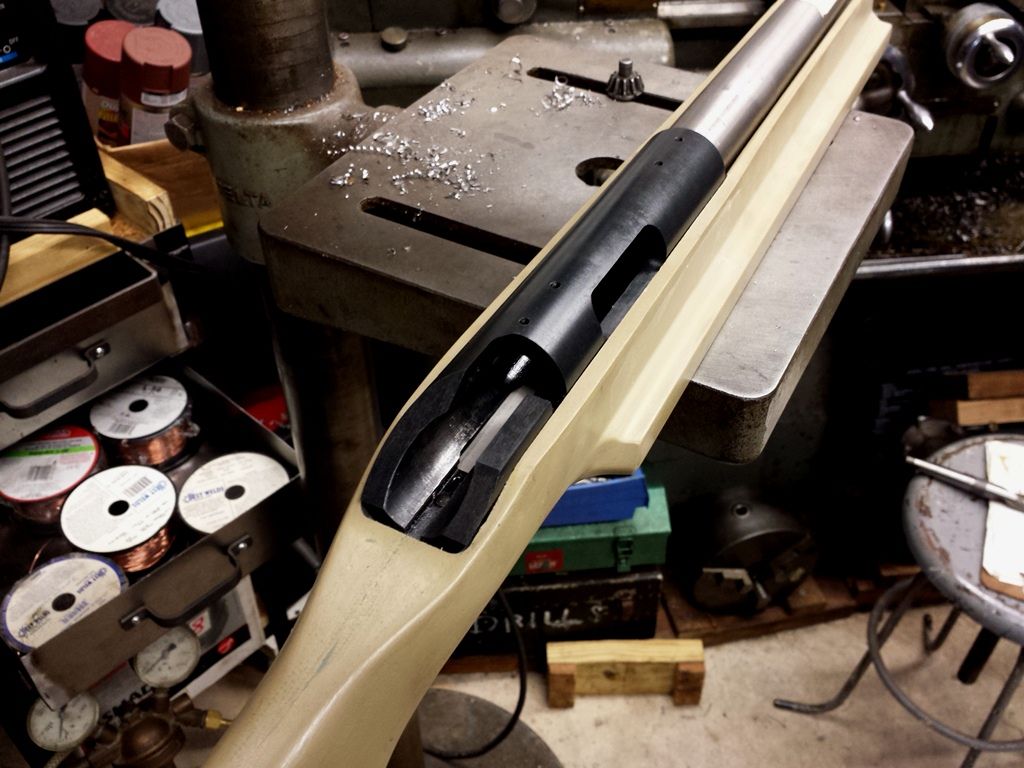 -Lee www.singleactions.com"Building carpal tunnel one round at a time" |
|
|
|
Post by squawberryman on Feb 25, 2015 20:23:50 GMT -5
Just a question with zero inference. Given that you don't know how to REALLY make chocolate cake until you actually MAKE a chocolate cake, is there a box or bucket of oops around the Lee's shop? This thread is surgical in delivery.
|
|
|
|
Post by Lee Martin on Feb 26, 2015 22:45:54 GMT -5
Greg...like any shop we have a scrap pile. But after 45+ years of building customs, dad's is pretty small. -Lee www.singleactions.com"Building carpal tunnel one round at a time" |
|
|
|
Post by Lee Martin on Feb 26, 2015 22:51:39 GMT -5
Step 59 – Making the Pillars ___________________________________ I won’t theorize pillar bedding versus glue-ins now. I’ll save that for when we Devcon the action. Instead I’ll illustrate the how the pillars are machined. We start with 1.0” aluminum round stock that’s faced and lathe trimmed: 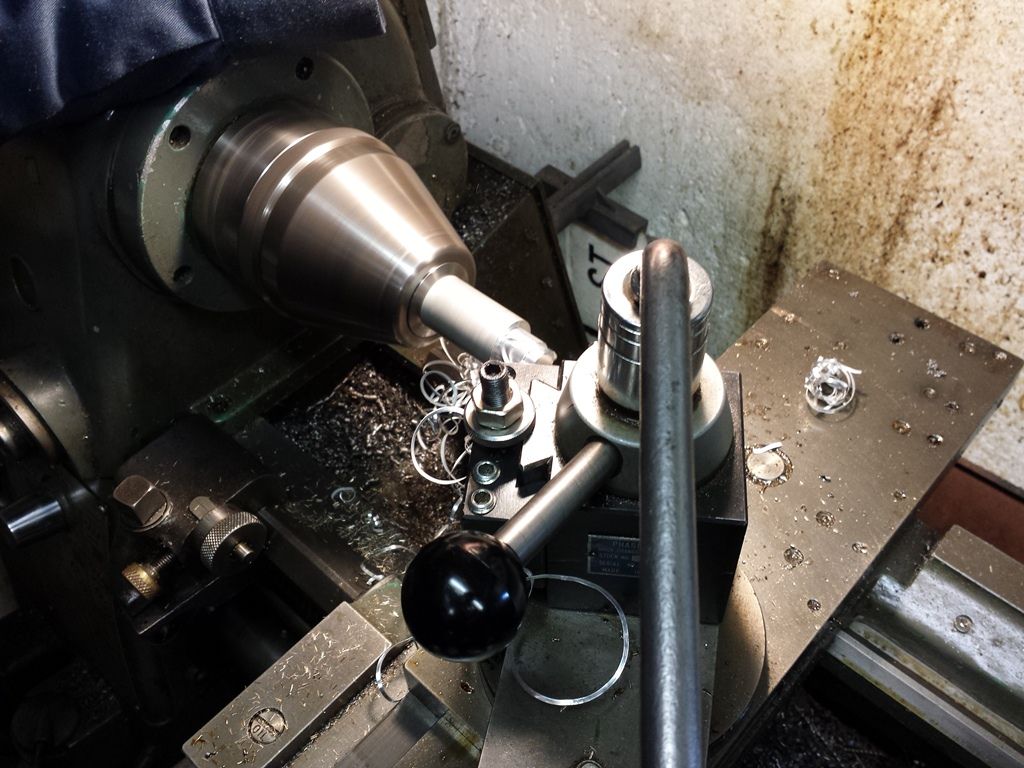 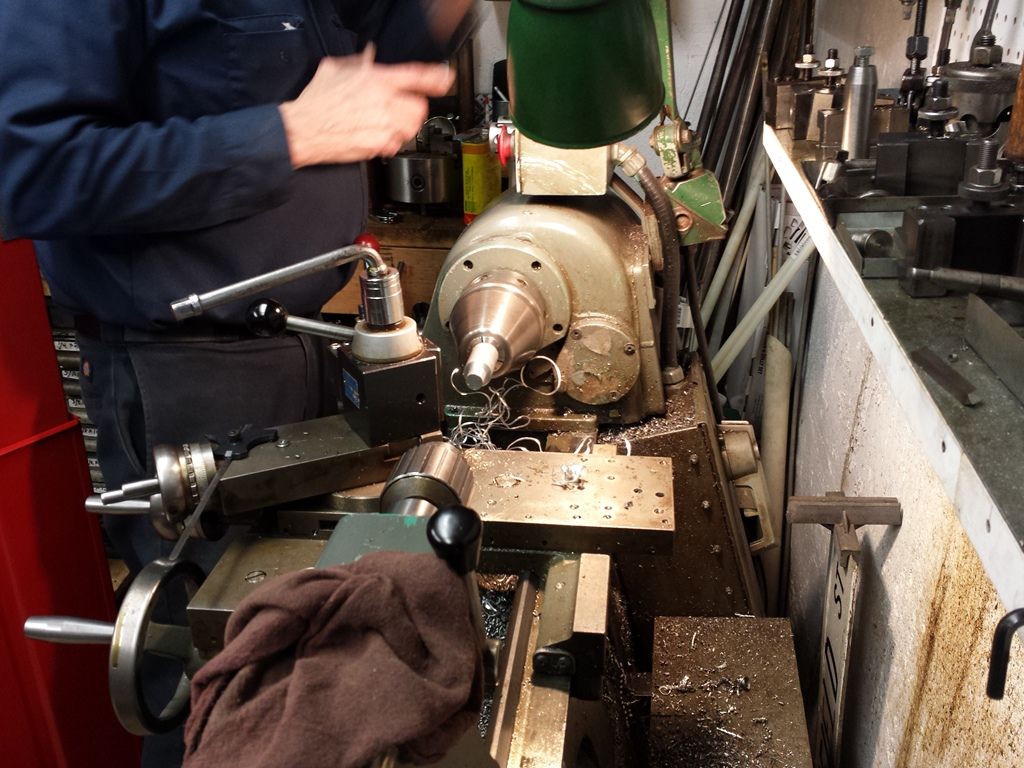 The piece is center drilled 0.250” and a perch stem is contoured: 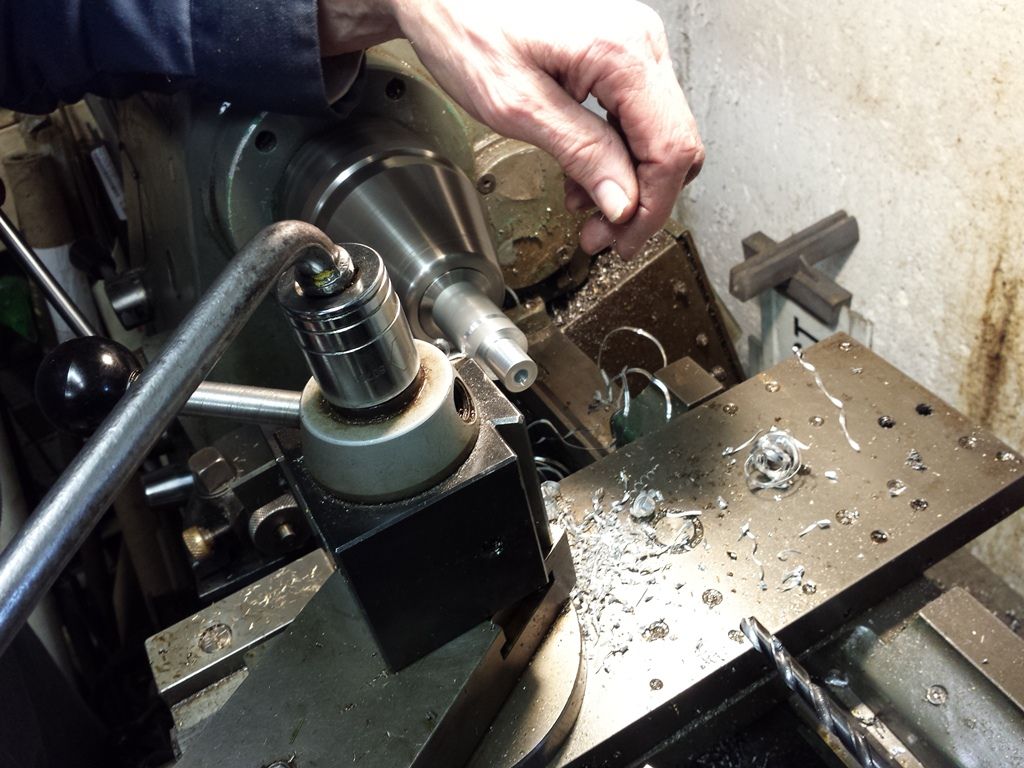 Rough turned and unpolished: 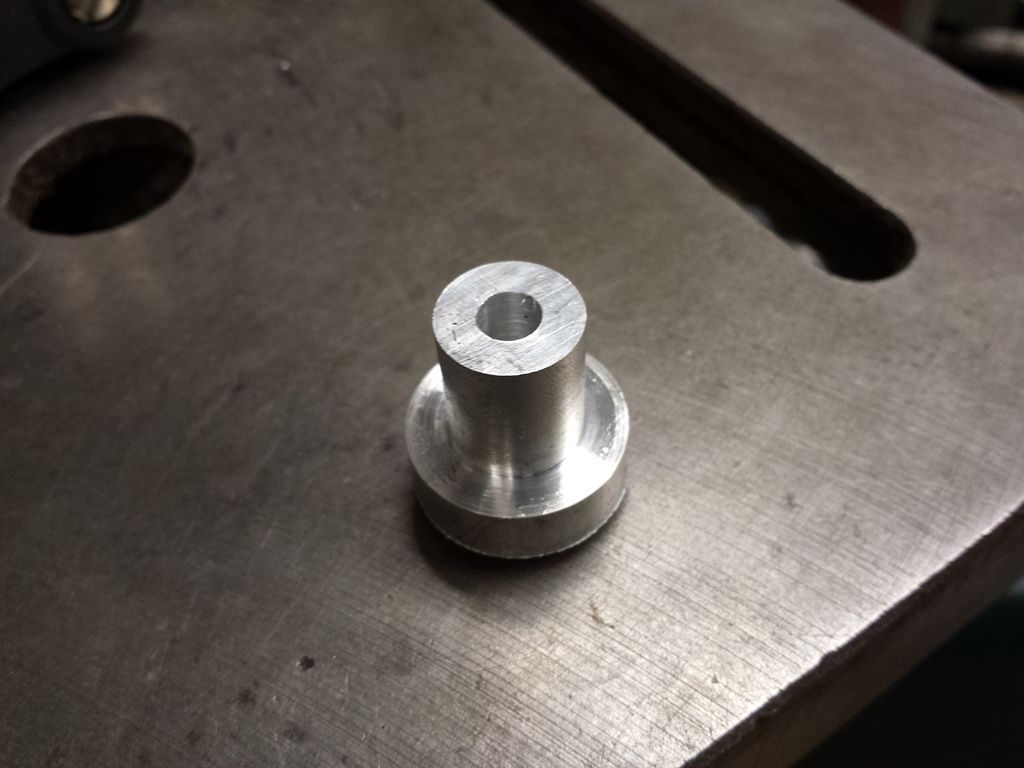 A relief cut is made in the stem to further anchor the bedding: 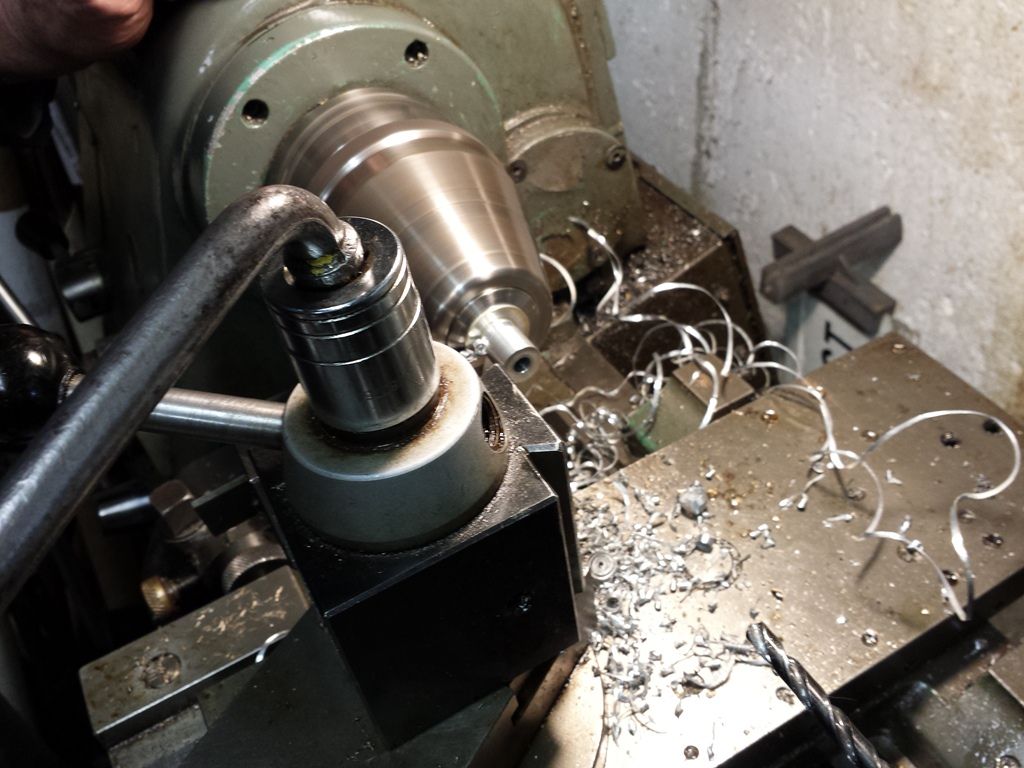 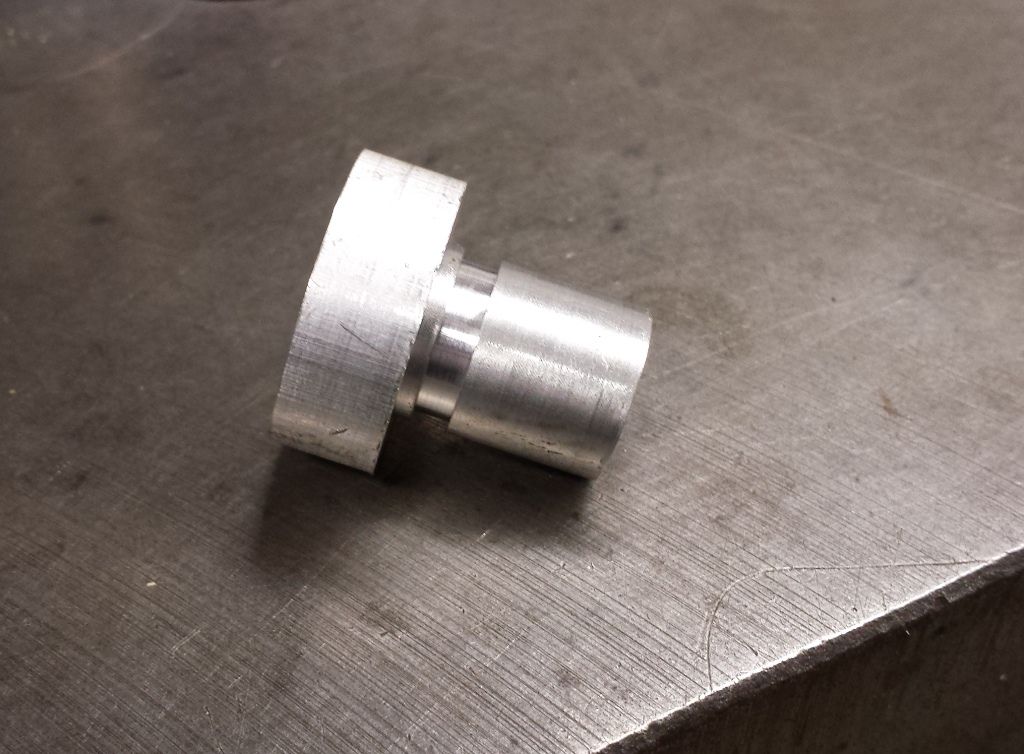 The front two pillar blanks: 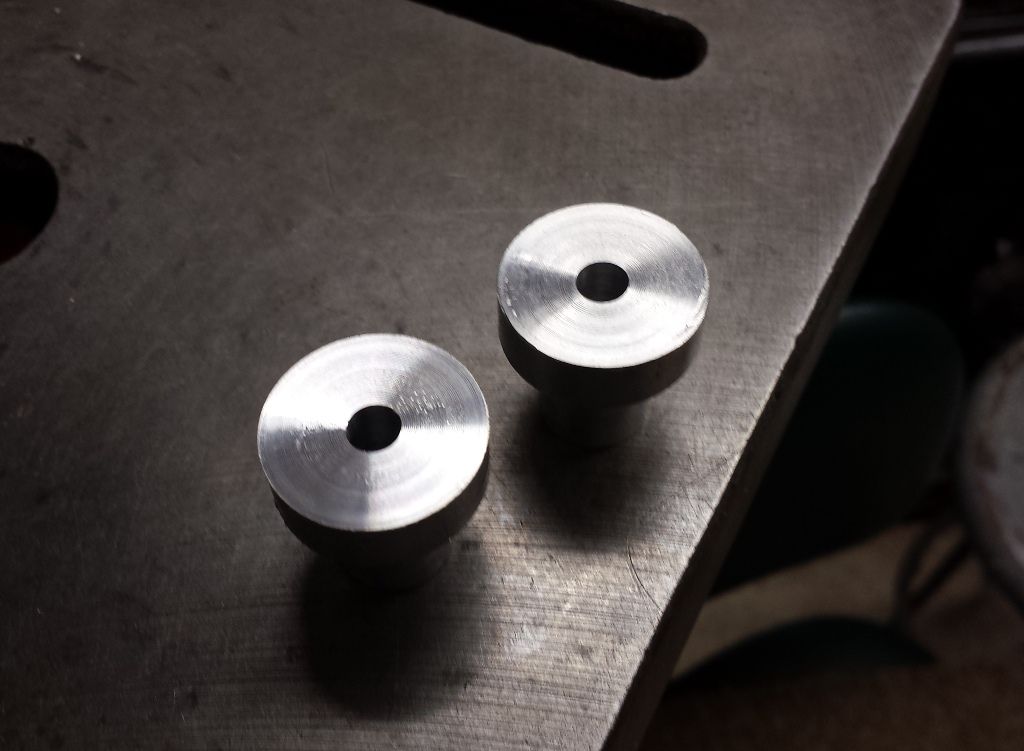 The tops are v’d. This portion of the pillar cradles the action. A collet indexing head sets the angle: 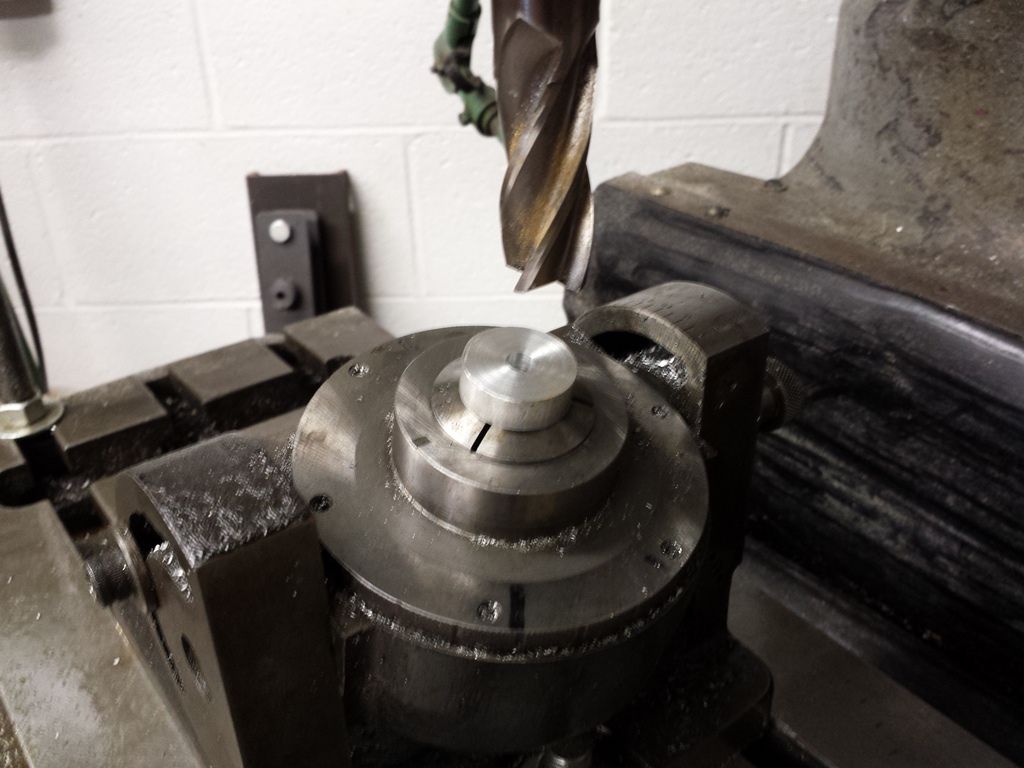 Milled lengthwise: 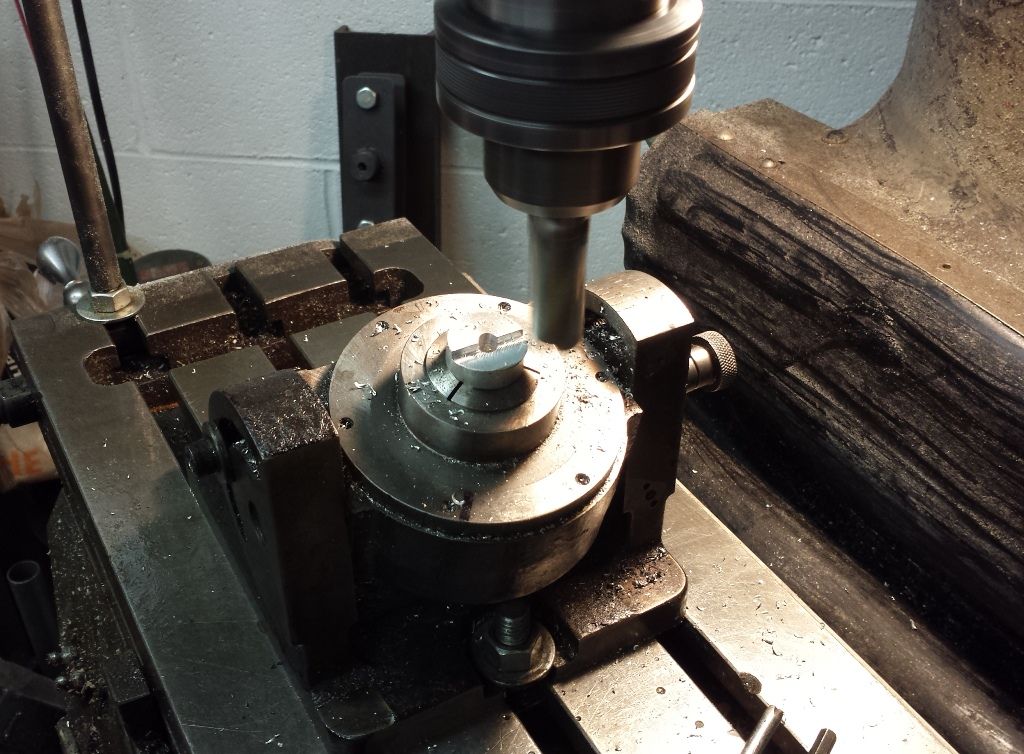 The head is rotated 180 degrees to complete the V: 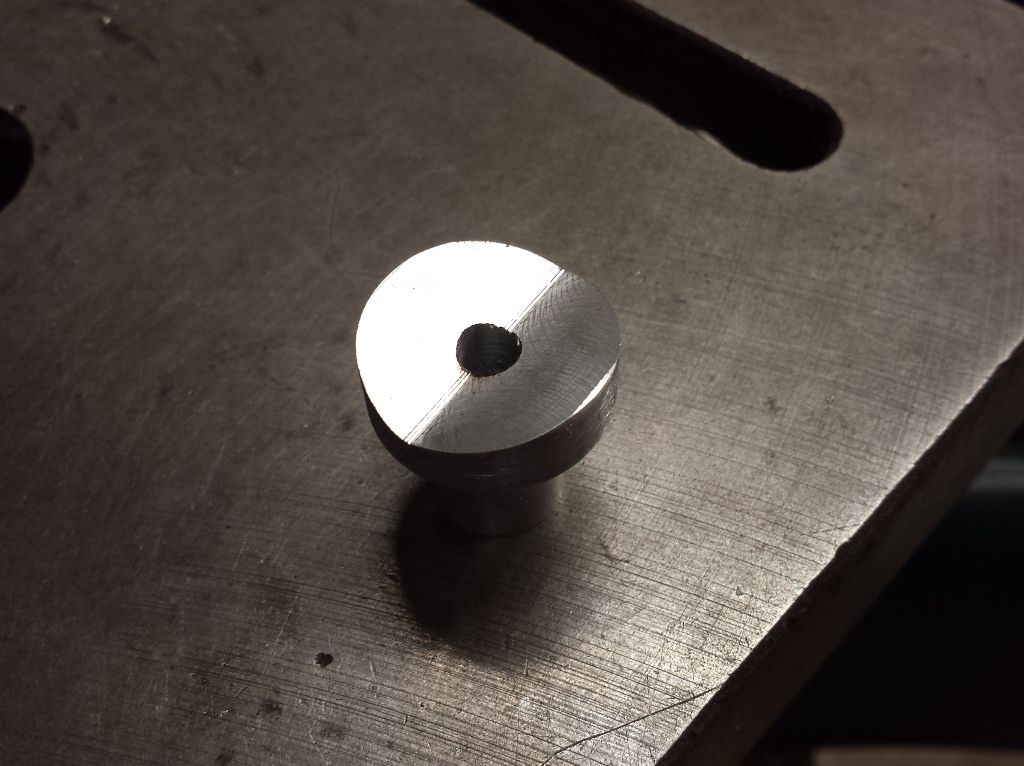 The rear pillar has to be smaller to clear the trigger. Like its big brothers, it too is lathed from 1.0” round stock: 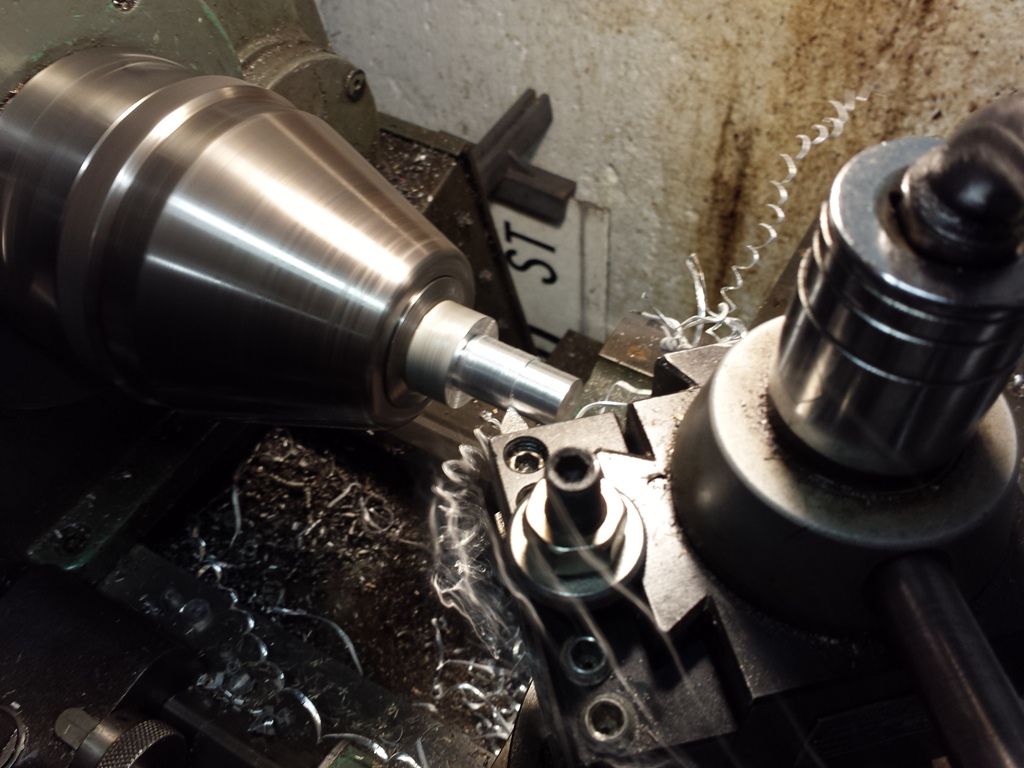 Since it lacks a wide perch, two bedding slots are made and the top is v’d: 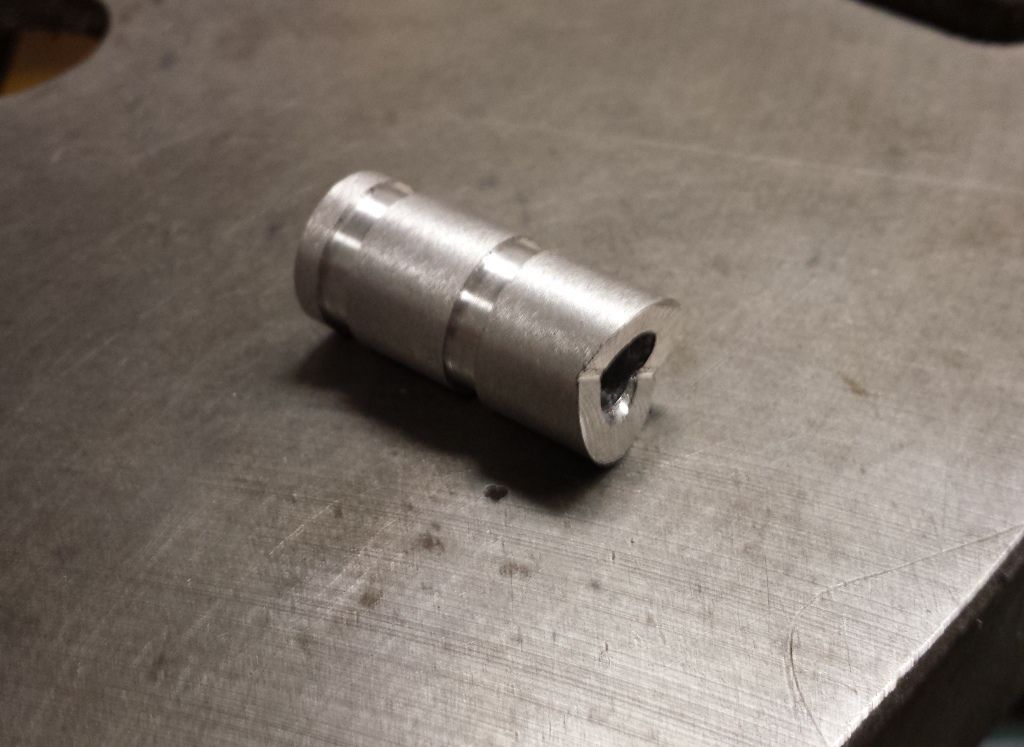 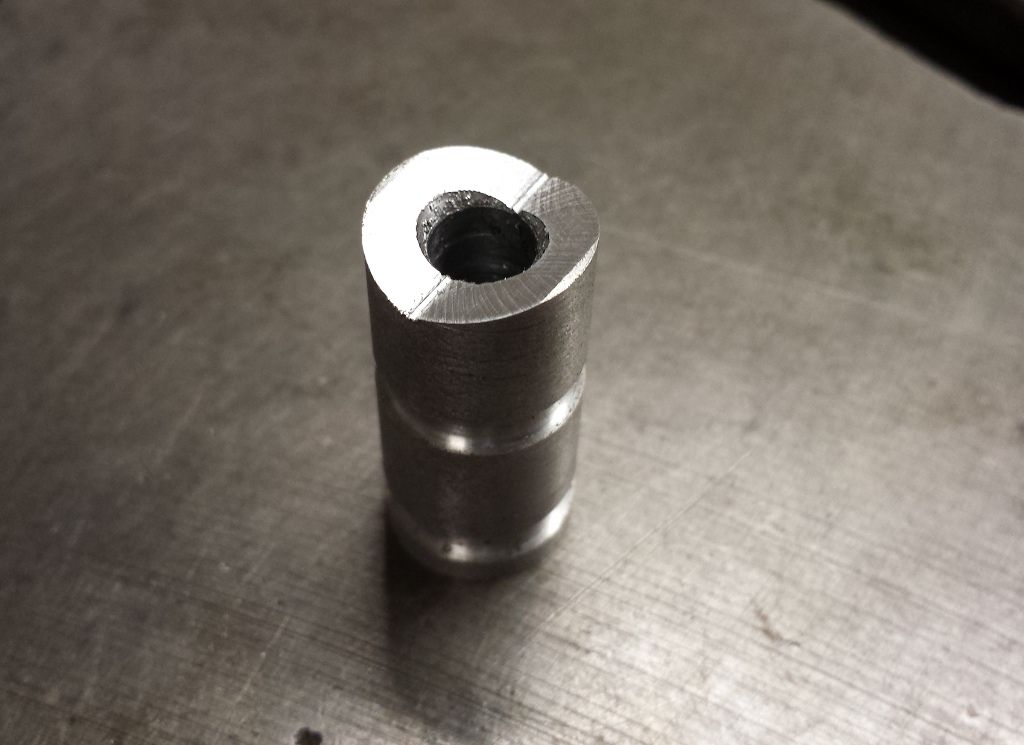 The finished pillars staged back to front: 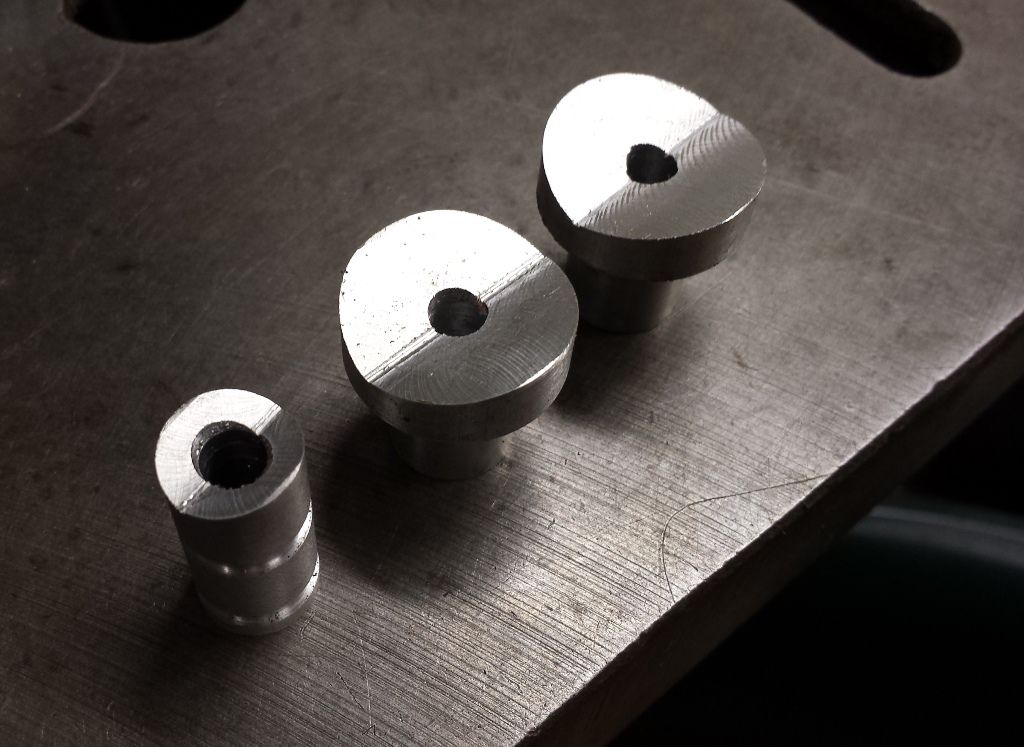 -Lee www.singleactions.com"Building carpal tunnel one round at a time" |
|
|
|
Post by Lee Martin on Mar 2, 2015 22:48:34 GMT -5
Step 60 – Setting the Pillars __________________________________________ The front edge of the rear pillar must be milled flat. Its location is close to the trigger hanger and we don’t want contact between the two. 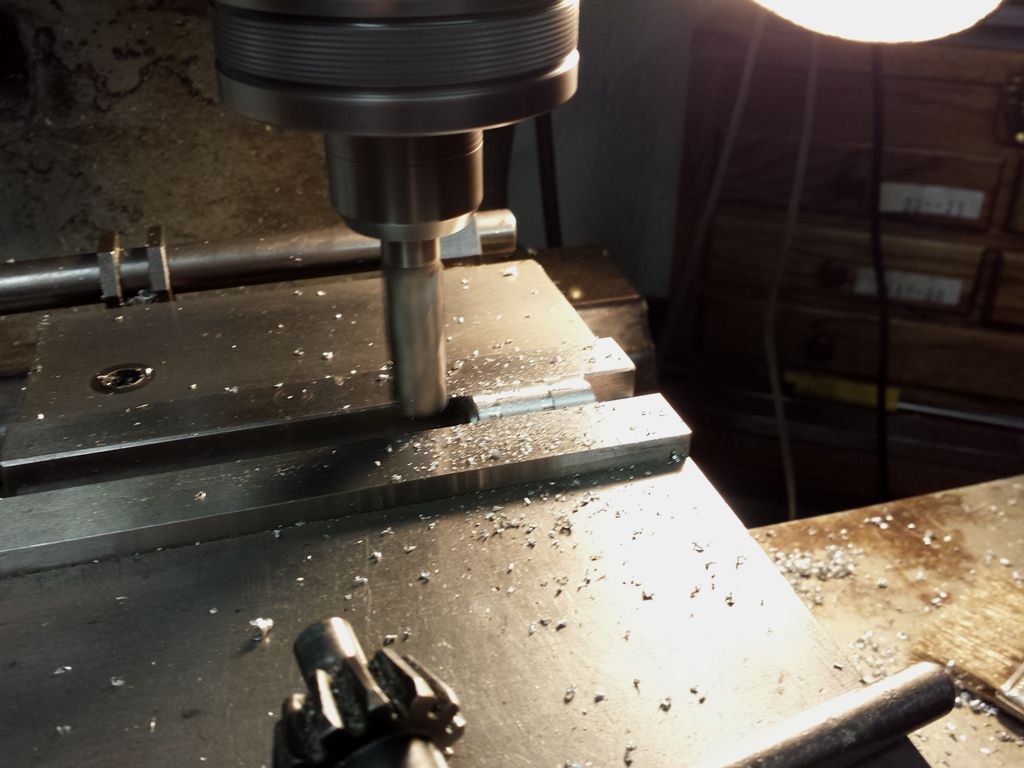 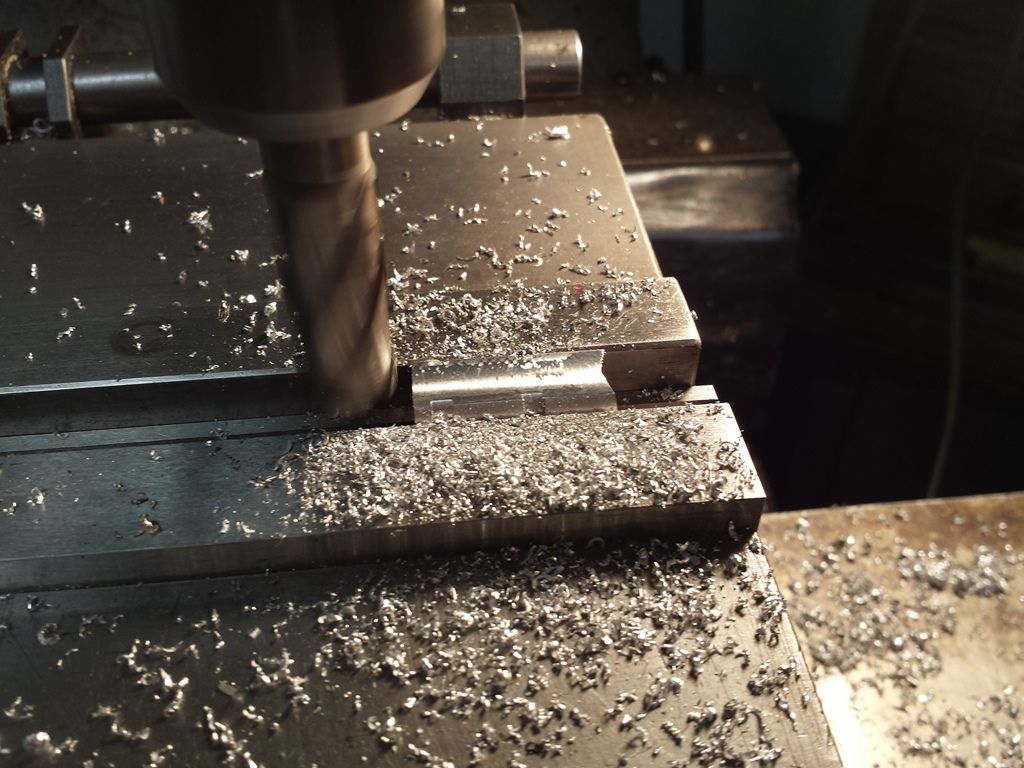 An end-mill slightly over 5/8”, drills the passages on #1 and #2. The sides of the pillars shouldn’t touch the stock, only the tops and bottoms. Thus the holes are bored large so the bedding compound can flow. #3 pillar is smaller in diameter, but it too is drilled wide. 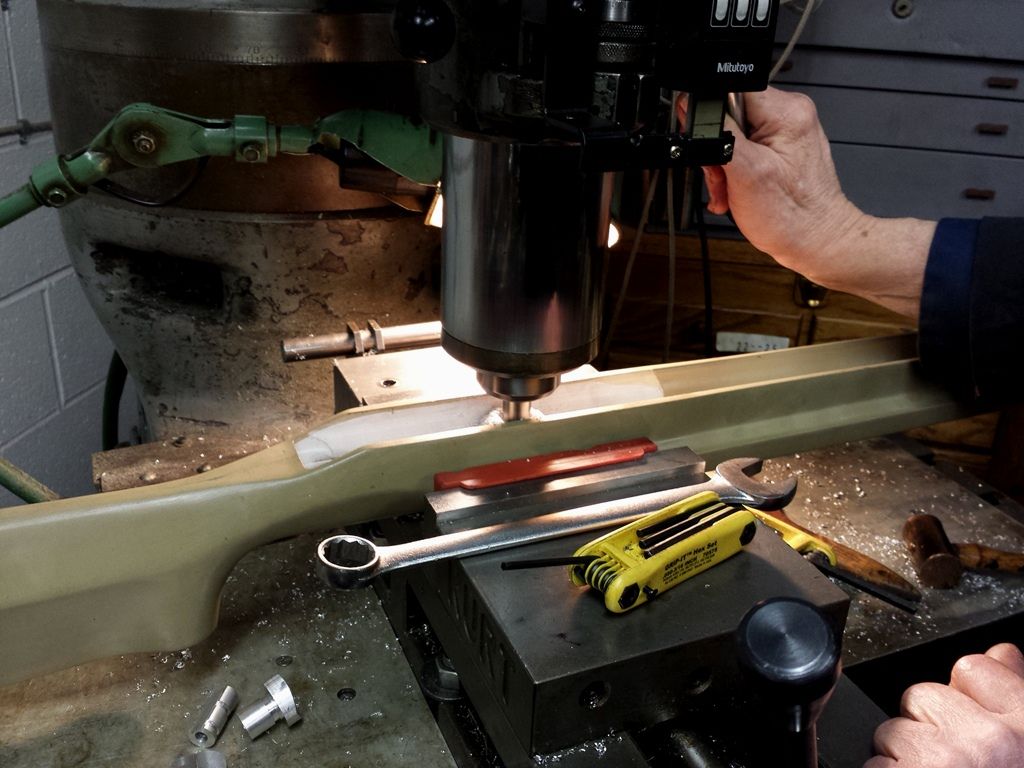 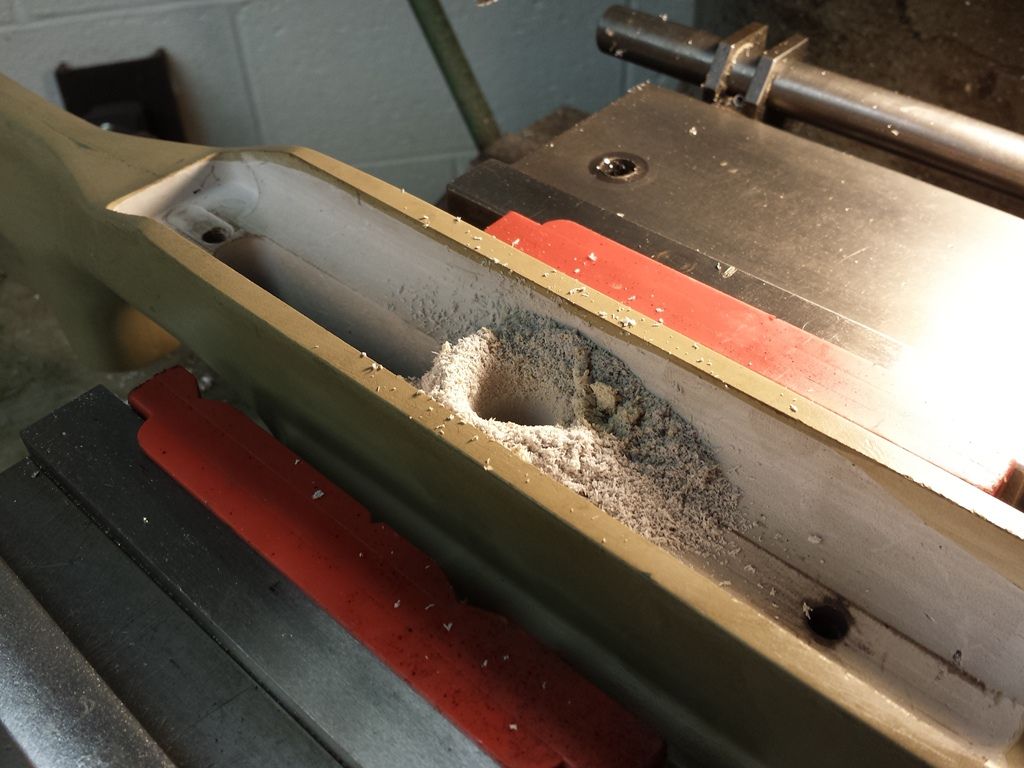 A 1” end-mill then makes the perch recess: 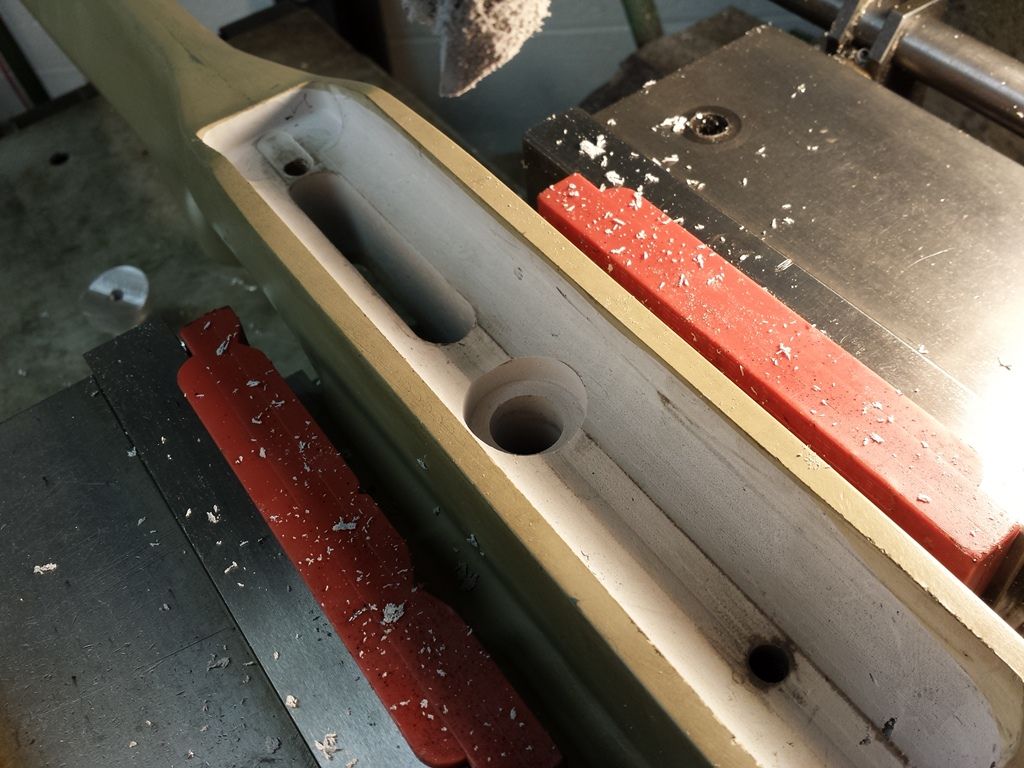 All three pillars loosely dropped into the stock: 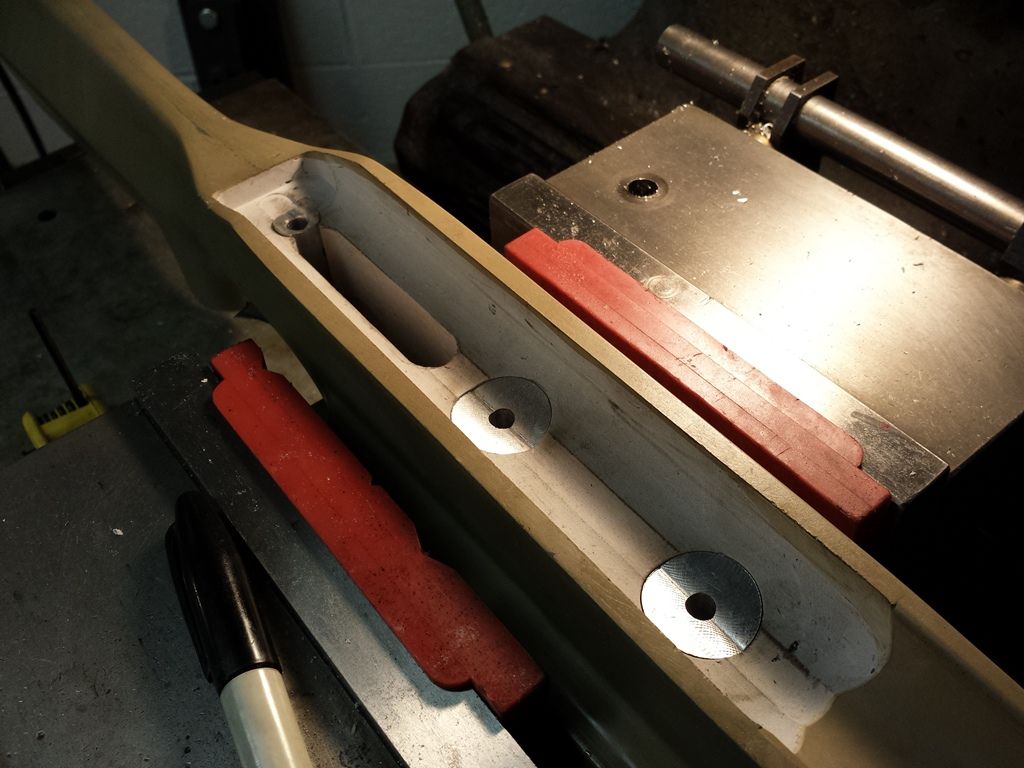 The pillars mocked-up on the action: 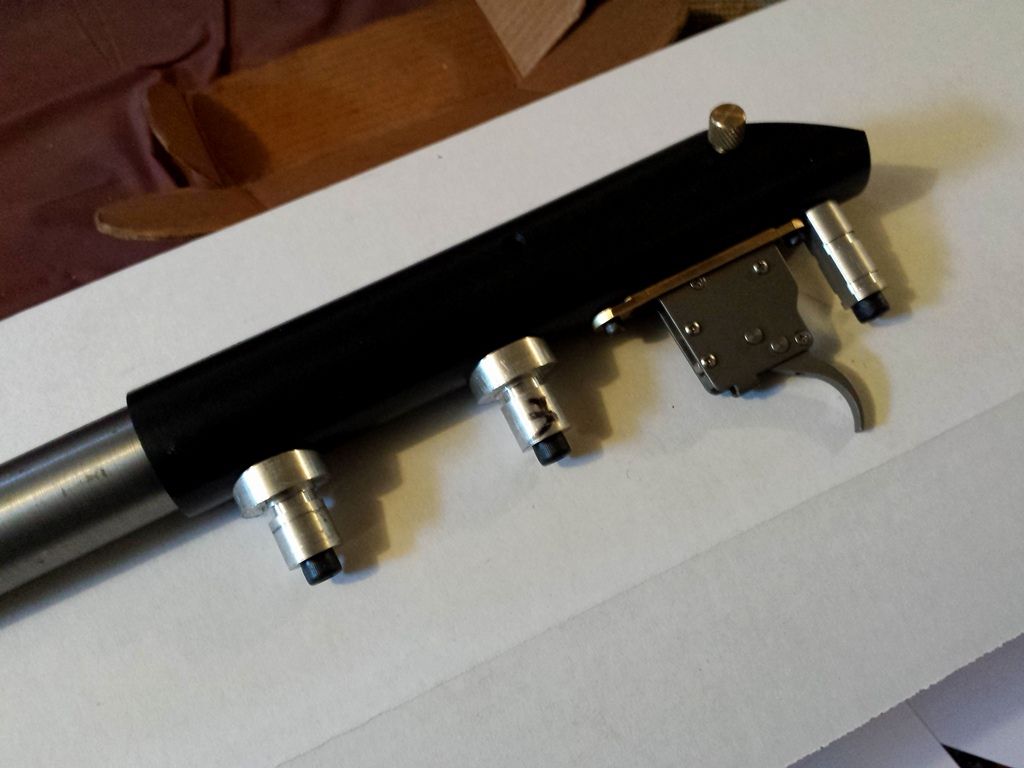 Another look into our shop: 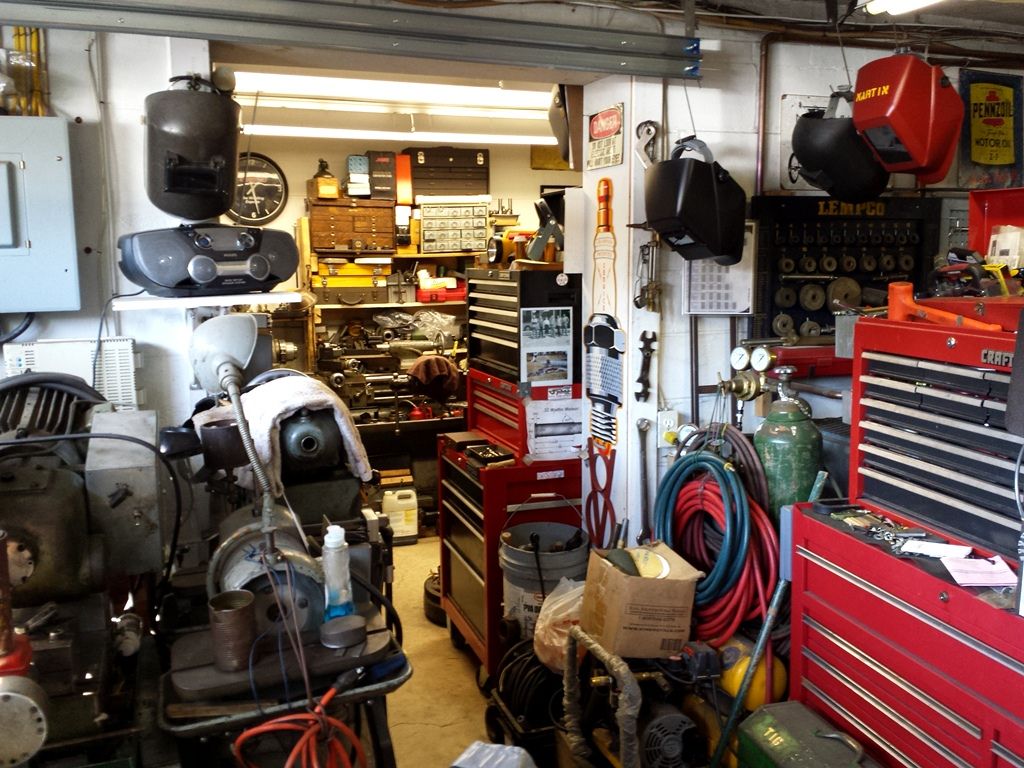 -Lee www.singleactions.com"Building carpal tunnel one round at a time" |
|
|
|
Post by bradshaw on Mar 3, 2015 11:21:50 GMT -5
Clearly the bedding process is crucial to the rifle's accuracy. Bedding is one variable that must be eliminated on the road to zero, small group consistency, and load sensitivity. A hunting rifle must throw its first shot in the group, often it is the only shot. Likewise a handgun for silhouette or hunting. The old rule of silhouette prohibited sighting shots before a match, reflecting the game's root in hunting.
Generally, when I pillar bed a rifle I do not use steel or aluminum inserts. Rather, the pillars are epoxy compound molded into the stock, which join ring and bridge bedding to trigger guard to insulate the stock against compression. sam,e job as the metal pillar. The action is stripped except for the barrel, which is shimmed to orient the axis of the action in the stock. Exposed steel is lightly coated in mold release, including screws and thread holes in receiver. Locator high points keep action and trigger guard positioned. Actions screws hold only to those contact points. Clearance for screws is achieved by inserting screws in trigger guard and sliding two split plastic straws over each screw shank. Screws are tightened after curing, not before.
Detail separates bedding the bench rifle from the hunting rifle, particularly in the full float of the bench gun versus the partial full float of a lighter hunting rifle. The chamber section of the typical slim hunting rifle should be bedded along with the ring to support the barrel from acting as a cantilever, while strengthening the stock between magazine well and forend.
A year or two ago I re-bedded the ring & chamber of a hunting rifle, as age or carry or shooting had split the bedding at 6 o'clock. The discovery was made on target, where groups with a known load opened. Opened the group, not by throwing fliers. Not enough to affect most hunting; just noticeable.
Pillar bedding may have its origin with the Mauser brothers, as steel sleeves between receiver and guard prevented stock compression and contributed mightily to accuracy and the rifle's ability to hold ZERO. The practice continued with Sako through the 1970's, perhaps later. My Sako L61 .338 Winchester Magnum has shot phenomenally tight out to a mile and, except for actions screws I made from metric automotive bolts, remains a factory steel pillar, full-float hammer forged barrel shooting machine.
By illustrating steps taken to bed the Martin bench rifle, Lee engages a process of elimination critical to building accuracy.
David Bradshaw
|
|
|
|
Post by Lee Martin on Mar 4, 2015 20:37:03 GMT -5
Step 61 - Making the Trigger Guard ______________________________________________ Normally we build the full trigger guard. These are one piece units which secure the rear and middle pillars. The trigger loops are pretty time consuming though. First we mill the rectangular shape out of aluminum, rough the edges, and drill most of the meat from the center. But that isn’t the hard part. Fine contouring with a file is the real headache. Here’s a picture of one we did some years ago: 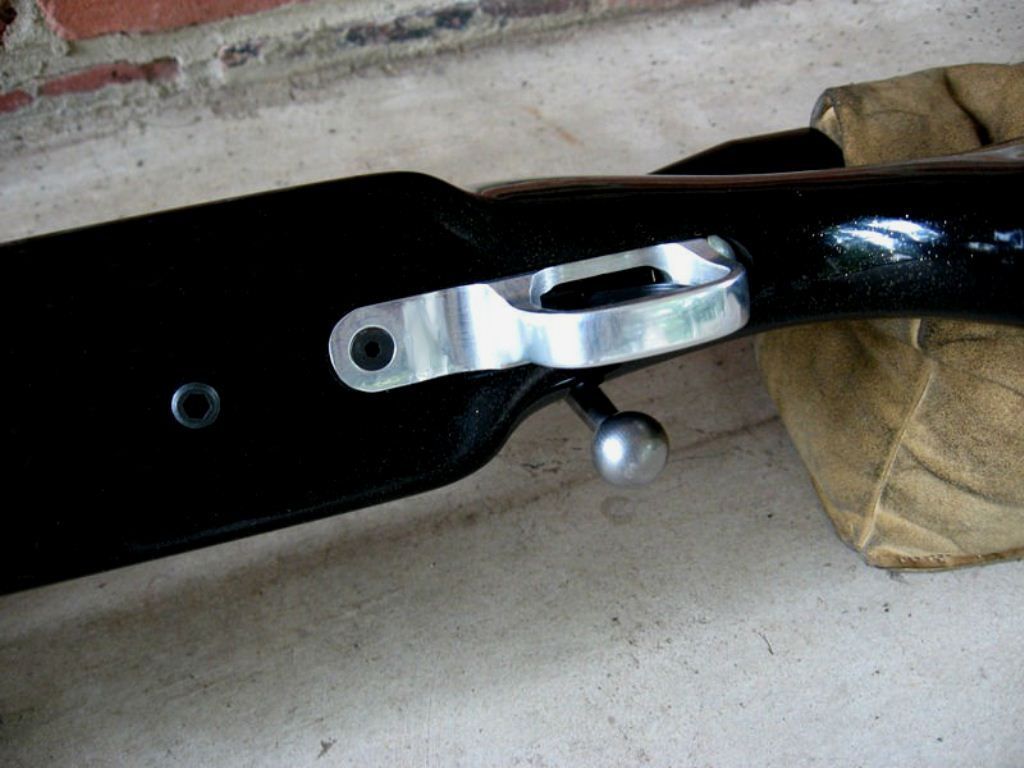 I had a BAT Remington style guard in my parts box that will form the lower half. 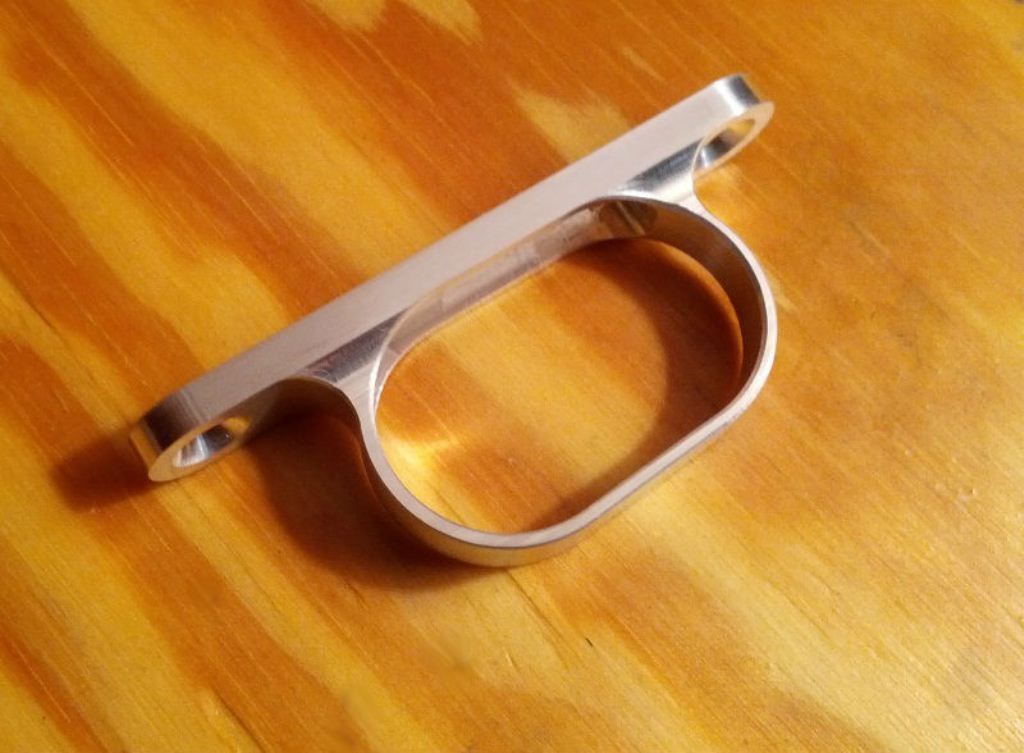 The plan is to attach it to the base which lands the pillars. Ground zero is an aluminum block which is measured for length: 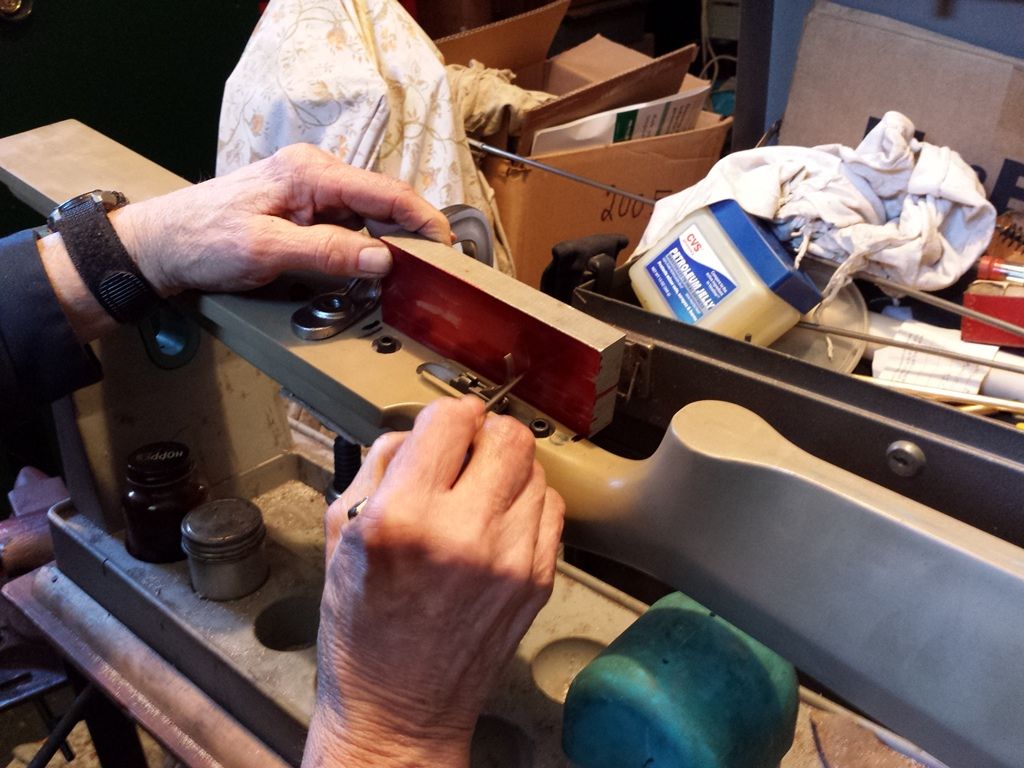 Truing the edges: 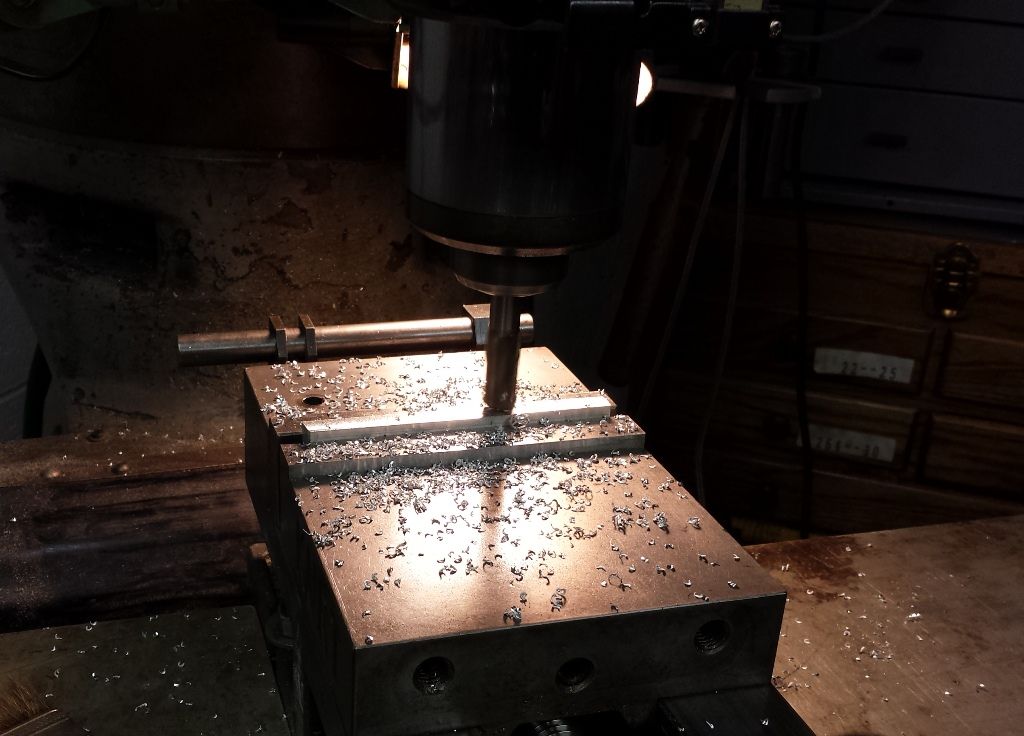 After we cut it to the correct height, the corners are rounded on a disc sander: 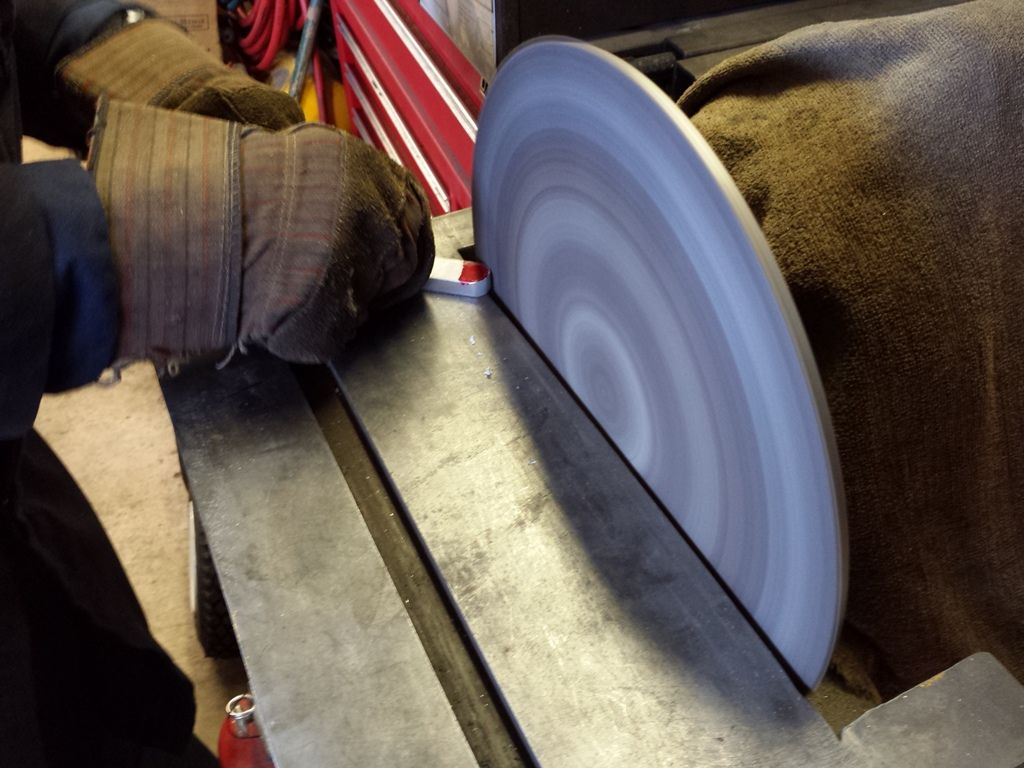 Marking the stock inlet: 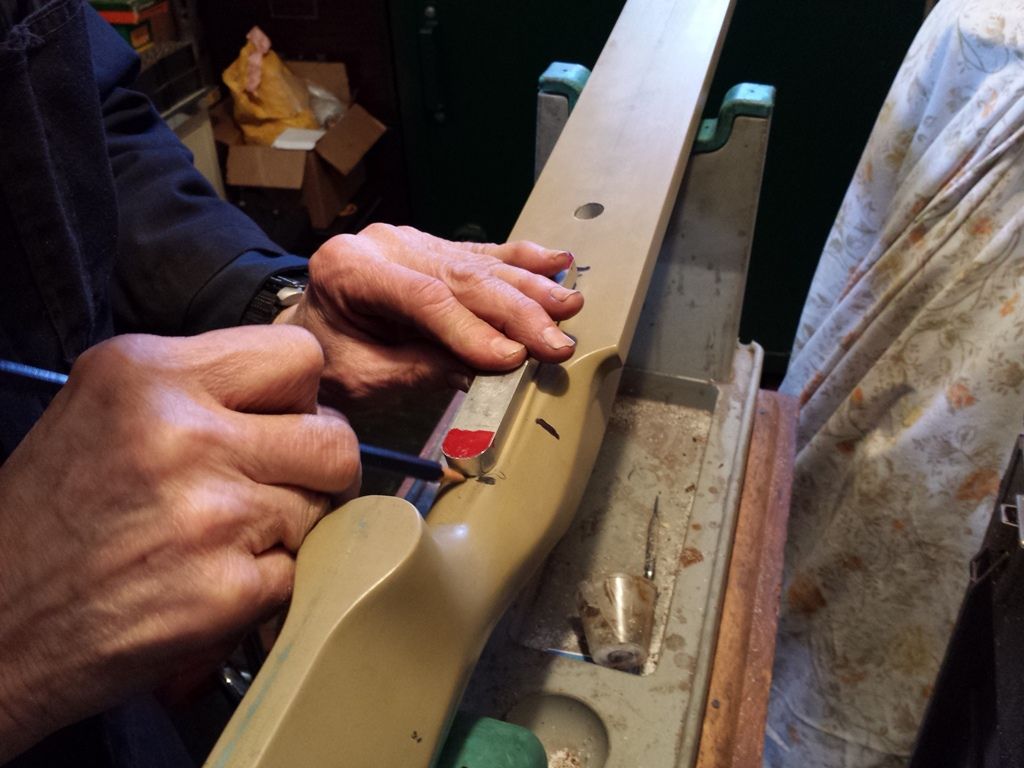 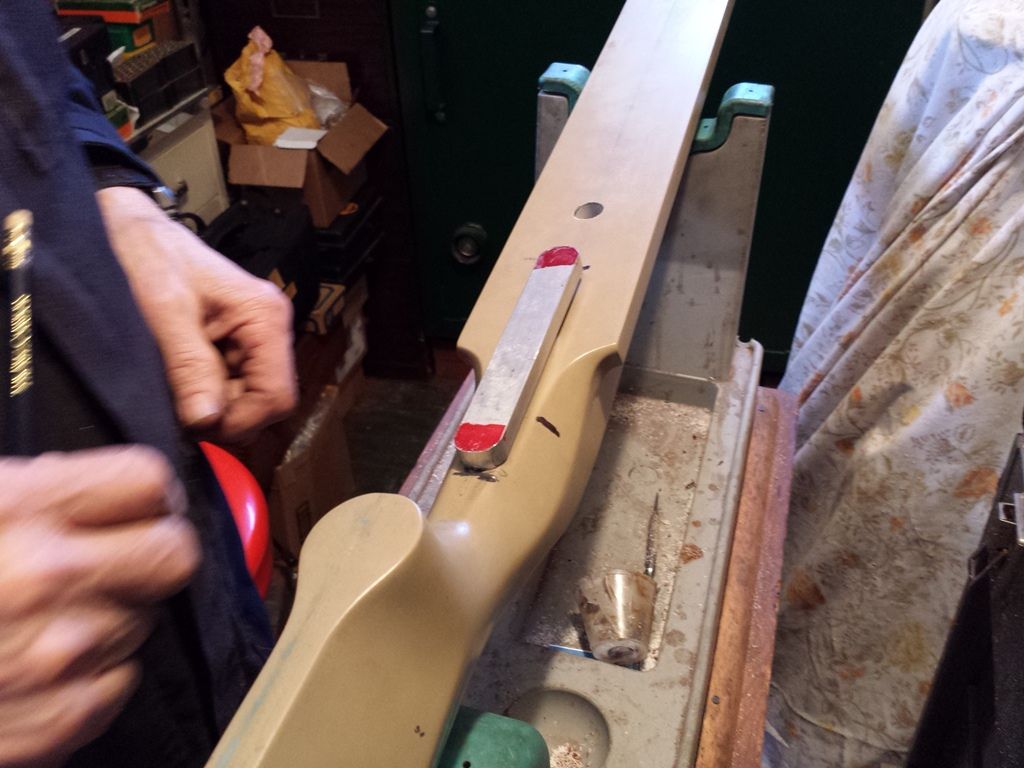 The stock goes back into the Bridgeport. You can clearly see the pencil marks: 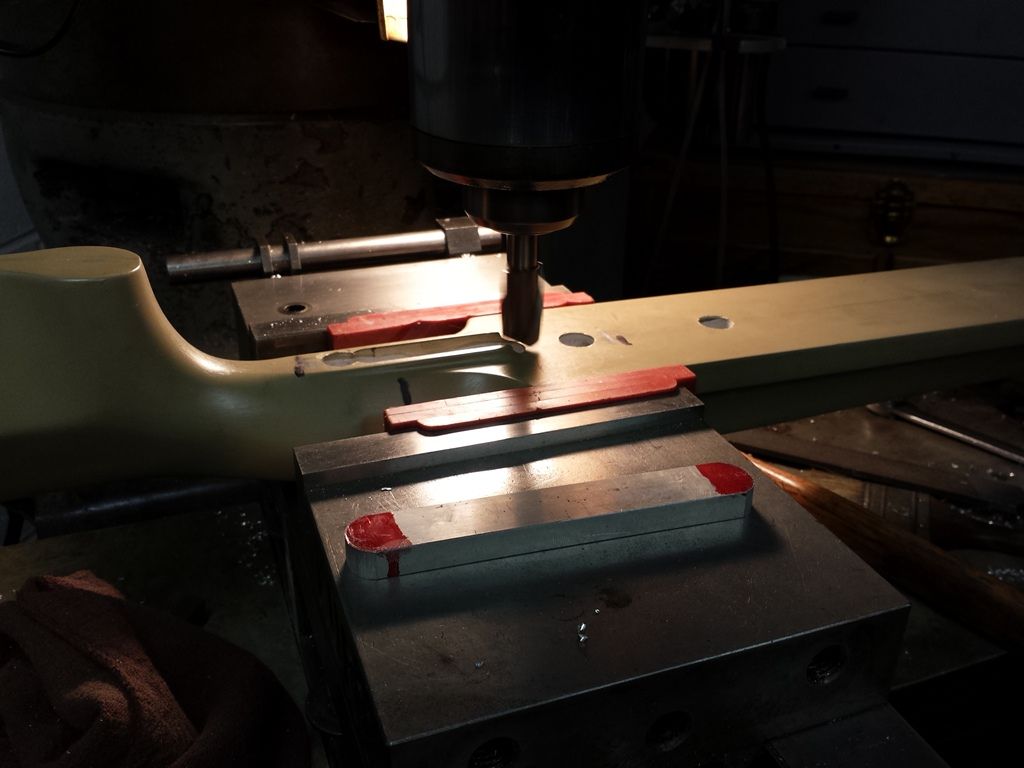 Milling the inlet: 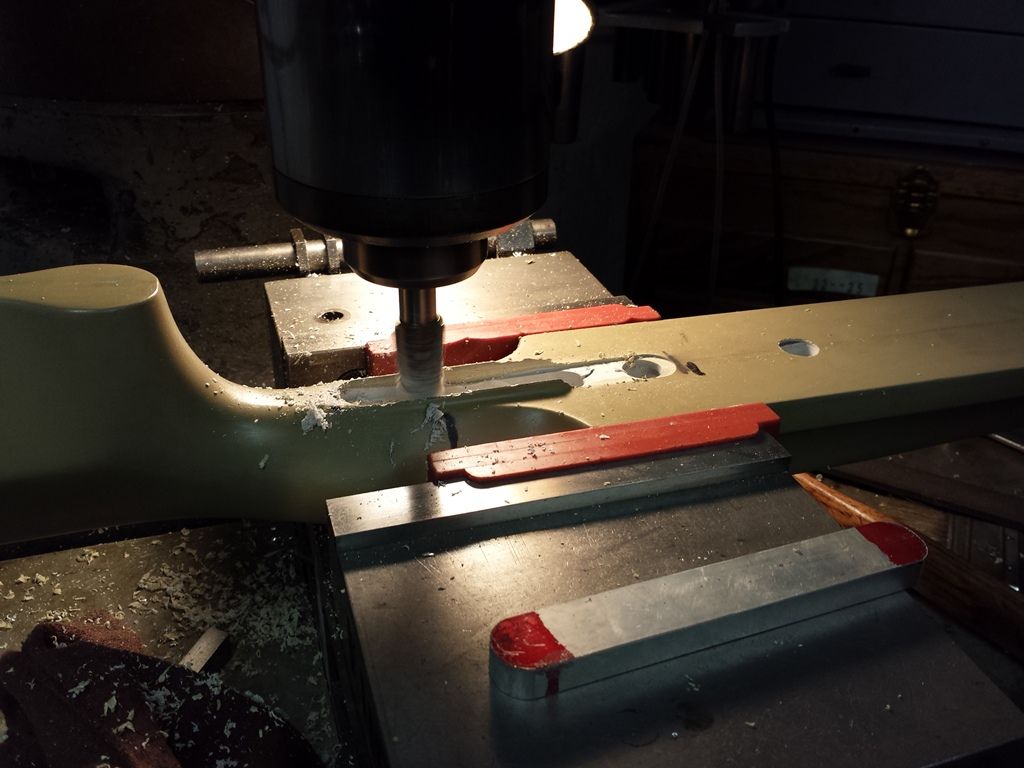 Test fitting the two piece assembly. You’ll see some rough edges on the lower stock protrusions. Those will be flat filed smooth in a minute. 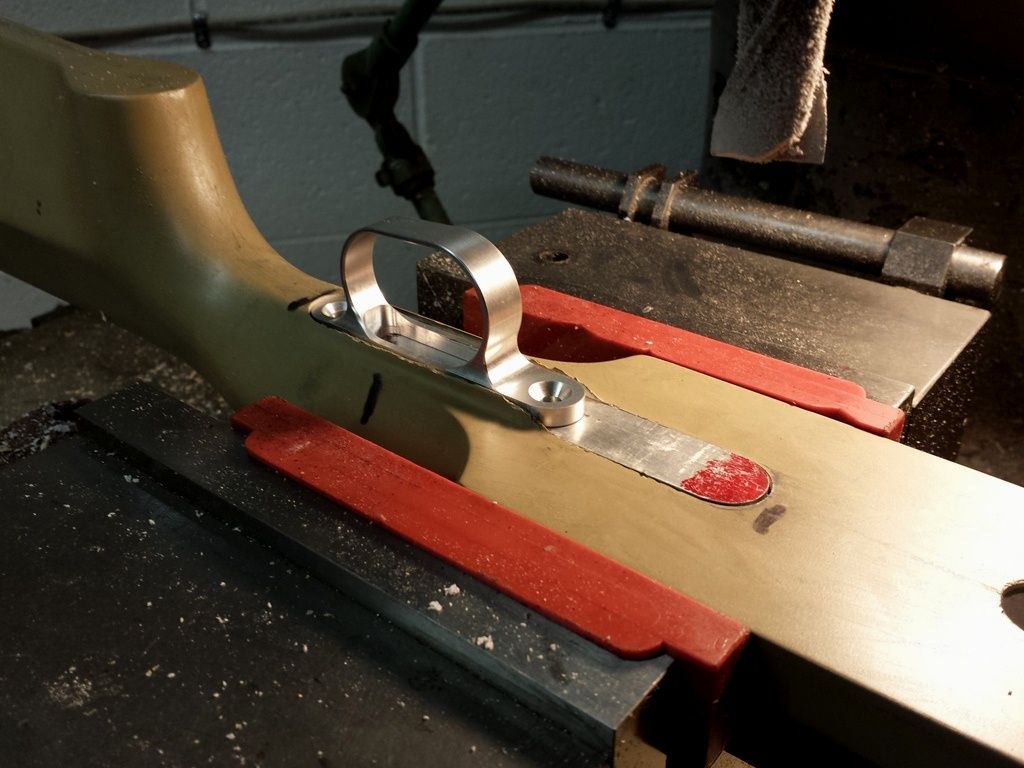 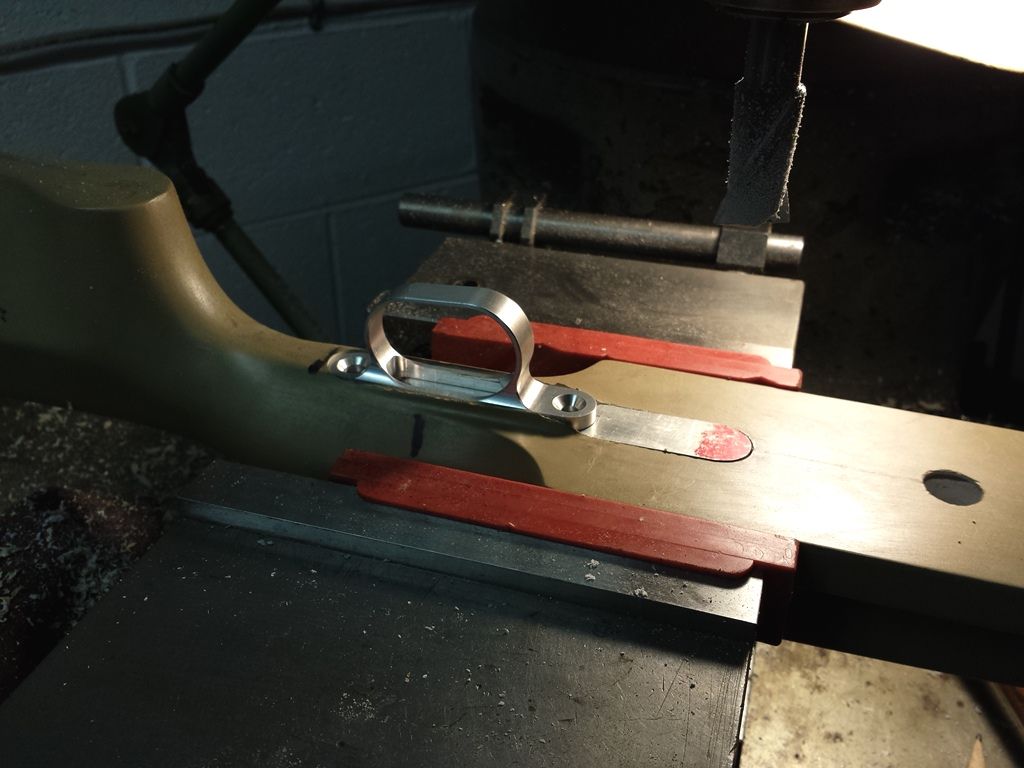 The trigger lips all dressed out: 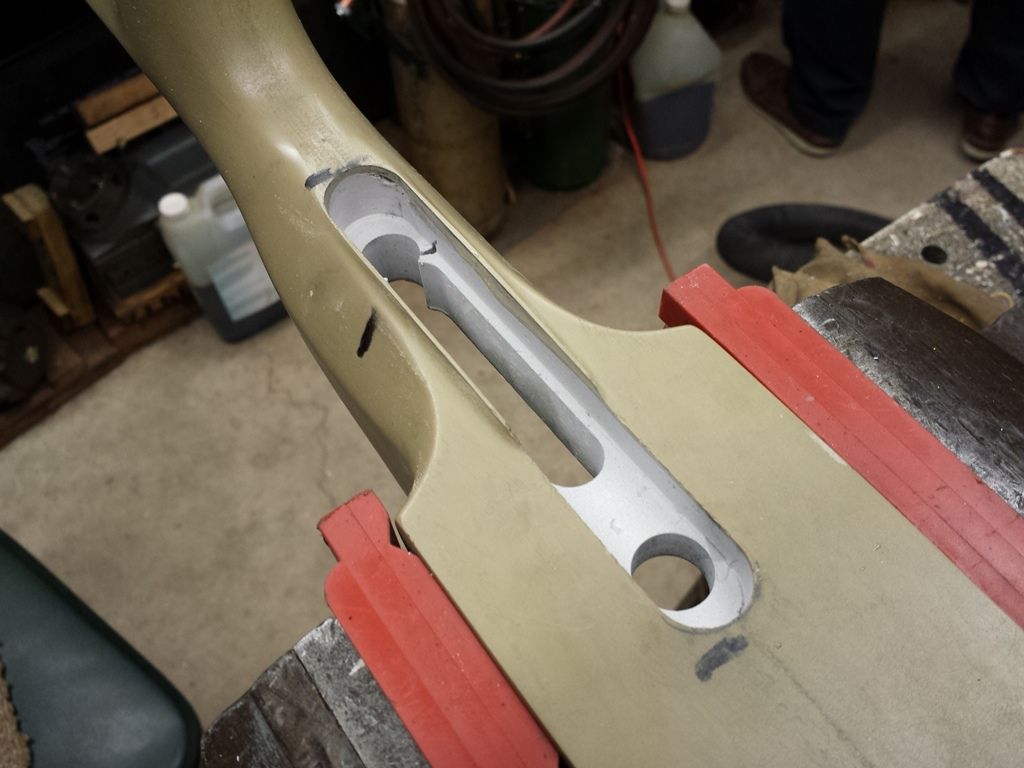 -Lee www.singleactions.com"Building carpal tunnel one round at a time" |
|
cmh
.401 Bobcat
  
Posts: 3,745
|
Post by cmh on Mar 4, 2015 21:23:48 GMT -5
Lee, you and your Father never cease to amaze me.
|
|
|
|
Post by Lee Martin on Mar 5, 2015 20:52:42 GMT -5
Step 62 – Trigger Guard Installation _____________________________________________ The aluminum base is final fit to the inlet and the pillar holes are drilled: 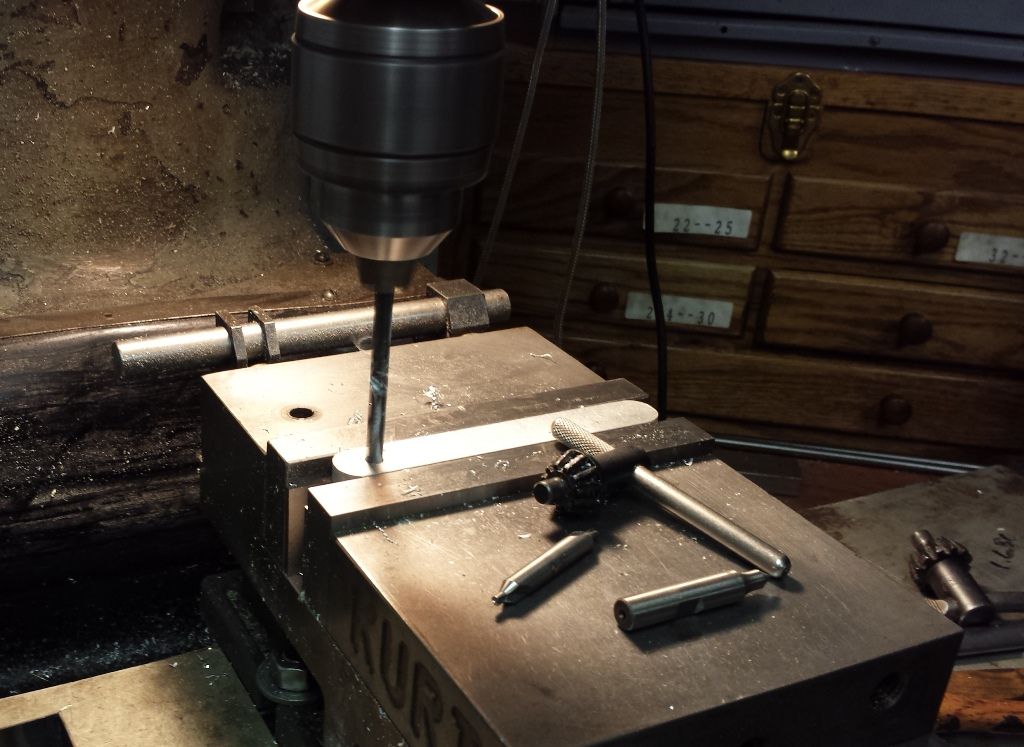 The rear hole also locates the back of the trigger guard. Test aligned: 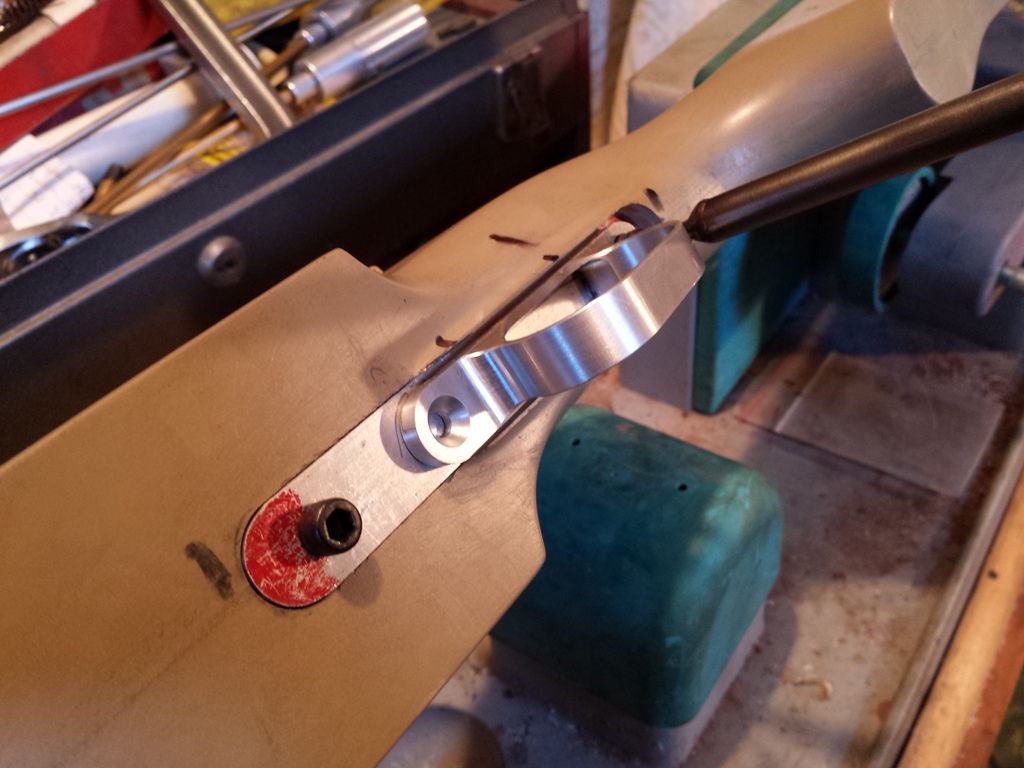 This allowed us to scribe the trigger slot which can be seen below. Drilling the front trigger guard hole: 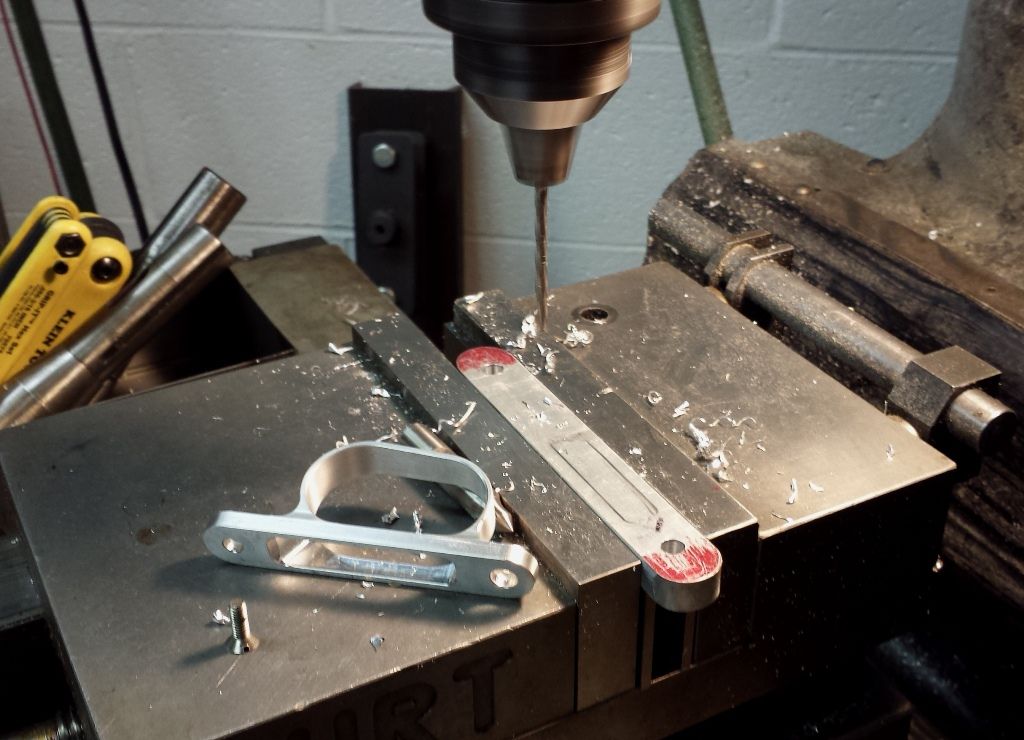 Tapping for the screw: 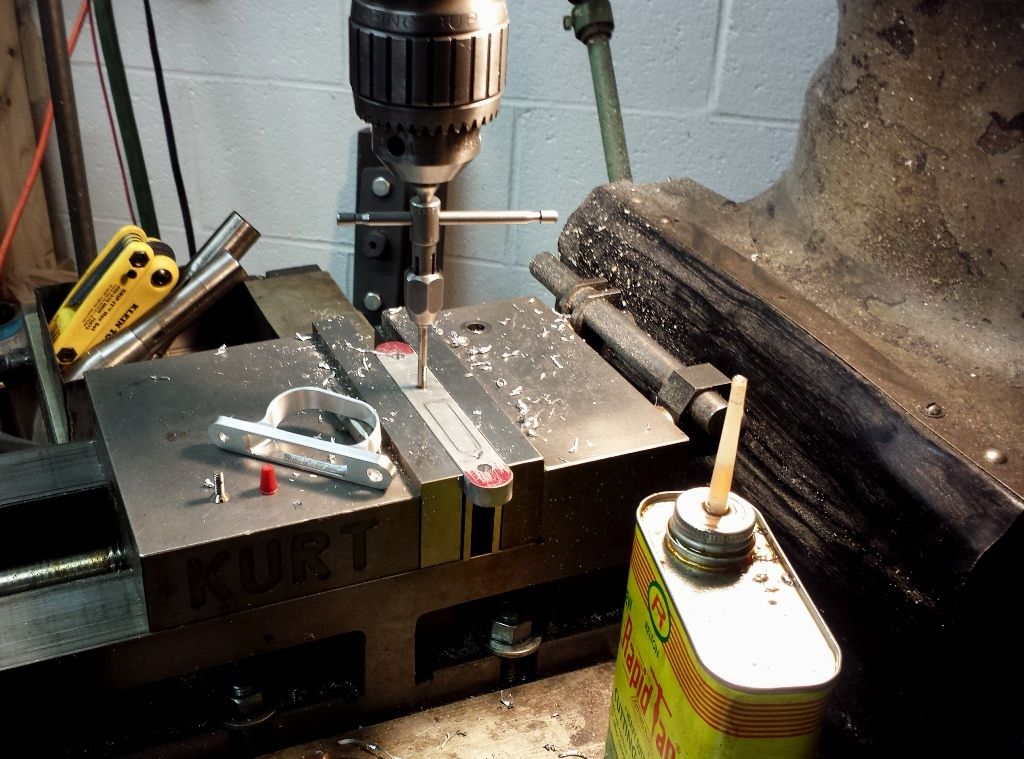 A series of holes are made prior to milling the slot: 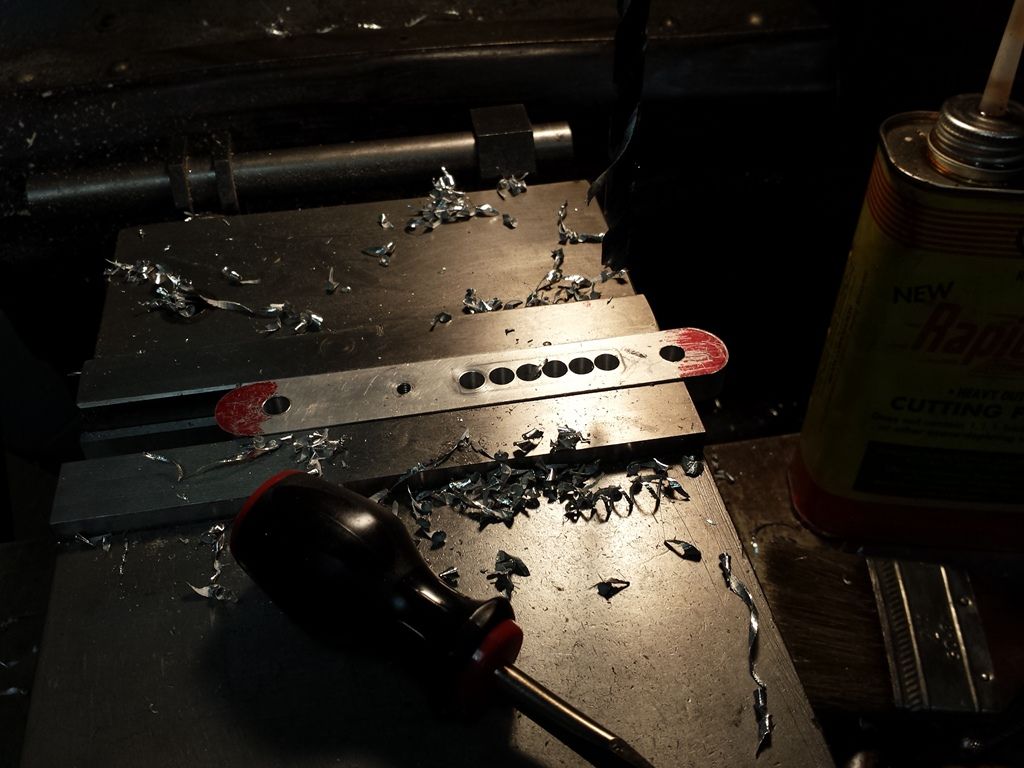 End-milling 0.150” a pass: 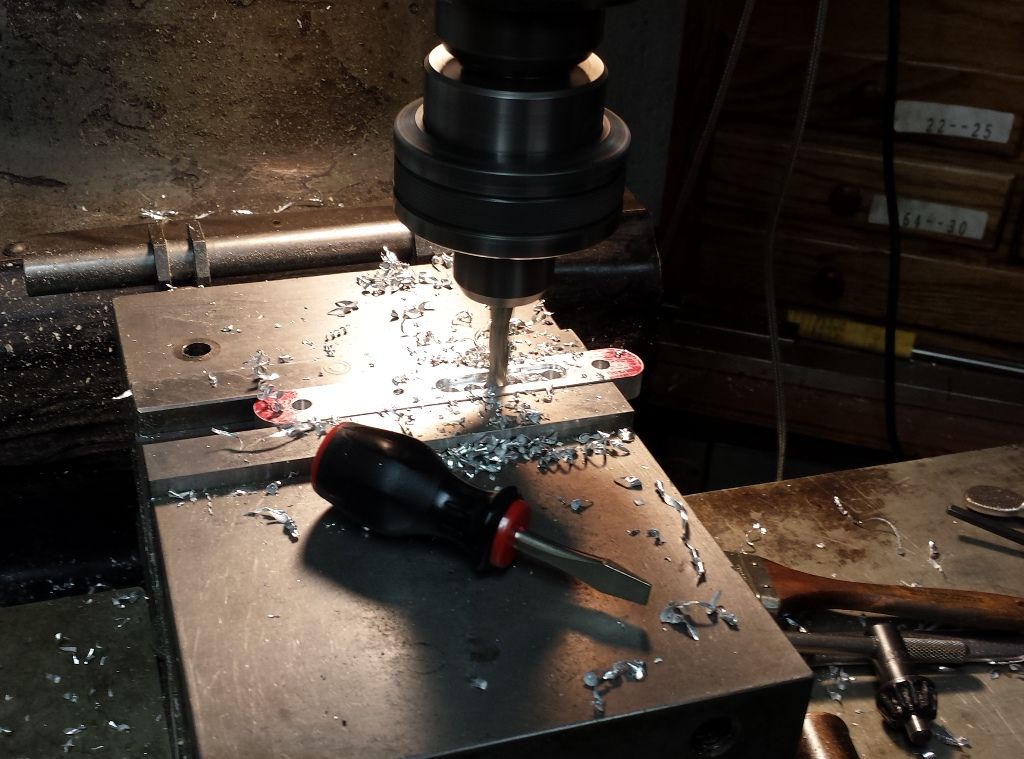 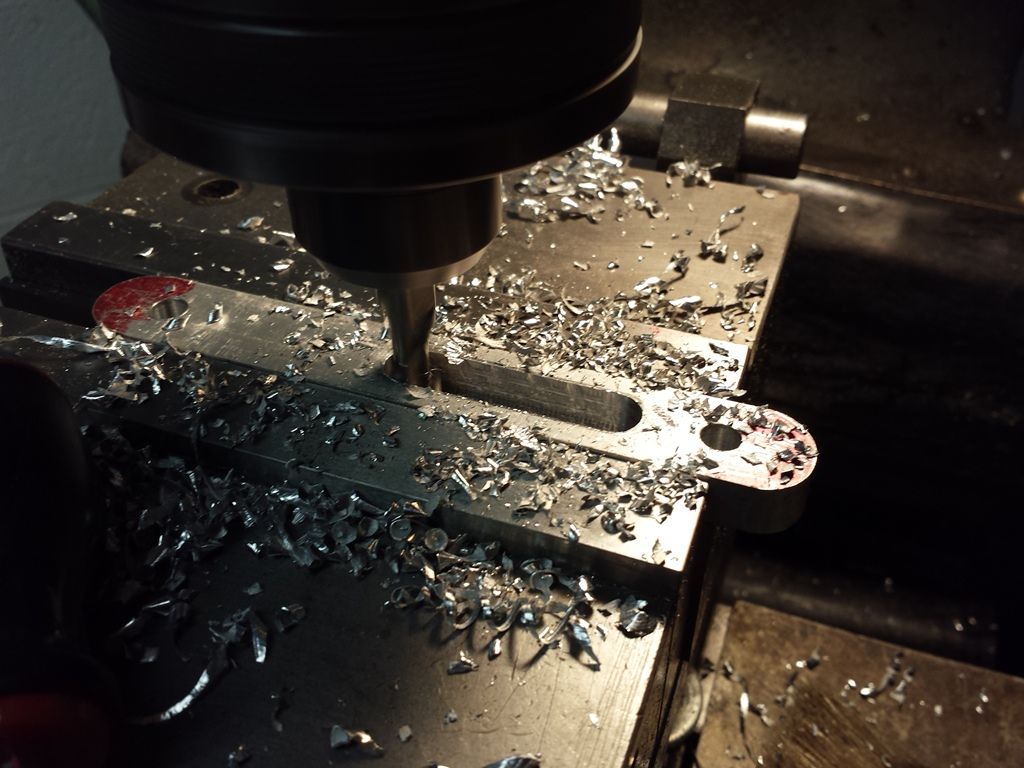 Assembled. You’ll notice we contoured the front of the guard to match the trigger ledge: 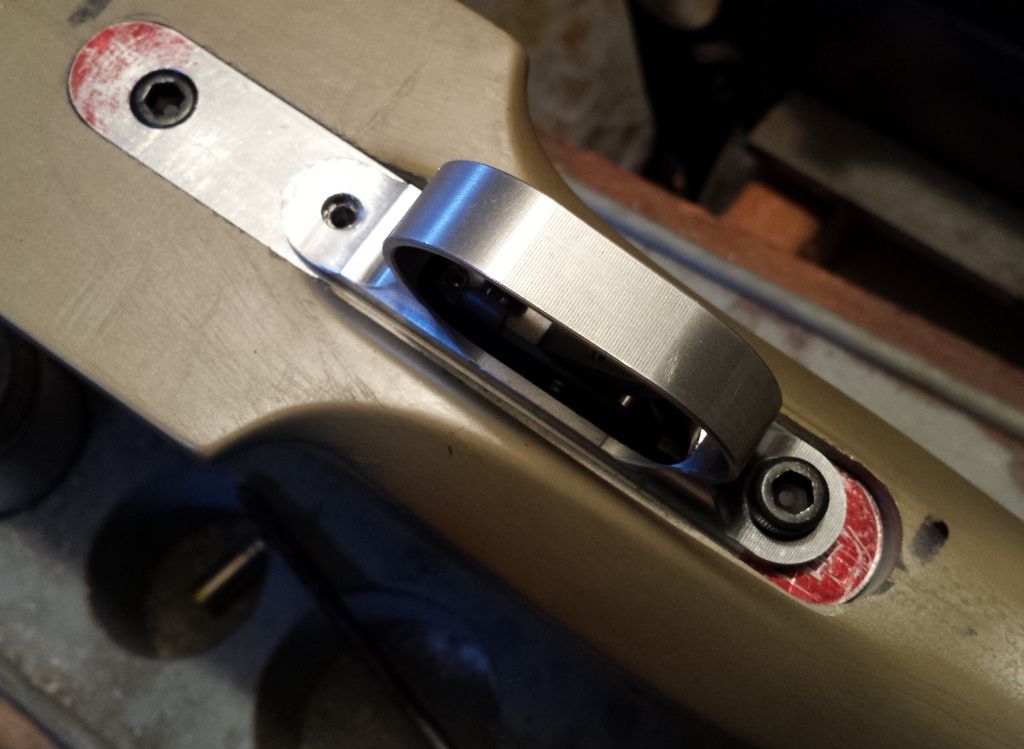 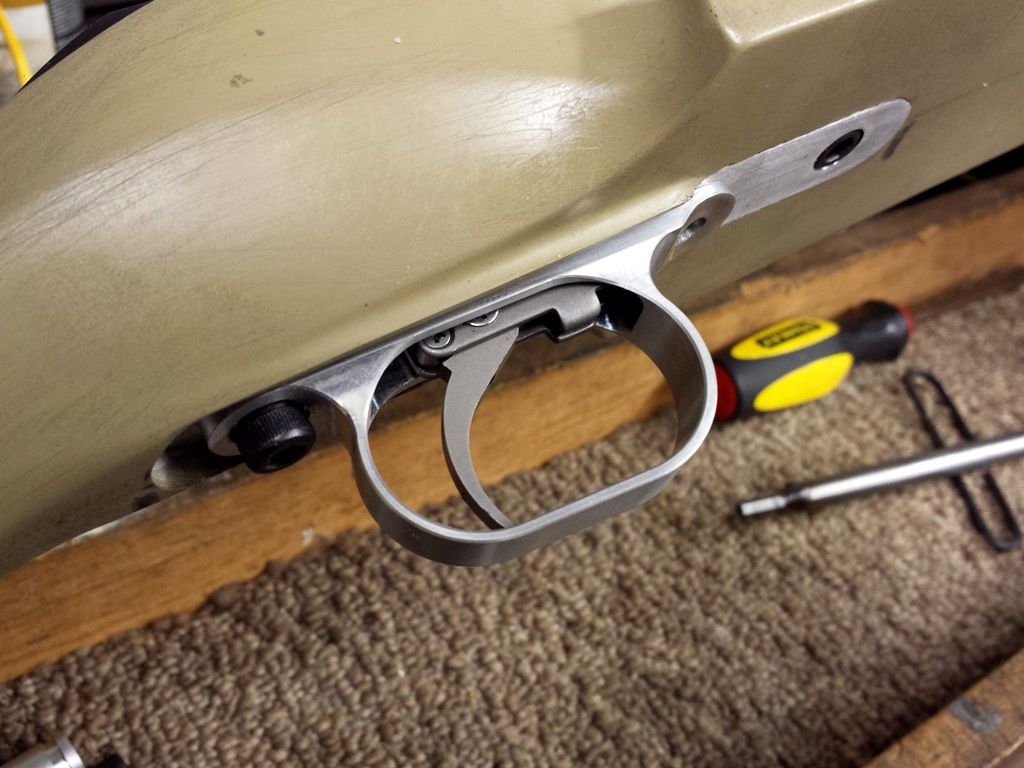 -Lee www.singleactions.com"Building carpal tunnel one round at a time" |
|
|
|
Post by Lee Martin on Mar 5, 2015 20:54:43 GMT -5
Step 63 – Front Pillar Base and Final Fitting ____________________________________________________ Unlike the rear and middle pillars, which tie to the guard base, the front is standalone. We use a 1” aluminum disc approximately 3/8” in height to anchor it. The stock is first recessed: 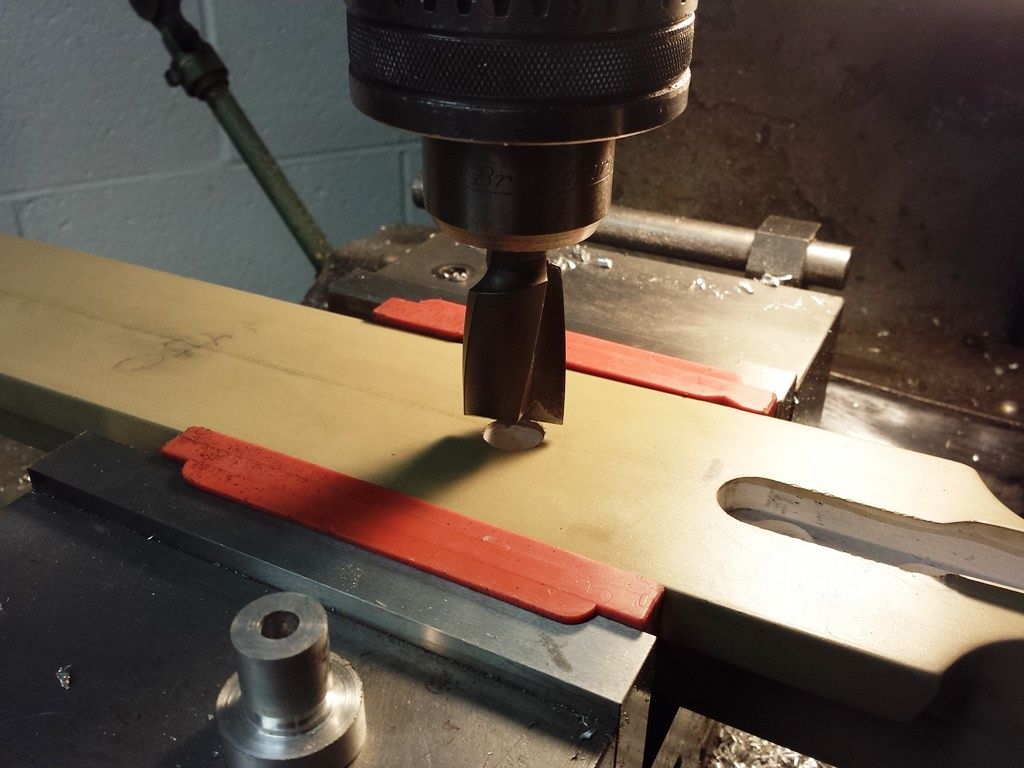 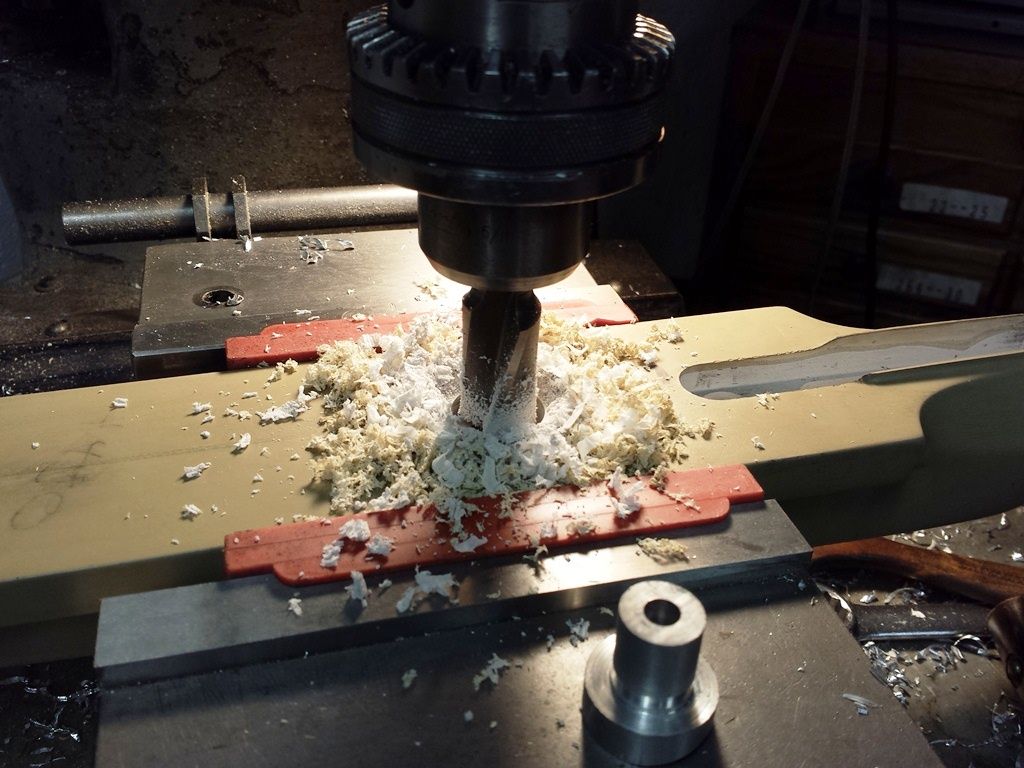 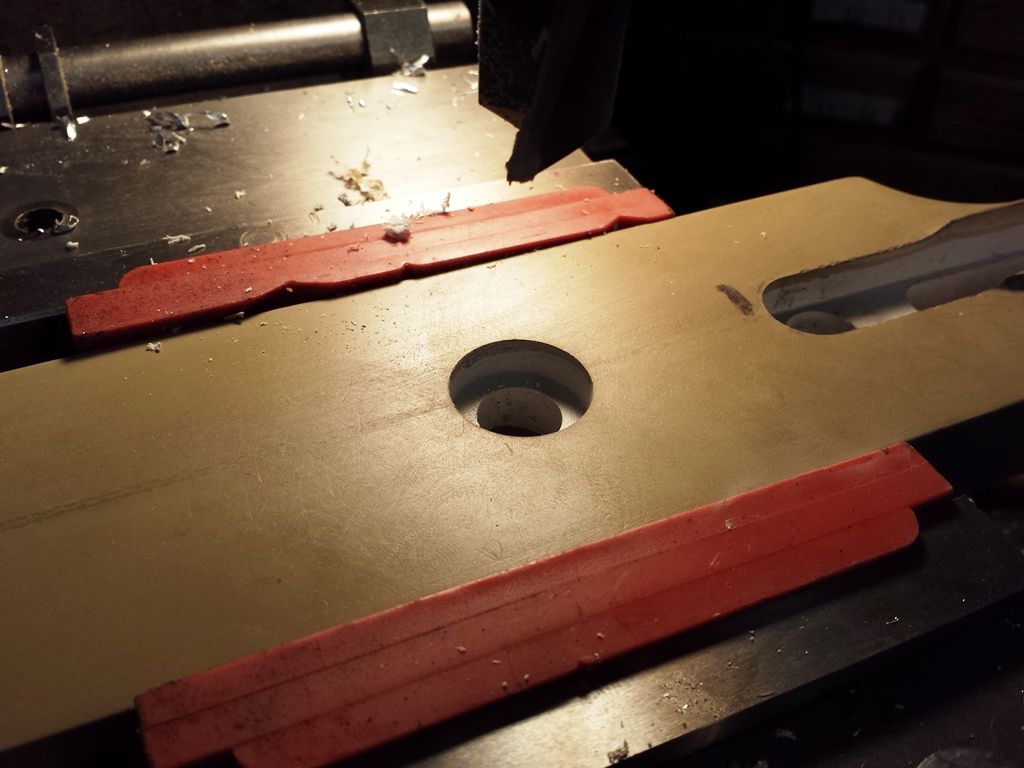 The collar is made from aluminum round stock: 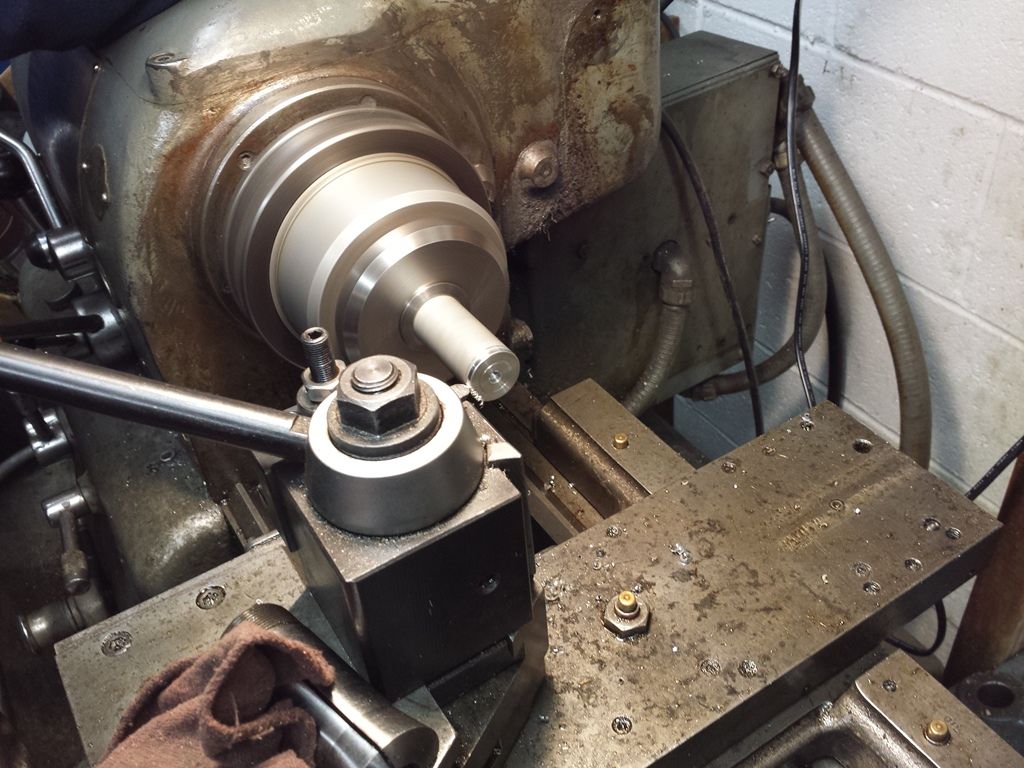 Drilling and then recessing with an end-mill: 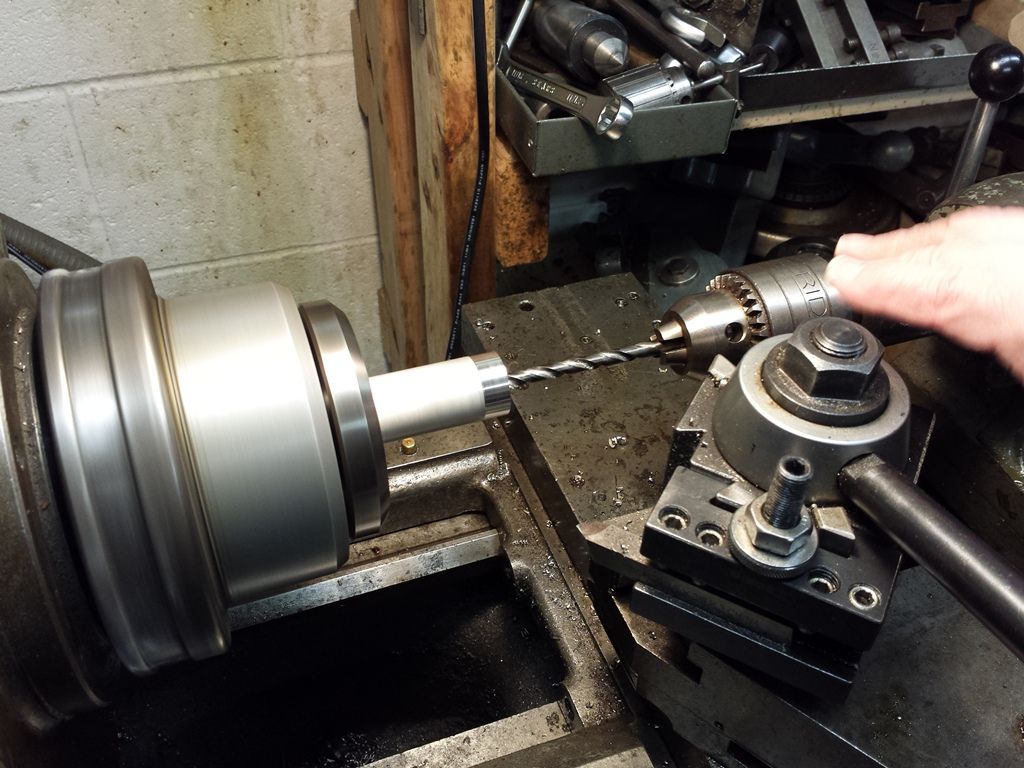 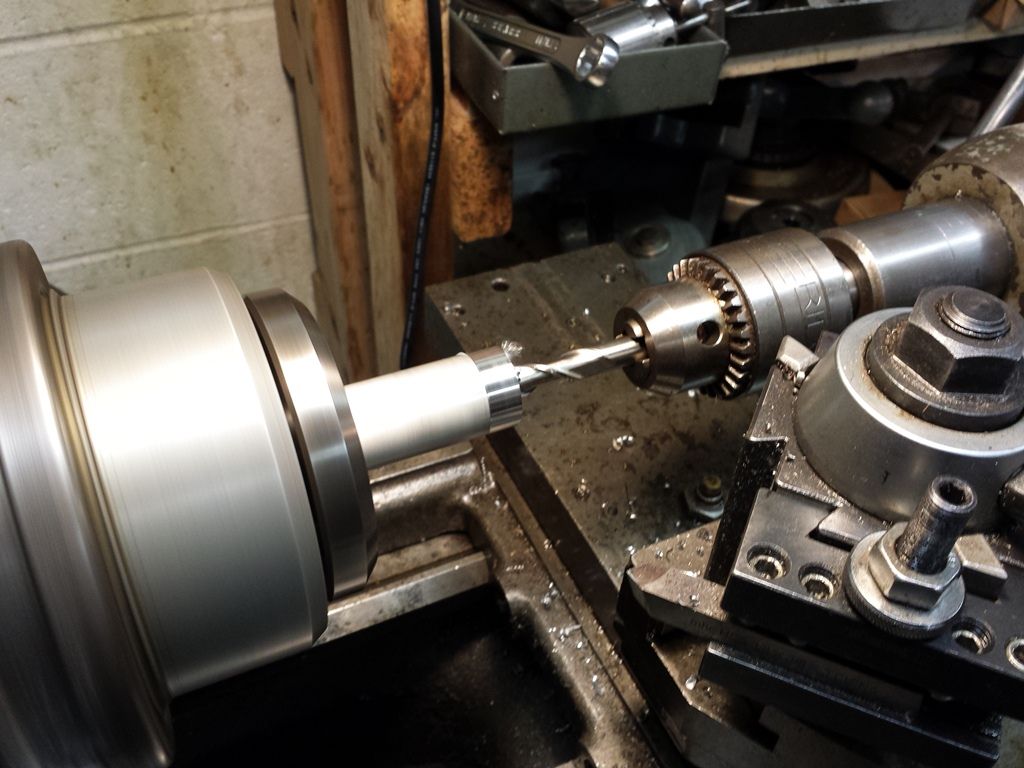 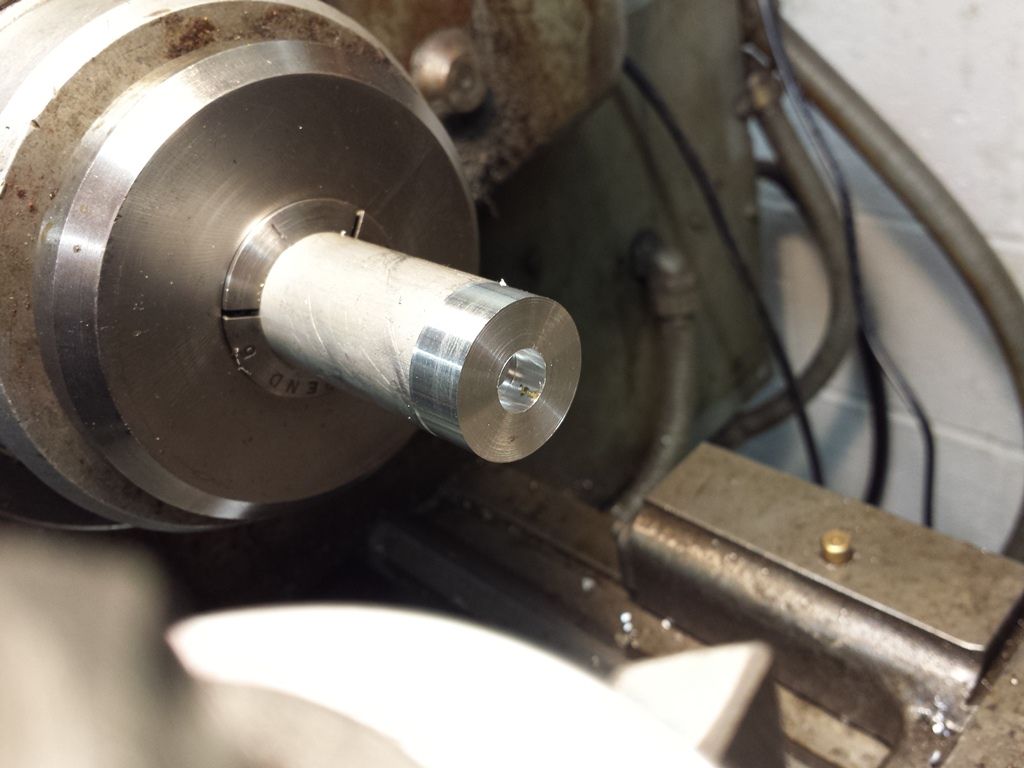 Cutting to a height of 3/8” 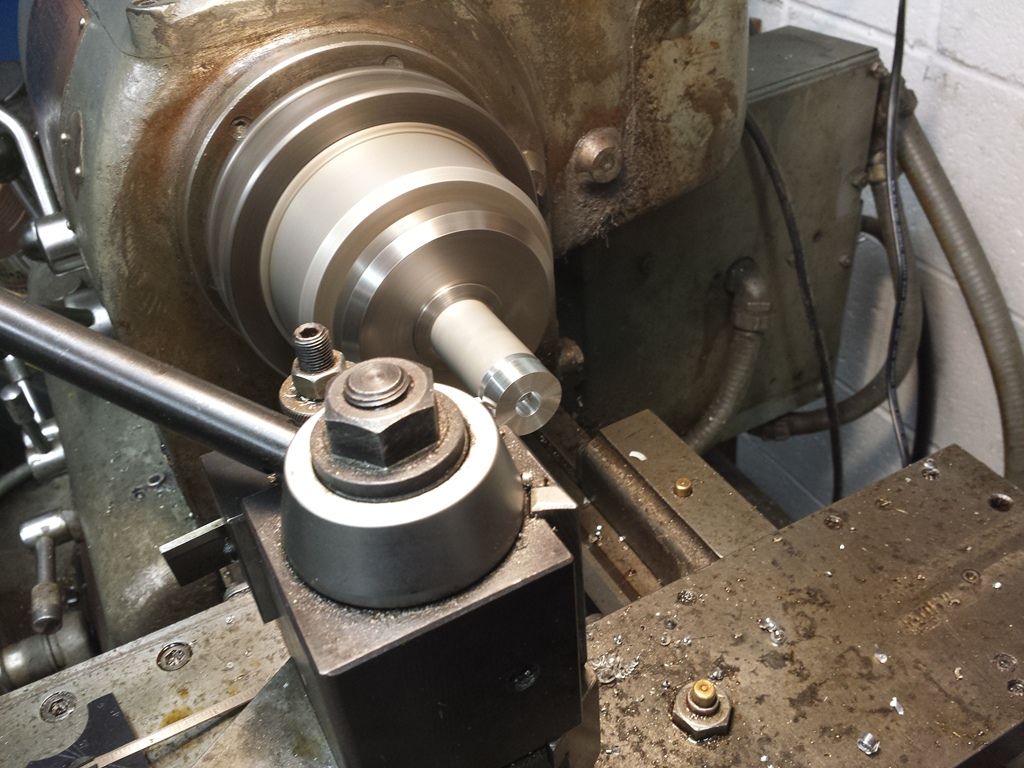 Bolted to the pillar: 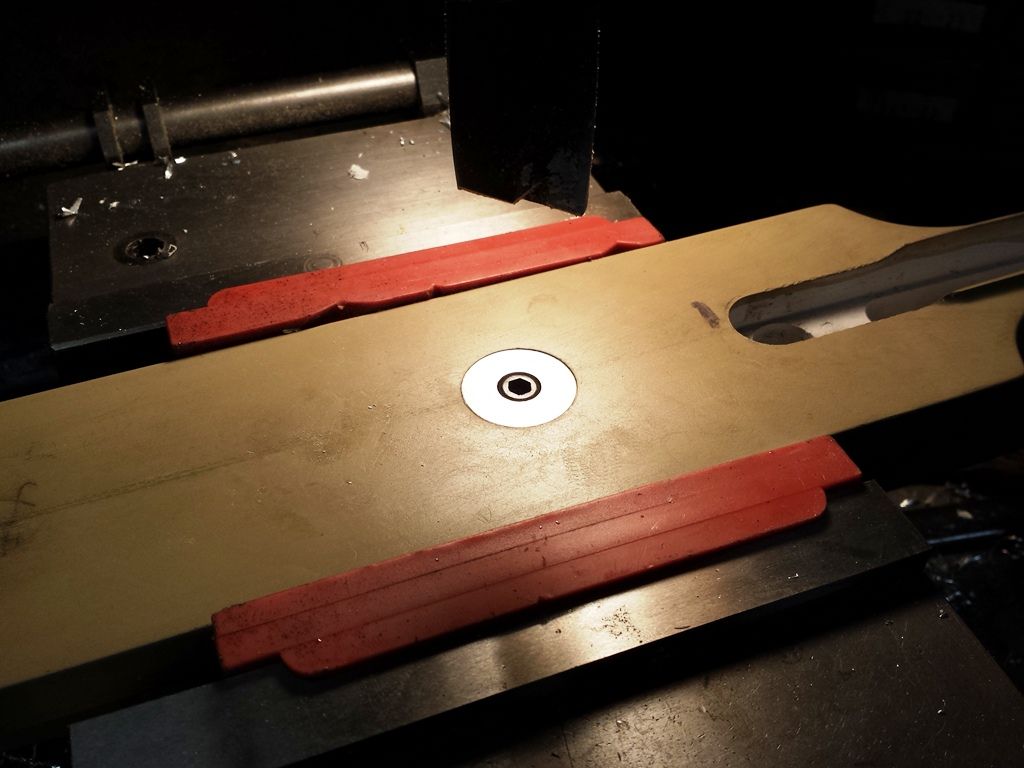 -Lee www.singleactions.com"Building carpal tunnel one round at a time" |
|
|
|
Post by Lee Martin on Mar 5, 2015 20:59:09 GMT -5
Step 64 – Completing the Stock __________________________________________ At this point the stock is 90% fit. Not counting sanding and paint, all that remain are the bolt drop, port notch, and cocking piece runway. Cutting the bolt inlet: 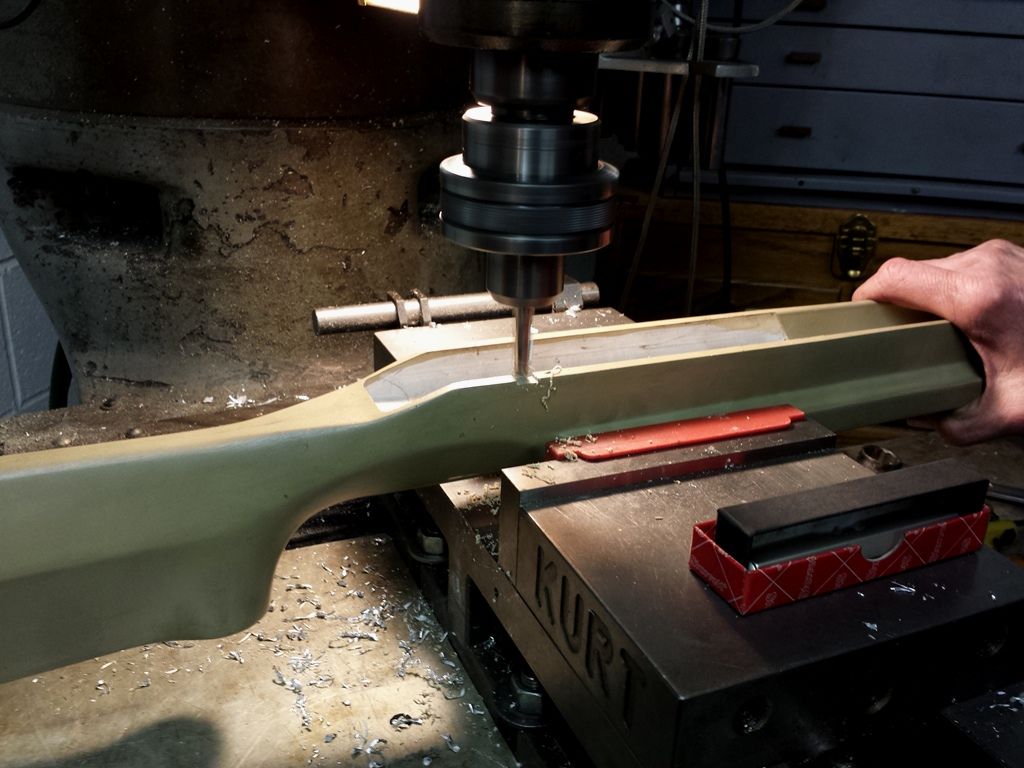 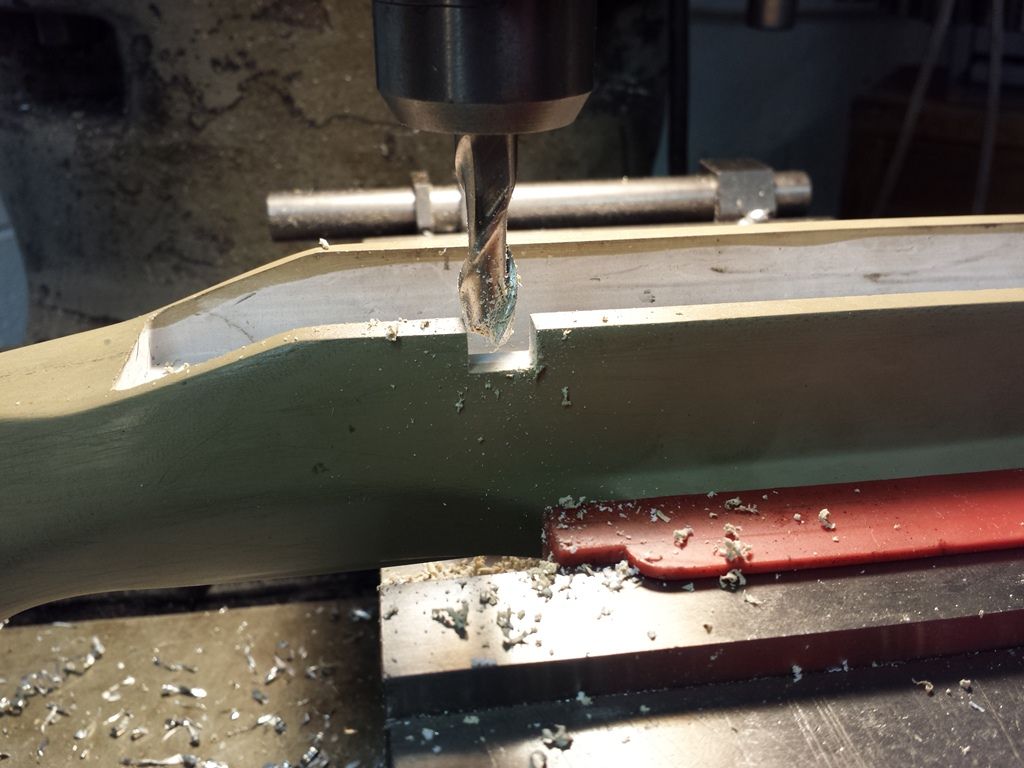 A round file contours the tear drop shape: 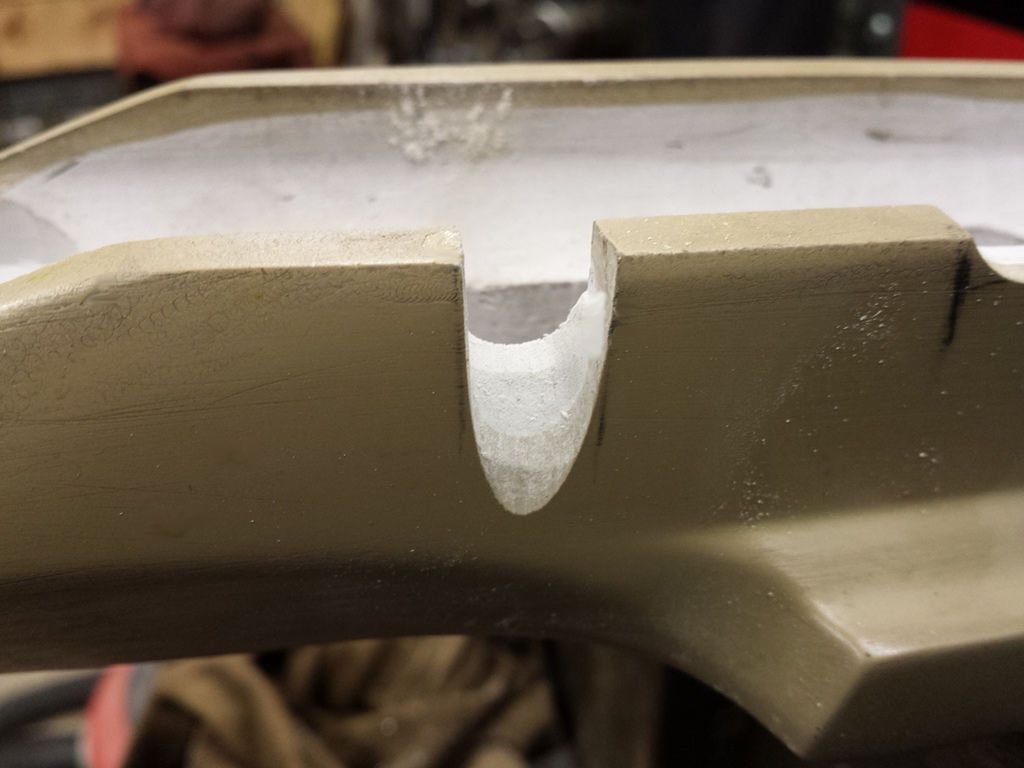 Using a ball end-mill, the stock is relieved behind the tang: 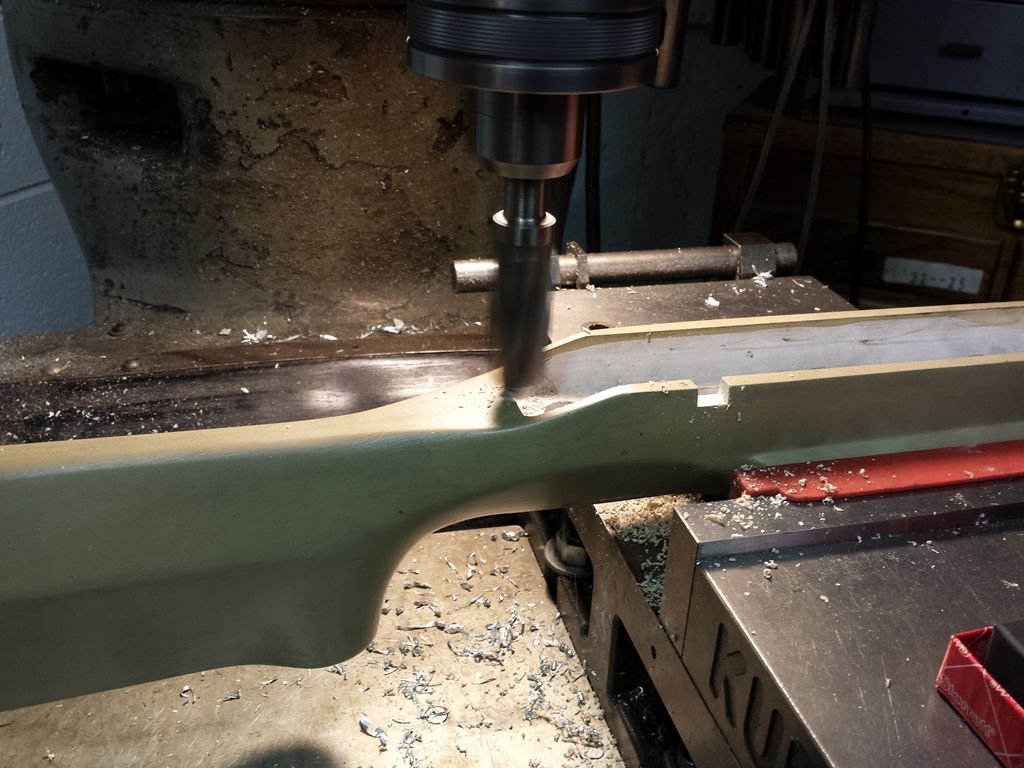 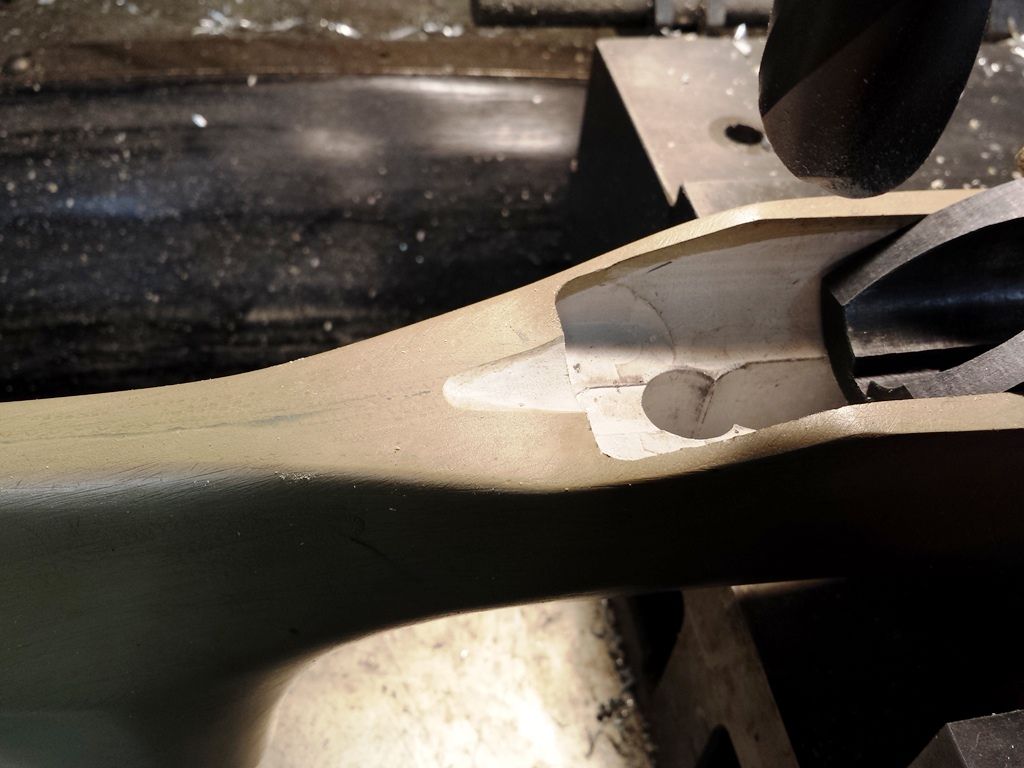 The cocking tab slot: 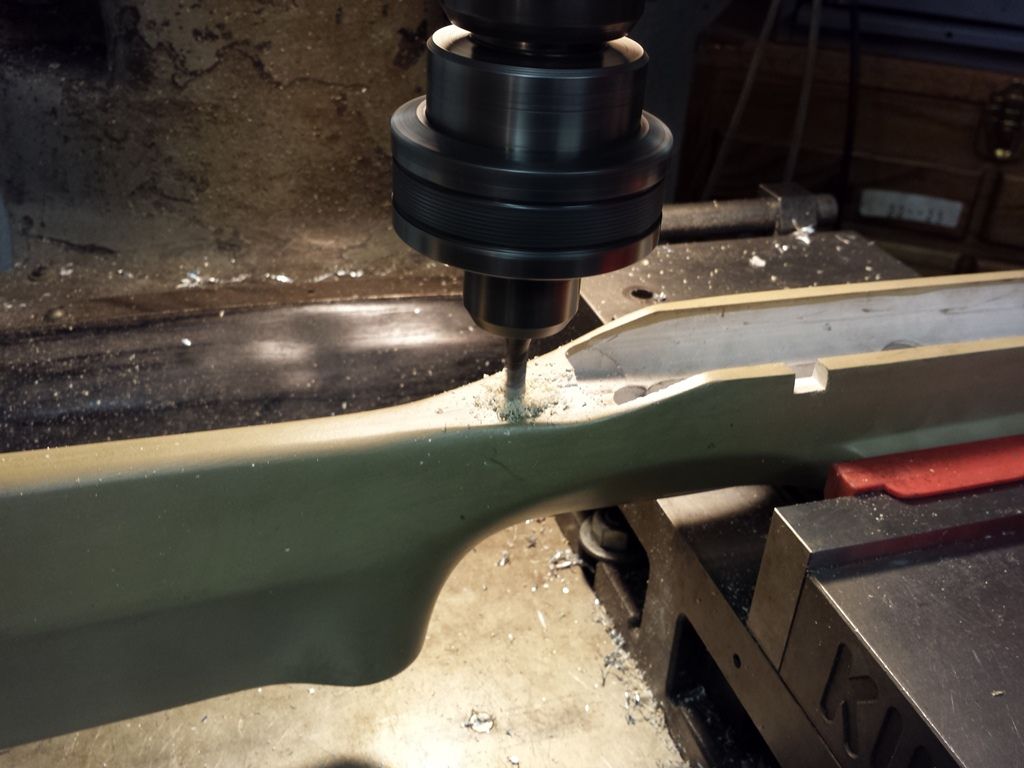 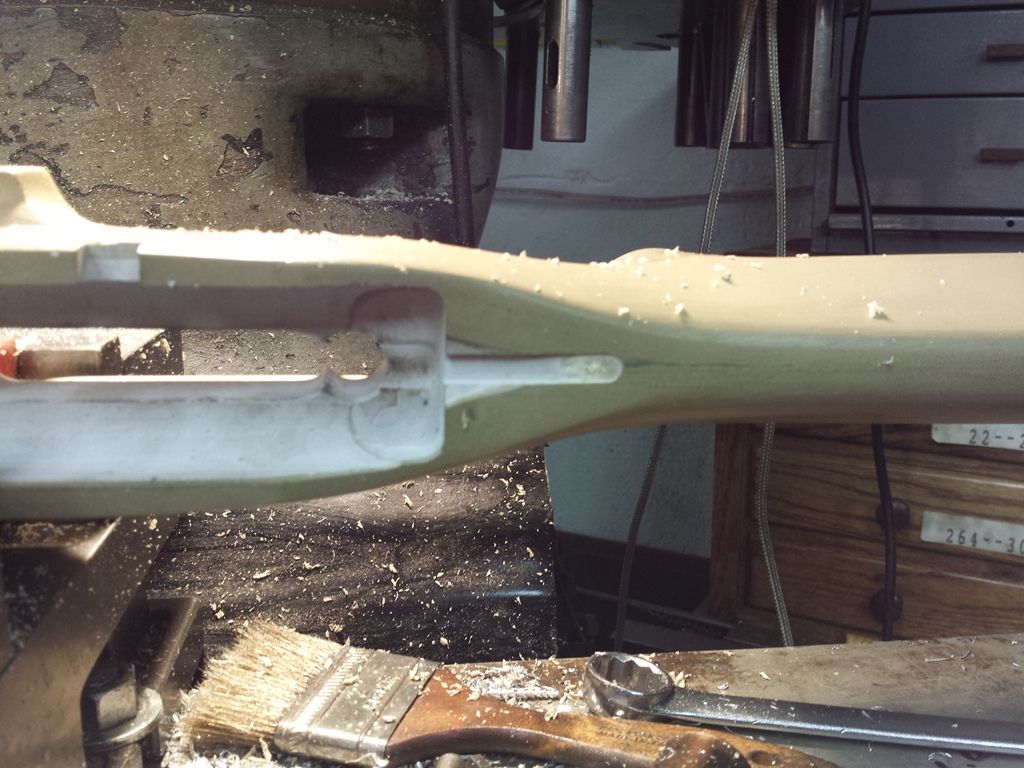 The port step is small but must be made for clean cycling: 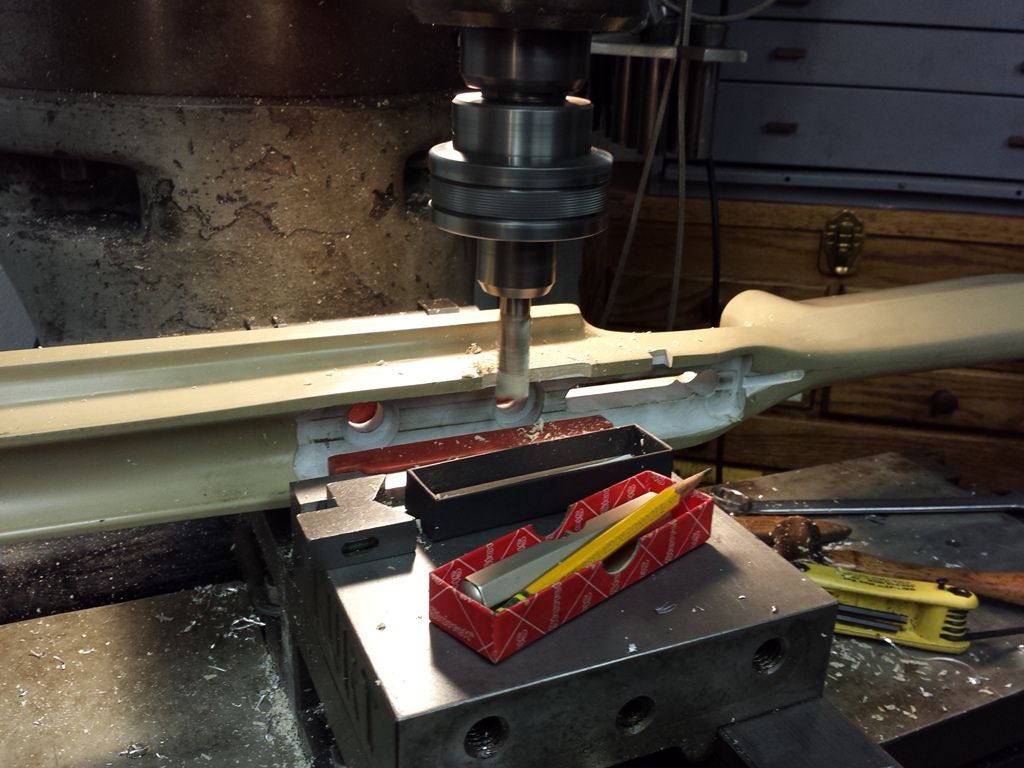 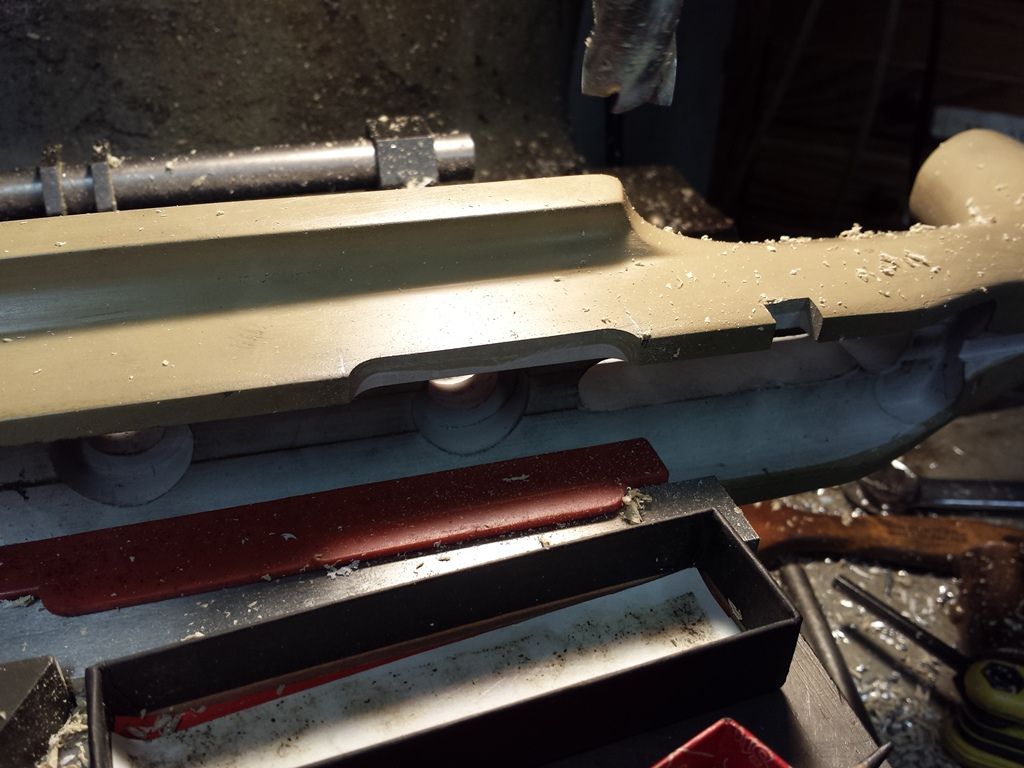 Now we’ll trim the pillars to the correct height. There are two theories on how to set these: 1) Have them bear against a rigid foundation. In our case, that’s the front collar and trigger base, or 2) Make them short to create a small compression gap. When I cover bedding I’ll discuss the pro & cons of each. For what I believe are accuracy improving reasons we lathe ours to touch. 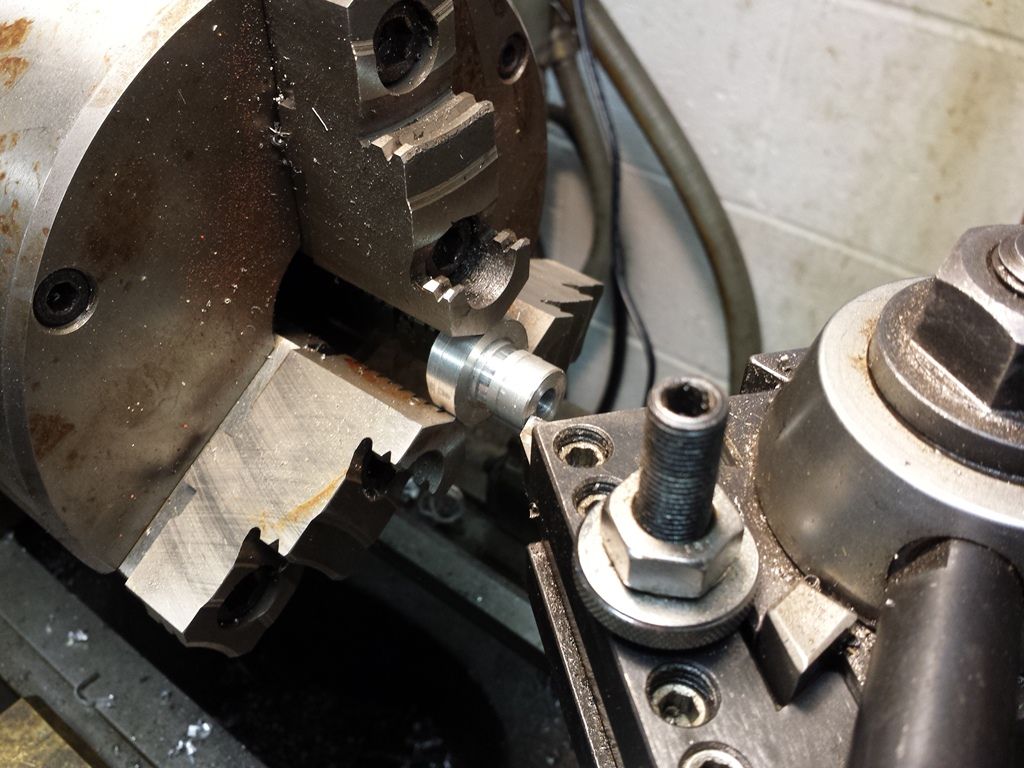 Short of the match barrel, surface finish for the action, the scope base, pillar gluing / bedding, and stock paint, we’re done. Our test barrel is actually a HV in 6 PPC. If not for the incorrect headspace and smaller neck, I could test fire the gun: 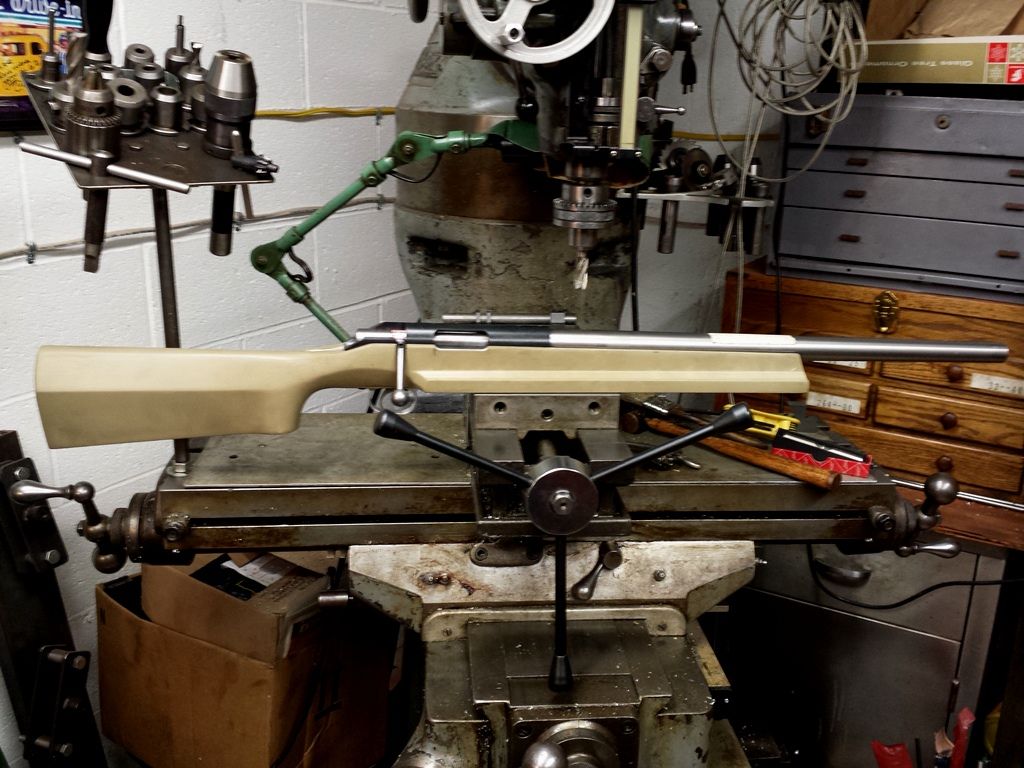 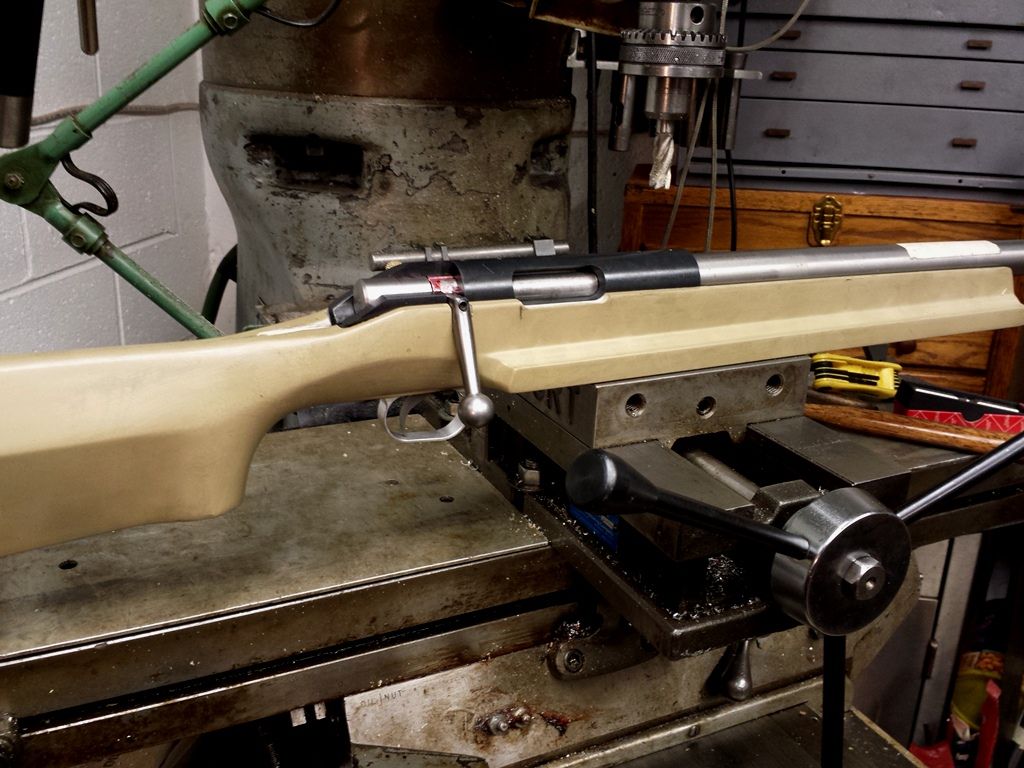 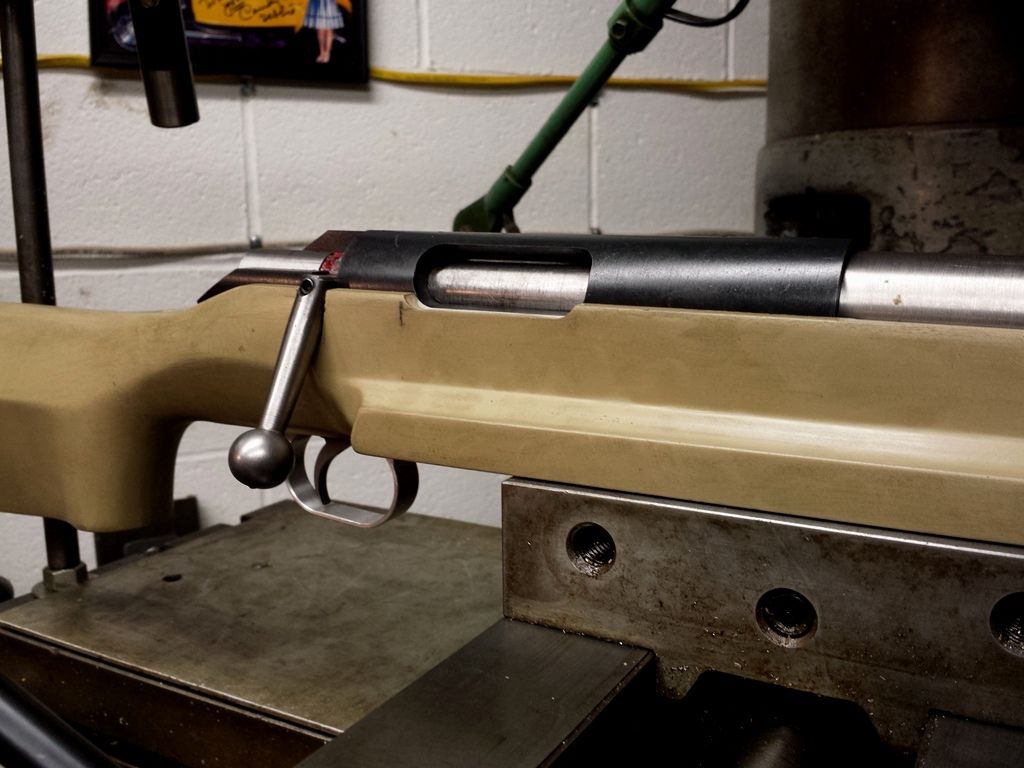 -Lee www.singleactions.com"Building carpal tunnel one round at a time" |
|
|
|
Post by Lee Martin on Mar 11, 2015 20:07:25 GMT -5
Step 65 – The Action Wrench ______________________________________________ A pivotal tool for any benchrest rifle is the action wrench. Barrels are frequently changed, and not simply because they’re shot out. It’s common for competitors to run one receiver/stock combination and two chamberings. 6mm cartridges are ideal for group and .30-cal variants for score. In time, mine too will have a PPC head based .30 for score competition; probably a .30 Major or .30 Gorilla. There are two types of action wrenches used in the sport. And because so many of these receivers are glue-ins, the tools are mostly rear entry. One style connects to the port as shown below. The other keys off the lug raceways. A port wrench installed: 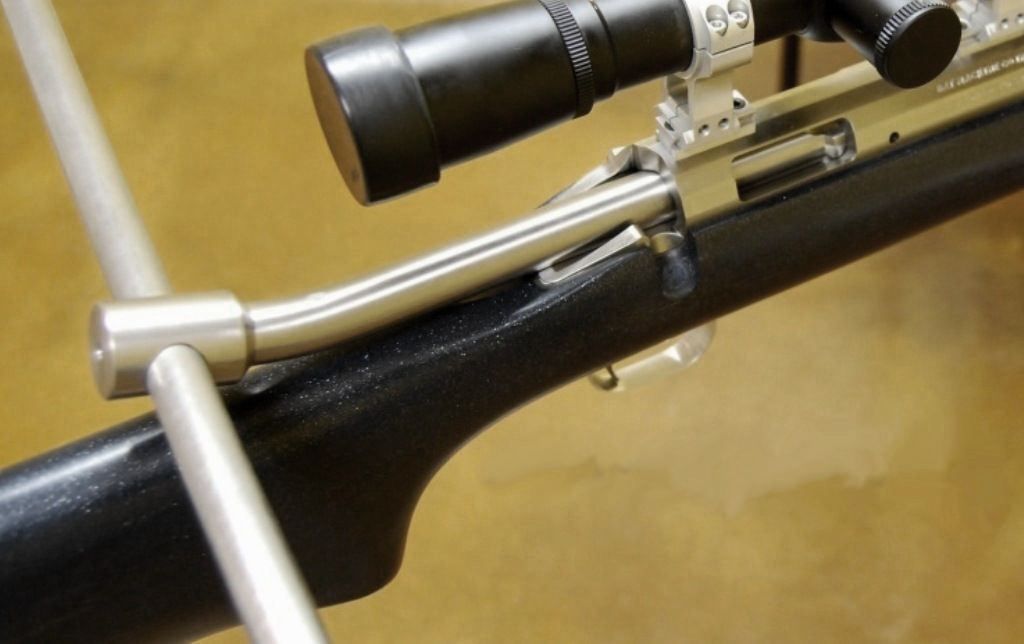 I prefer pulling off the raceway because the leverage is more evenly applied. Ours is made from 1.0” round 4140. 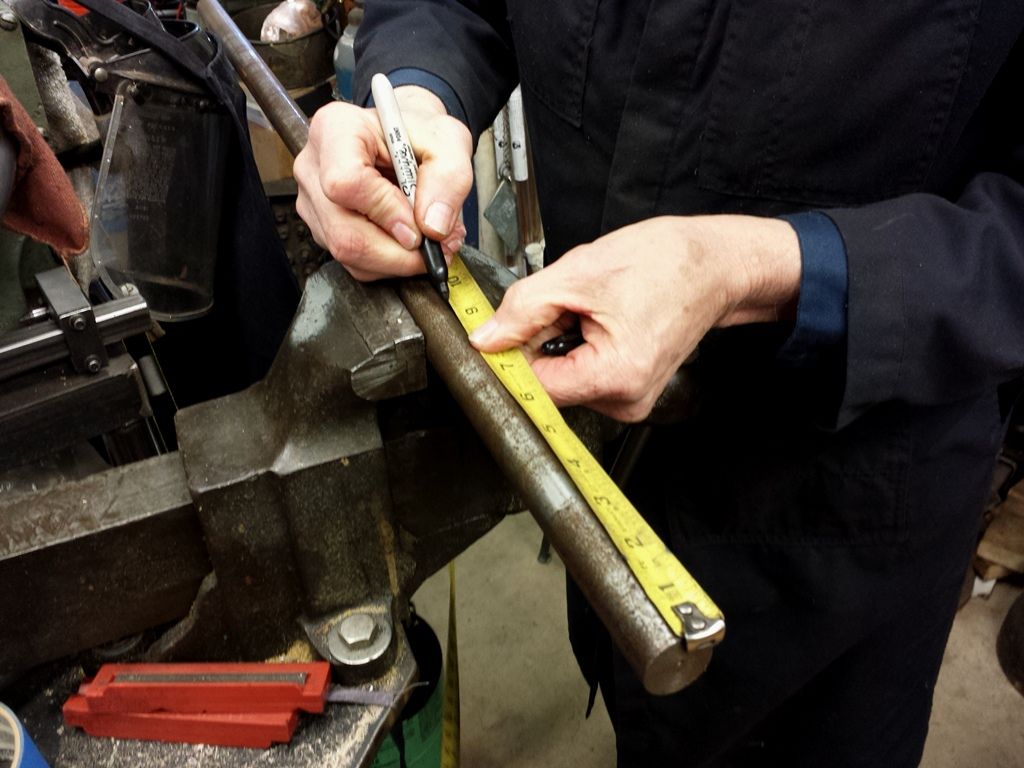 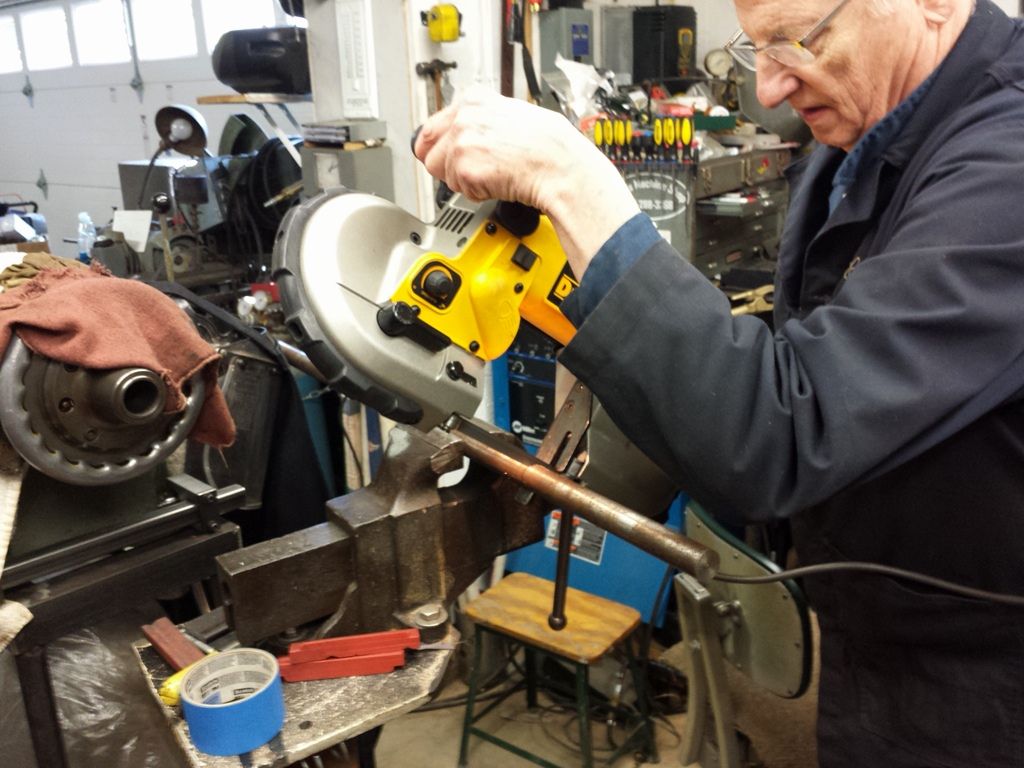 Drilling each end so we can turn it on centers: 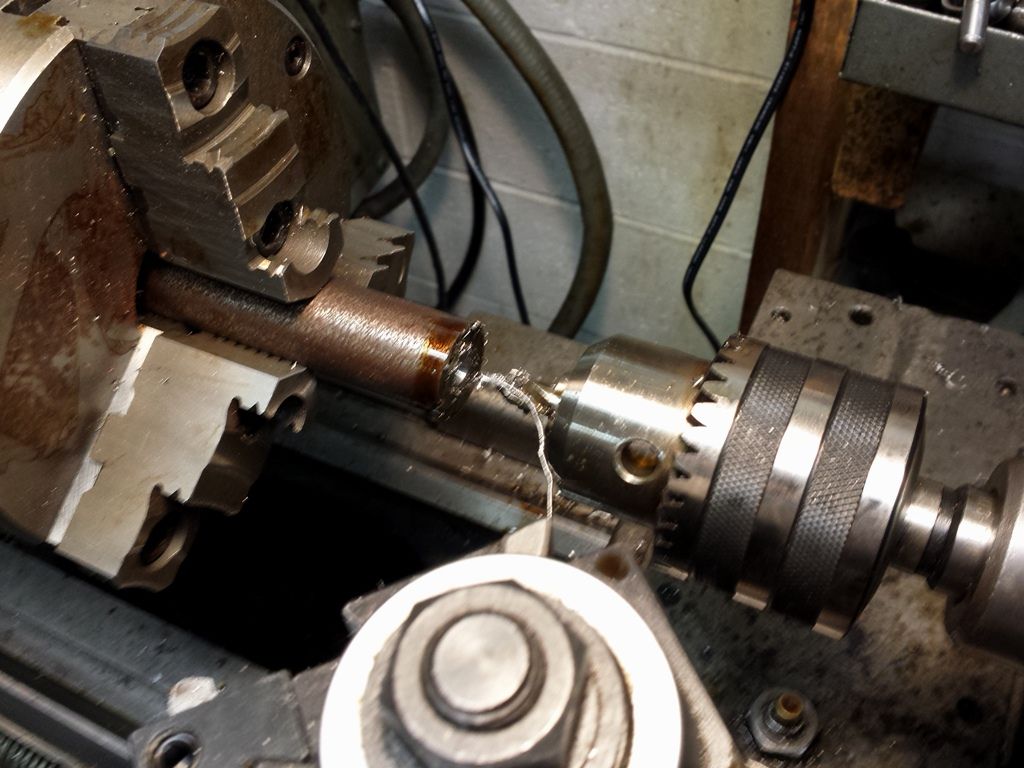 Lathing the main shaft: 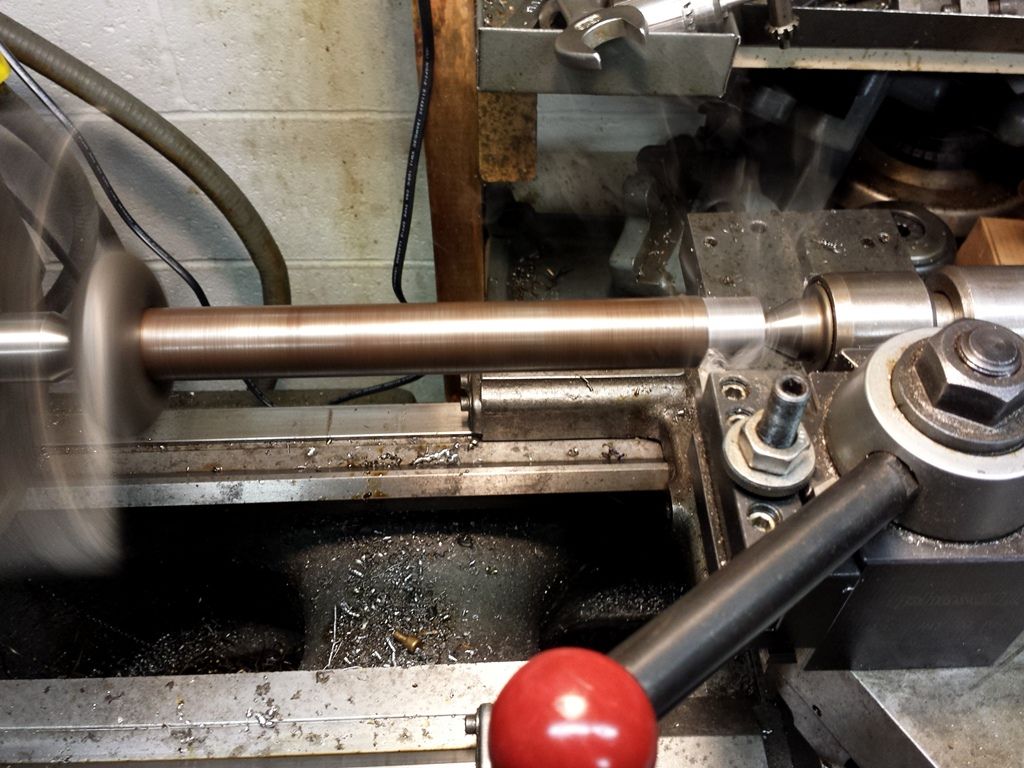 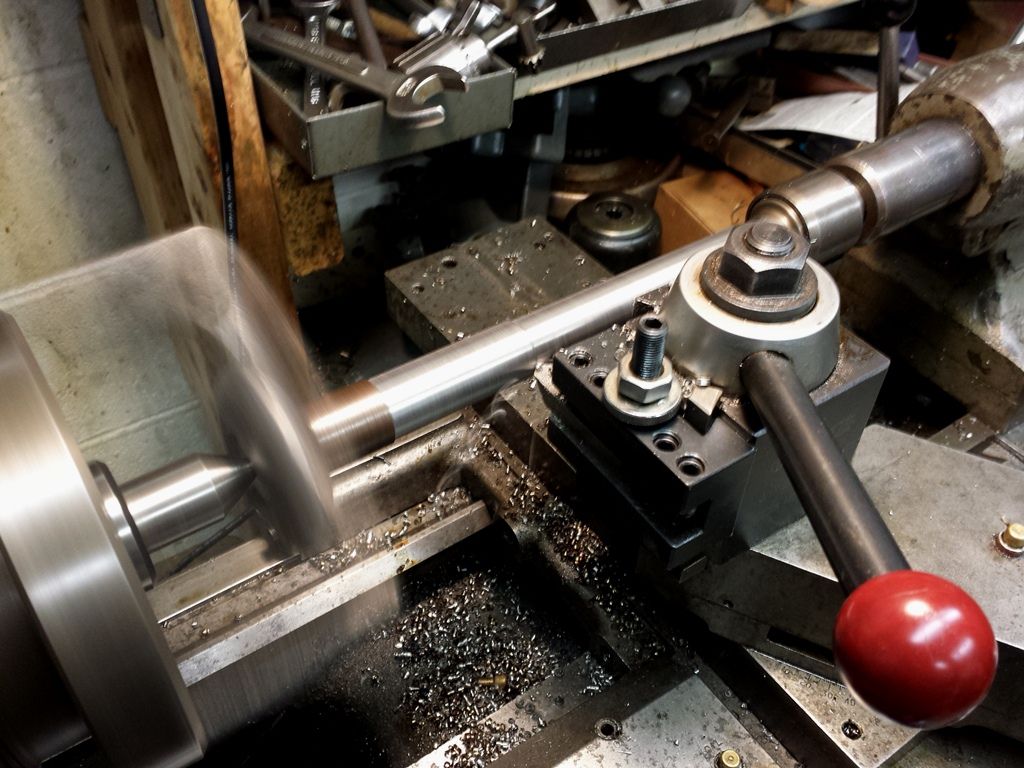 Turning the neck: 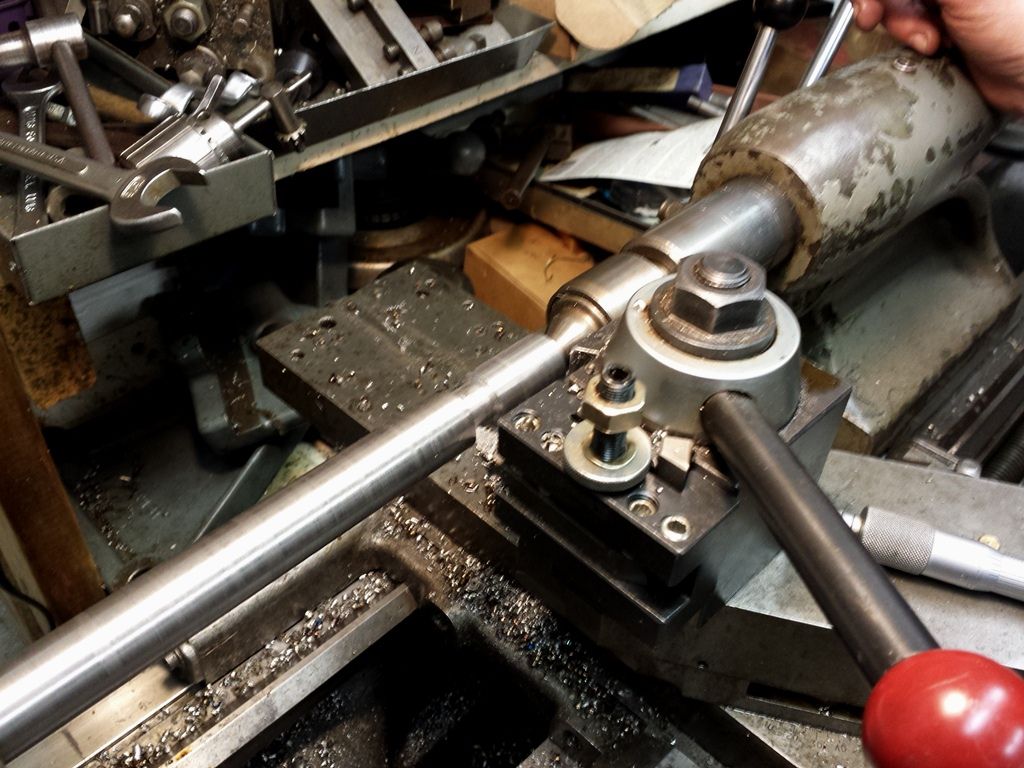 Redeploying the same process used to create the bolt head: 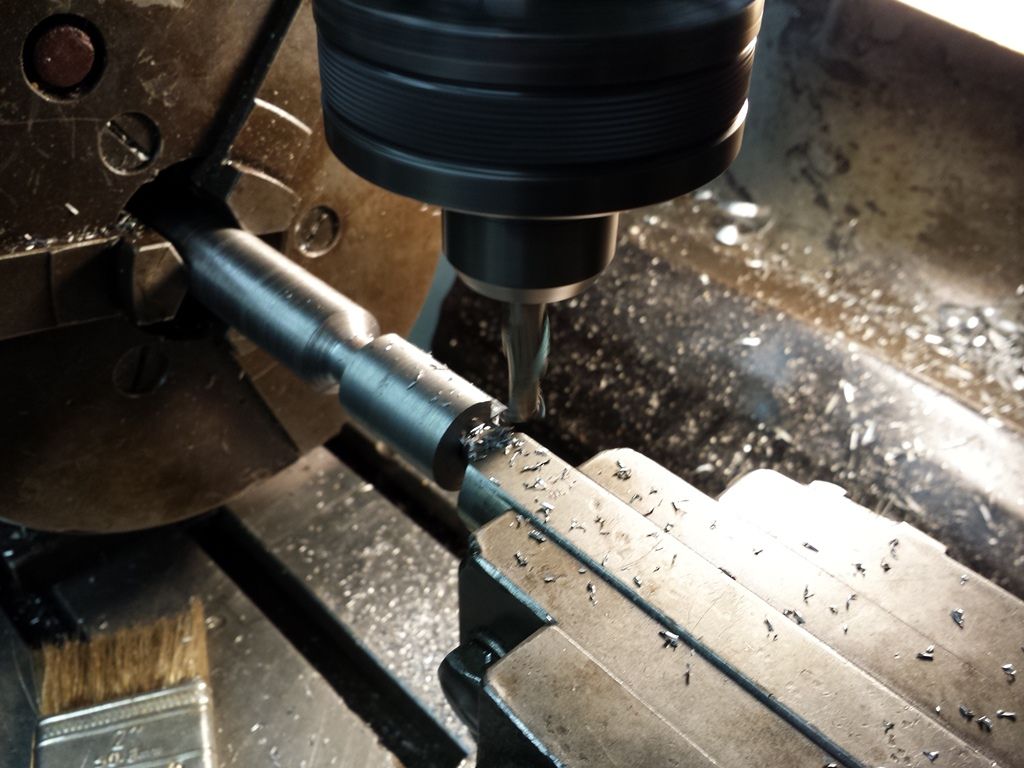 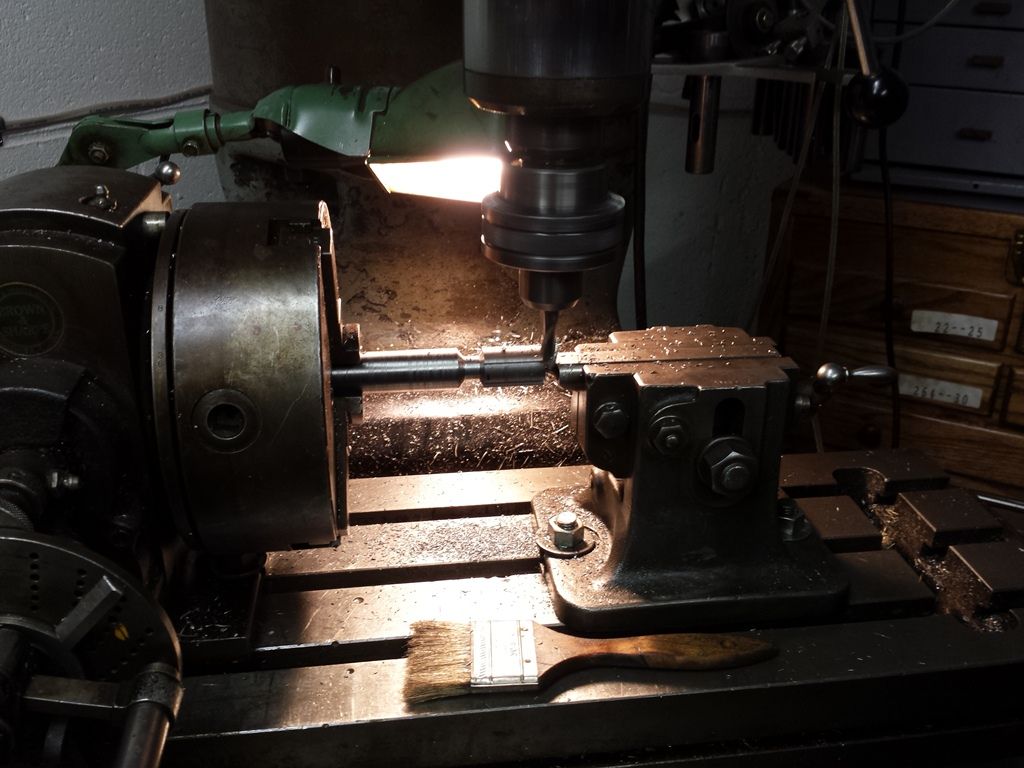 Milling the top and bottom radiuses: 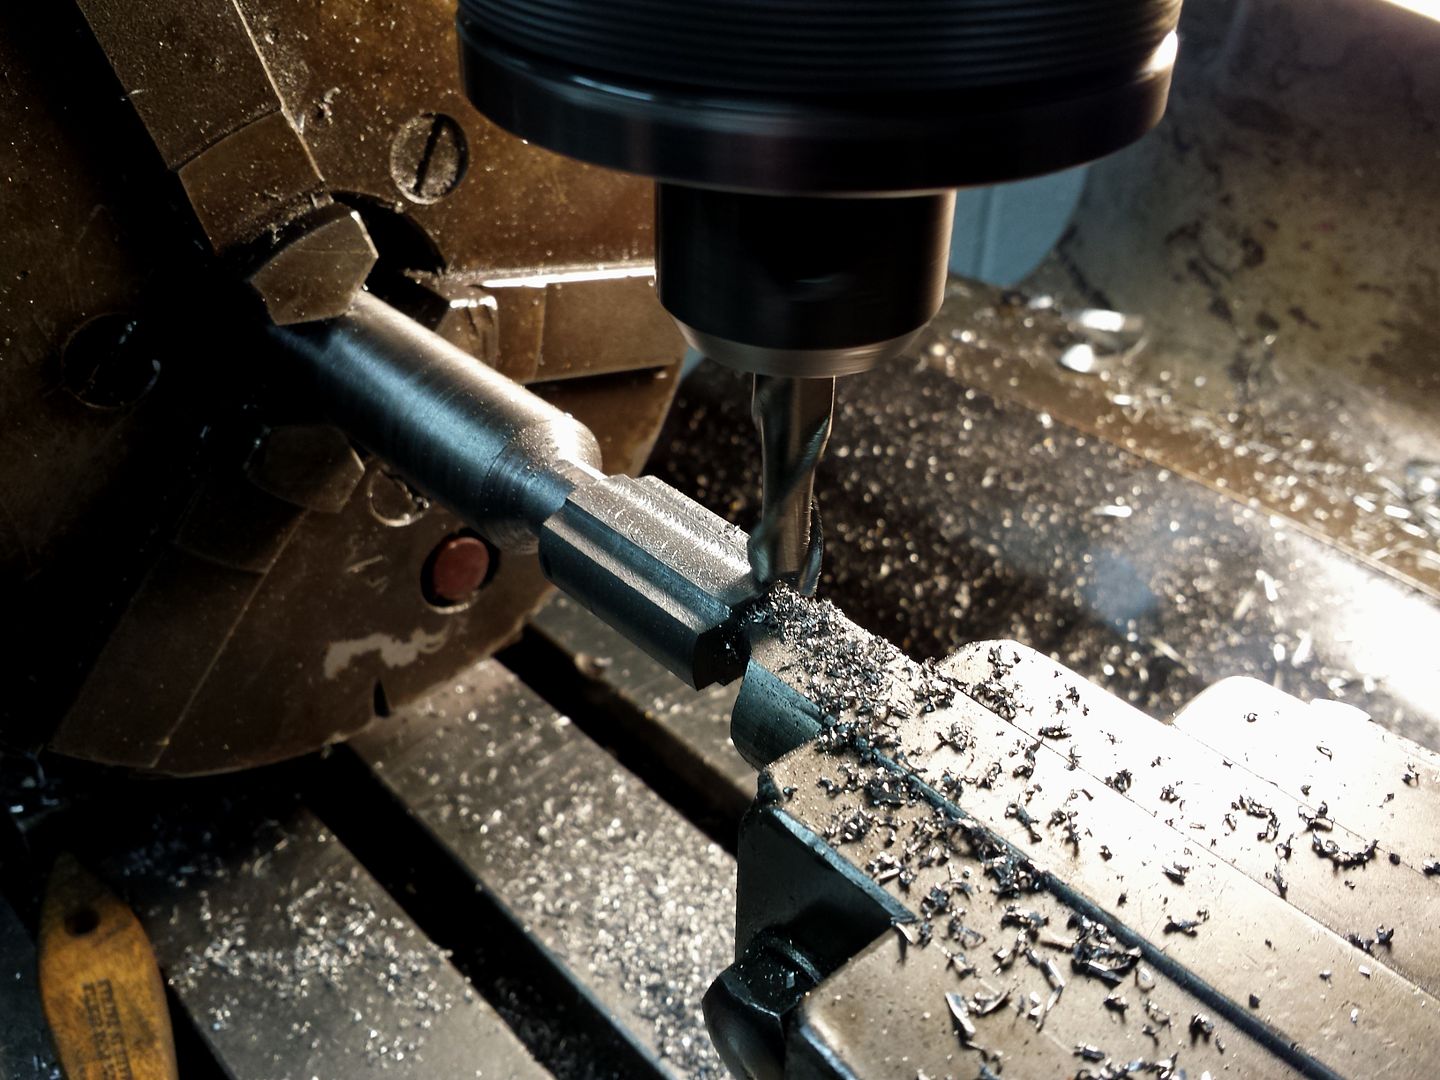 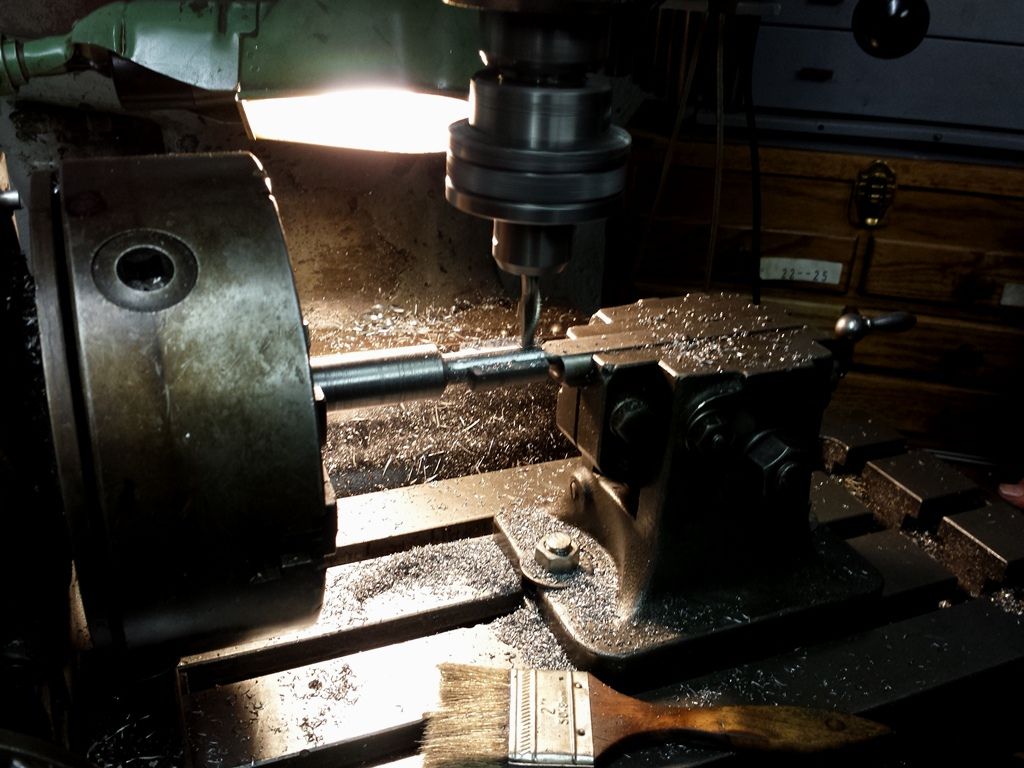 The completed head: 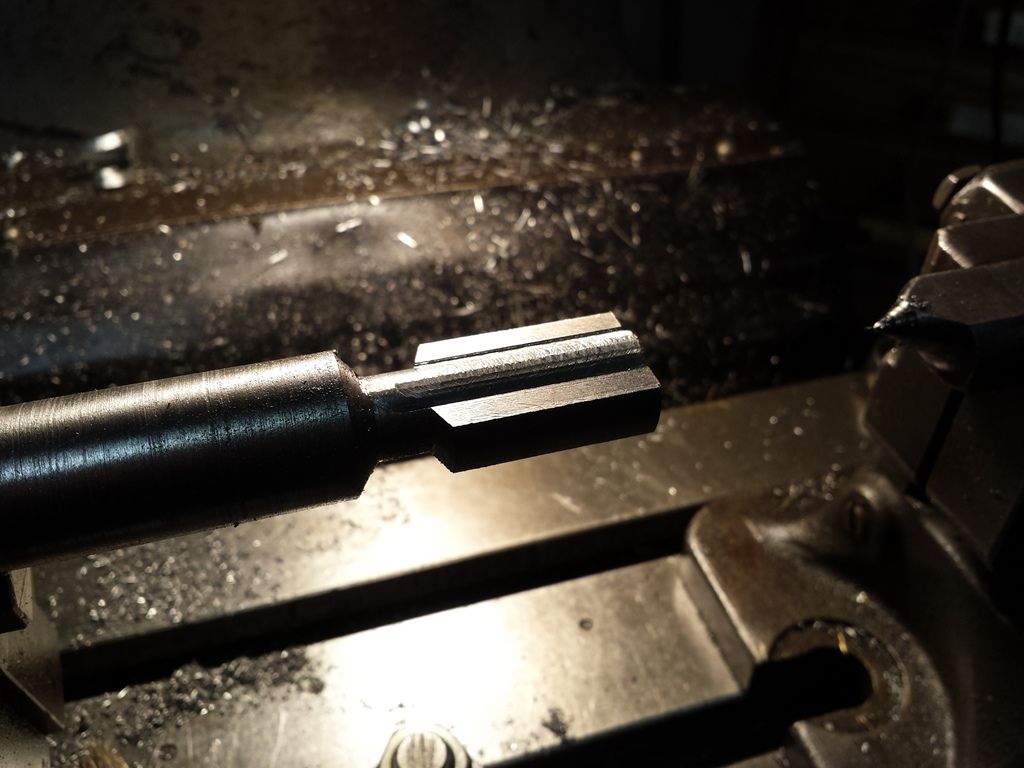 A one-inch end-mill makes the flats to accept a 3/4" socket. Affixing a torque wrench allows us to install barrels within incremental foot-pounds of force. 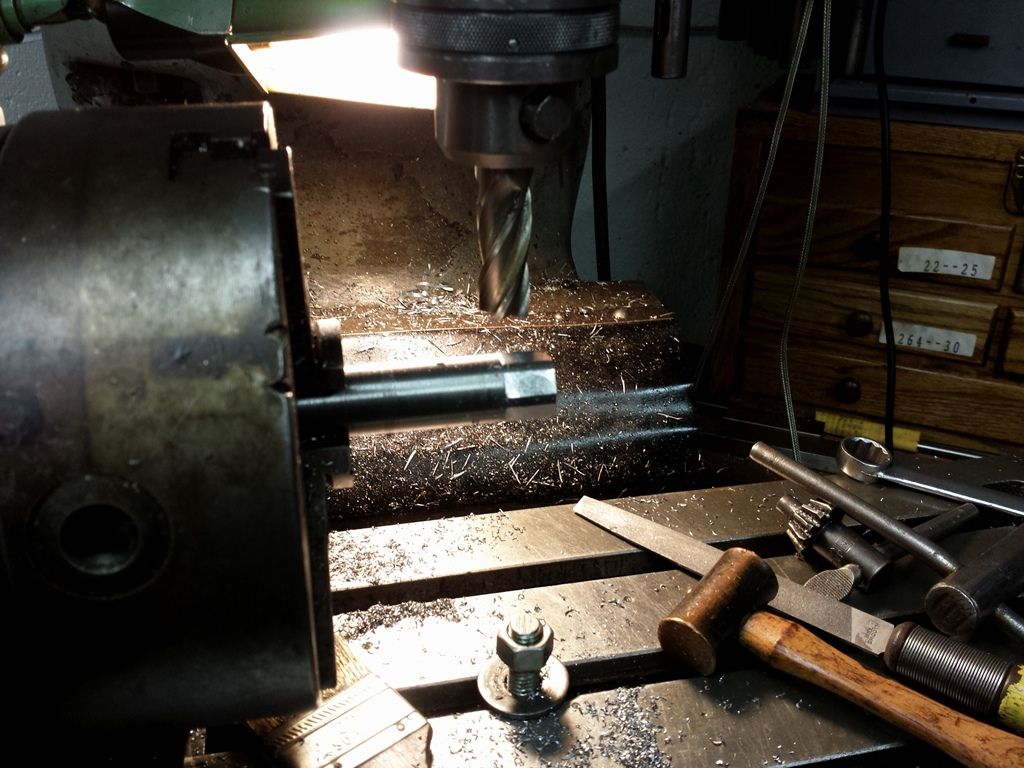 A 3/4” socket fit to the end: 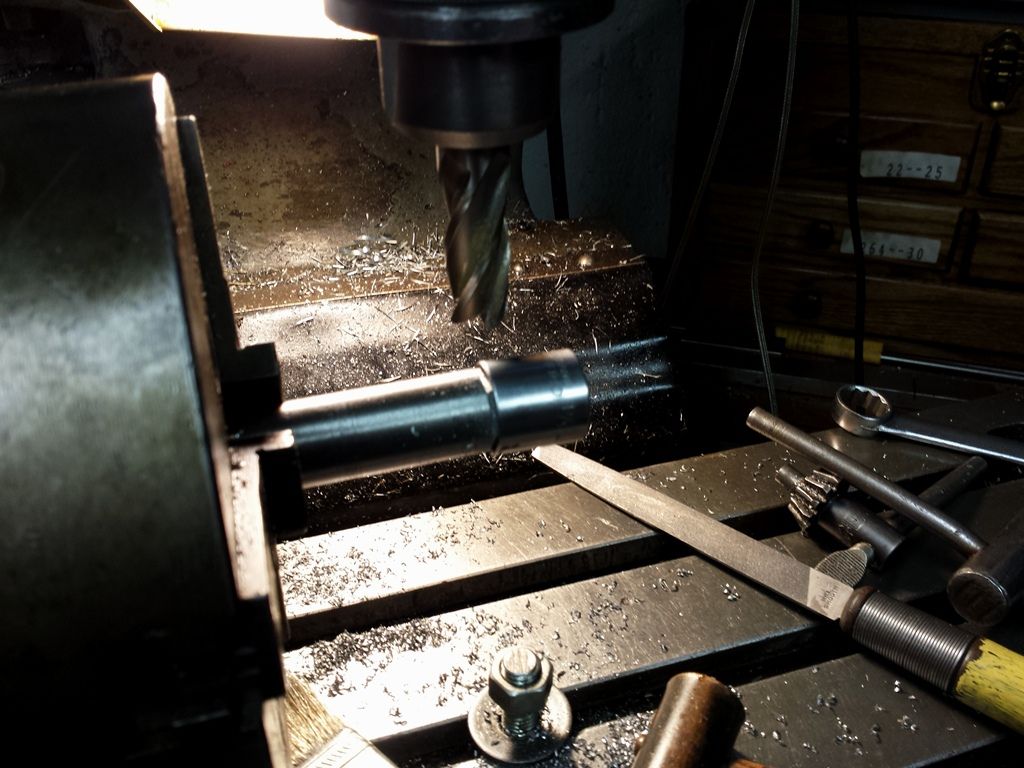 The finished wrench and it placed in the receiver: 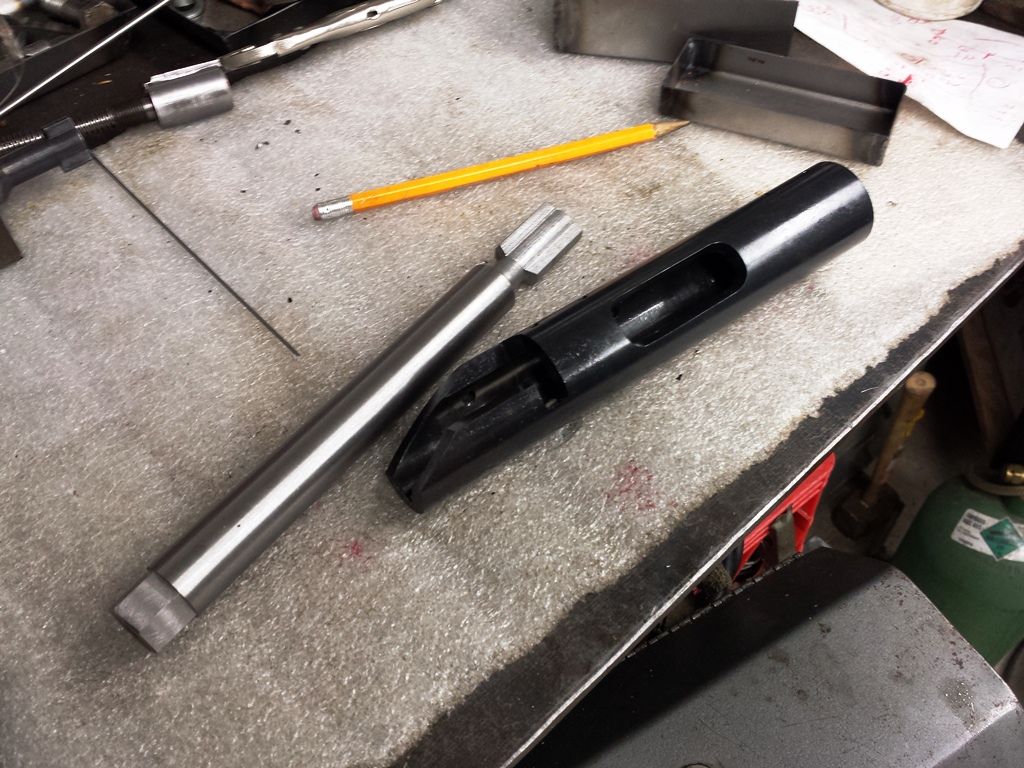 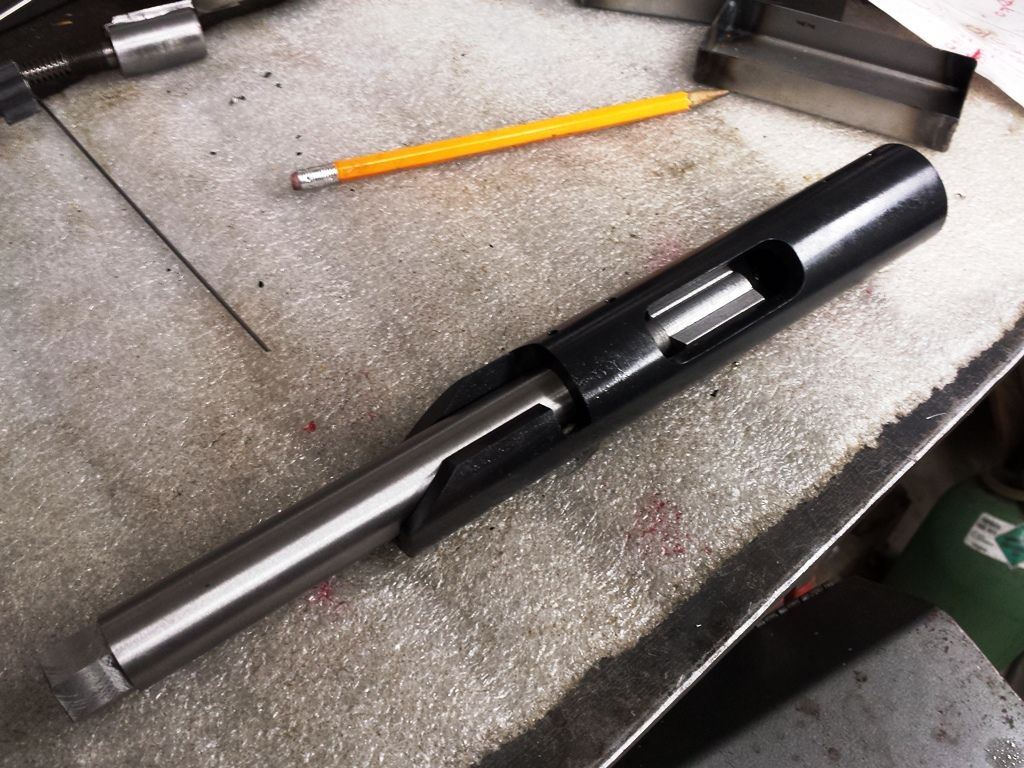 -Lee www.singleactions.com"Building carpal tunnel one round at a time" |
|
|
|
Post by Lee Martin on Mar 12, 2015 21:25:15 GMT -5
Step 66 – The Surface Finish ______________________________________ In the past we’ve blued our actions and left the bolts in the white. They’ve held-up beautifully, even with the harsh solvents used to clean barrels. On this PPC I decided to go with Mahovksy’s Metalife. Ron has hard-chromed 15+ guns of mine and the stuff is smooth, tough, and will self-burnish. Metalife advantages that swayed me: 1) Total build does not exceed 0.0002”. This is important, because my bolt-to-receiver clearance was ~0.001. We honed it 0.0012” to account for the surface build. Ron told me Metalife mostly fills the steel’s microscopic pores. While they advertise 0.0002” max, usually it’s a tad less. At maximum build my bolt still measures 0.0008” on clearance. Tight compared to the 0.004” – 0.006” seen in factory rifles. 2) Like other hard chromes Metalife will self-burnish. That means it’ll polish out with continued use. All the same, Mahovsky will lightly brush any frosting post-chroming to retain the smooth cycling. 3) His chrome is C-scale 70 – 71. That hardness will better preserve the locking lugs and main threads (the latter is very important with high volume barrel swaps) 4) While I won’t reveal the stock color yet, a stainless-like action improves the look. 5) Barrels are cleaned with very aggressive solvents and compounds. Paste abrasives are used to remove carbon rings in the chamber neck and throat. High ammonia cleaners do the rest of the rifling. Even with a bore guide, these can attack the inside finish. Metalife is impervious to both. The action shipped out Monday and was signed for by Mahovsky’s today. With 80 – 100 hours in this thing, I’m glad half its journey is done. 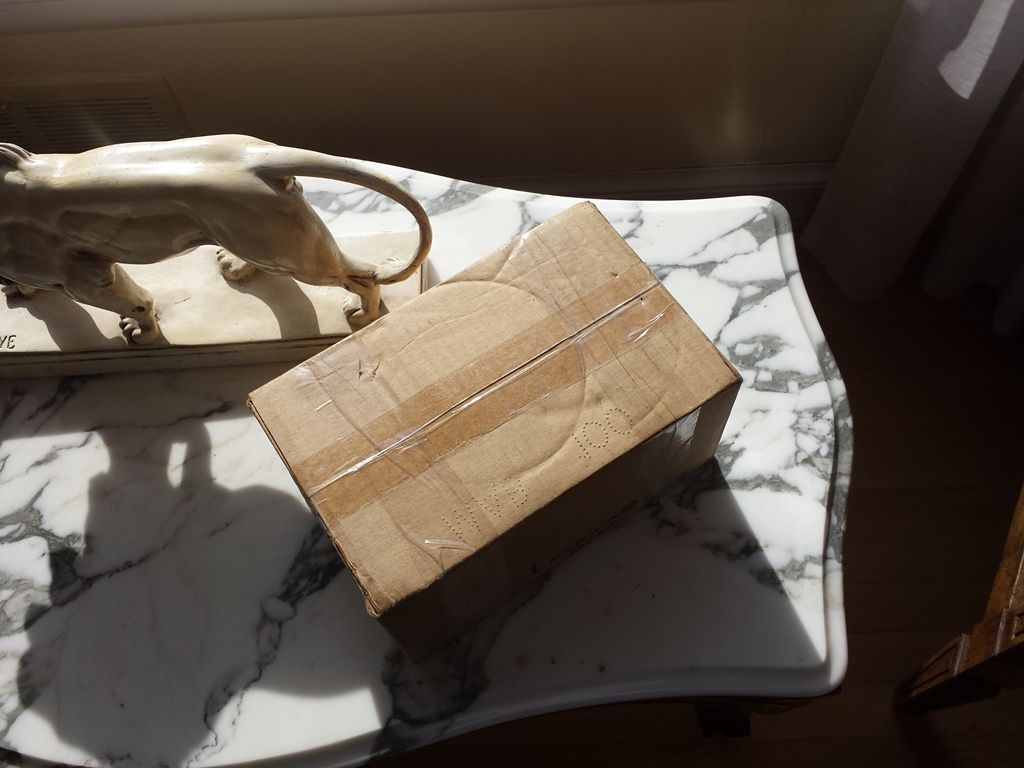 -Lee www.singleactions.com"Building carpal tunnel one round at a time" |
|