CBH
.240 Incinerator

Posts: 96
|
Post by CBH on Jul 10, 2012 9:35:57 GMT -5
I bought a Stroh front sight for my SS SBH and I'm going to attempt to solder the sight to the bbl. Any advise?
|
|
|
|
Post by dlhredfoxx on Jul 12, 2012 22:08:22 GMT -5
If it were me, I'd have a smith do it... I've got a knack for screwing stuff up like this. I could solder it, but it'd look like a blind man with no arms did it... but that's just me.
|
|
greygt
.30 Stingray
Posts: 386
|
Post by greygt on Jul 17, 2012 3:23:56 GMT -5
I'll 2nd that recommendation if you aren't really good at sodering it could end up looking like a stevie wonder gunsmithing class project.
|
|
edk
.375 Atomic
Posts: 1,107
|
Post by edk on Jul 17, 2012 9:49:10 GMT -5
I'd say go for it. what is your strategy for: - fixturing?
- getting the work to the correct temperature?
- preventing scale inside the barrel?
- refinishing?
You can do anything you set you mind to do with a little education and determination |
|
CBH
.240 Incinerator
Posts: 96
|
Post by CBH on Jul 17, 2012 10:36:23 GMT -5
Glad I'm gettin somewhere with this . My plan is to use Brownells Force 44 solder which has a 450 degree operating temp. This solder is made with flux already intermixed. Initially, I plan to make a spring-loaded plunger in a tube to use as a hold down fixture for the sight itself. This should the keep constant pressure needed when solder melts and the sight instantly drops. I'll secure the bbl frame in a drill press vice and put the tube in the chuck and lock the spindle.
Not sure I need to worry about bbl scale given the low temp. I'm just going to heat evenly and slowly til solder liquifies and sight settles. Propane torch will be heat source. I gave the SBH a hi gloss finish as part of this project and believe it can be restored after solder job.
I'm reasonably handy in the shop but definately open to any and all forms of guidance.
|
|
|
|
Post by jayhawker on Jul 17, 2012 23:46:25 GMT -5
With the flux in the solder, it will flow where you don't want it. You can minimize cleanup by rubbing a lead pencil where you do not want solder to adhere. I learned to SS in a colege silversmithing class. We used seperate solder and flux. The low temp solder is the way to go.
|
|
|
|
Post by tek4260 on Jul 18, 2012 6:14:39 GMT -5
I have been using the "high strength solder" that is sold on the welding supply racks in parts houses like NAPA. I also use the flux they have on the rack. I have soldered 10 or more sights on and haven't had a problem with one coming off. I test mine by giving a good yank and twist with vice grips.
|
|
edk
.375 Atomic
Posts: 1,107
|
Post by edk on Jul 18, 2012 7:02:43 GMT -5
I have not used that particular solder but looked it up and it looks very good. You are correct about temperature not being a problem. I brought that up because as you may know most use the term "solder" even if they will be silver brazing so I had no idea what temperature you would be working with.
I second the comment about having the flux separate and consider pre-fluxing/tinning the underside of your sight base.
|
|
|
|
Post by tek4260 on Jul 18, 2012 17:28:37 GMT -5
I had a step by step on rugerforum, but I see it is gone now. I'll try to post it again after church tonight.
FWIW, it is the way I have done it, not necessarily the right way.
|
|
|
|
Post by tek4260 on Jul 18, 2012 21:27:24 GMT -5
First off, it will take a lot of heat to remove the factory sight from your Ruger. You need a mapp gas torch at least. The old propane hand torches will do it, but barely. As you heat it, occasionally grab it with pliers and give it a good strong twist. Eventually you will get it hot enough to break free. Ruger uses a locator dowel under their front sights on the Blackhawks, so if your front sight is centered, you can use it to find center for your new sight. I believe the Stroh sight has 3 screw holes for attaching it, so you may get lucky and have one of the holes line up with the locator dowel to locate the sight in the proper place in relation to the end of the barrel. If that is the case, I'd use the other 2 holes and attach it with the supplied screws. If you want to solder it, clamp the revolver in a padded vise. Place the base on the barrel and lightly scribe around it. Apply file chalk outside the scribe line and around the bottom of the barrel. Clamp the sight in a separate vise and apply some flux paste. Heat it until the flux begins to bubble and wipe the excess flux off leaving only a thin film. Take your solder and heat the sight until the solder will melt and flow on the base. Cover the base with solder and lightly wipe away the excess. Now take a file and lightly file away the old solder from the barrel and lightly rough up the barrel to your scribe line. Apply flux inside the scribe lines and heat and wipe away excess. Reapply the chalk up to the line and apply solder inside the line, wiping away the excess. Reapply chalk. Now both parts are tinned. My specialty tool for clamping the base to the barrel used to be a c-clamp that I had cut a notch in to center the barrel and removed the cup from the end of the spring and smoothed the end. The idea being, when the solder melted, I'd give it another turn and let it sit and cool. It acted like a big heat sink, so it didn't work for me and my small torch. I bought a big pair of Vice grip pliers and again cut a notch in the bottom to center on the barrel, and a notch on top to center on the sight. I apply it when the solder melts, and it works well. Place the sight on the barrel and clamp it with the pliers with moderate pressure, remove the pliers and give them about a 1/4 turn tighter and lay them to the side. Heat the sight, keeping the torch moving and watching the joint. When the solder melts, you will see the sight "sit" and the solder flow at the joint. Clamp the pliers on the barrel/sight again and when it cools you are done. Any solder that runs from the joint will not stick to the chalk and will simply wipe off. You may have some discoloring from removing the factory solder/braze and will have touch it up with a pad. I'll put my flame suit on now for this improper redneck way. And yes I know, my description leaves it about as clear as mud. Here are some I have installed this way. The ones I didn't shorten have discolored bluing from removing the factory sight. I can live with it since I can shoot for what I want to hit rather than aiming a foot low like you have to do with the factory sights that come too damn short. 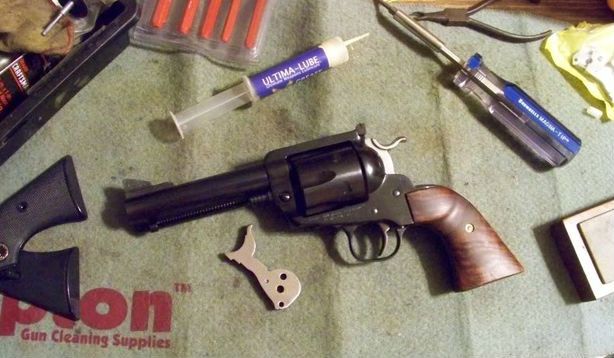   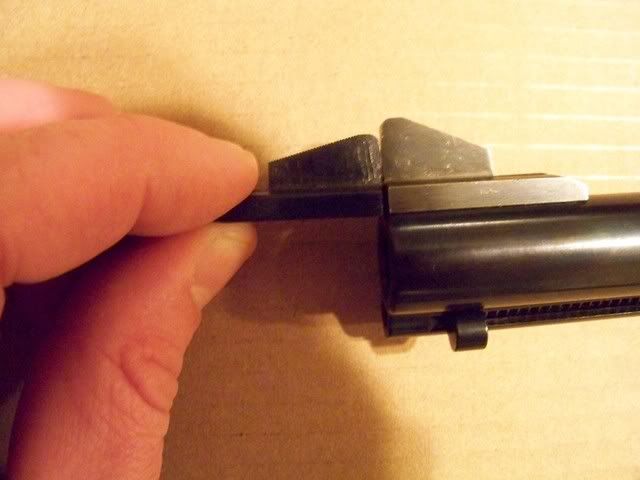 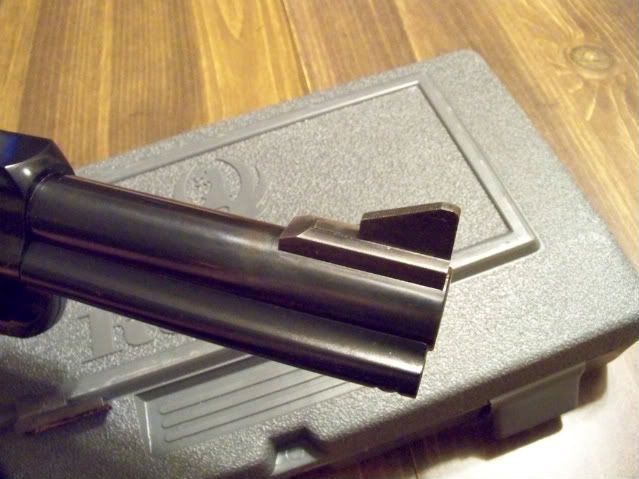 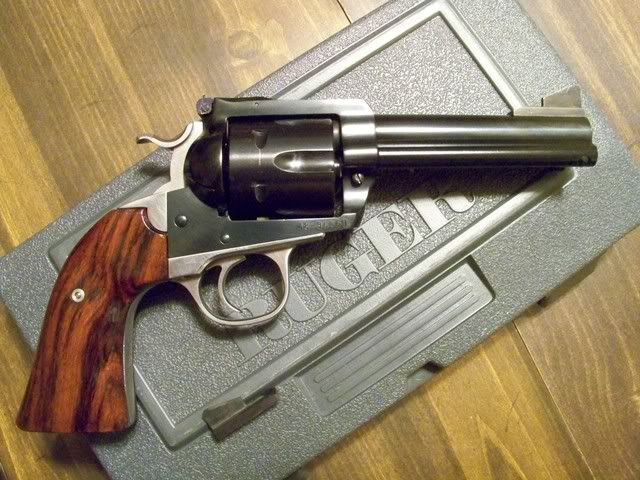 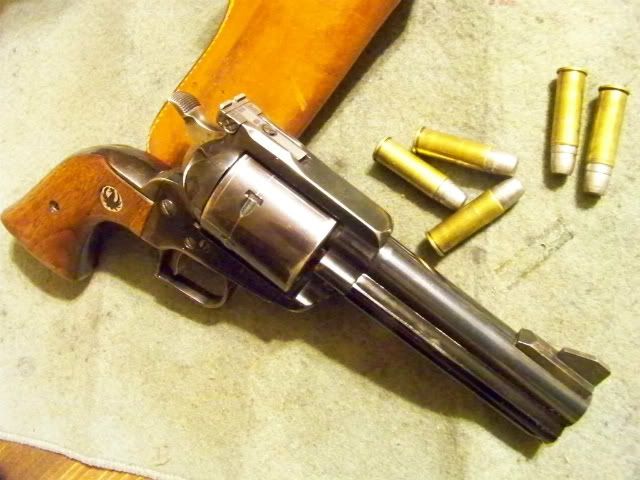 |
|
|
|
Post by jayhawker on Jul 19, 2012 8:42:28 GMT -5
Our silver smithing instructor told us to throw the cap to the bottle of flux away. The flux would thicken and get real sticky. Then not necessary to clamp, as the two pieces being joined were stuck together with flux before heating. It works.
|
|


