Post by jdpress on Jun 22, 2010 12:16:08 GMT -5
Antiquing Refinishing USFA Rodeo Revolver
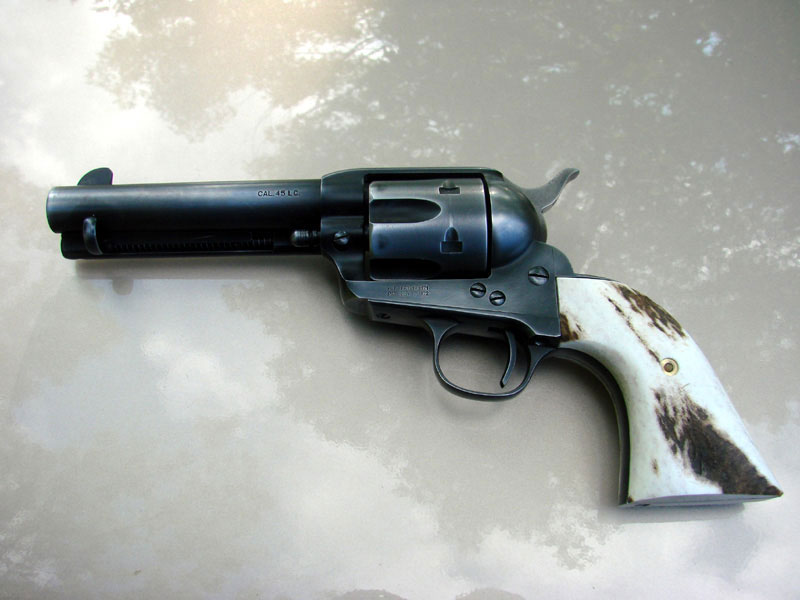
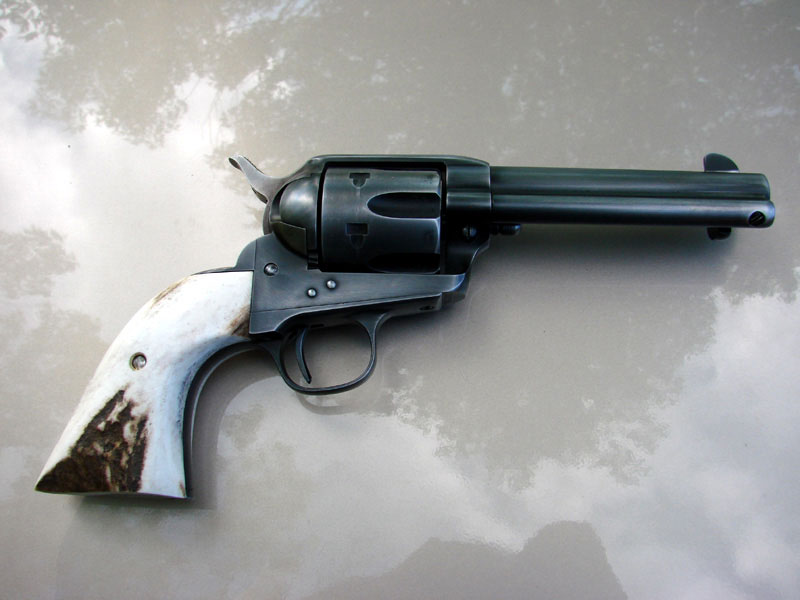
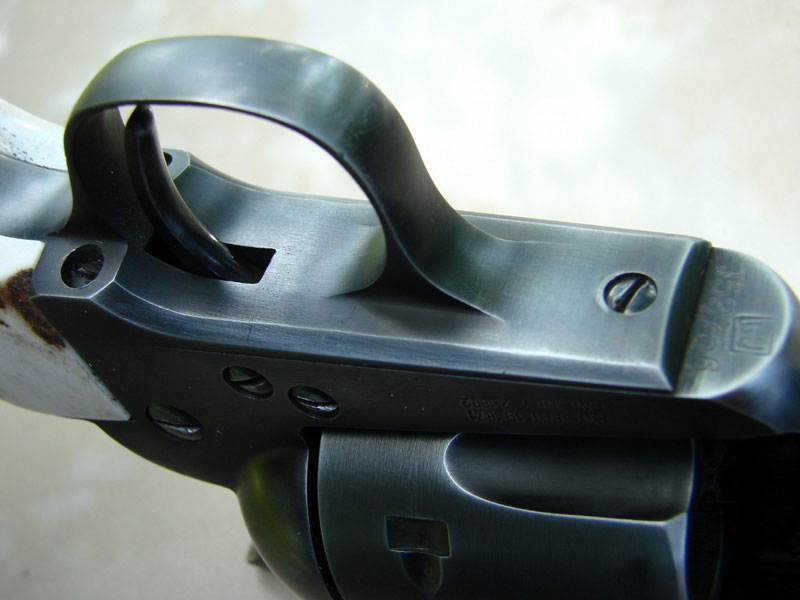
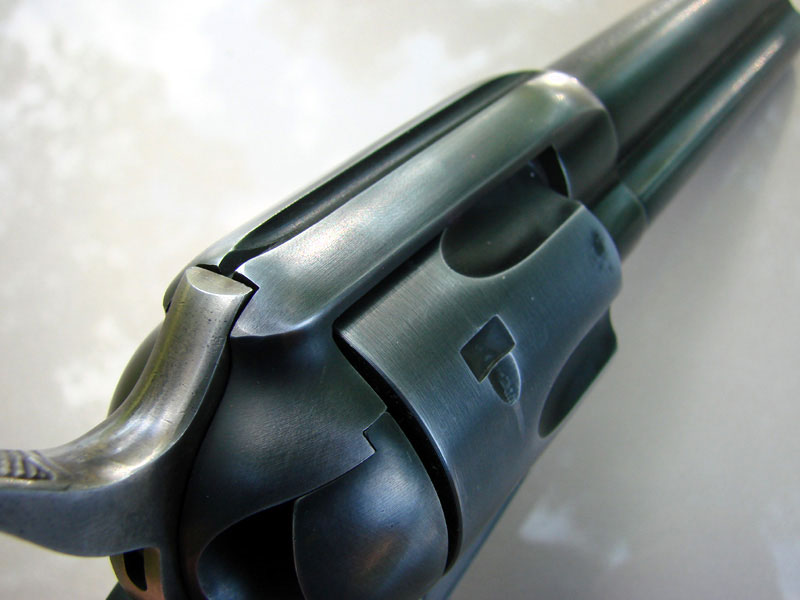
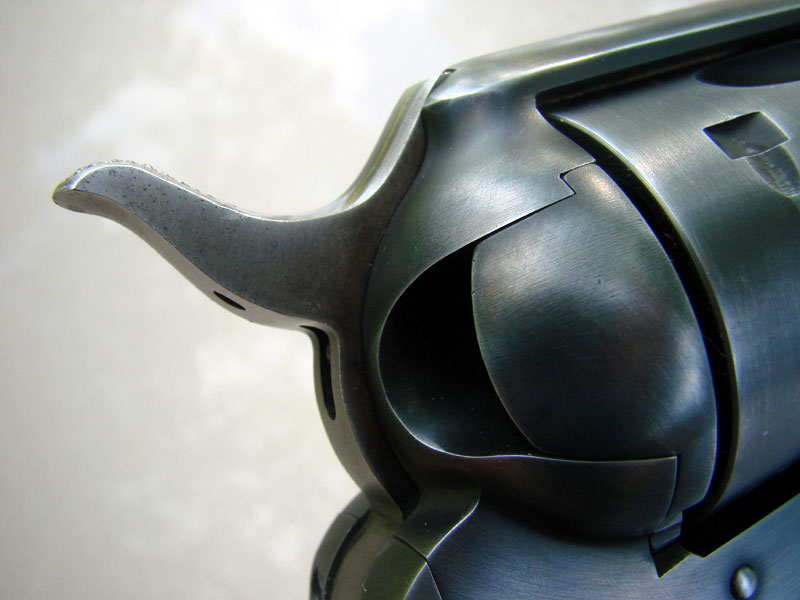
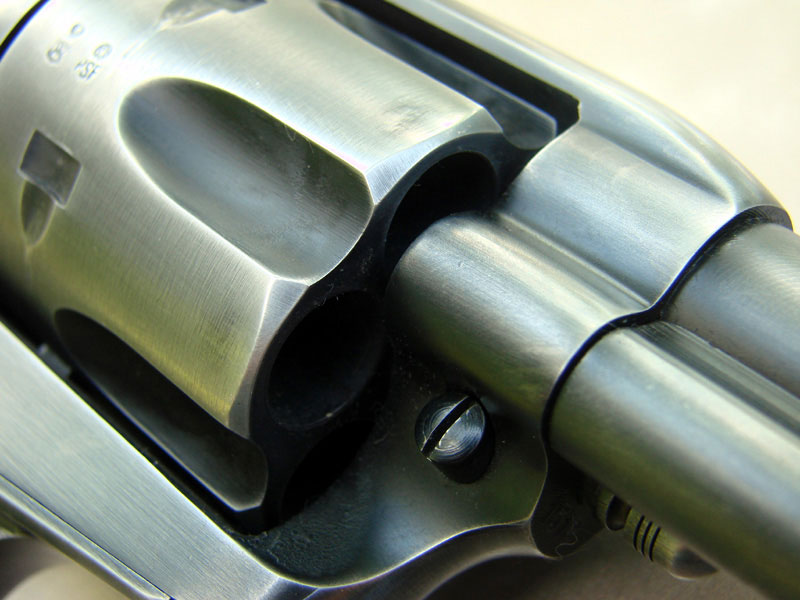
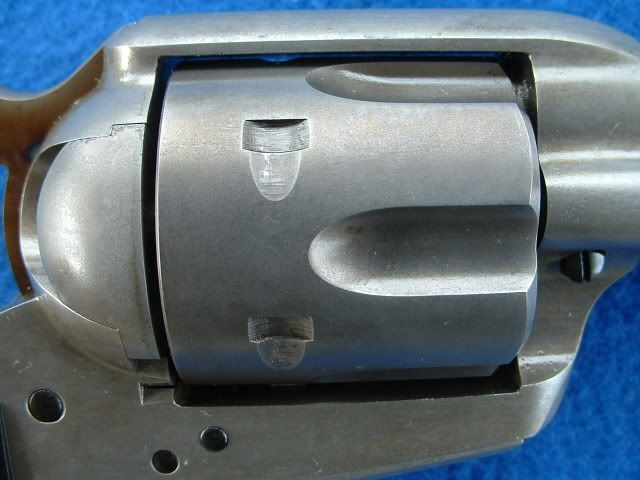
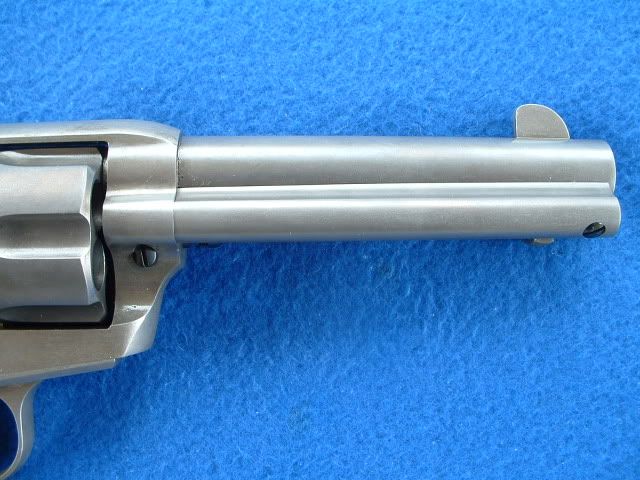
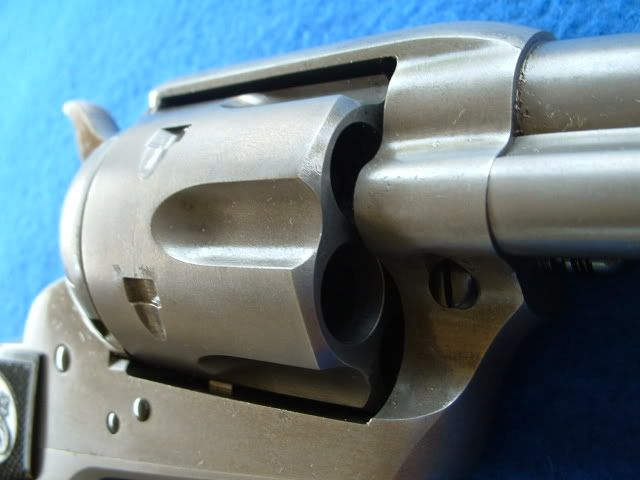
There are many techniques, processes and procedures for antiquing new single action revolvers to make them look like they have been used outside on a cattle trail for many years. “Beauty is in the eye of the beholder” applies here and this finish may or may not appeal to you. This process worked for me and although it is not as pleasing to my eye as the USFA factory process used for Custer Battlefield or the Gunslinger model revolvers, it is esthetically pleasing enough, especially considering the difference in price. Also, it was a fun project.
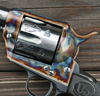
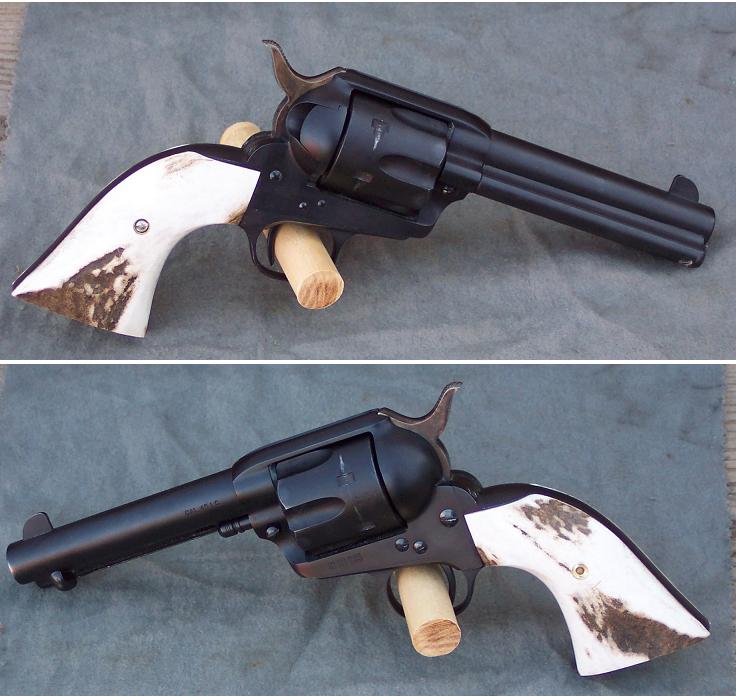
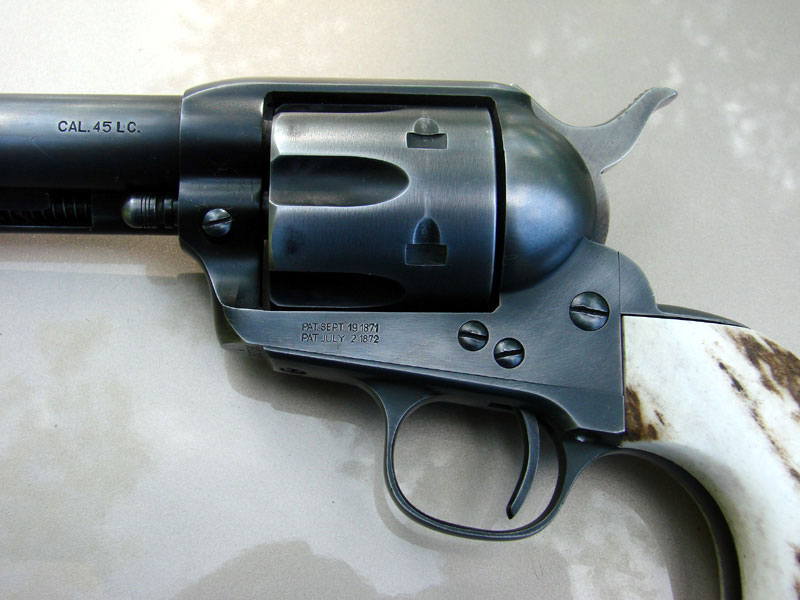
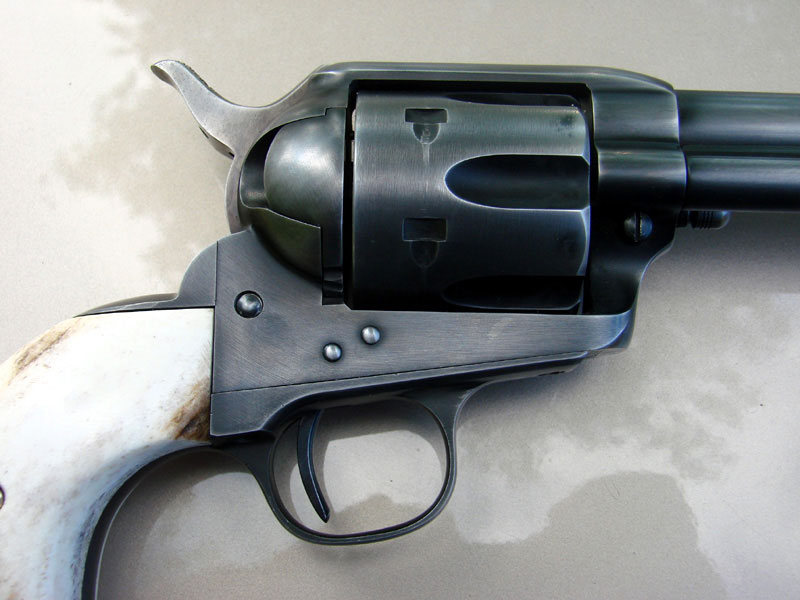
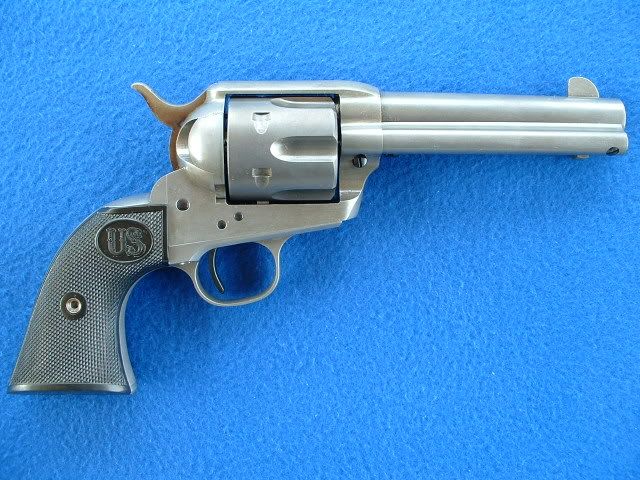
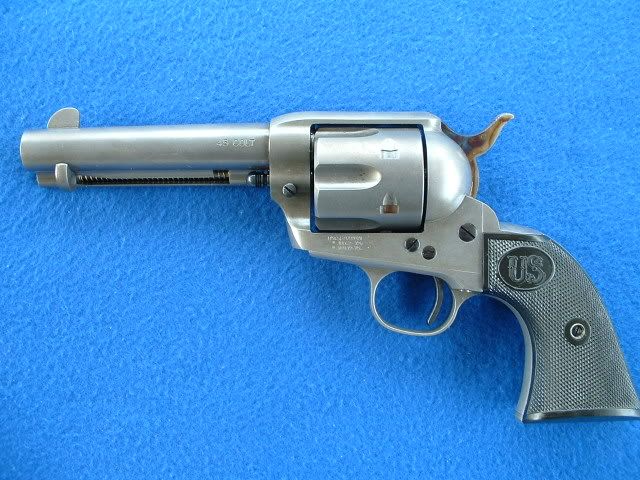
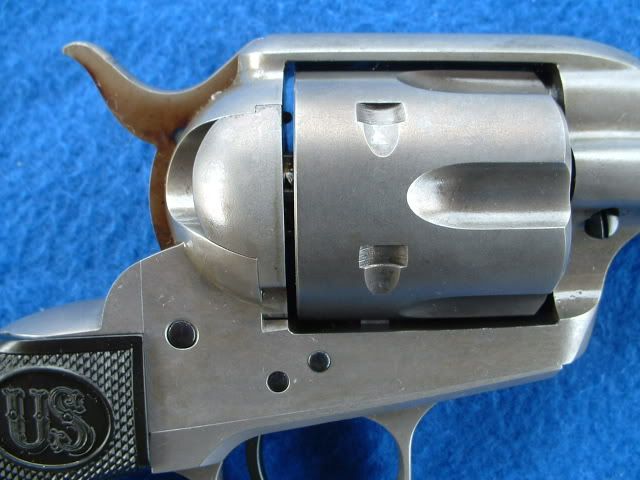
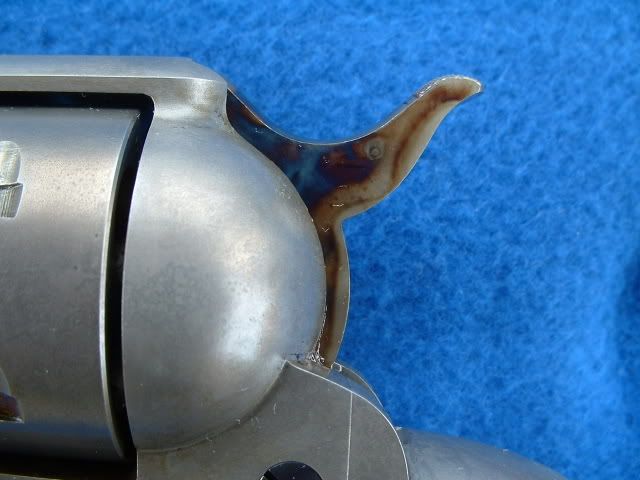
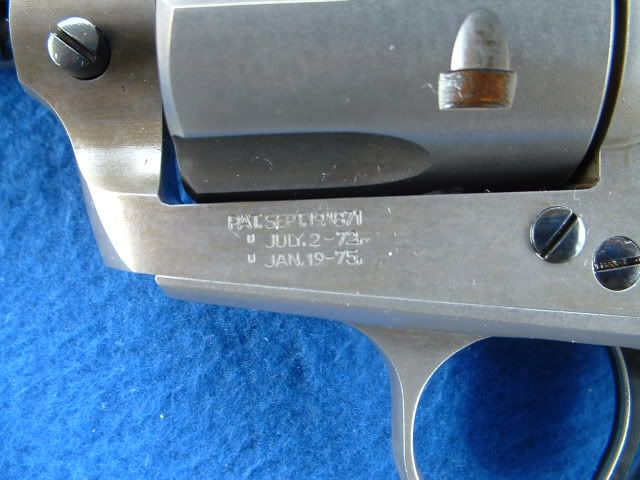
The used USFA Rodeo revolver that I started with had a nice color case hardened hammer and polished & blued screws. At this time I could not bring myself to remove the factory finish from these parts. I rationalized that I could have replaced all of the old screws, and hammer in an old revolver because they were in desperate need of replacement to keep the revolver fully functional. The rest of the revolver had scratches, holster wear, some rust spots and a distinct cylinder line so I had no reservations about removing the matt factory finish. The revolver was manufactured in 2003.
The process takes about two days including disassembly and reassembly.
Preparation:
• Have a set of premium screwdrivers made just for the Colt SAA - Grace makes and excellent set just for Colt SAA that fits the USFA revolvers perfectly
• Have enough plastic partitioned parts boxes to hold all of the parts for the disassembled revolver and identify each part, especially the screws
• Have a large sink, preferably a large composite laundry sink for performing most of the operations
• Have a new or clean large 32 gallon plastic trash barrel
• Have a large plastic bag for covering the top of the trash barrel
• Have a large towel for covering the top of the trash barrel
• Purchase an 8 ounce jar of Naval Jelly for removing rust - 30% Phosphoric and 1% Sulphuric Acid are the main, active ingredients.
• Purchase one small bottle of Laurel Mountain Forge Barrel Brown and Degreaser solution
• Have seven long copper wires for suspending major parts during the browning (rust) process - I used heavy gauge electrical wire with the insulation removed - The revolver parts for browning are:
• Frame & Barrel
• Cylinder
• Back Strap
• Trigger Guard
• Loading Gate
• Ejector Housing
• Ejector
• Decide if you are going to remove the blueing from all screw heads, the trigger & hammer or leave them in a blued or polished state - If you decide to remove the blueing do not apply the Laurel Mountain Forge Browning rust process to these parts and leave them in the natural gray state after removing the blueing with Naval Jelly.
• Optional: Purchase a set of Colt SAA springs if you want to replace any springs while the revolver is disassembled
Procedure:
1. Completely disassemble revolver
a. Keep all parts in individually marked bins
b. Identify each screw by location - Especially right and left trigger guard and backstrap screws
2. Use EEZOX mixed and thickened with a slight amount of Shooter’s Choice Red Gun Grease to coat the inside of the barrel, cylinder bores, cylinder ratchet, base pin bores and all screw threads and bores to prevent rusting during the antiquing process. Reapply after each step in the process when the part is rinsed with water. RIG is an optional rust preventative coating but I have found that the rust preventative properties of EEZOX are outstanding.
3. Use Naval Jelly and 0000 steel wool to completely remove all the bluing from each part - Rinsing the part with hot running water immediately after removing the blueing and then drying the parts with compressed air and paper towels - Reapply the EEZOX mixed with Shooter’s Choice Red Gun Grease, to the inside of the barrel, cylinder bores, cylinder ratchet, screw bores and screw threads
4. Apply Laurel Mountain Forge Browning Solution per the instructions - Basic instructions call for single wipes, no rubbing, with a heavy 1 inch square piece of cotton cloth saturated with the browning solution - I used large, heavy .45 caliber cleaning patches folded twice - Note that this solution is also a degreasing agent so be careful not to apply it to the protected areas coated with the EEZOX and red Gun grease rust preventative mixture
5. Add 5 Gallons of hot tap water to bottom of a large 32 gallon plastic trash can
6. Suspend the seven parts in the barrel at least two inches above the surface of the hot water
7. Cover the top of the trash can with a towel to keep condensation from dripping on the revolver parts
8. Cover the plastic trash barrel with a large trash bag to keep the humidity high inside the trash can
9. Remove the parts after 3 to 4 hours - They will be covered in rust and scale
10. Remove the rust and scale using Naval Jelly Rust Remover and 0000 steel wool
11. Rinse the parts in hot water and then immerse in a strong solution of Arm & Hammer baking soda and water; ½ box of baking soda to approximately one quart of water
12. Rinse the parts in hot tap water thoroughly and blow dry with compressed air, Q-Tips cotton swabs and clean paper towels
13. Saturate every area of each part with EEZOX on a piece of cardboard - Spray or rub in tight areas with a saturated Q-Tip or saturated cotton cleaning patch
14. Let the parts soak in the EEZOX over night
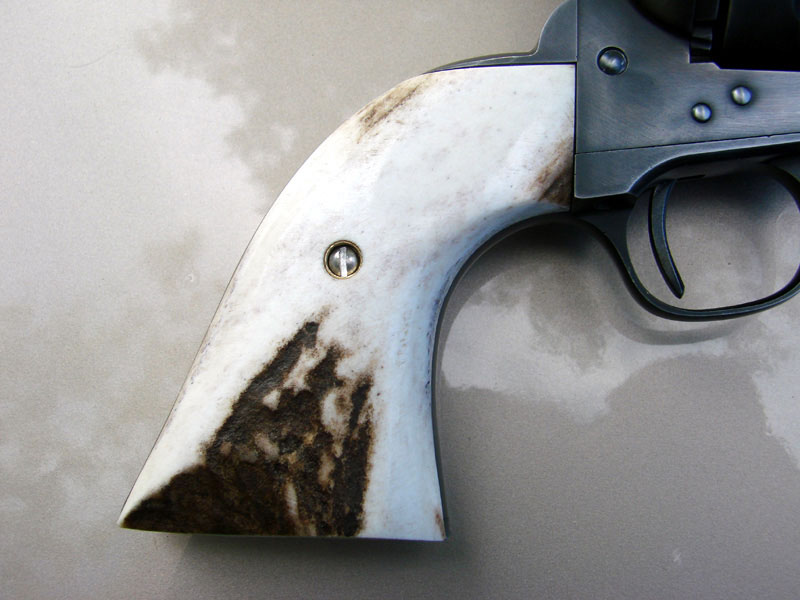
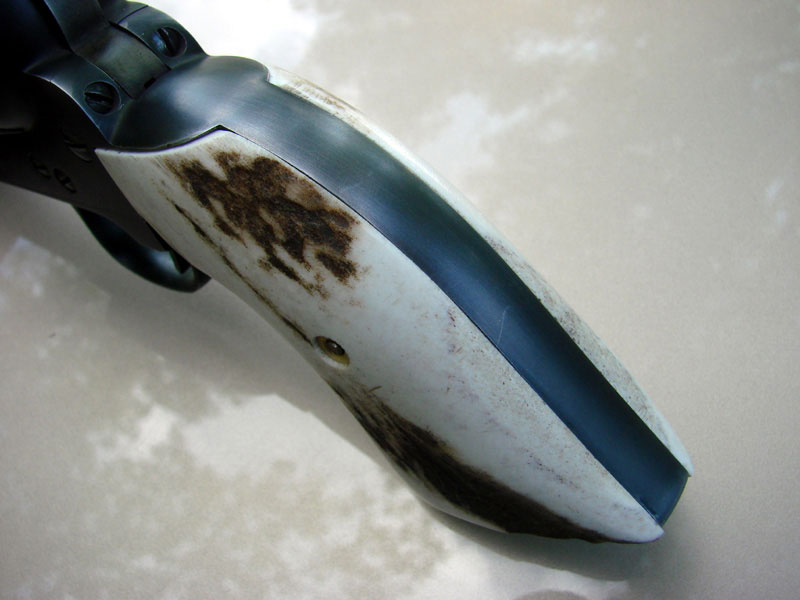
15. Optional, Additional Process for Grips - I used 0000 steel wool and lightly rubbed all non-mating surfaces on the hard rubber grips to take off the sharp edges at the top, top front and around the US logo on the grips. This removed the sheen from the smooth areas of the grips and although it did not distress or age the grips it did take away some of the newness.
16. Reapply EEZOX again in the morning to all metal revolver parts and reassemble the revolver
17. Optional - It is an excellent time during the reassembly to replace selected springs, including the mainspring and bolt / trigger spring, with a set of Wolff or Lee’s Gunslinger Colt SAA spring sets. The Wolff spring set also includes a replacement stainless steel ejector spring and heavy duty base pin spring in addition to the mainspring and bolt/trigger springs.

J.D. Press
Las Vegas, Nevada Territory
There are many techniques, processes and procedures for antiquing new single action revolvers to make them look like they have been used outside on a cattle trail for many years. “Beauty is in the eye of the beholder” applies here and this finish may or may not appeal to you. This process worked for me and although it is not as pleasing to my eye as the USFA factory process used for Custer Battlefield or the Gunslinger model revolvers, it is esthetically pleasing enough, especially considering the difference in price. Also, it was a fun project.
The used USFA Rodeo revolver that I started with had a nice color case hardened hammer and polished & blued screws. At this time I could not bring myself to remove the factory finish from these parts. I rationalized that I could have replaced all of the old screws, and hammer in an old revolver because they were in desperate need of replacement to keep the revolver fully functional. The rest of the revolver had scratches, holster wear, some rust spots and a distinct cylinder line so I had no reservations about removing the matt factory finish. The revolver was manufactured in 2003.
The process takes about two days including disassembly and reassembly.
Preparation:
• Have a set of premium screwdrivers made just for the Colt SAA - Grace makes and excellent set just for Colt SAA that fits the USFA revolvers perfectly
• Have enough plastic partitioned parts boxes to hold all of the parts for the disassembled revolver and identify each part, especially the screws
• Have a large sink, preferably a large composite laundry sink for performing most of the operations
• Have a new or clean large 32 gallon plastic trash barrel
• Have a large plastic bag for covering the top of the trash barrel
• Have a large towel for covering the top of the trash barrel
• Purchase an 8 ounce jar of Naval Jelly for removing rust - 30% Phosphoric and 1% Sulphuric Acid are the main, active ingredients.
• Purchase one small bottle of Laurel Mountain Forge Barrel Brown and Degreaser solution
• Have seven long copper wires for suspending major parts during the browning (rust) process - I used heavy gauge electrical wire with the insulation removed - The revolver parts for browning are:
• Frame & Barrel
• Cylinder
• Back Strap
• Trigger Guard
• Loading Gate
• Ejector Housing
• Ejector
• Decide if you are going to remove the blueing from all screw heads, the trigger & hammer or leave them in a blued or polished state - If you decide to remove the blueing do not apply the Laurel Mountain Forge Browning rust process to these parts and leave them in the natural gray state after removing the blueing with Naval Jelly.
• Optional: Purchase a set of Colt SAA springs if you want to replace any springs while the revolver is disassembled
Procedure:
1. Completely disassemble revolver
a. Keep all parts in individually marked bins
b. Identify each screw by location - Especially right and left trigger guard and backstrap screws
2. Use EEZOX mixed and thickened with a slight amount of Shooter’s Choice Red Gun Grease to coat the inside of the barrel, cylinder bores, cylinder ratchet, base pin bores and all screw threads and bores to prevent rusting during the antiquing process. Reapply after each step in the process when the part is rinsed with water. RIG is an optional rust preventative coating but I have found that the rust preventative properties of EEZOX are outstanding.
3. Use Naval Jelly and 0000 steel wool to completely remove all the bluing from each part - Rinsing the part with hot running water immediately after removing the blueing and then drying the parts with compressed air and paper towels - Reapply the EEZOX mixed with Shooter’s Choice Red Gun Grease, to the inside of the barrel, cylinder bores, cylinder ratchet, screw bores and screw threads
4. Apply Laurel Mountain Forge Browning Solution per the instructions - Basic instructions call for single wipes, no rubbing, with a heavy 1 inch square piece of cotton cloth saturated with the browning solution - I used large, heavy .45 caliber cleaning patches folded twice - Note that this solution is also a degreasing agent so be careful not to apply it to the protected areas coated with the EEZOX and red Gun grease rust preventative mixture
5. Add 5 Gallons of hot tap water to bottom of a large 32 gallon plastic trash can
6. Suspend the seven parts in the barrel at least two inches above the surface of the hot water
7. Cover the top of the trash can with a towel to keep condensation from dripping on the revolver parts
8. Cover the plastic trash barrel with a large trash bag to keep the humidity high inside the trash can
9. Remove the parts after 3 to 4 hours - They will be covered in rust and scale
10. Remove the rust and scale using Naval Jelly Rust Remover and 0000 steel wool
11. Rinse the parts in hot water and then immerse in a strong solution of Arm & Hammer baking soda and water; ½ box of baking soda to approximately one quart of water
12. Rinse the parts in hot tap water thoroughly and blow dry with compressed air, Q-Tips cotton swabs and clean paper towels
13. Saturate every area of each part with EEZOX on a piece of cardboard - Spray or rub in tight areas with a saturated Q-Tip or saturated cotton cleaning patch
14. Let the parts soak in the EEZOX over night
15. Optional, Additional Process for Grips - I used 0000 steel wool and lightly rubbed all non-mating surfaces on the hard rubber grips to take off the sharp edges at the top, top front and around the US logo on the grips. This removed the sheen from the smooth areas of the grips and although it did not distress or age the grips it did take away some of the newness.
16. Reapply EEZOX again in the morning to all metal revolver parts and reassemble the revolver
17. Optional - It is an excellent time during the reassembly to replace selected springs, including the mainspring and bolt / trigger spring, with a set of Wolff or Lee’s Gunslinger Colt SAA spring sets. The Wolff spring set also includes a replacement stainless steel ejector spring and heavy duty base pin spring in addition to the mainspring and bolt/trigger springs.
J.D. Press
Las Vegas, Nevada Territory