cmillard
.375 Atomic
   MOLON LABE
Posts: 1,999
|
Post by cmillard on Feb 28, 2017 21:44:48 GMT -5
looking great lee!
|
|
|
|
Post by Rimfire69 on Mar 2, 2017 8:11:08 GMT -5
Fantastic.
|
|
|
|
Post by callmaker on Mar 5, 2017 16:12:28 GMT -5
Looking good!
|
|
|
|
Post by Lee Martin on Mar 6, 2017 20:17:21 GMT -5
 The space between each ratchet cog must be relieved. I’ll get into why and the specific geometry when I cover pawl modification. But in short, these cuts allow the hand’s second leg to clear the ratchet. If left un-milled, the lower portion can get wedged against the pawl slot. A standard 3/8” endmill relieves the ratchet. I zeroed it against each plane before feeding in 0.060”. The cutter was moved along the Y-axis as opposed to the X. This is repeated by advancing the indexing head 8 times to locate the next cog. 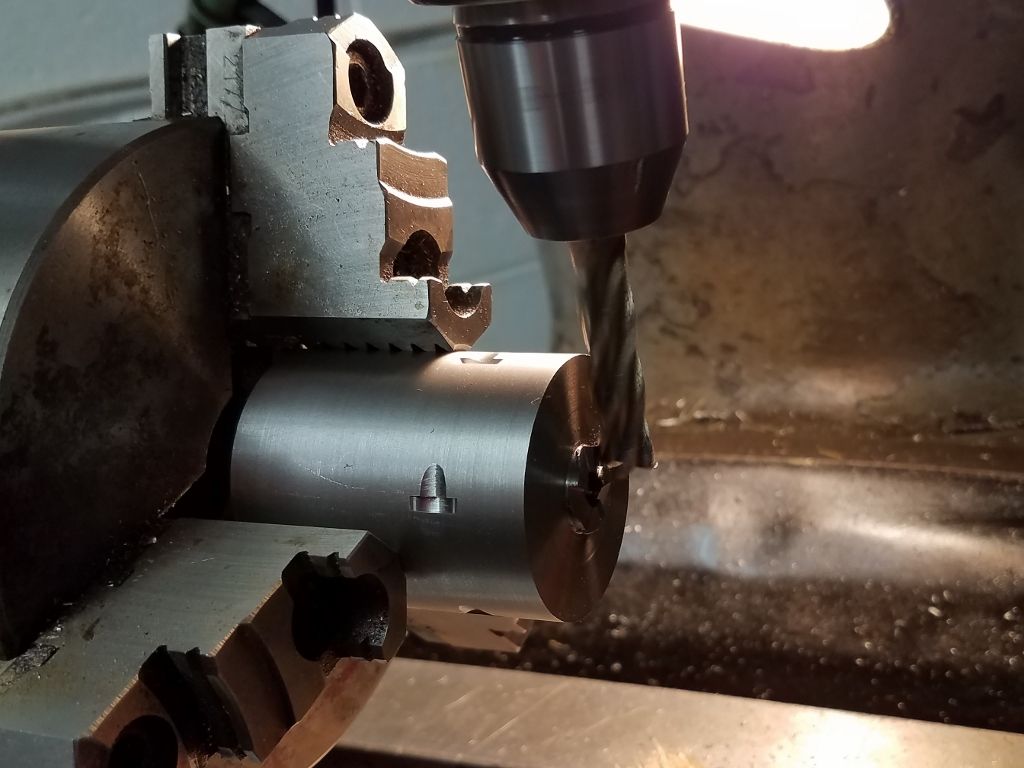 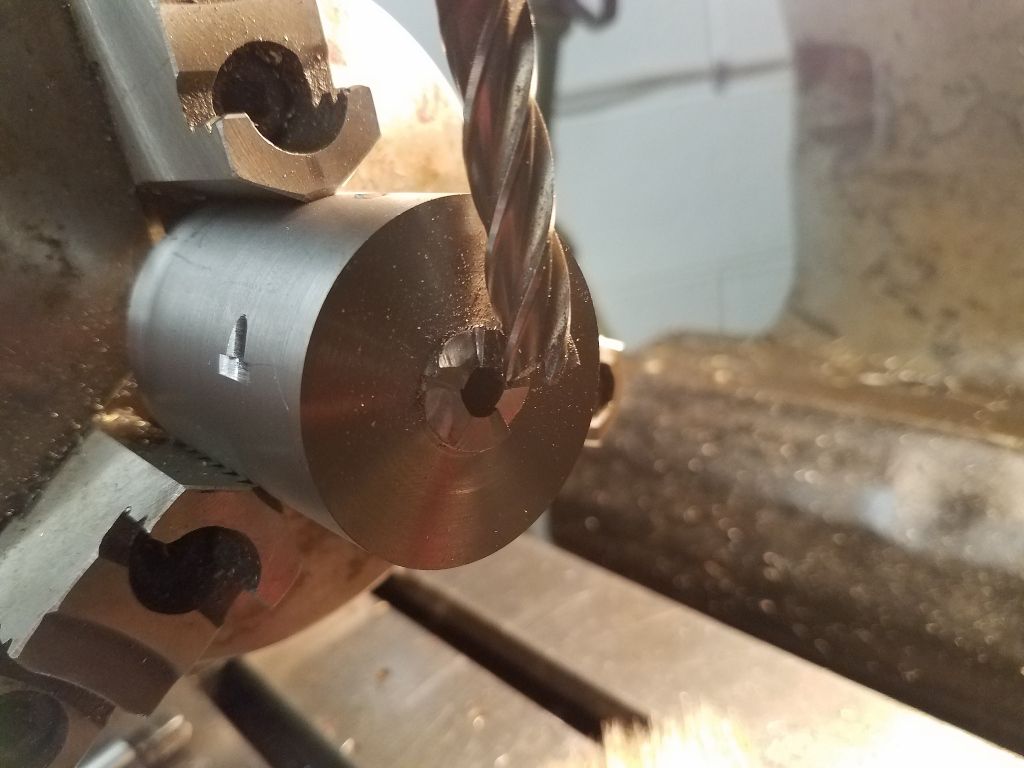 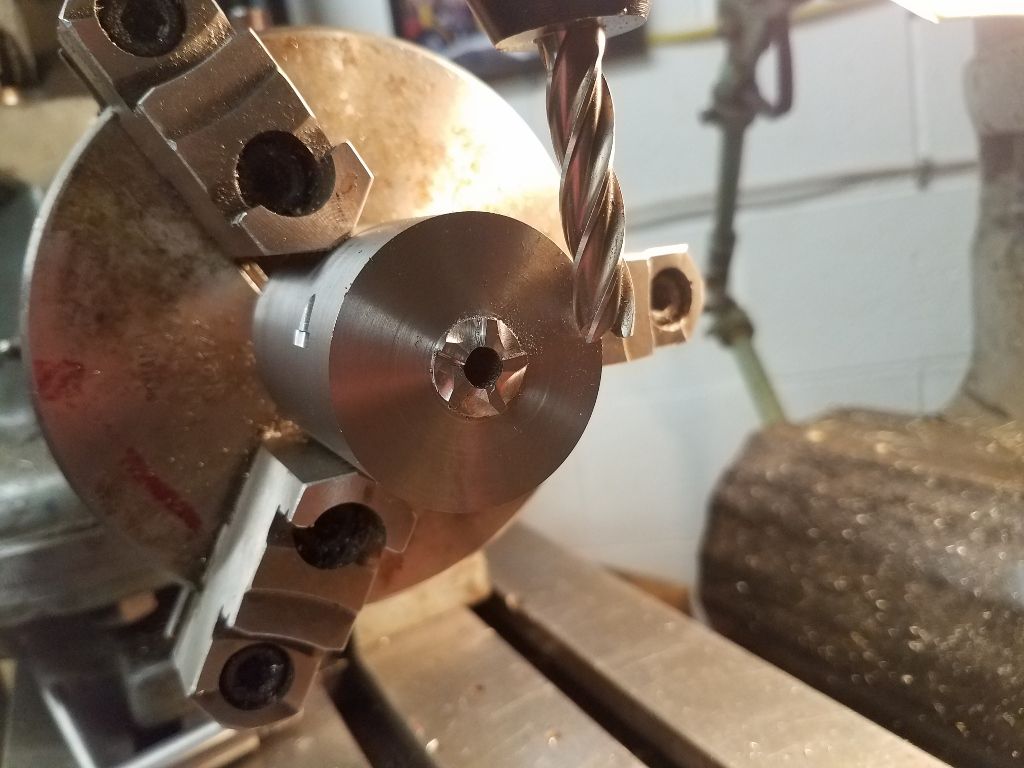 -Lee www.singleactions.com"Chasing perfection five shots at a time" |
|
|
|
Post by Lee Martin on Mar 6, 2017 20:27:38 GMT -5
 Total cylinder length must be tightly managed. Cut it too short and you’ll have endshake. If that happens, install a press fit bushing machined a few thousandths long. Then slowly grind or lathe in half-thousandth increments until it fits. Or if you have a surface grinder, dial to ten-thousandths for an exact match. You’re close if the cylinder goes in under force but drags when cycled. A few tenths more and it should freely spin with no shake. I begin by torqueing a spud into the front of the frame. This counteracts dimensional changes that took place when opening the window. That sounds odd so let me explain. When steel is milled, work hardening occurs. Under these conditions, the frame can contract a thousandth or two. We found this out the hard way on my Buffalo Seville. The heat treated cylinder was dead rigid until the barrel was installed. That actually re-sprung the frame 0.0015”, probably by way of stress relieving. 0.0015” is acceptable endshake for a factory gun, but not on our customs. We bushed the gas ring and ground the face, thus eliminating discernable play. 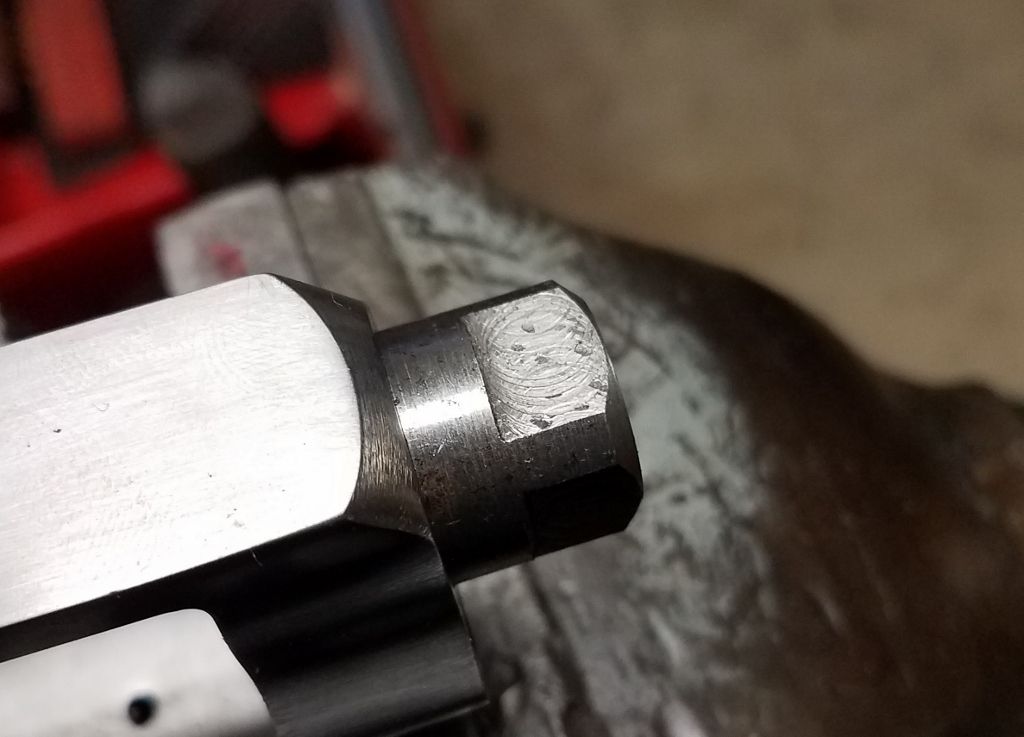 The inside of the frame is measured with instrumentation accurate to tenths. 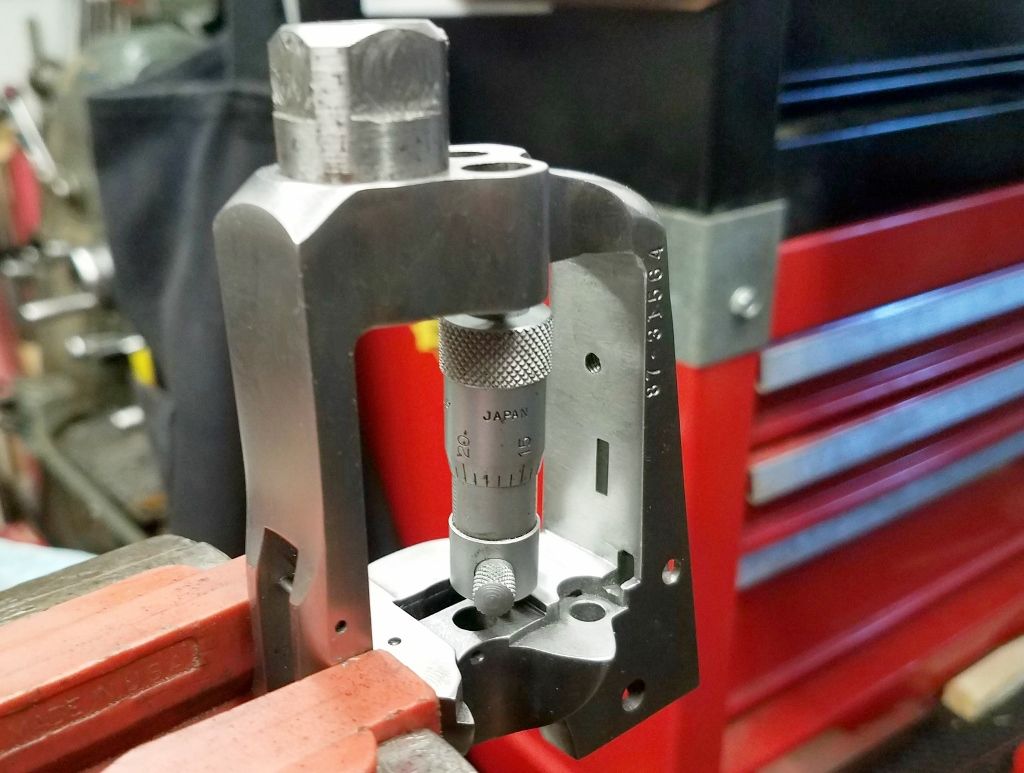 From the back of the ratchet recess to the gas ring boss equals 1.982”. The blank is 2.203”, meaning I’ll remove 0.221”. A depth stop is set on the lathe table. Facing is done in increments of 0.030” down to 2.000”. I then machined the gas ring 0.440” in diameter and to a height I knew would be too long. 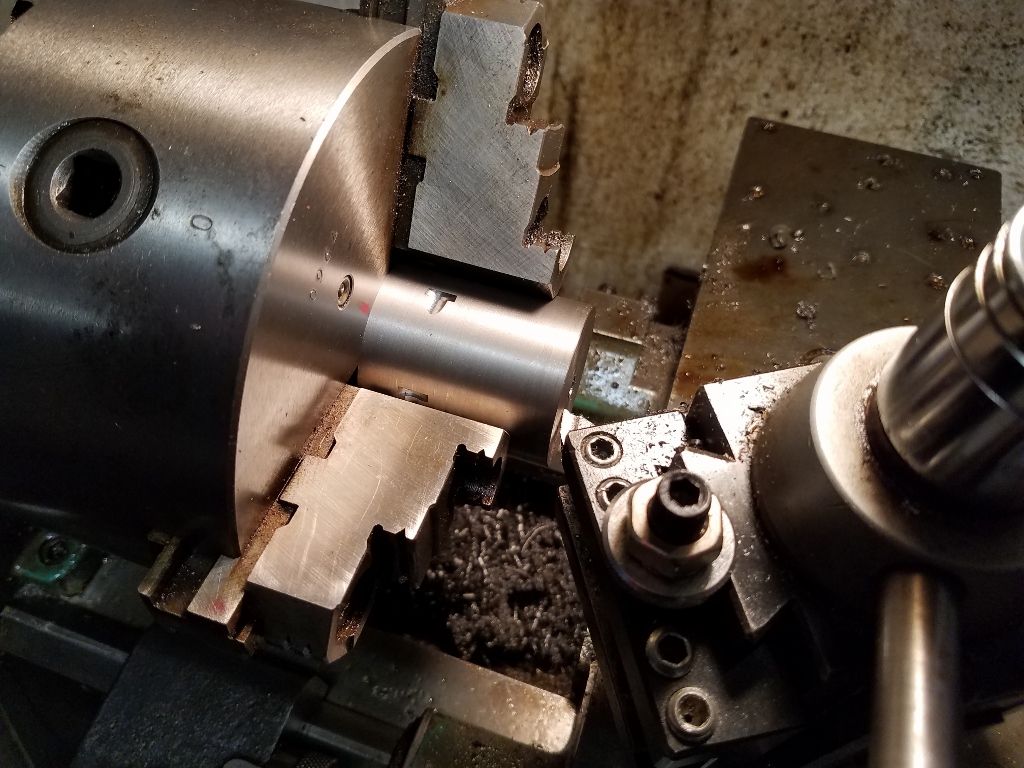 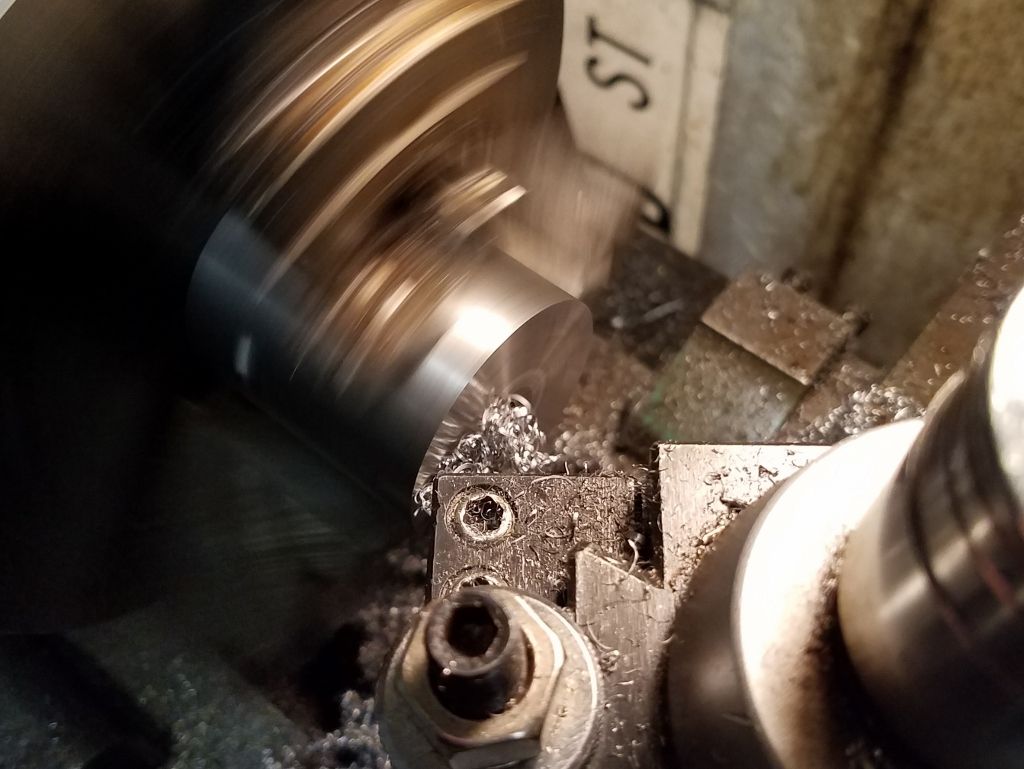 Side shot of the gas ring cut tall: 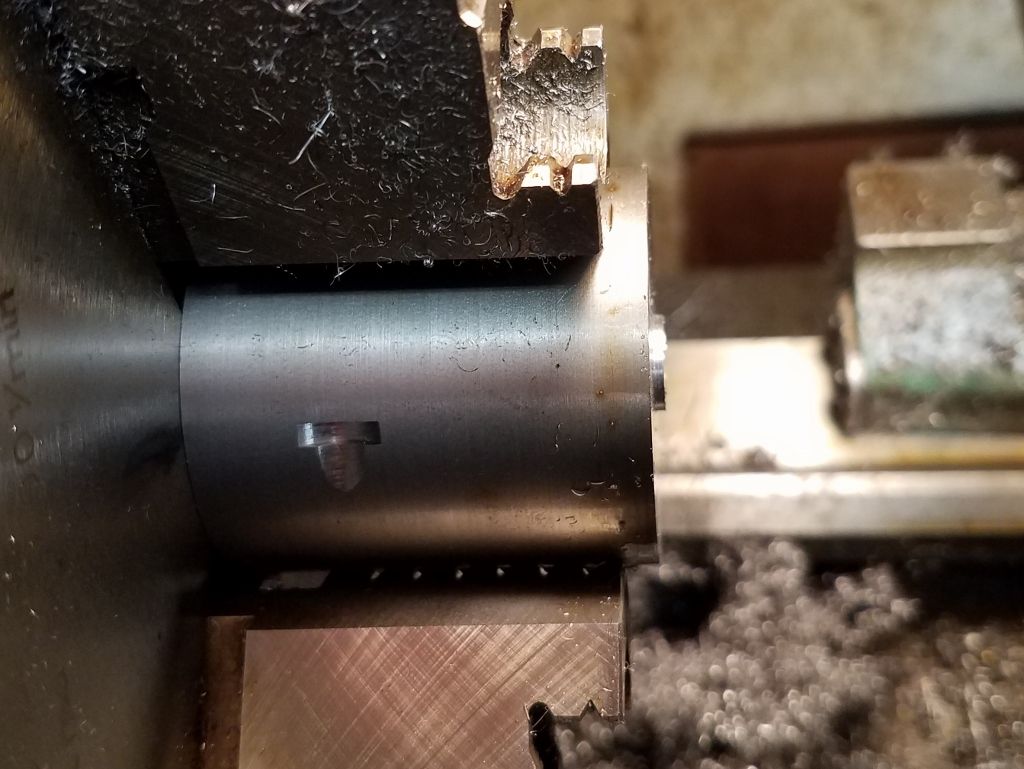 I took extremely light cuts across the boss until it fit the frame. This is tedious and not a step you want to rush. 0.004” was turned off the back of the cylinder to prevent rub on the breech face. When the cylinder goes in smoothly and rotates without drag, I quit. Here’s a shot of it in the frame using a spare basepin. Three things to highlight: 1) If you’re OCD like I am, get used to superficial scuffs. The frame and cylinder go through a lot of machining and test fitting to get to this point. Once the gun is complete, I’ll polish and buff each and every part. 2) A 0.004” feeler gauge barely goes between the rear cylinder and the recoil shield. Top and bottom clearance on the cylinder is 0.008” per edge. 3) Barrel protrusion into the frame is 0.030” (minus 0.001” – 0.0015” for cylinder gap). I’m making use of the entire window. 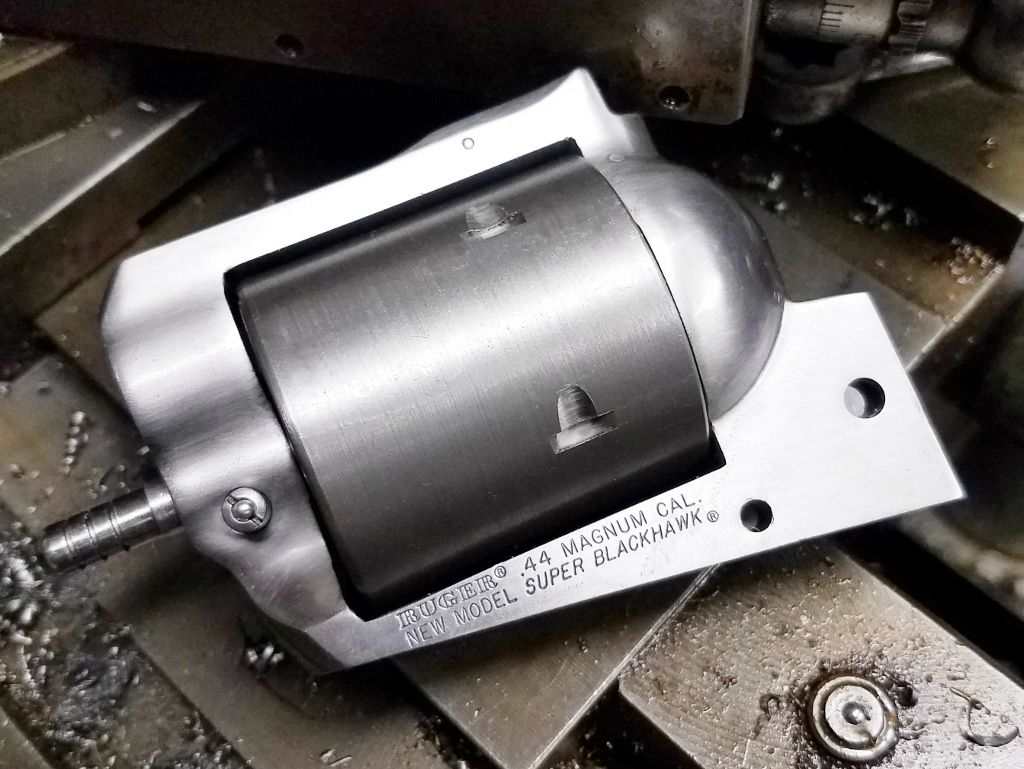 -Lee www.singleactions.com"Chasing perfection five shots at a time" |
|
Yetiman
.327 Meteor
  Enter your message here...
Posts: 584 
|
Post by Yetiman on Mar 6, 2017 20:57:56 GMT -5
Understatement of the week !!! |
|
cmillard
.375 Atomic
   MOLON LABE
Posts: 1,999
|
Post by cmillard on Mar 7, 2017 13:45:55 GMT -5
wow
|
|
Odin
.375 Atomic
  
Posts: 1,103
|
Post by Odin on Mar 8, 2017 0:12:00 GMT -5
 ...I’m making use of the entire window.  Damn!! |
|
|
|
Post by Quick Draw McGraw on Mar 29, 2017 20:36:11 GMT -5
Lee, no pressure here, but I am really excited to read an update on this build 😀
|
|
|
|
Post by Lee Martin on Mar 30, 2017 19:50:41 GMT -5
Lee, no pressure here, but I am really excited to read an update on this build 😀 Been sidetracked with a benchrest rifle the past few weeks. I was going to work on the Linebaugh Sunday, but set a PPC barrel back instead. This Sunday I'll return to the 5-shot. More to come. -Lee www.singleactions.com"Chasing perfection five shots at a time" |
|
|
|
Post by Lee Martin on Apr 24, 2017 19:13:34 GMT -5
 We’ve now come to the most intricate part of the conversion – timing the gun. First, I reinstalled the guts to include the heavier gate spring by Power Custom. 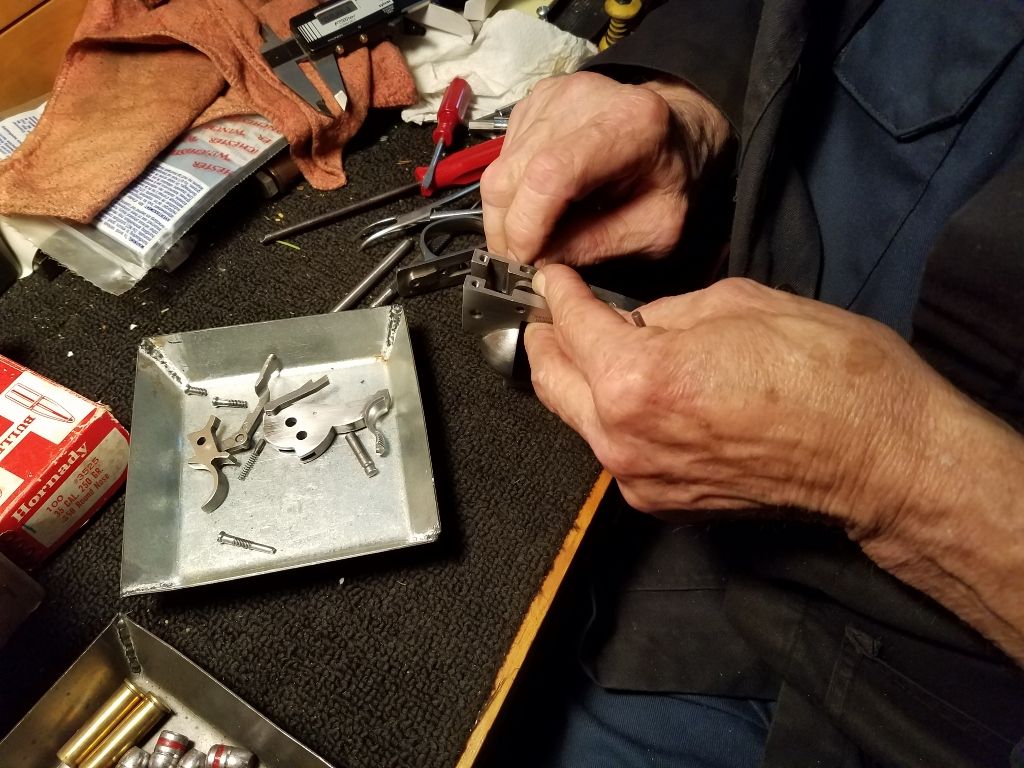 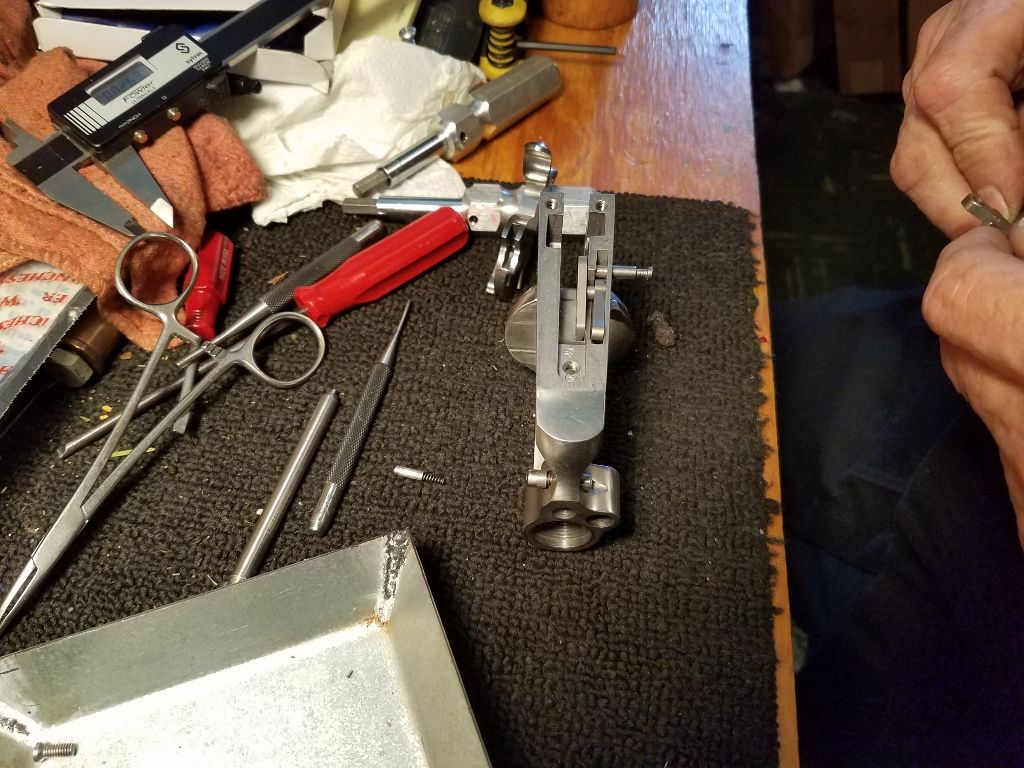 Because the frame window was milled, the bolt height has to be shortened. With the gate open, the excess is marked with a scribe. 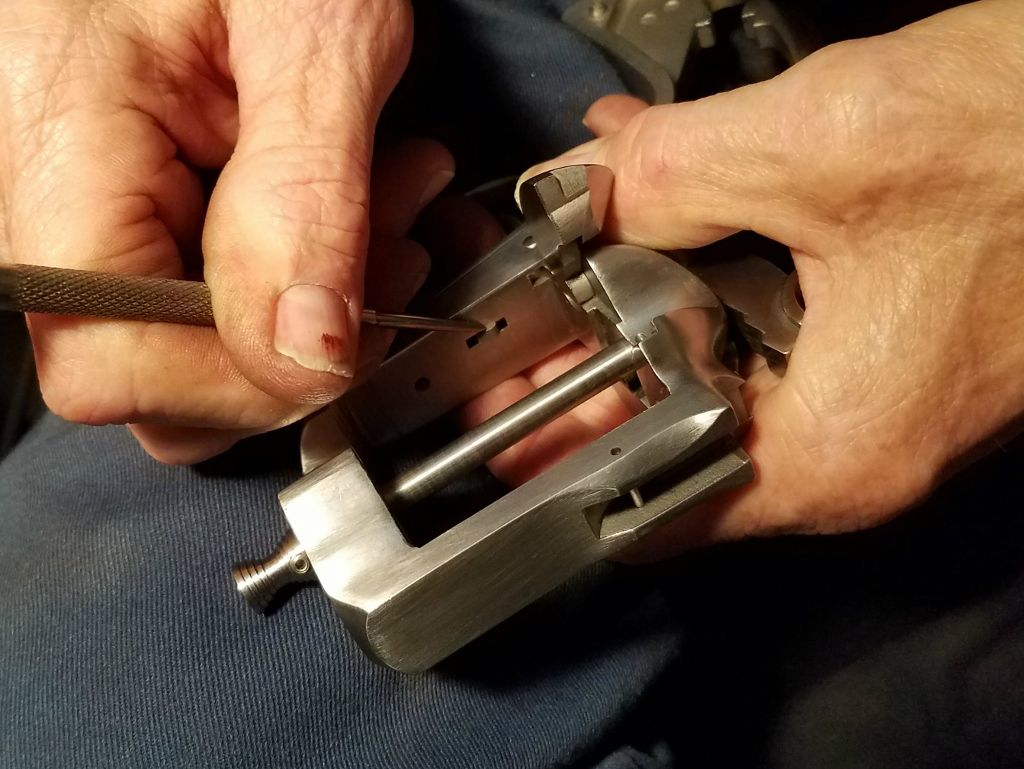 The bolt is secured in a vise and the height is reduced from 0.280” to 0.250”. 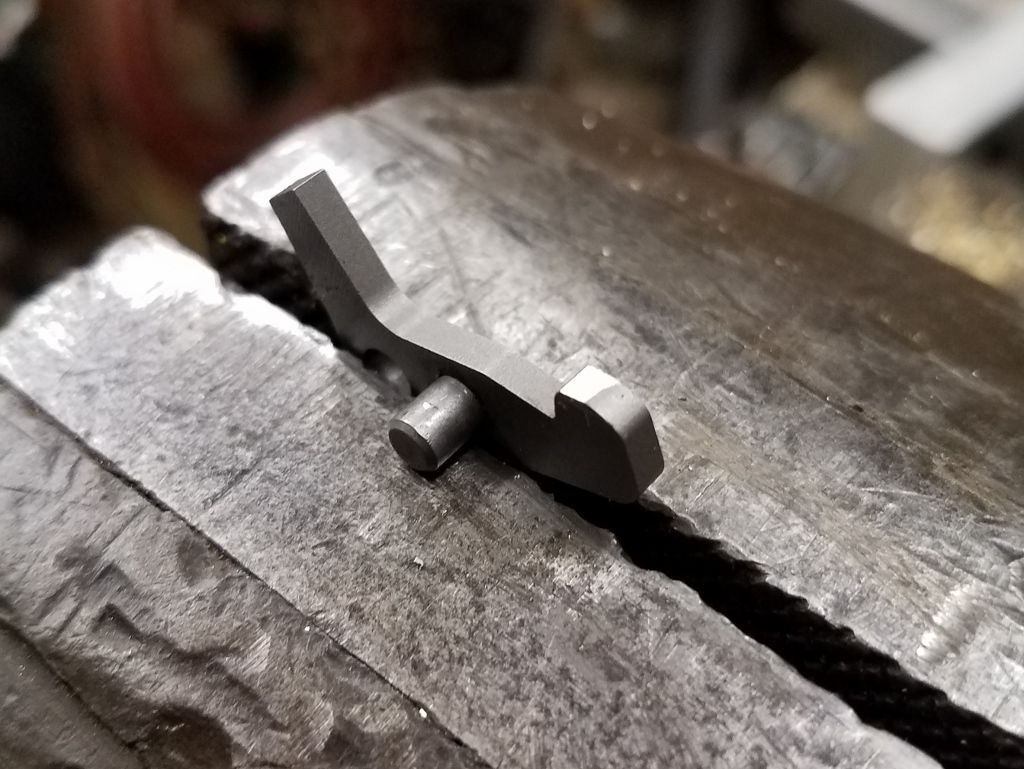 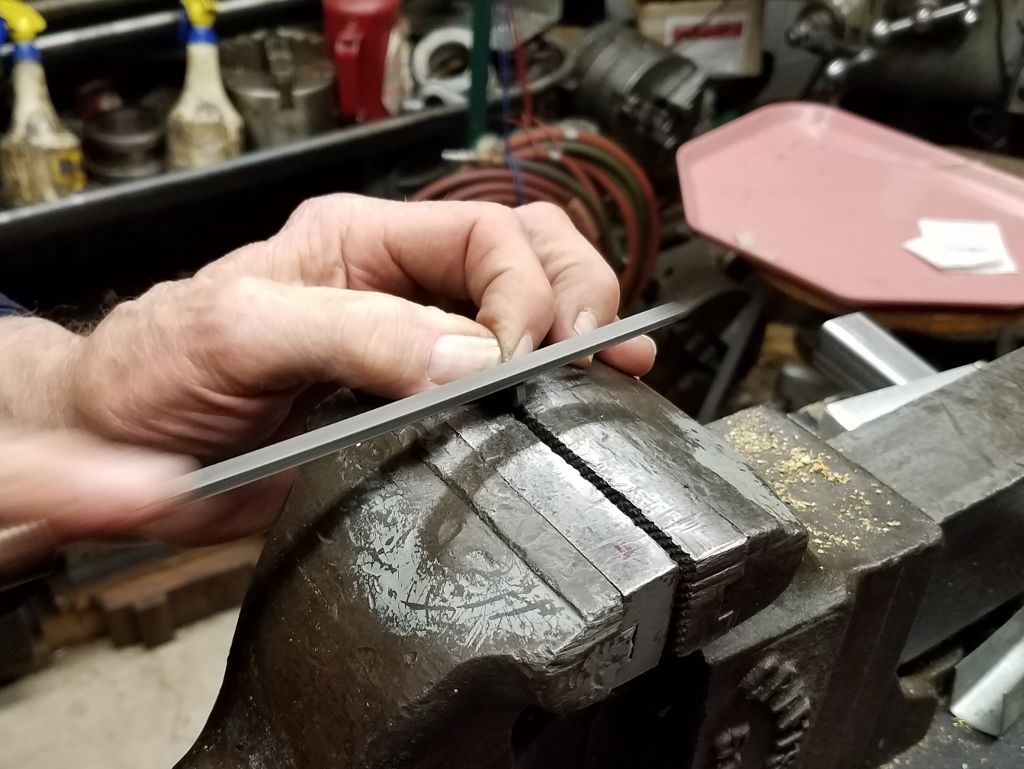 The re-contoured bolt: 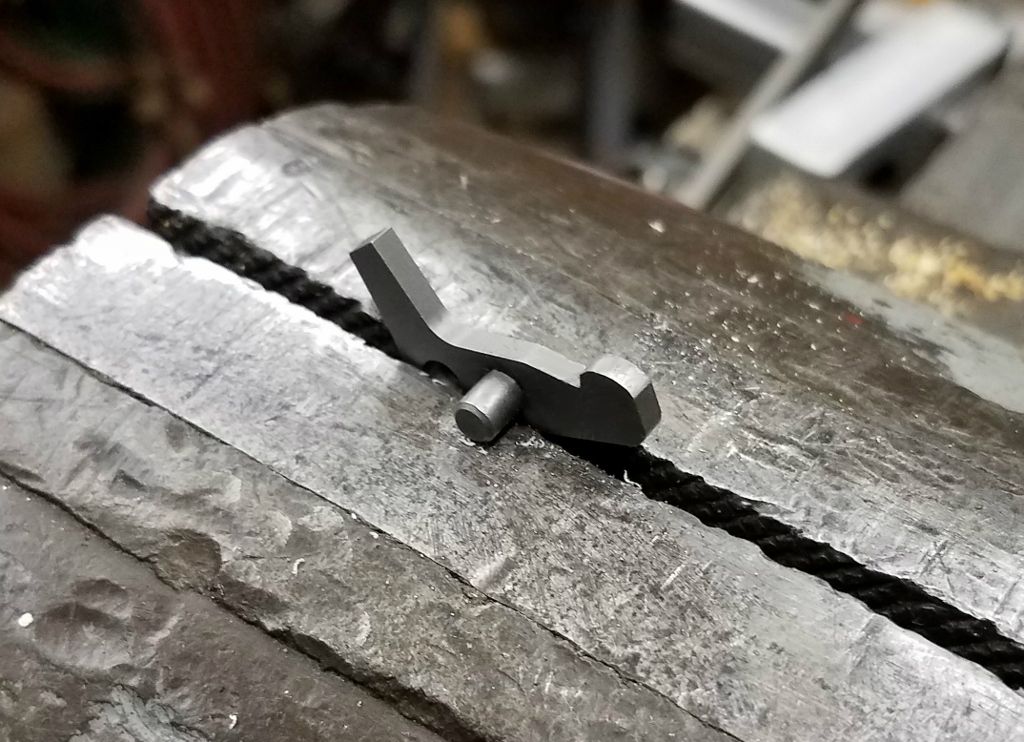 With 72 degree rotation between chambers, the bolt also has to drop faster. To accomplish this, the hammer plunger recess is filed back about 0.030”. This allows it to protrude more from the hammer and the bolt is engaged sooner. 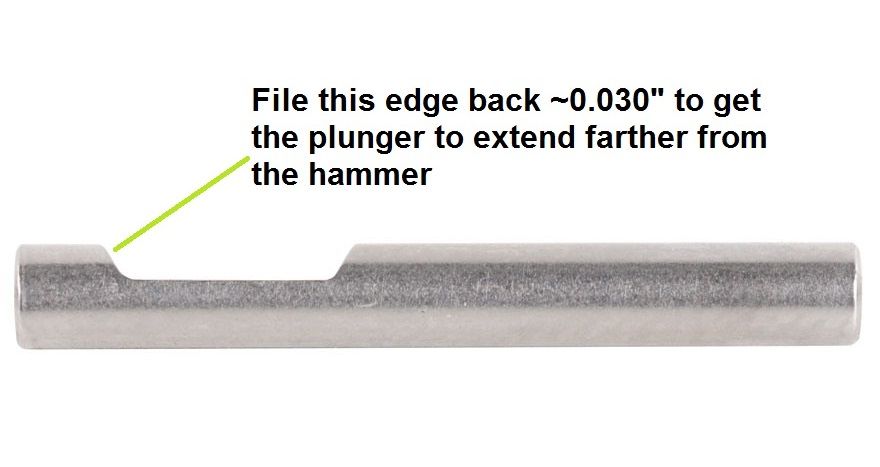 5-shots require reworking the pawl. I wish I could say there are standard dimensions here. You really have to alter them slowly, reinstall to test function, and remove metal to achieve correct timing. On a typical 5-shot build, we may test fit the pawl ten times to get it perfect. 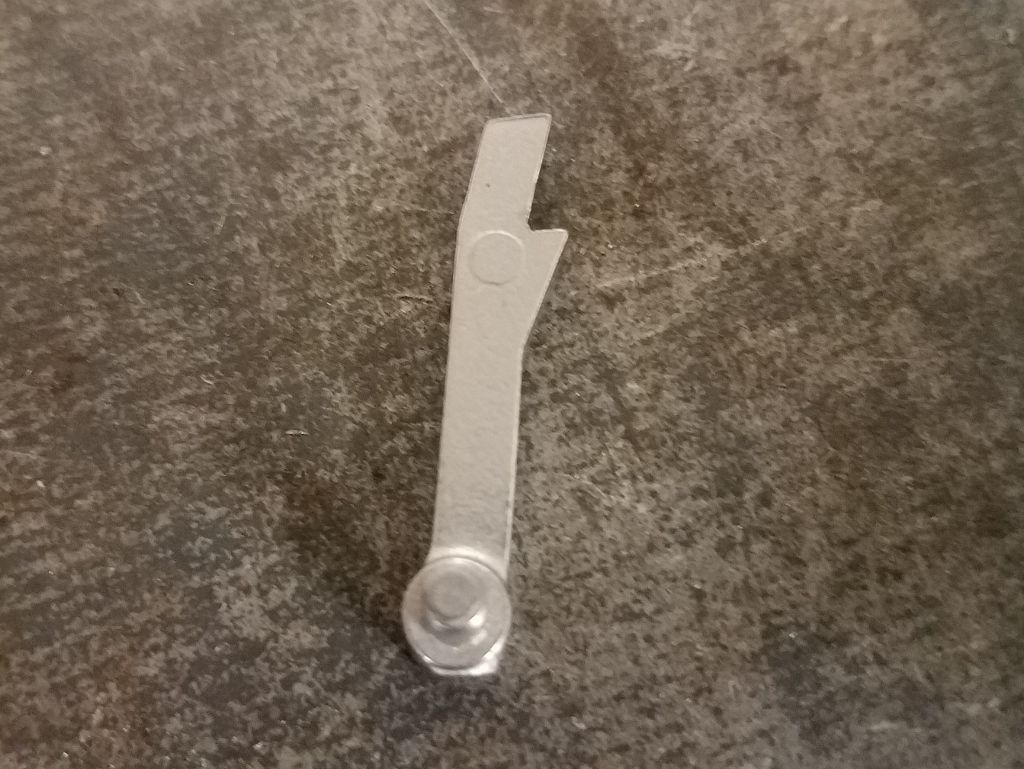 Here are the main tenants of the modification: 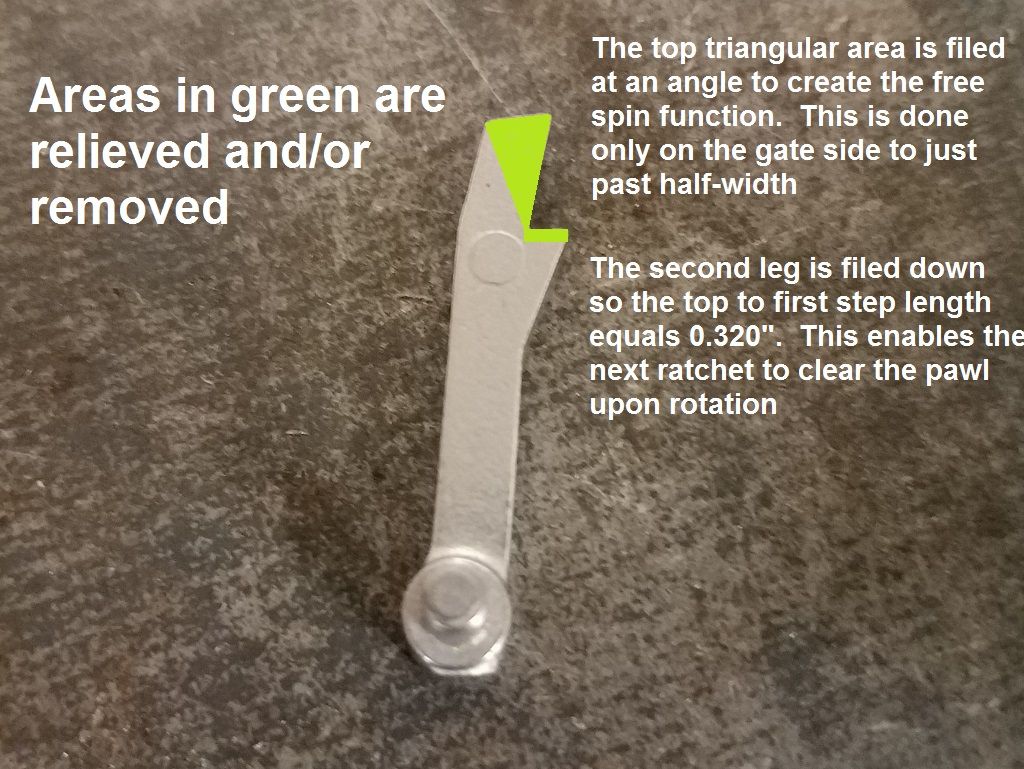 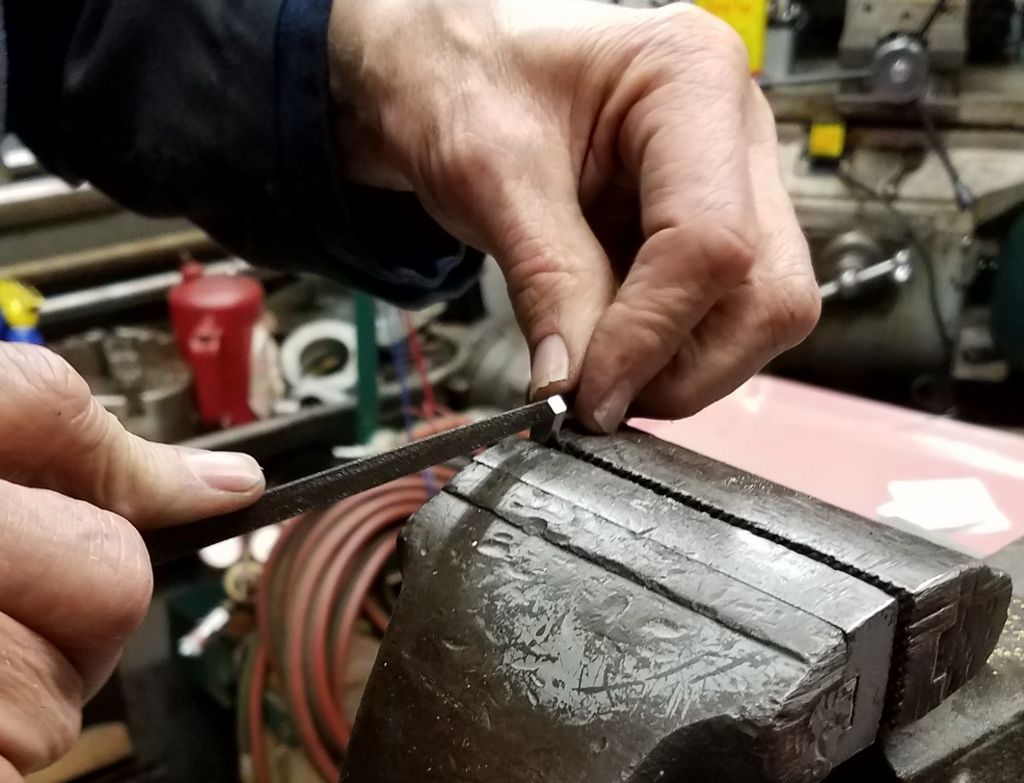 The finished pawl: 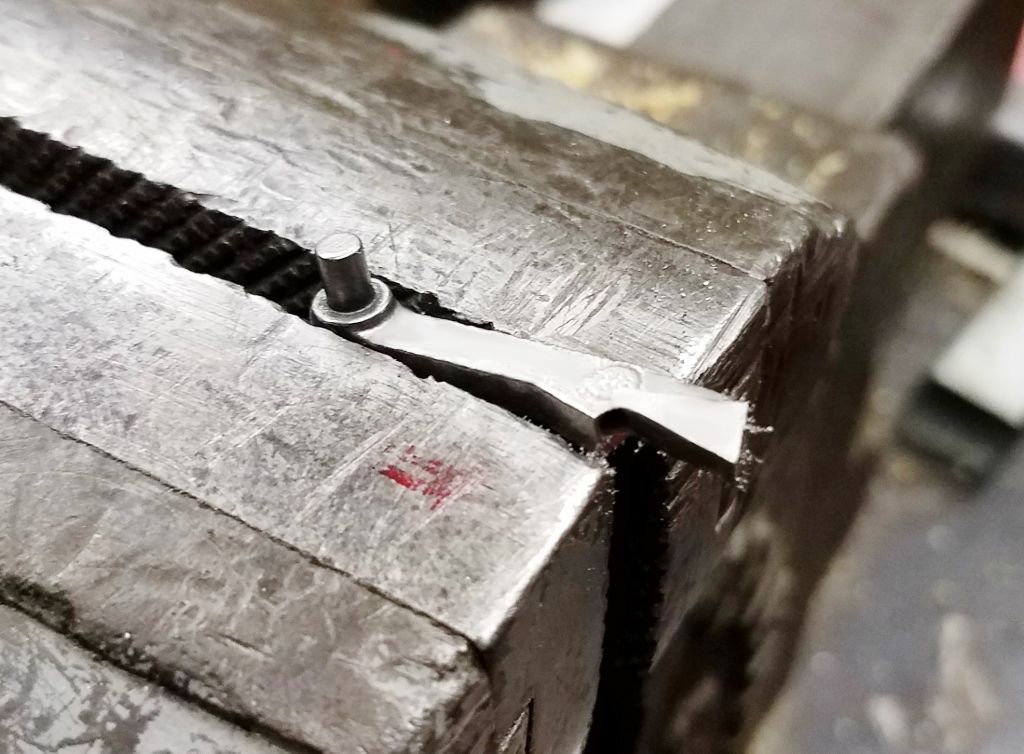 -Lee www.singleactions.com"Chasing perfection five shots at a time" |
|
Joe S.
.401 Bobcat
  
Posts: 2,517
|
Post by Joe S. on Apr 24, 2017 19:57:52 GMT -5
Tedious work.
|
|
|
|
Post by foxtrapper on Apr 25, 2017 5:44:08 GMT -5
Looks like a little blood on the vise! Lol ! Great pictures
|
|
|
|
Post by Rimfire69 on Apr 25, 2017 6:36:38 GMT -5
More great work.
|
|
|
|
Post by Quick Draw McGraw on Apr 25, 2017 9:37:59 GMT -5
Wow. That's a labor of love, surely. This thread really makes me appreciate how much work goes into making a five shot conversion.
|
|