|
|
Post by Lee Martin on Apr 13, 2016 19:15:46 GMT -5
Bullet Making – Part V ________________________________ Step 1 in making bullets is core cutting. For 6mm we start with 0.185” pure lead wire that contains no more than 0.5% antimony. Higher amounts impede swaging and can be hard on the dies. Mine is 0.1%, which is pretty much plain lead. 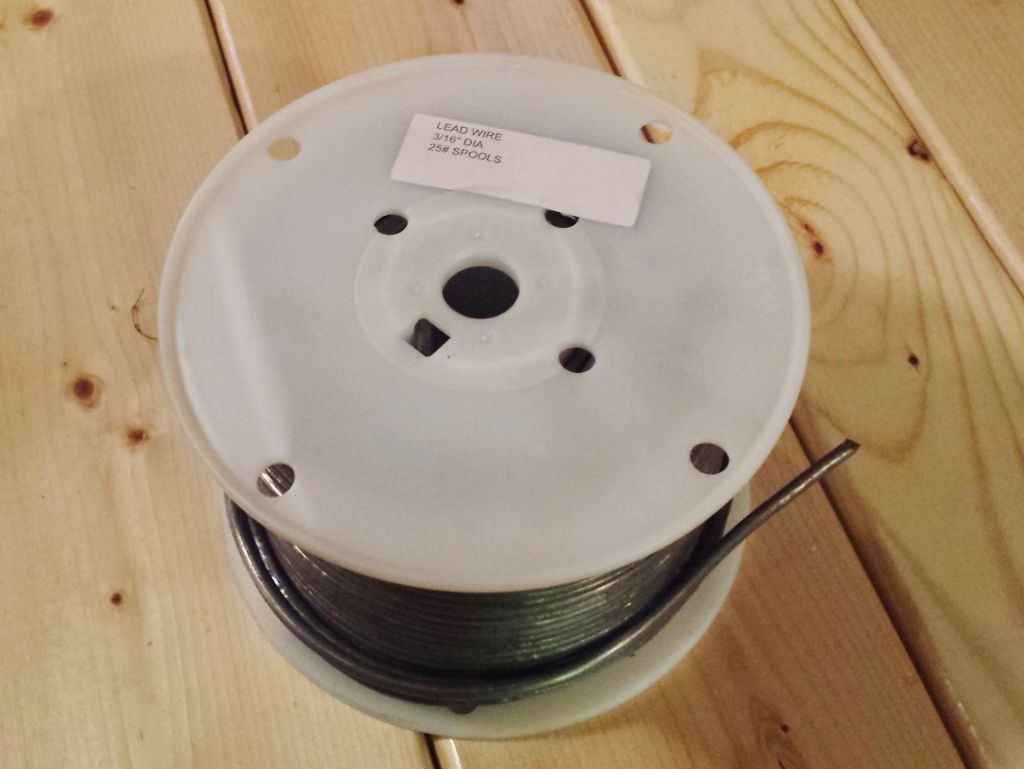 The wire is measured and cut to 18” lengths: 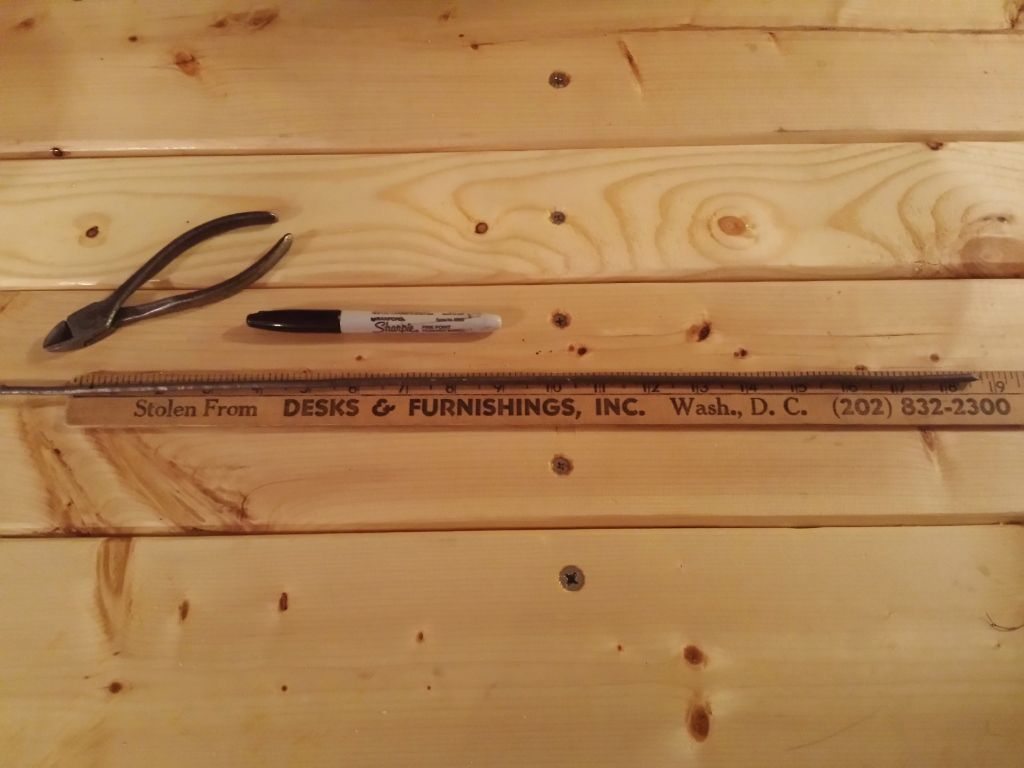 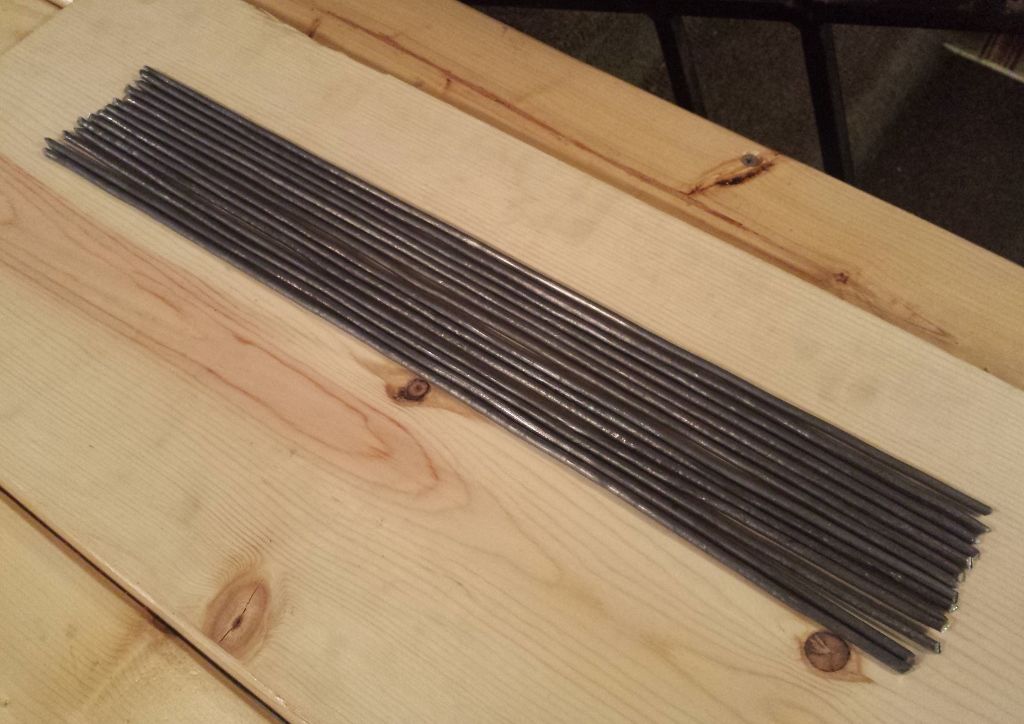 You get 25 cores per so to make 1,000 bullets I’ll need forty. Before processing I wipe them with an acetone soaked rag. This just removes loose particles and surface contaminants. 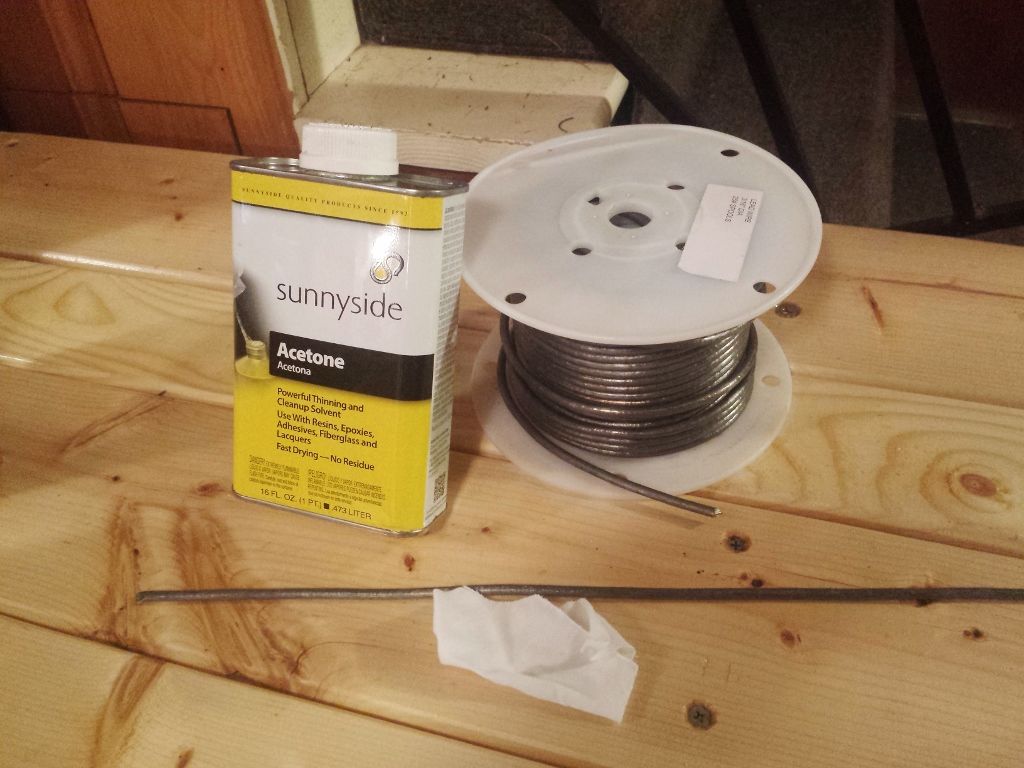 The core cutter - I almost ordered this until my dad said to hold off. After rummaging through his shop he found one he built in the early 1980s. Like many of his contraptions it wasn’t pretty but was way over-engineered. The plates are half-inch steel tensioned by a small-block Chevy valve spring. Its cutting inserts are machined out of 4140 and honed 0.192”. This supports the rod and still gives it adequate room to drop. 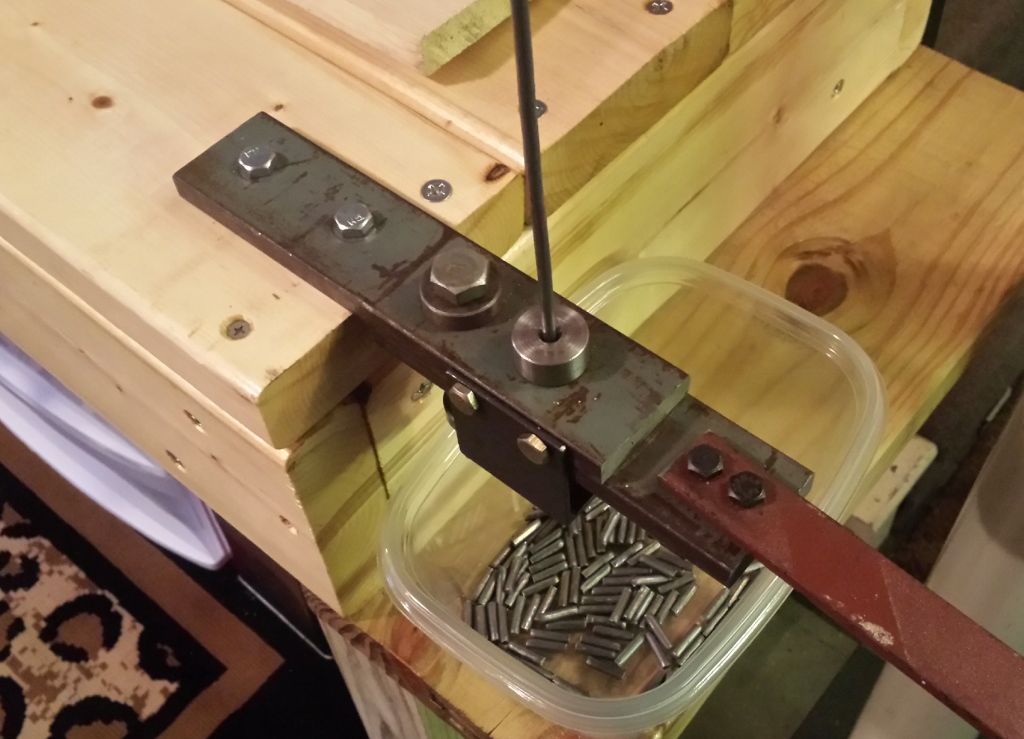 Underneath is the stop. He used a plain bolt with the top ground smooth. This is moved up and down until the desired core weight is reached. Then the nut is locked in place (note the Chevy valve spring): 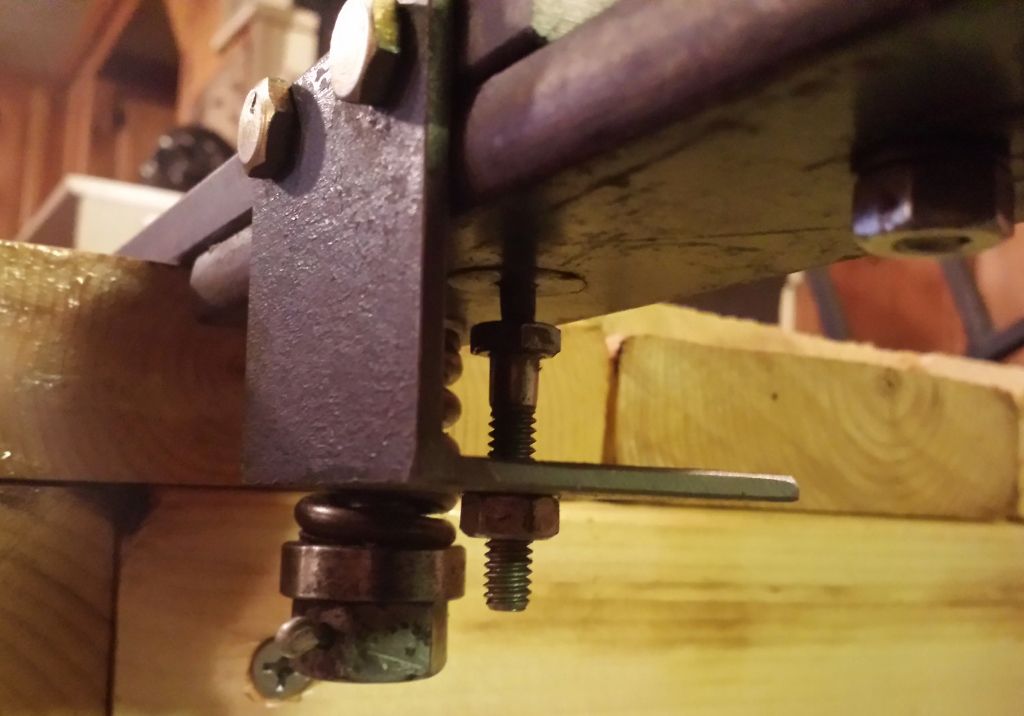 We want the core overweight prior to swaging. Excess is bled off under pressure, giving uniform height, weight, and diameter. Calculations are as follows. In this case I’m aiming for a 67 grain bullet: Cut core weight = (total bullet weight) – (jacket weight) + 2 grains My jackets average 22.40 +/- 0.01 Cut core weight = (67.0) – (22.40) + (2.0) = 46.60 grains The stop is adjusted until they land around 46.60. Plus/minus variations of 0.10 are acceptable. 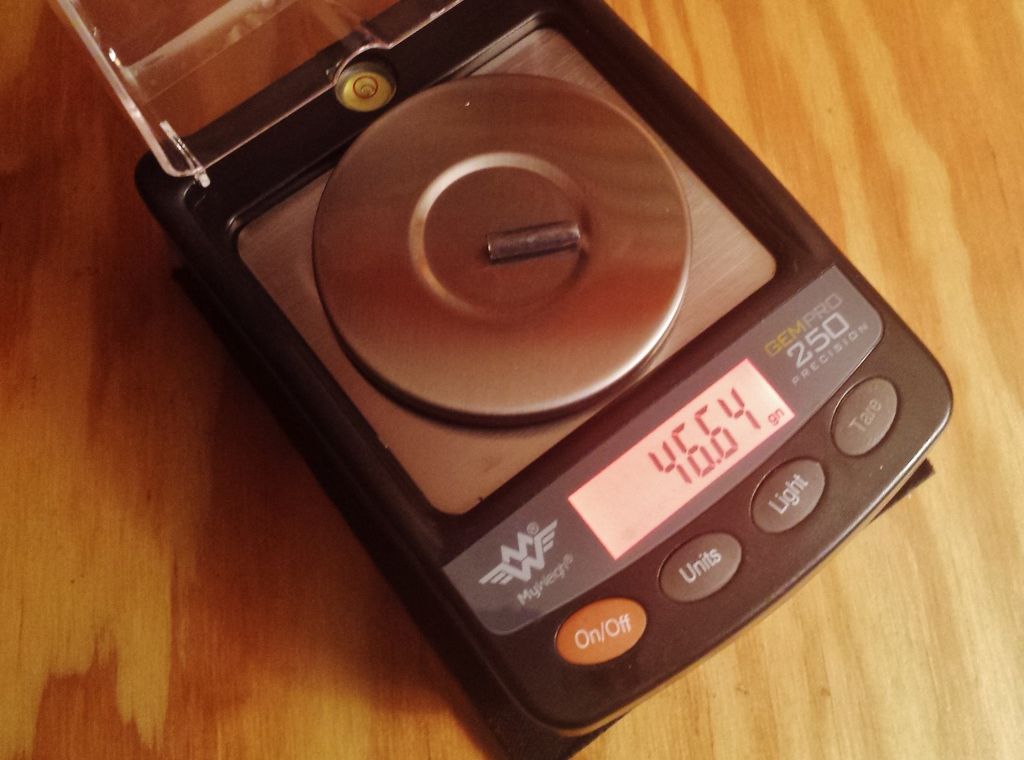 Top view of the cutter: 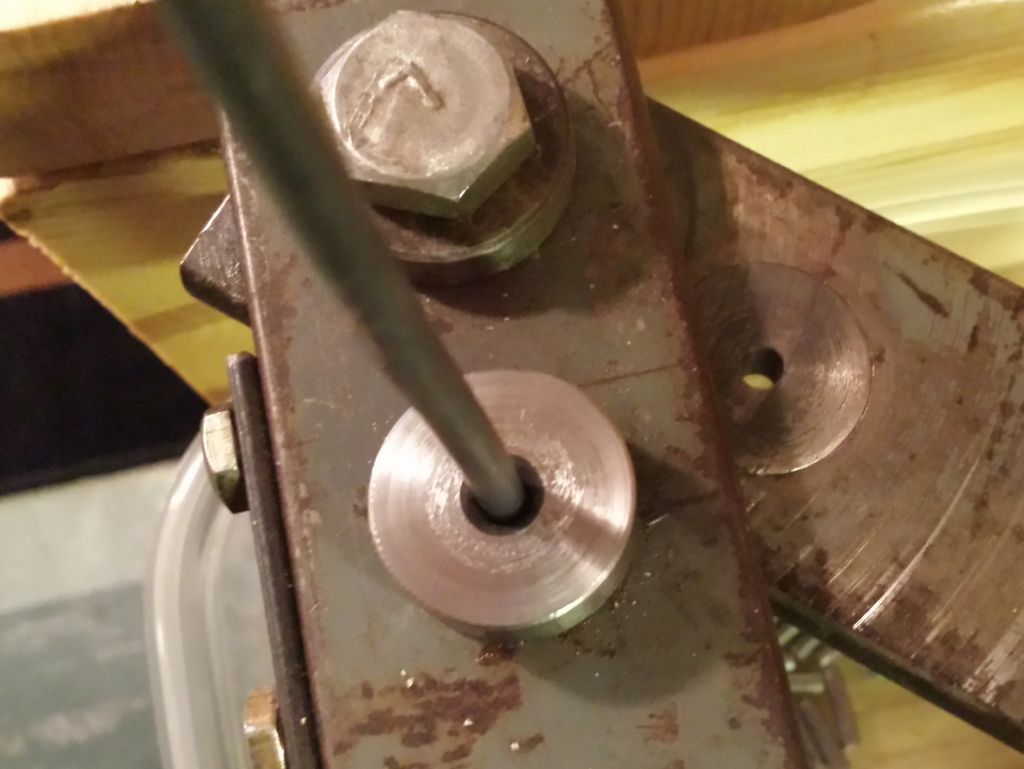 Always discard the first core off a rod. The hand snipped end is never flush. Here’s a brief video of me blanking cores: It takes about an hour to make 1,000. -Lee www.singleactions.com"Chasing perfection five shots at a time" |
|
ProGun
.30 Stingray

Posts: 246
|
Post by ProGun on Apr 22, 2016 20:10:10 GMT -5
Have you made any and shot them yet Lee? Or, are you just waiting until you have a pile of 'em? Sure am excited to see what size groups you can cut with them there "special bullets".
|
|
|
|
Post by Lee Martin on Apr 24, 2016 18:46:29 GMT -5
Have you made any and shot them yet Lee? Or, are you just waiting until you have a pile of 'em? Sure am excited to see what size groups you can cut with them there "special bullets". Still making them but should have finished bullets by week's end. -Lee www.singleactions.com"Chasing perfection five shots at a time" |
|
|
|
Post by Lee Martin on Apr 24, 2016 18:47:03 GMT -5
Bullet Making – Part VI _____________________________________ The third press arrived this week and it’s now installed. Left to right – core swaging, core seating, point forming: 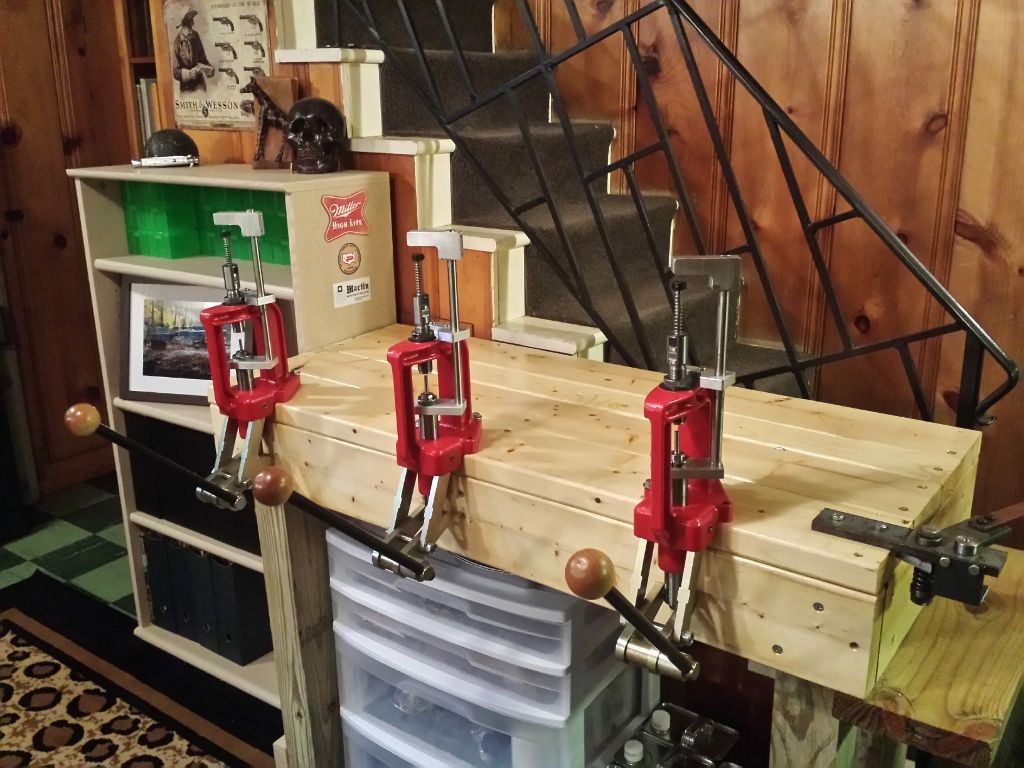 -Lee www.singleactions.com"Chasing perfection five shots at a time" |
|
|
|
Post by Lee Martin on Apr 24, 2016 18:48:01 GMT -5
Bullet Making – Part VII ___________________________________ The cut core now has to be sized to the proper dimensions. Using a swage die, the lead cylinder is compressed causing excess to bleed off. The result is a core which has expanded to the correct diameter for seating. In the process it is shortened and the ends are flushed smooth. Before you swage cores they must be lubricated. There’s no one way to do this. A lot of guys use anhydrous lanolin mixed with Vaseline, neatsfoot oil, or castor oil. This is lightly applied to the walls of a glass jar and tumbled for 5 minutes. I went petroleum based and chose Marvel Mystery oil. Automatic transmission fluid works equally well. The carrier is acetone and the cores are simply dunked into the mix. One gallon of acetone is poured into a 5 gallon bucket. 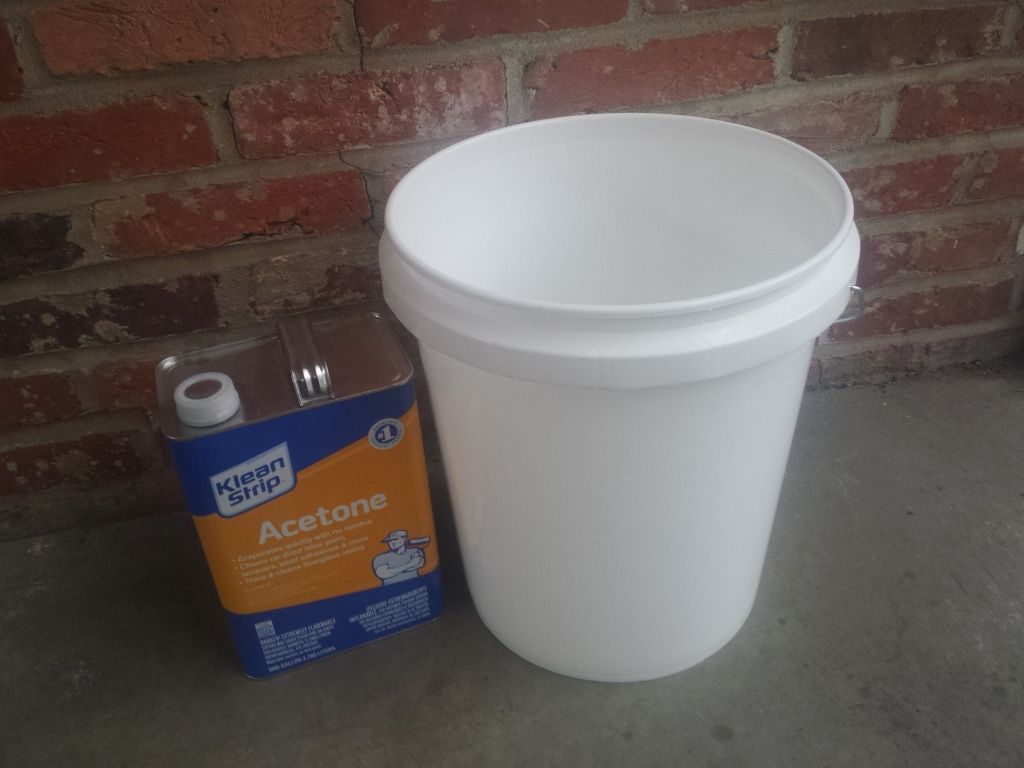 A second 1 gallon bucket is drilled dozens of times. Make sure the holes are less than the diameter of the core. I went with 11/64”. 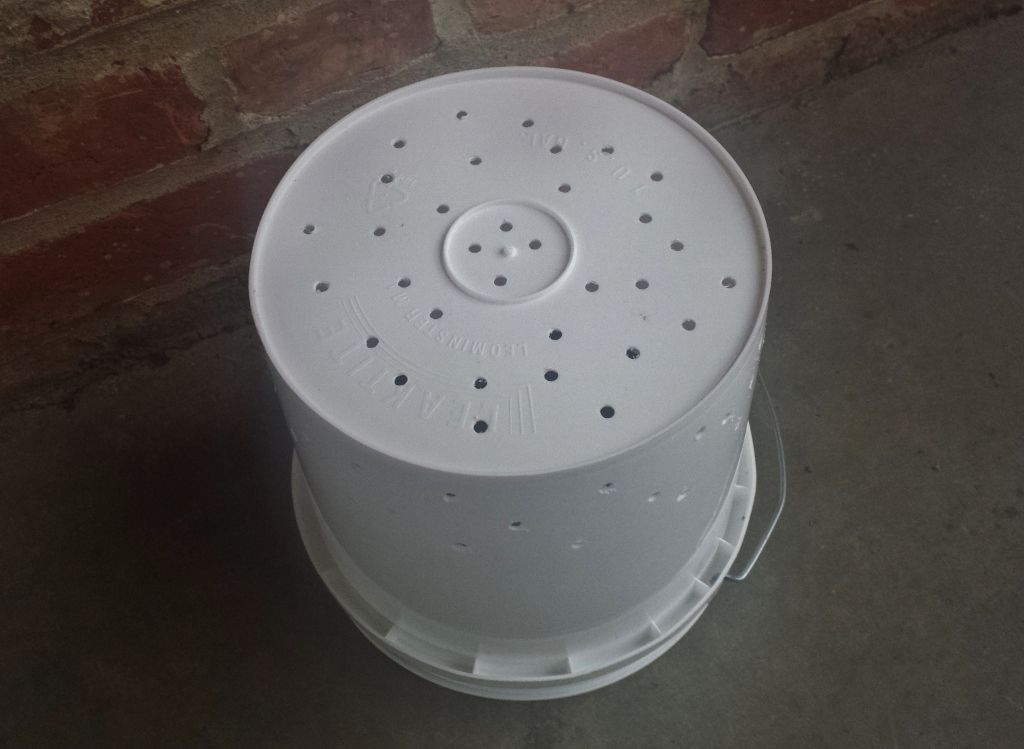 1,000 cores are placed in the small bucket: 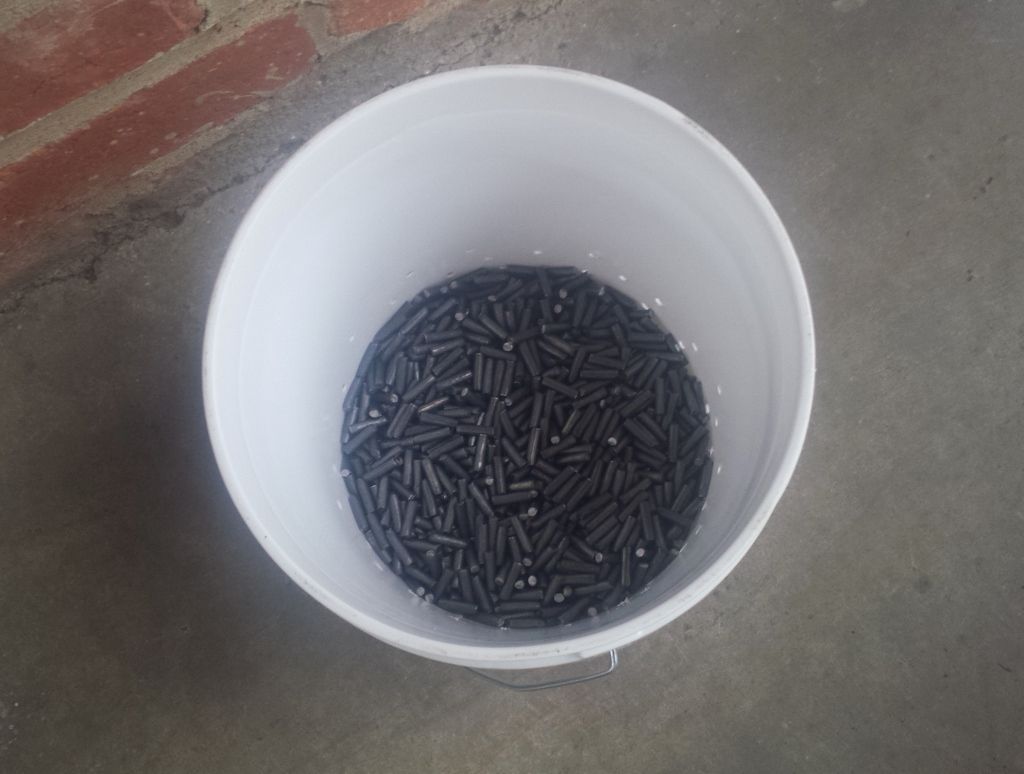 6 ounces of Marvel Mystery Oil is added to the acetone and stirred. 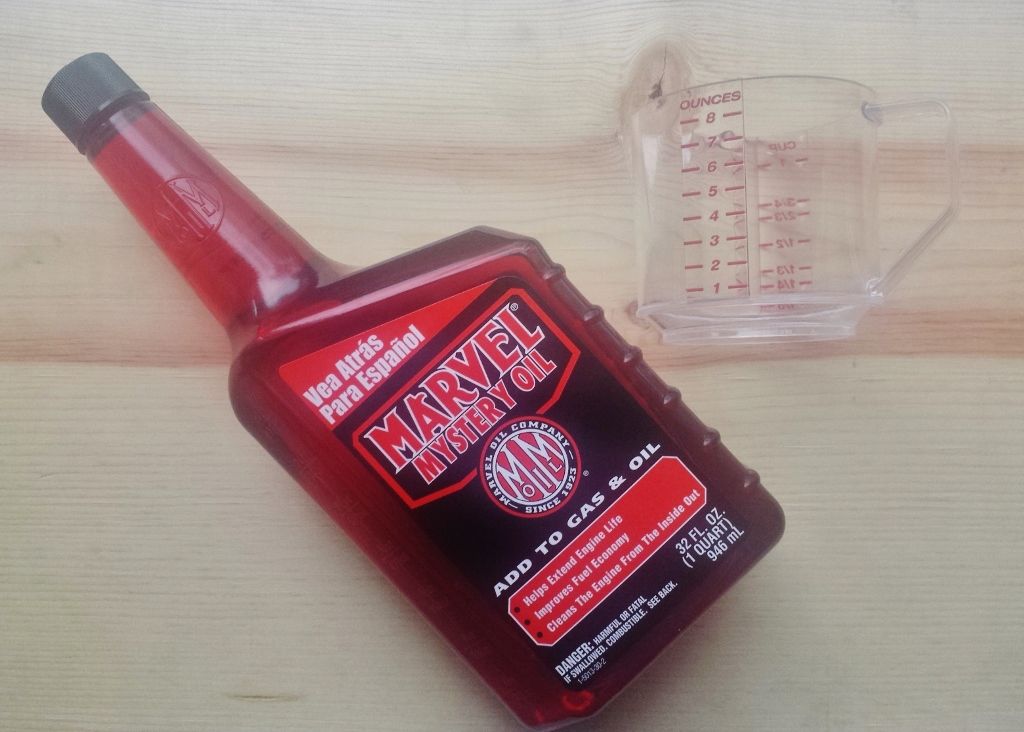 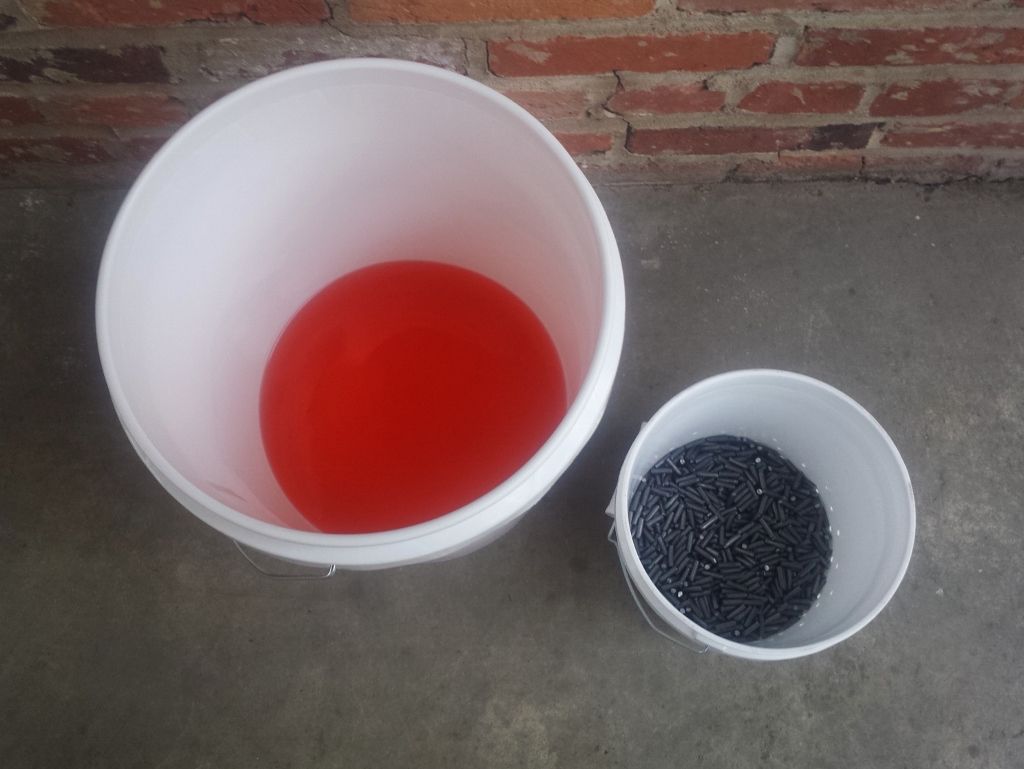 The 1 gallon bucket is submerged, pulled, and dunked a few times. 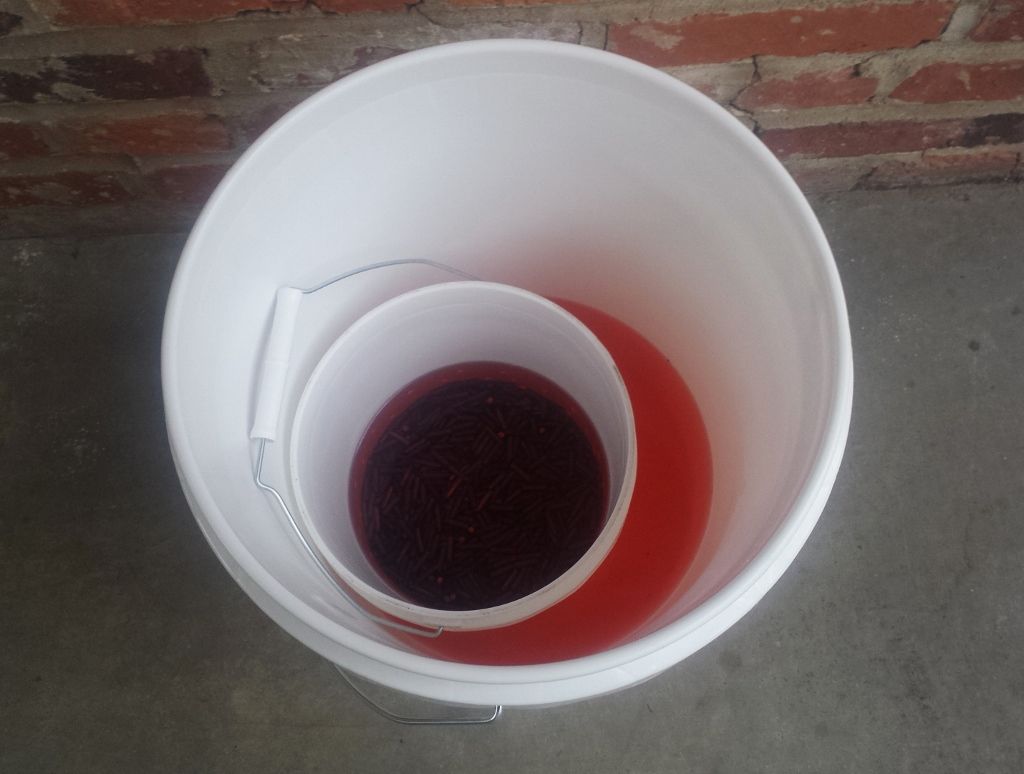 Cores are then laid out to dry. The acetone evaporates in 10 – 15 minutes. 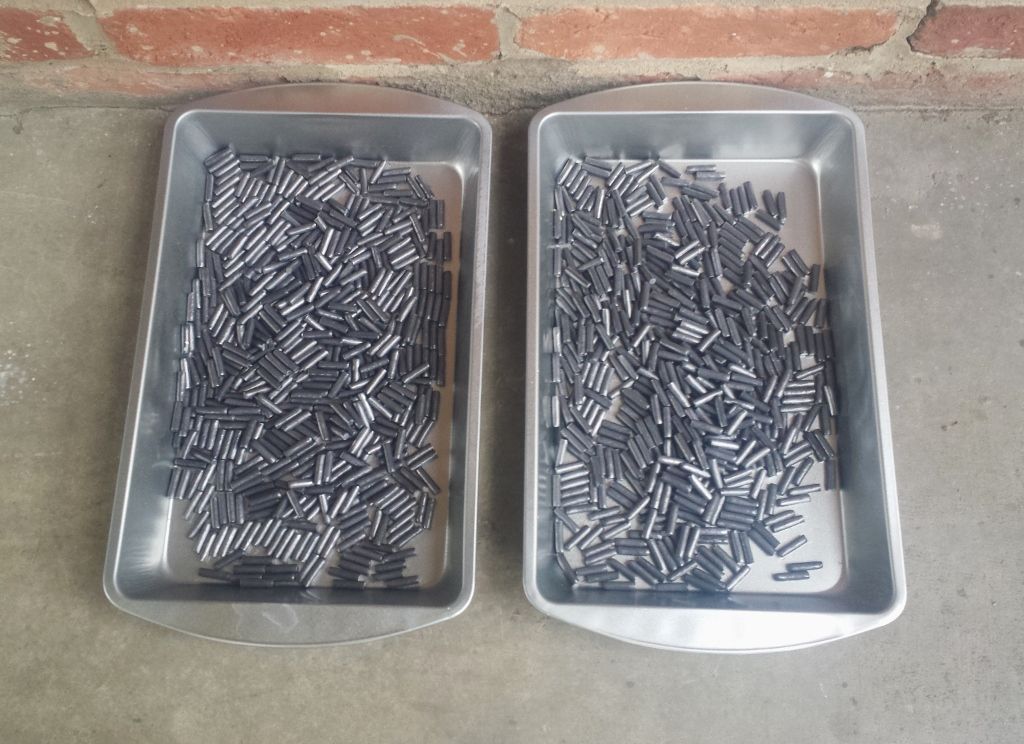 Next the lubricated cores are swaged. The second photo shows the extruded amount of excess lead (note – I cut one core long to better capture the squirt. My cores bleed about half this much). 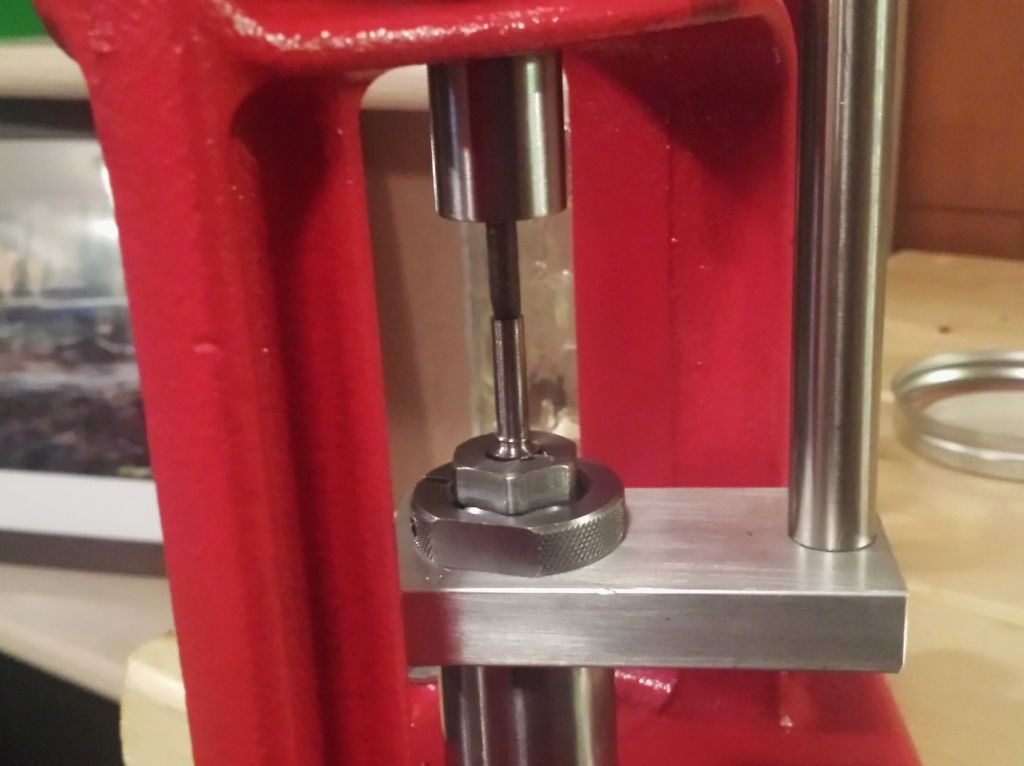 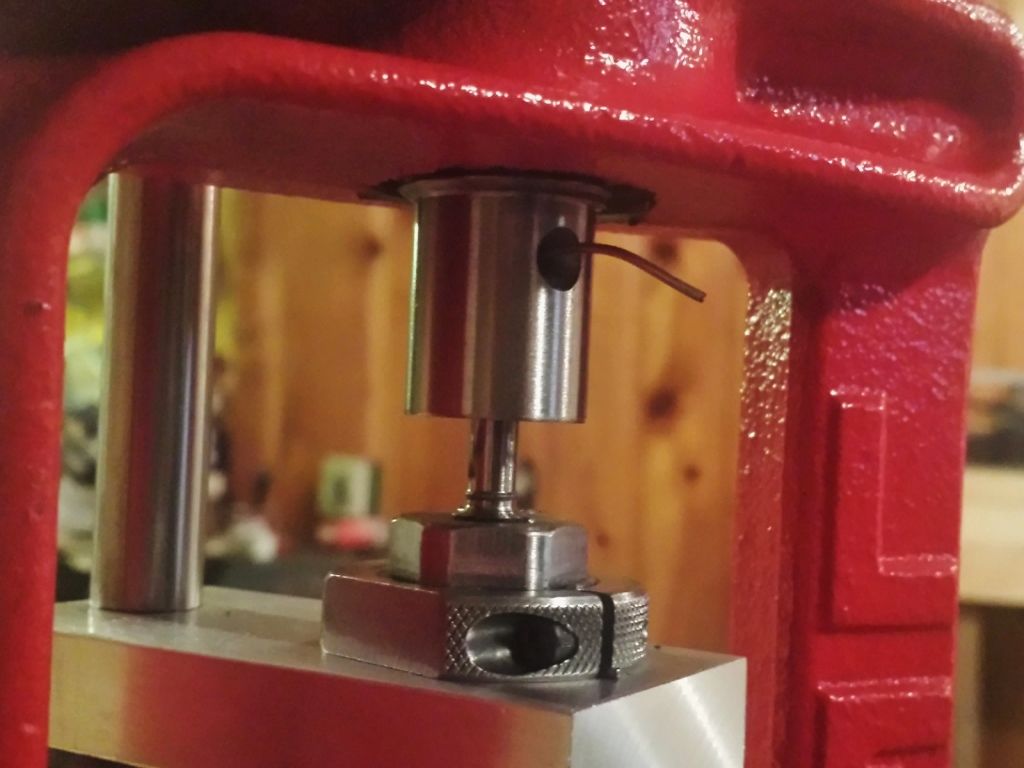 A few processed cores are weighed to ensure I’m hitting the desired weight. Ulrich’s die does a fantastic job of making these uniform. The goal was 44.60 grains and mine land between 44.57 and 44.62 grains. 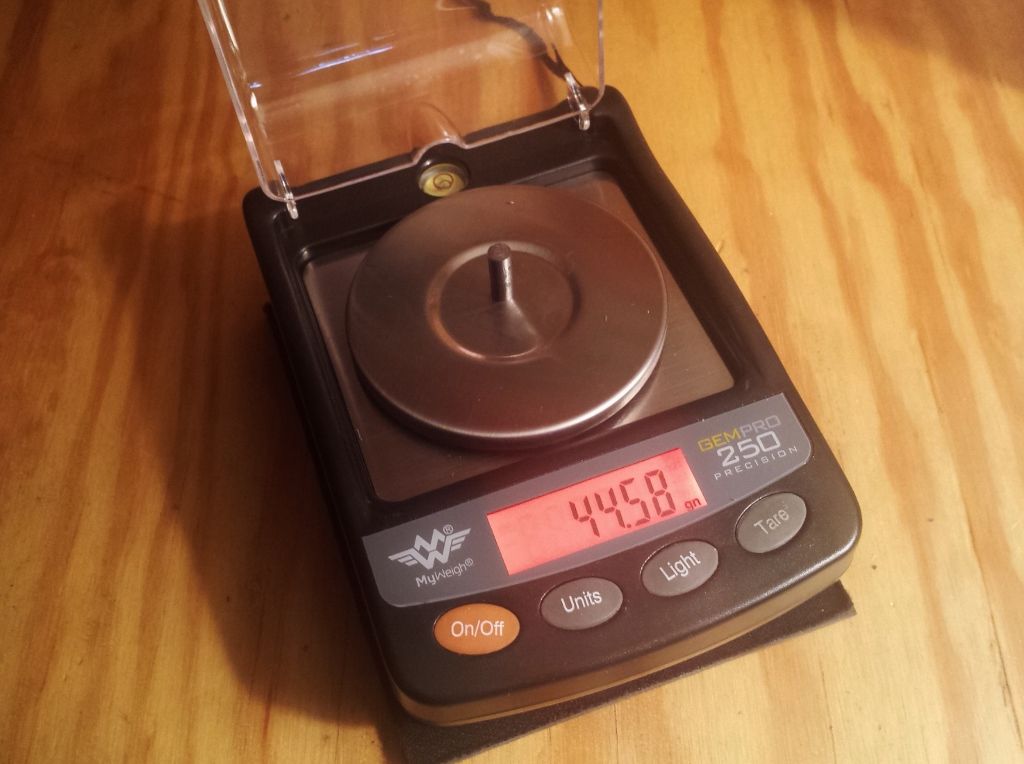 Here is a short video of me swaging a couple. The best way to achieve consistency is to run the ram into the die, hold for 2 seconds, lower it, and repress and hold for another 2 seconds. You want to apply the same amount of pressure and dwell time core to core. Left – rough core, Right – after swaging. 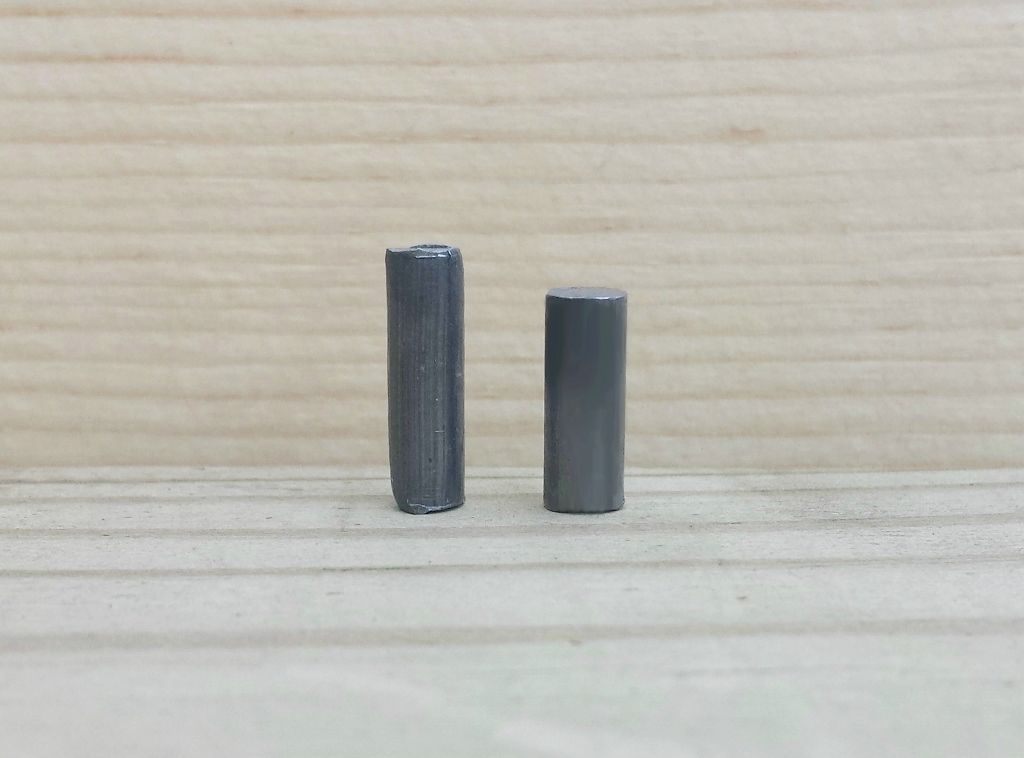 2,000 swaged cores. It took about 9 hours to run these, and that includes cutting time. 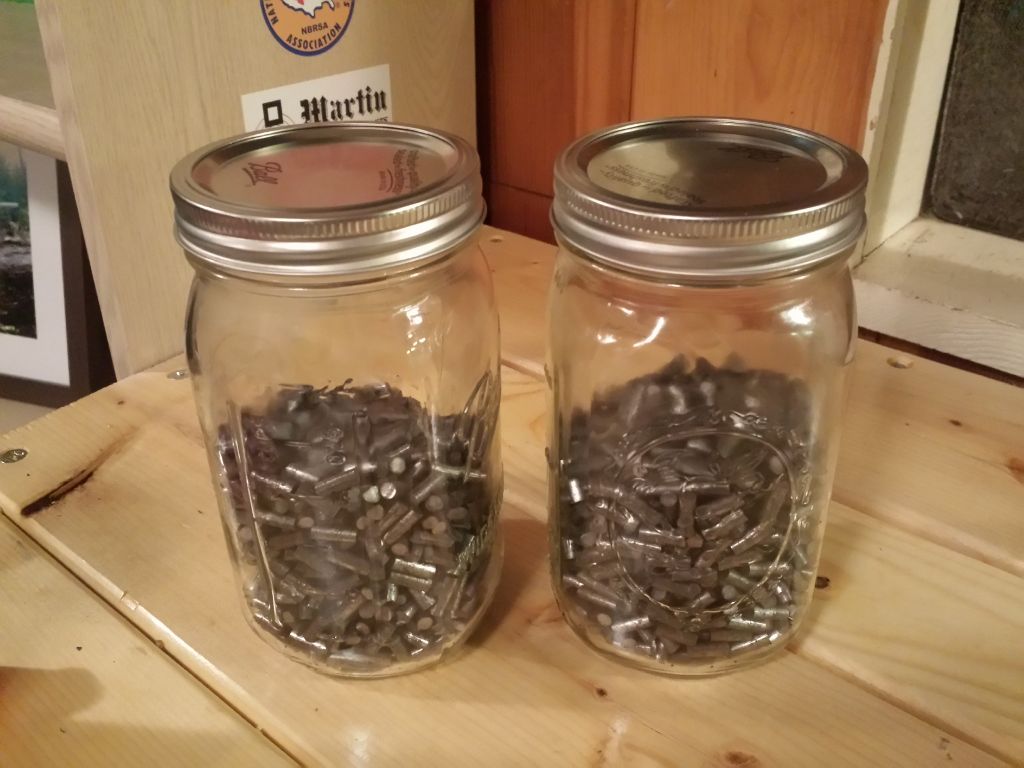 -Lee www.singleactions.com"Chasing perfection five shots at a time" |
|
|
|
Post by bradshaw on Apr 24, 2016 22:57:37 GMT -5
Mighty sensitive scale you have there, Lee. Learned to swage bullets at eighteen on the C-H Swag-O-Matic press, the core cut from lead wire inserted into a copper half-jacket. The core was not as closely fit to the half-jacket as your cores must be fit to the jacket for bench rest. Astoundingly accurate and deadly .357s and .44s. C-H made a wire cutter the same in principle as yours. A single die turns core & cup into a complete revolver bullet. I, too, worked by feel on the press stroke. As the sprue, or excess lead, bleeds from the bearing surface, you could not eliminate pure lead from the "wheelbase." Velocity, even with a copper cup scraping the bore behind the lead, was limited to 1,100 fps. A .44 240 grain SWC put nearly as much lead contact with the bore as copper half-jacket. A hollow point was redundant on the SWC, as the pure lead punched heavy at tip-toe velocity. I started swaging as an economy at a time component availability could be counted on an armadillo's toes. Since there is no crimp groove on a swaged half-jacket revolver bullet, and no one said anything about crimping, I took matters in hand to DEEP SEAT, then roll crimp above the very sharp SWC shoulder. Didn't have top search for ACCURACY. In .44 Mag brass, the swaged 240 SWC deep seated over 17/Hercules 2400, with CCI 350 mag primer, would later test on the old Avtron chronograph at 1,060 fps from my 6-1/2-inch Model 29.
Couldn't push those bullets hard, lest LEADING take hold. Didn't matter. A deer catches one of those Joe Frazier bullets in the lungs, he's done.
My swaging was kindergarten in comparison with the detail you apply. You are on another level. Secrecy be damned.
For shooters listening in, these Bench Rest guys & gals pony express their bullets, put the gas to 'em, shave AIR TIME. In Lee's case, I suspect harmonics alone may not define the SWEET SPOT. The bullet as well may be an arbiter.
David Bradshaw
|
|
|
|
Post by Lee Martin on Apr 26, 2016 19:45:16 GMT -5
We'll see what these can do David. Hopefully you can hand deliver some to Geraci....I'd love to get his input on these 8.5 ogive 67's. -Lee www.singleactions.com"Chasing perfection five shots at a time" |
|
|
|
Post by Lee Martin on Apr 26, 2016 19:50:04 GMT -5
Bullet Making – Part VIII ________________________________ The cores must be thoroughly degreased before jacket seating. I use Coleman camp fuel to do this and with good results. 1,000 cores are placed in a mason jar and filled with the solvent. After 2 minutes of gently rolling by hand, the wash is drained through the punctured lid. 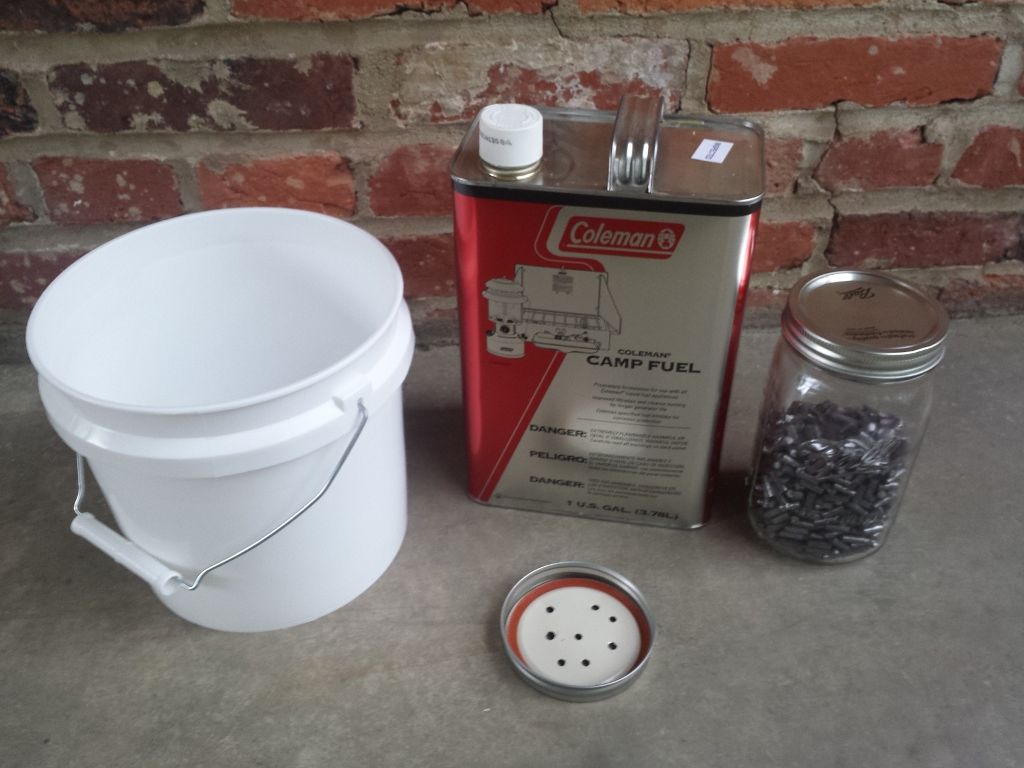 Fuel is poured to the top of the core line: 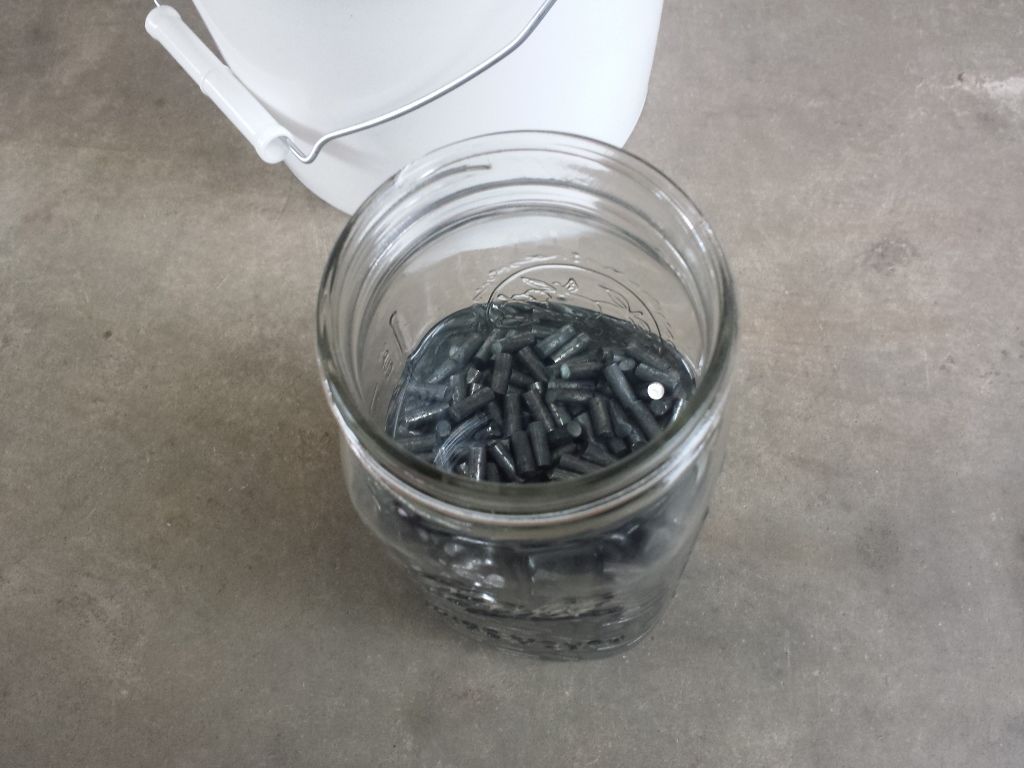 Draining. 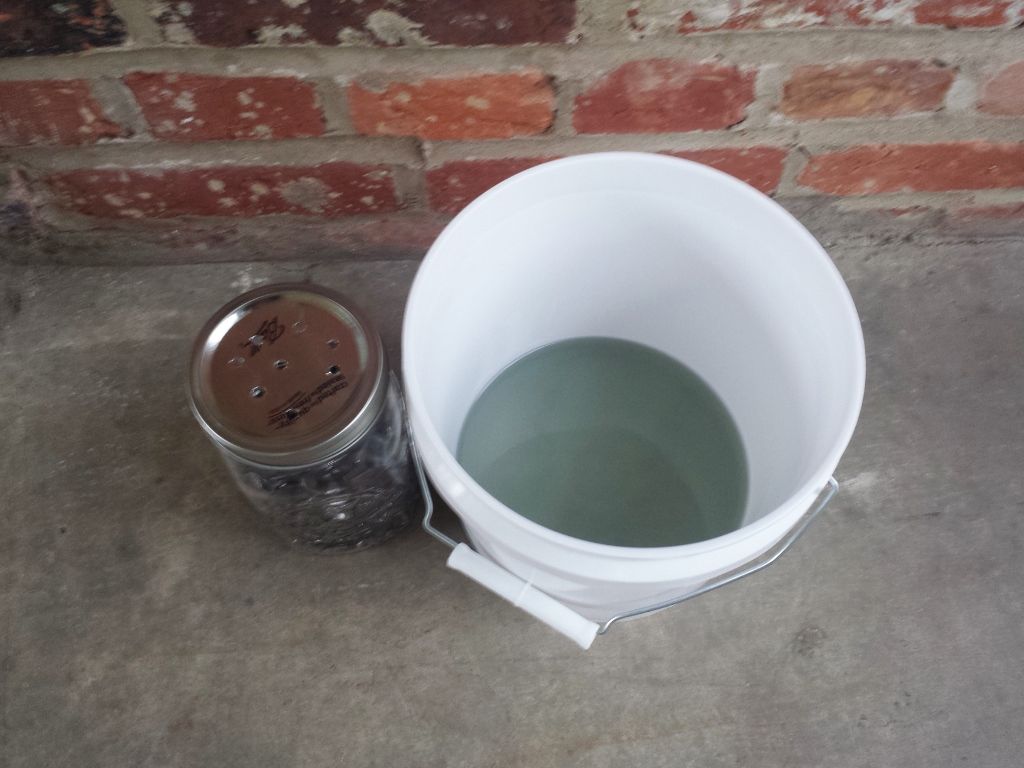 After this is done three times the cores are placed in a strainer. Clean Coleman is poured over them for their final rinse. 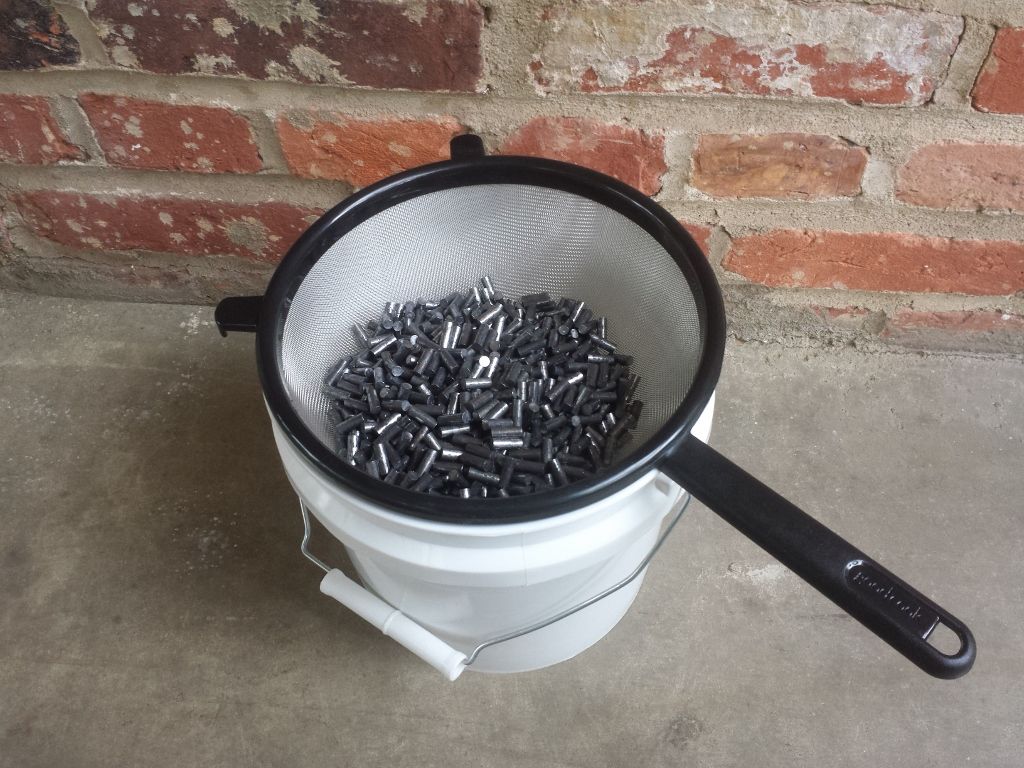 They’re then laid out to dry. 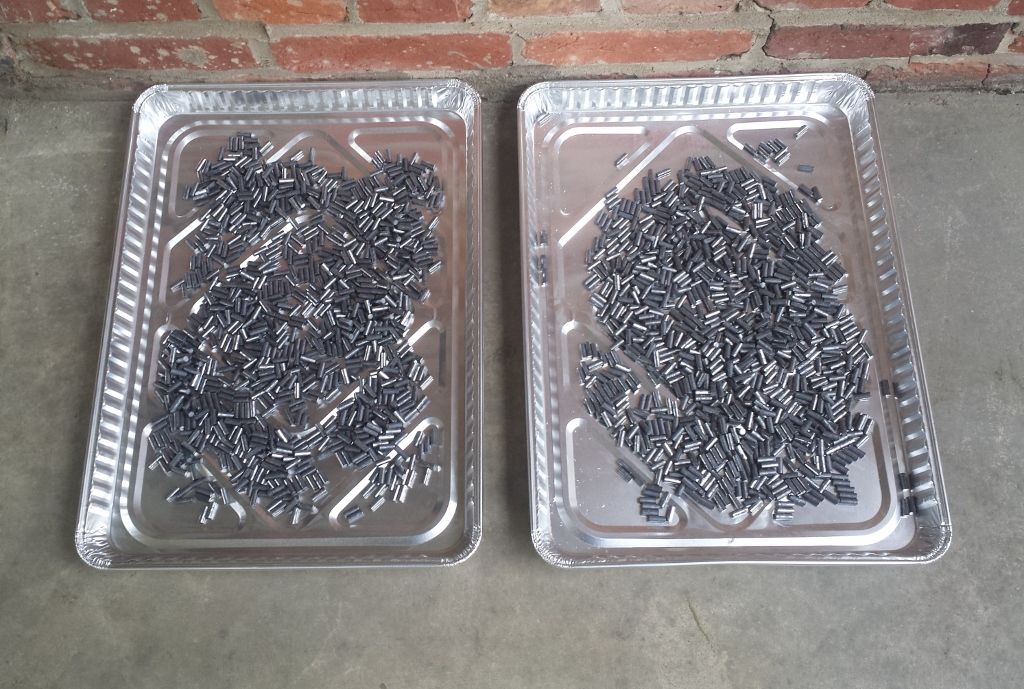 Some take this a step further and etch the cores. This roughens the surface a bit and in theory gives better jacket adhesion. After talking to a few folks (including Ulrich) I’m not convinced this improves accuracy. George recommended simple degreasing followed by seating. Maybe in time I’ll etch and see if it shows up on paper. The steps involved: Get a colander and some tri-sodium phosphate (TSP). Put the colander in a large metal pot and pour the cores into it. Make sure the colander has feet that raise it an inch or so off the bottom of the pot. Add a half gallon of water and one tablespoon of TSP and place it on a stove. Bring the water to a boil and allow it to cook for ten minutes. Then rinse them in a strainer with hot running water. When dry they’ll be dull in color and look frosted. 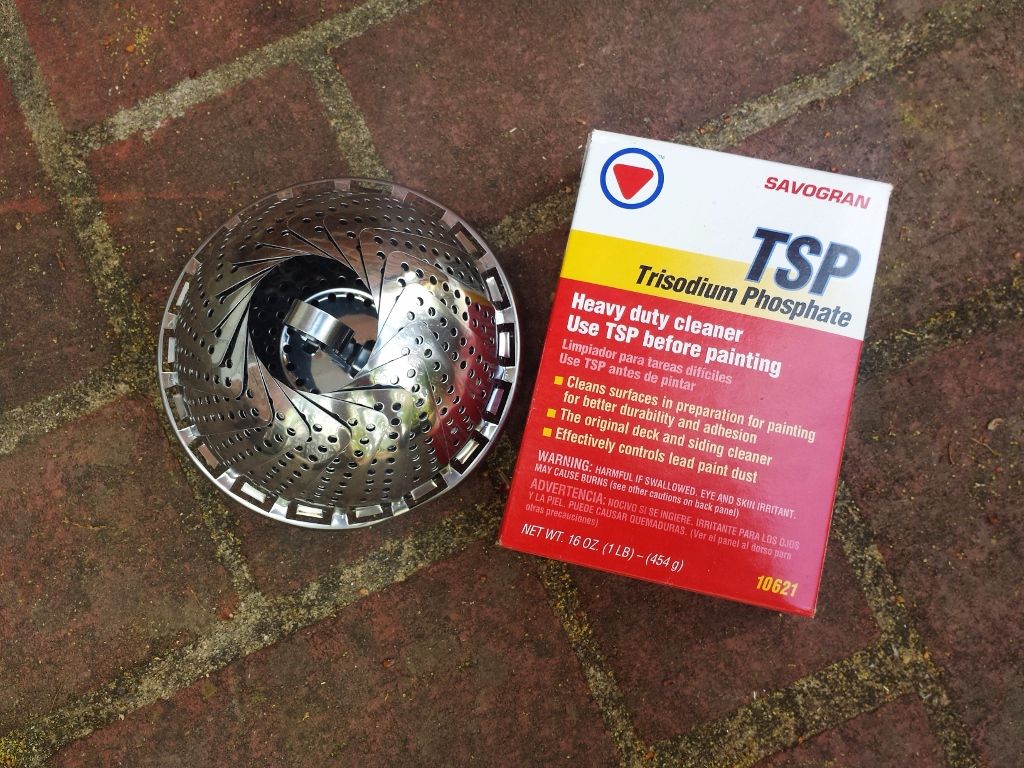 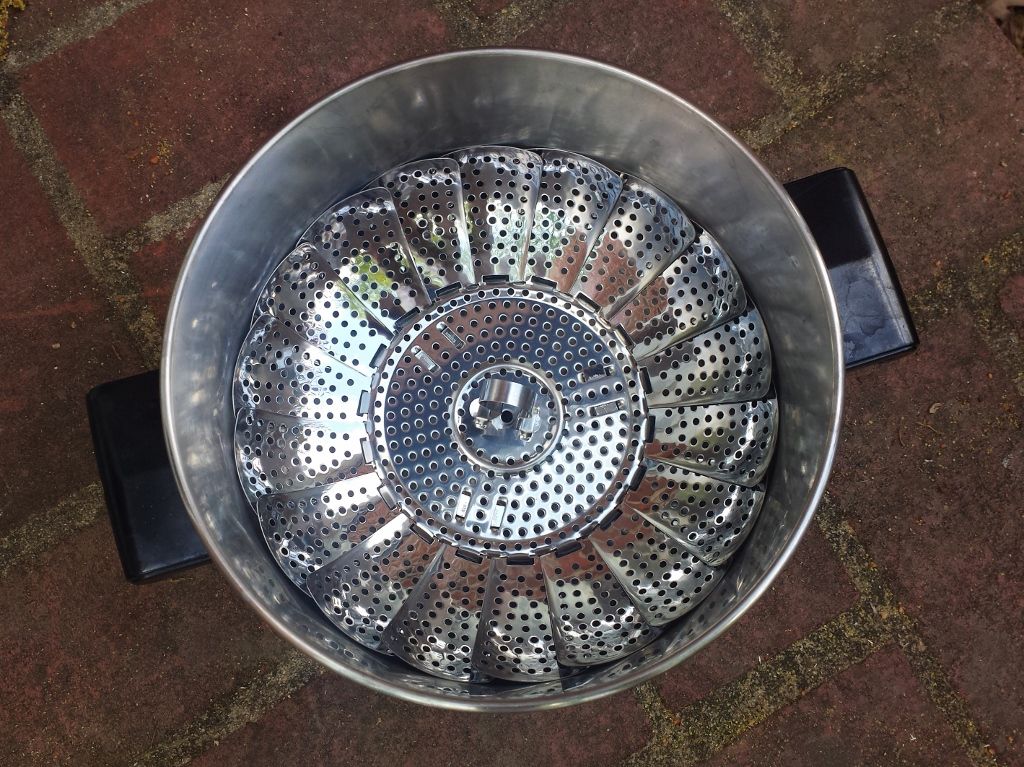 -Lee www.singleactions.com"Chasing perfection five shots at a time" |
|
|
|
Post by bradshaw on Apr 27, 2016 15:34:30 GMT -5
Lee.... agree, to weigh these bullets in his palm may inspire an observation from Geraci.
I share you intuition against caustic etching. Forget the chemical bite, which opens other questions. The etched surface alone may demand more force to mate core to jacket. As it is, I believe the compression you apply should enough adhesion for bench rest. It seems the fewer steps to a perfect bullet, the fewer chances to tilt the scale,
David Bradshaw
|
|
|
|
Post by Lee Martin on Apr 28, 2016 19:57:00 GMT -5
Bullet Making – Part IX __________________________________ The jackets are first cleaned with acetone. For the record, I’m using Hines Tactical 0.820”s from Bart Sauter. They’re very high quality with respect to concentricity and composition. I’m told the gilding metal’s properties are as critical, if not more important than wall uniformity. Of course the latter is still needed for top precision. To date I’ve been shooting Bart’s 68 gr Ultra FB and they’re killer. No surprise I’m buying jackets from him for my home spun 67’s. I decided to run my bullets in batches of 500. Two jars are filled with that quantity and acetone is poured to the top of the jacket line. The jar is gently rolled by hand for two minutes and drained. All 1,000 are spread out to dry. 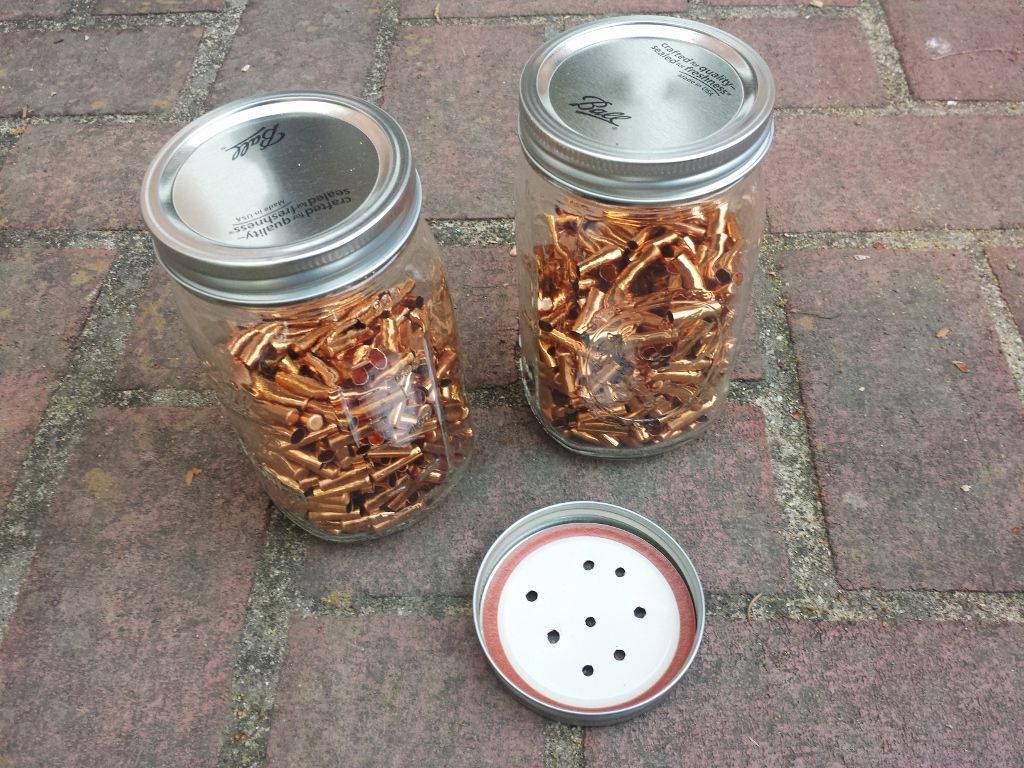 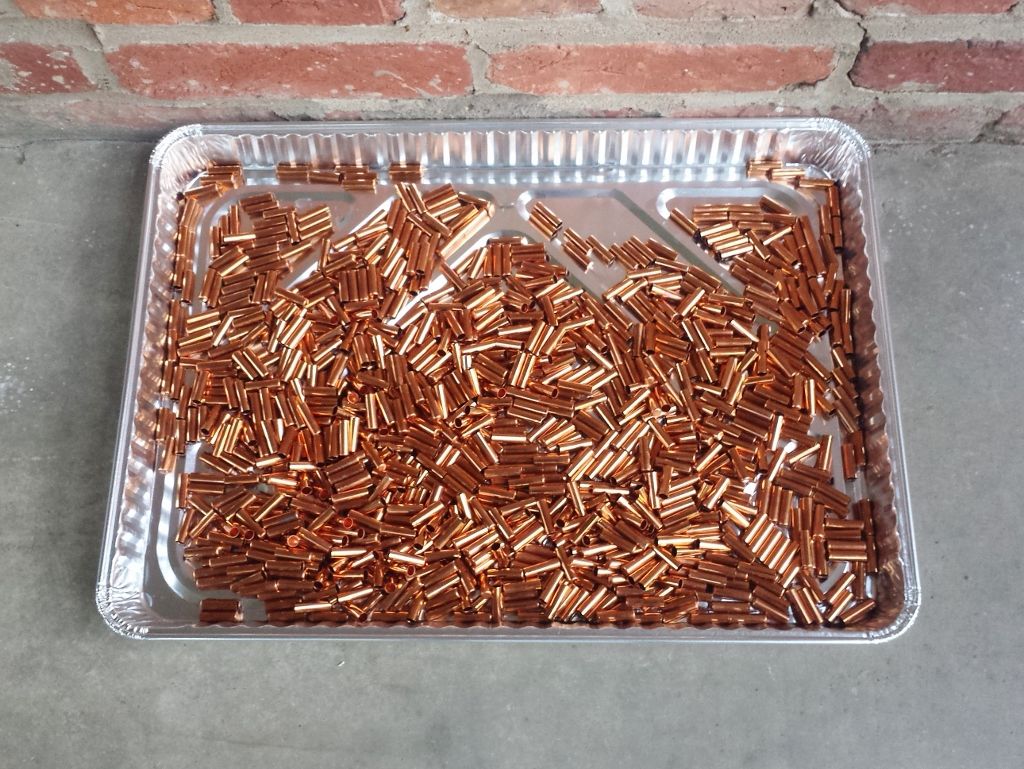 Prior to core seating the jackets are lubed. Many concoctions will do such as anhydrous lanolin mixed with vasoline, neatsfoot oil, or castor oil. A 5:1 ratio seems common. However George Ulrich prefers straight anhyrdrous lanolin and he sent me a few ounces to try. 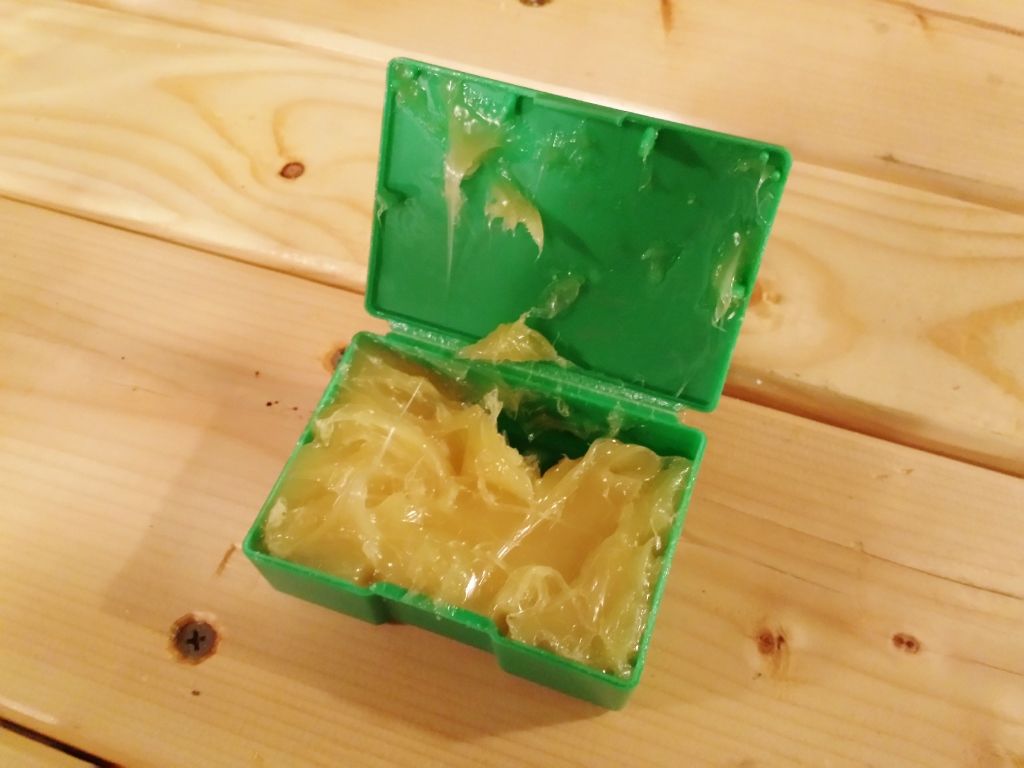 If you’re wondering about the source of lanolin it’s natural. Sebaceous glands of wool-bearing animals like sheep secrete it. The lanolin is carefully weighed and smeared on the walls of a mason jar. Consistency is a must here. Not only do you want to use a minimal amount for the job, the weights should be identical batch-to-batch. First we tare the electronic scale with a piece of wax paper. 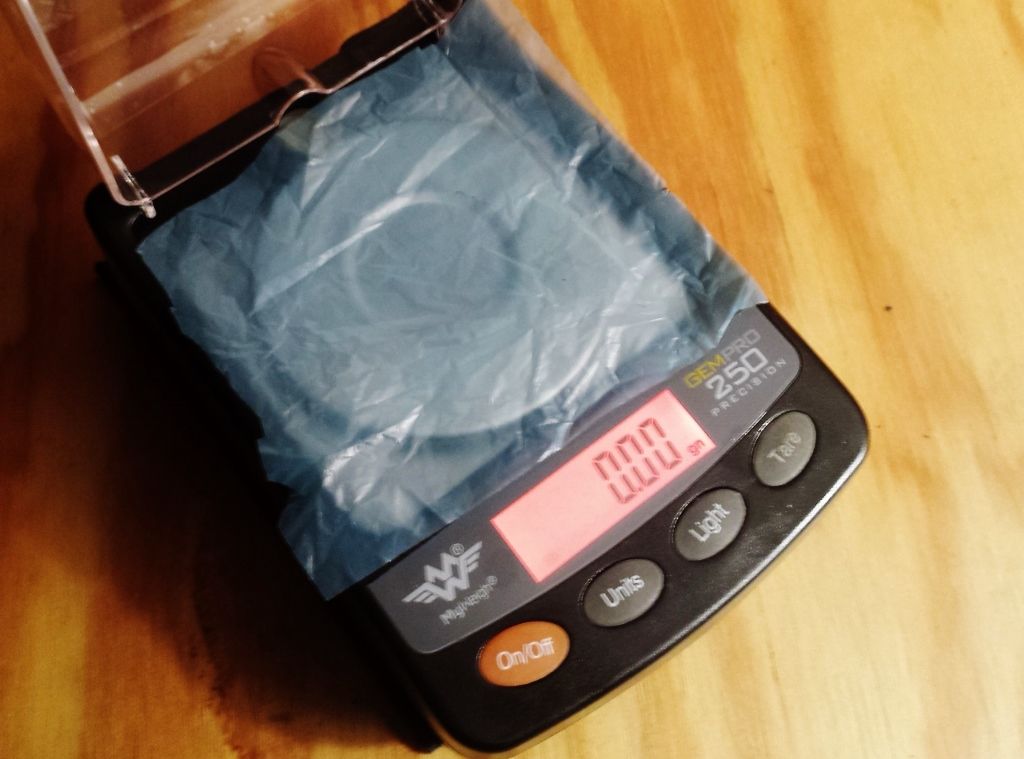 A small, and I repeat small dab of lanolin is added with a knife. I’m aiming for 2.0 grs so this is heavy by a ½ grain. 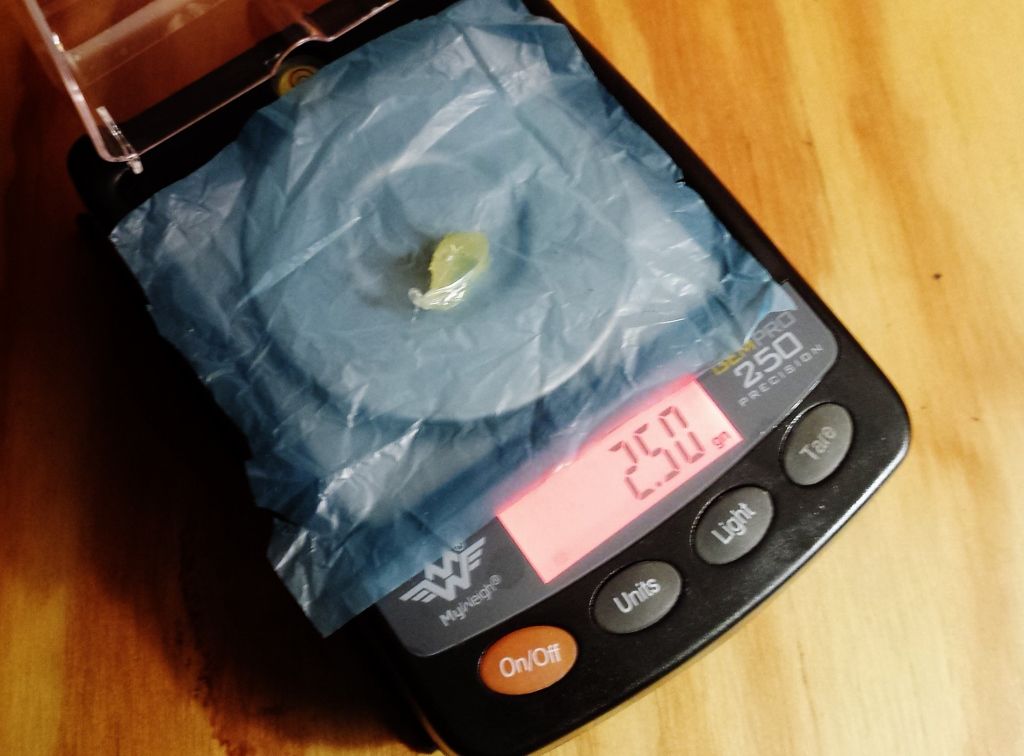 With a knife I’ll cut a little off the top until I hit 2.0 grs. The lanolin is then smeared inside the jar by hand. Be certain there are no visible globs on the glass. A jacket’s edge could grab this solid mass and get inside. We only want it on the outside of the jacket. Once applied, the jar looks hazy with no signs of yellow. 500 jackets are poured into the two and separately placed in my rock tumbler. 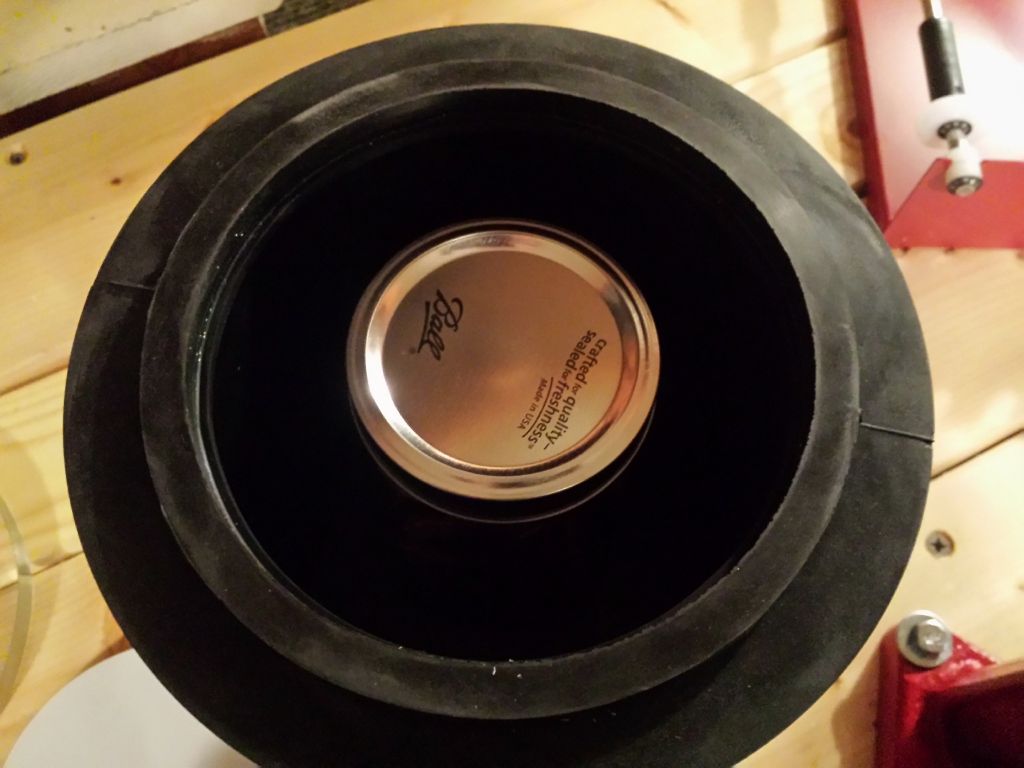 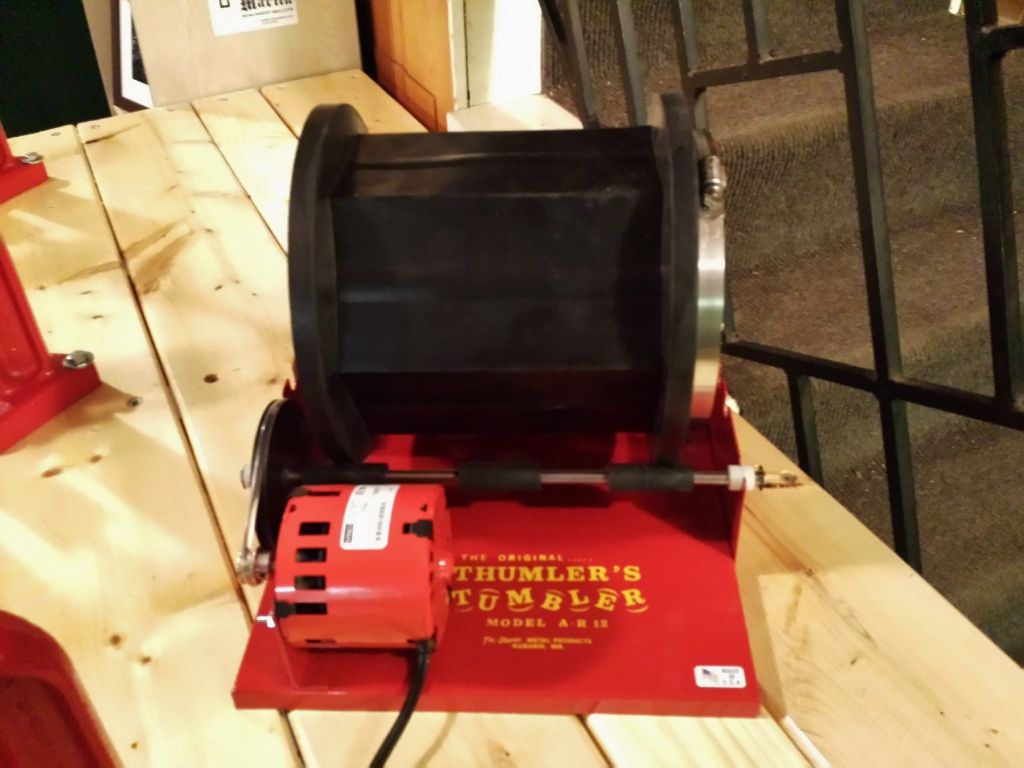 The jars are tumbled for 30 minutes a piece. Here’s some video of that step: Using plastic tweezers I place them in my trays. Dedicated bullet boards are faster and save a lot of time when dropping cores. I almost made one from Delrin on my Bridgeport but these .22 ammo boxes work well. Each holds 100 and they’re only $35 for ten. 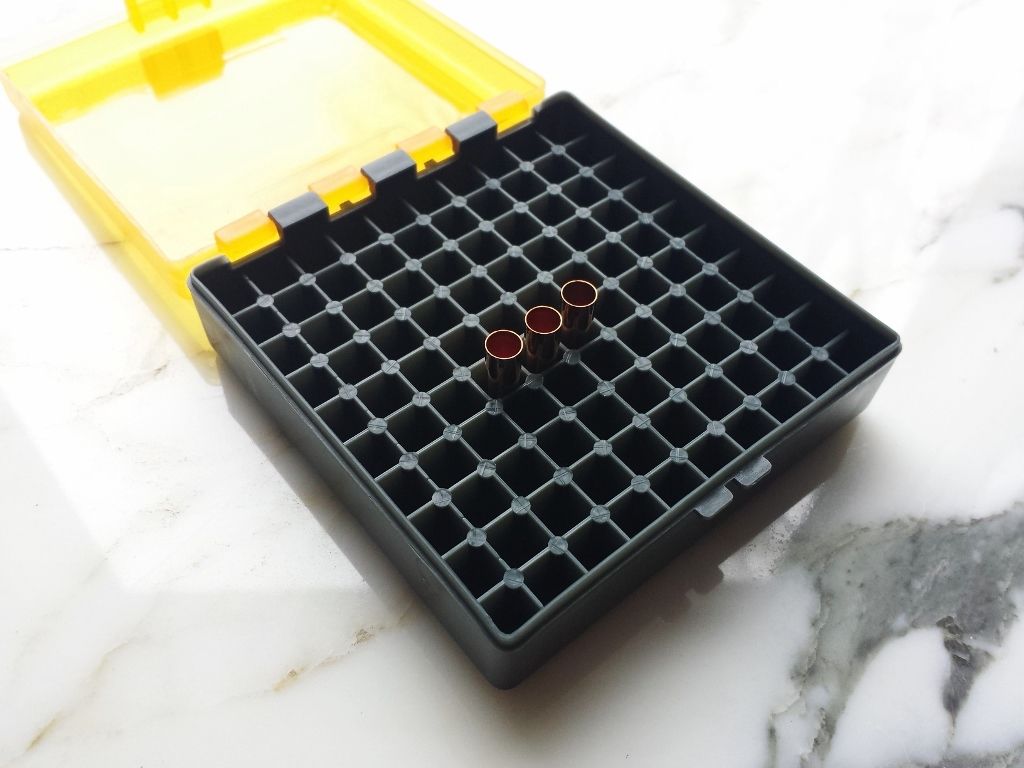 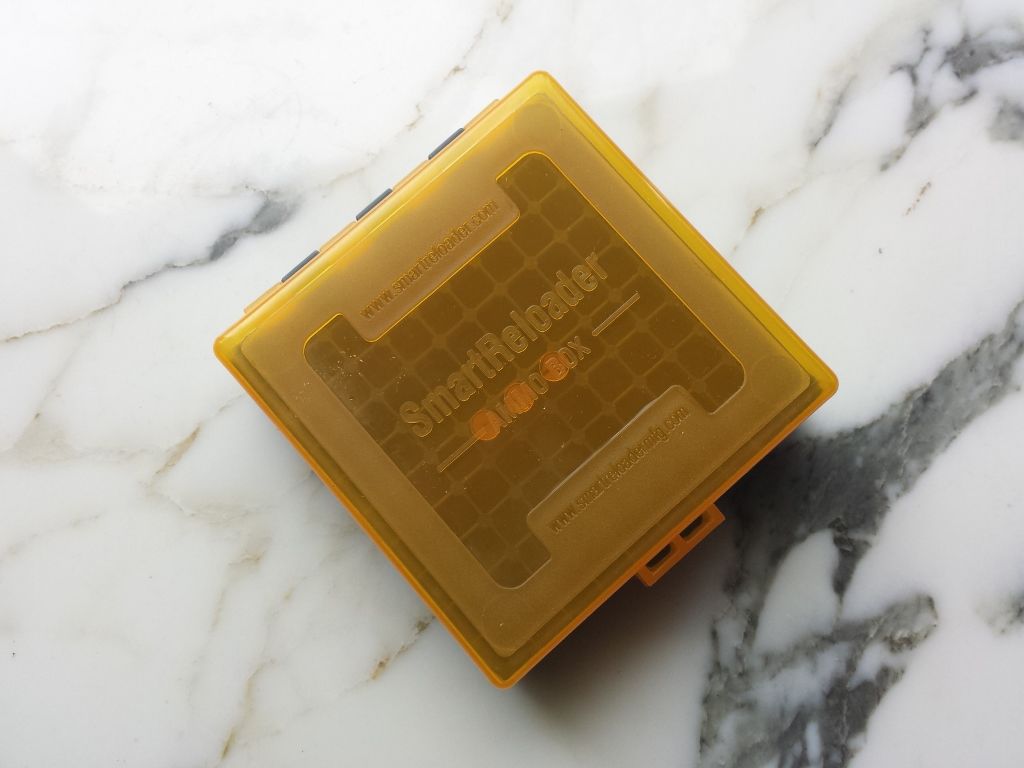 -Lee www.singleactions.com"Chasing perfection five shots at a time" |
|
|
|
Post by Lee Martin on Apr 28, 2016 19:59:56 GMT -5
Bullet Making – Part X _____________________________ With a different set of plastic tweezers I drop the cores into the jackets one at a time. Be sure not to use the same set that pulled the jackets from the jars. Those likely still have residual lube on them. We don’t want any oil to get on the cores. That’s why I don’t insert these by hand. 1,000 jackets ready to get cores 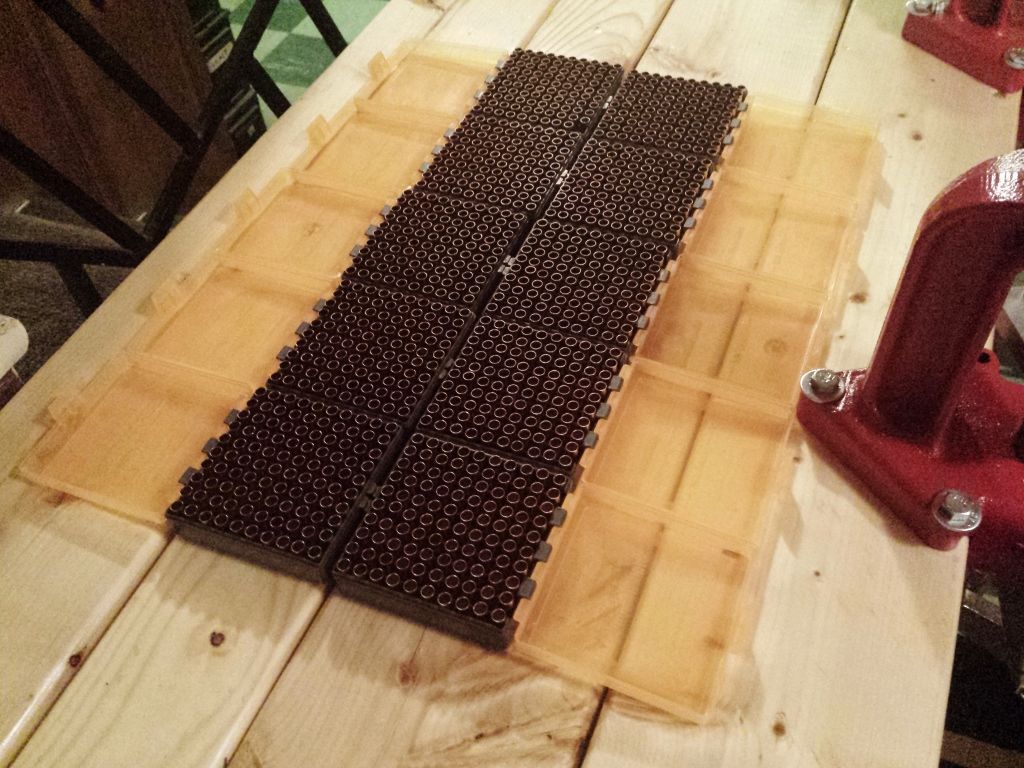 Left – blank jackets. Right – jackets with cores dropped in. 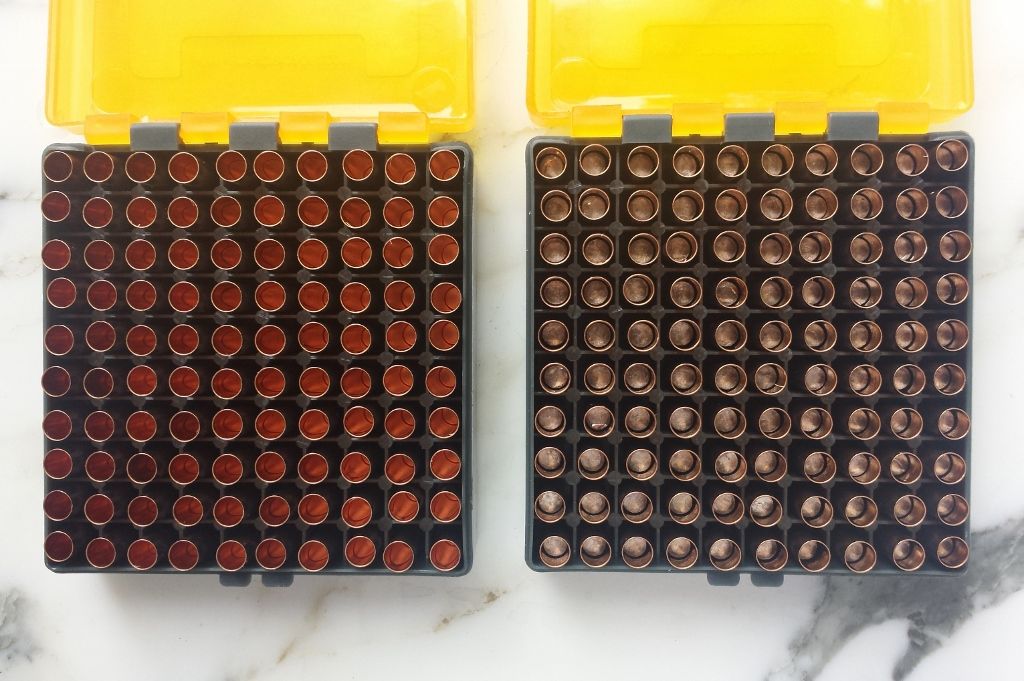 We’re now ready to core seat. This is probably the most vital step in making precision bullets. First the punch must be matched to the jacket. The optimal size is 0.0005” under the inner diameter of the jacket to the final lead line. Mine took a 0.2120” punch. Core seating accomplishes a few things. One it firmly attaches the lead core to the copper jacket. This is done through ram pressure. And we want a hair line of bleed around the punch. It’s tough to get a picture of this but under magnification you’ll see a tiny amount raised off the top of the core. The second thing at play is the principle of expanding up. The cored jacket is undersized until seated. This die swells the outer diameter to the final o.d. As the jacket widens it shrinks in length by a few thousandths. Ulrich told me how to adjust the die to get there and even sent samples. The die is backed-out and then screwed down until it contacts the jacket. Now the jacket won’t transfer off the punch until it’s expanded. So keep going down until it stays in the die on upstroke. George said to shorten it by around 0.005” and match the diameter of his cored samples. My jackets measure 0.820” in length so I tinkered with the die until I got 0.815”. If you go too far you’ll pop the cup. I’ve yet to do this but I’m told they make a loud crack when ruptured. At 0.815” my bases mic 0.2432”. Dead on to the ones George provided. The die is locked. The cored jacket is placed on the punch and processed. 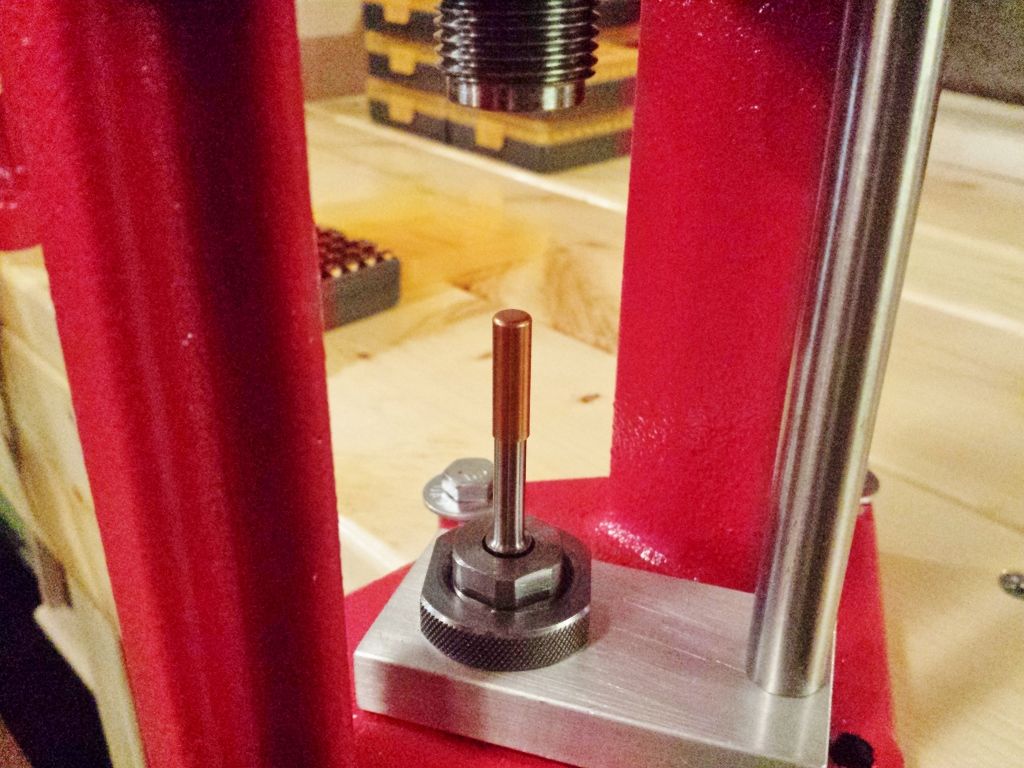 The cored jacket as it ejects. 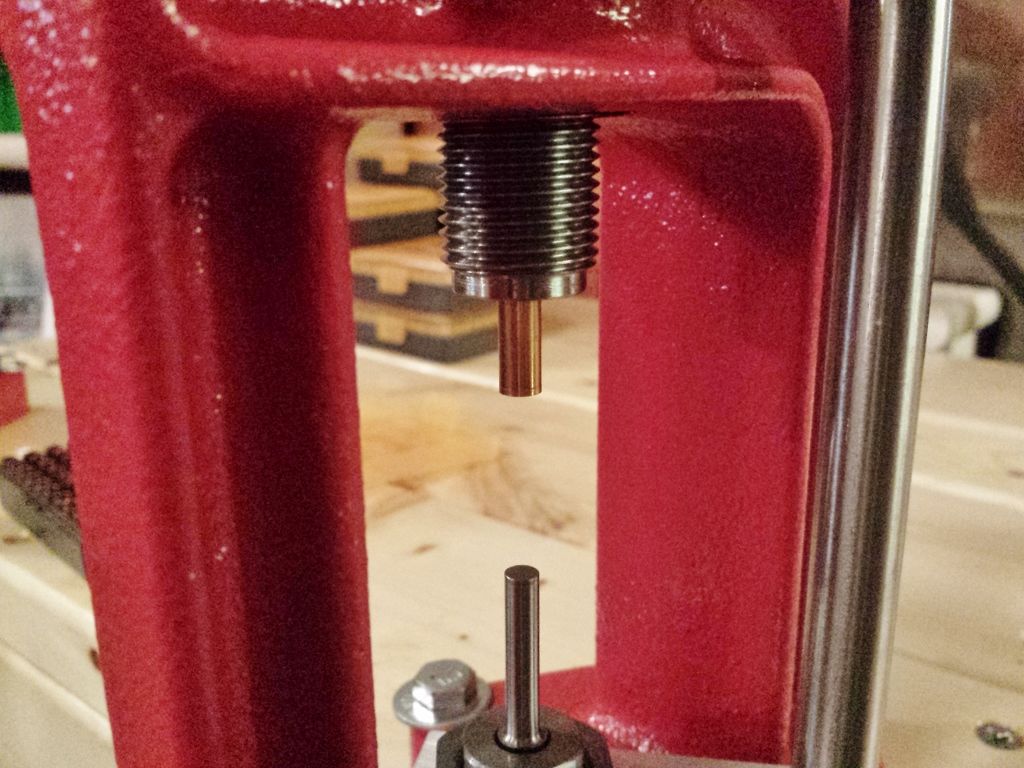 Just like core swaging, stroke pressure and dwell time must be the same throughout. Here’s a short video of me seating cores. 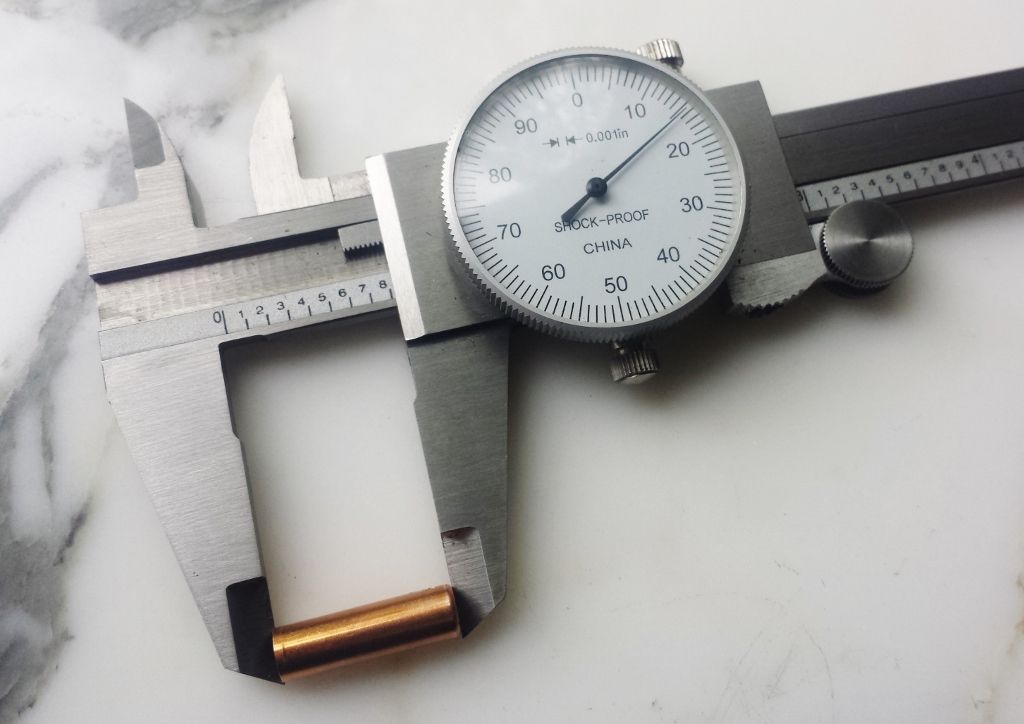 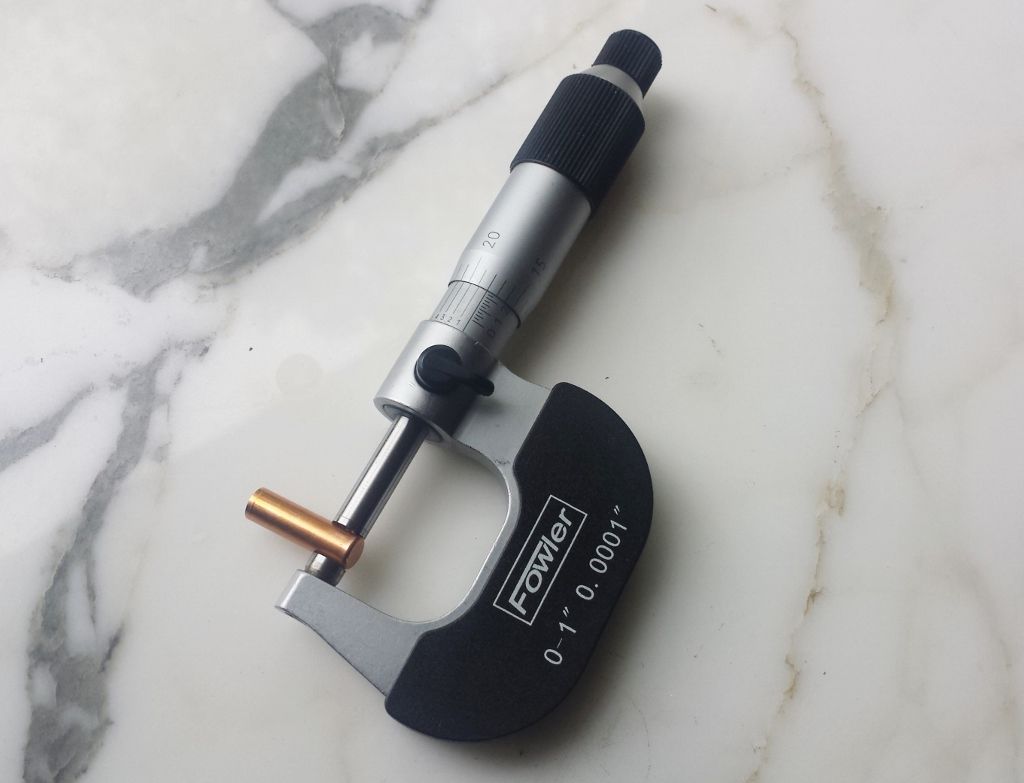 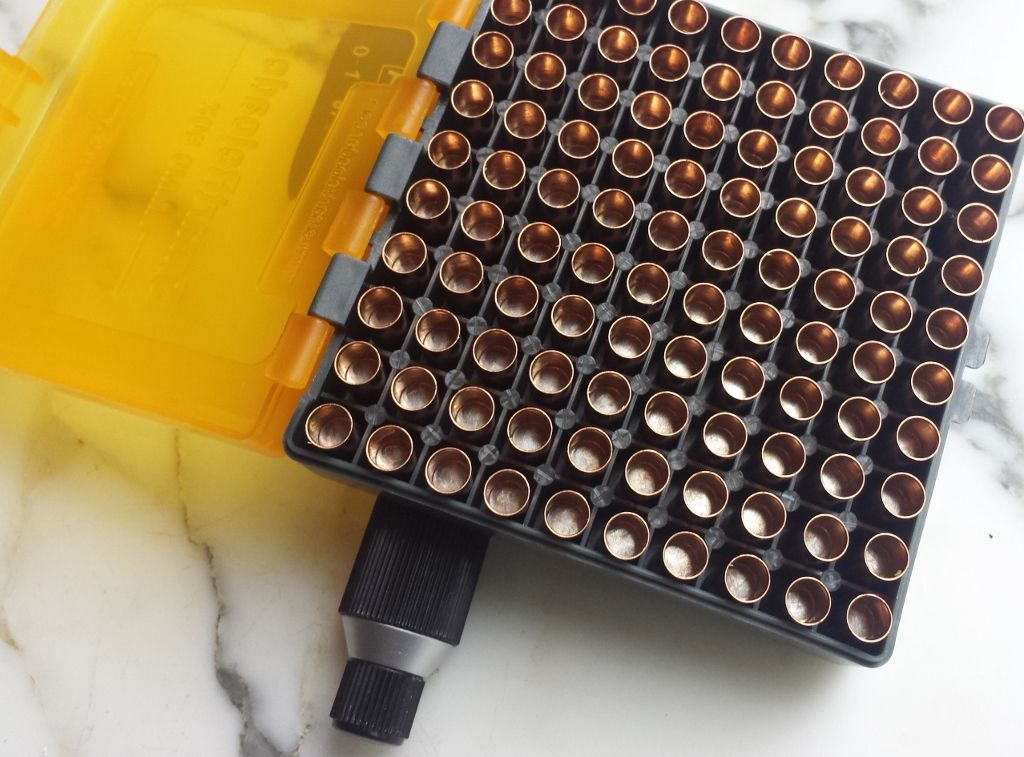 The cored jackets are left to sit for 48 hours before pointing-up. -Lee www.singleactions.com"Chasing perfection five shots at a time" |
|
cmillard
.375 Atomic
   MOLON LABE
Posts: 1,997
|
Post by cmillard on Apr 29, 2016 7:00:34 GMT -5
wow lee, this is quite the process
|
|
|
|
Post by Lee Martin on May 3, 2016 19:05:29 GMT -5
Bullet Making – Part XI __________________________________ I spoke with George Ulrich last week and he told me to cut down on my lube. Going forward I’ll use 0.5 grs per jar for jacket lubing. The cores will then be seated, the jar cleaned with acetone, and another 0.5 grs applied to lube the cored jackets. Since I still had enough lanolin on the jacket at 2.0 grs, I didn’t re-lube after core seating. Instead I went right to point forming. Here are those steps. The cored jacket is placed on the punch and the press is actuated. 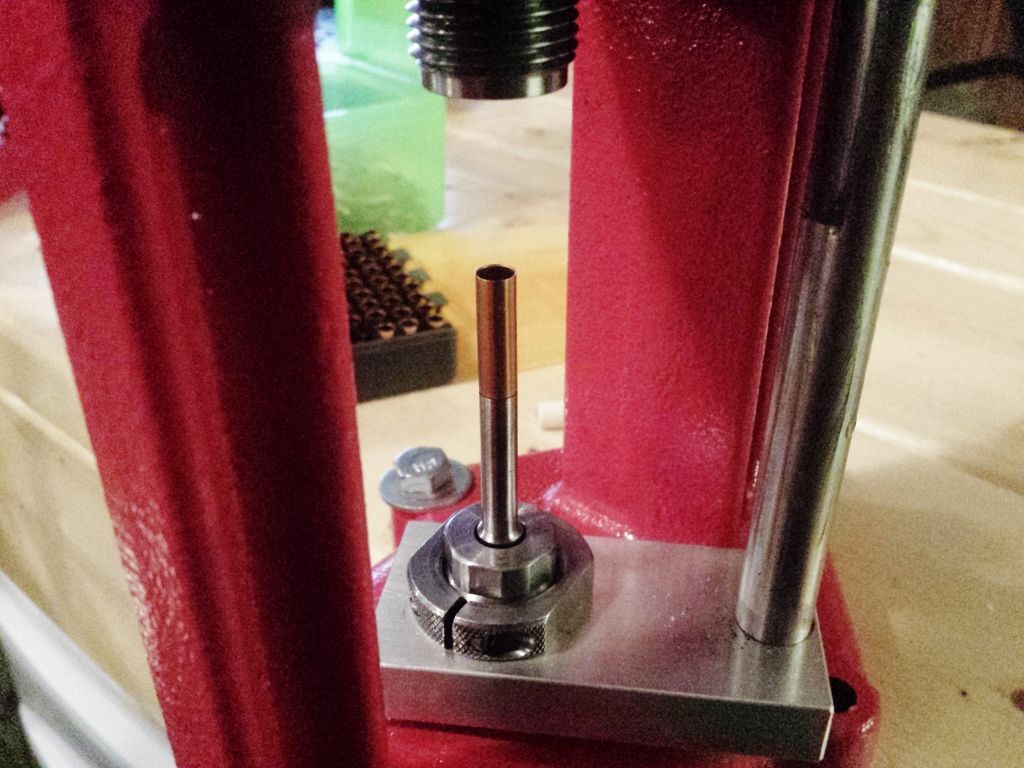 Some video of the point-up process: Note how careful I am in guiding the thin jacket lip into the die. The final bullets are then measured for: 1) Weight – these by design land at 67.1 grs. I must’ve done good on core swaging because they vary by less than 0.1 grs over a wide sample population 2) Base diameter. All of them mic 0.2433” 3) Base-to-ogive. These are exactly 0.966” with no variation across those tested. 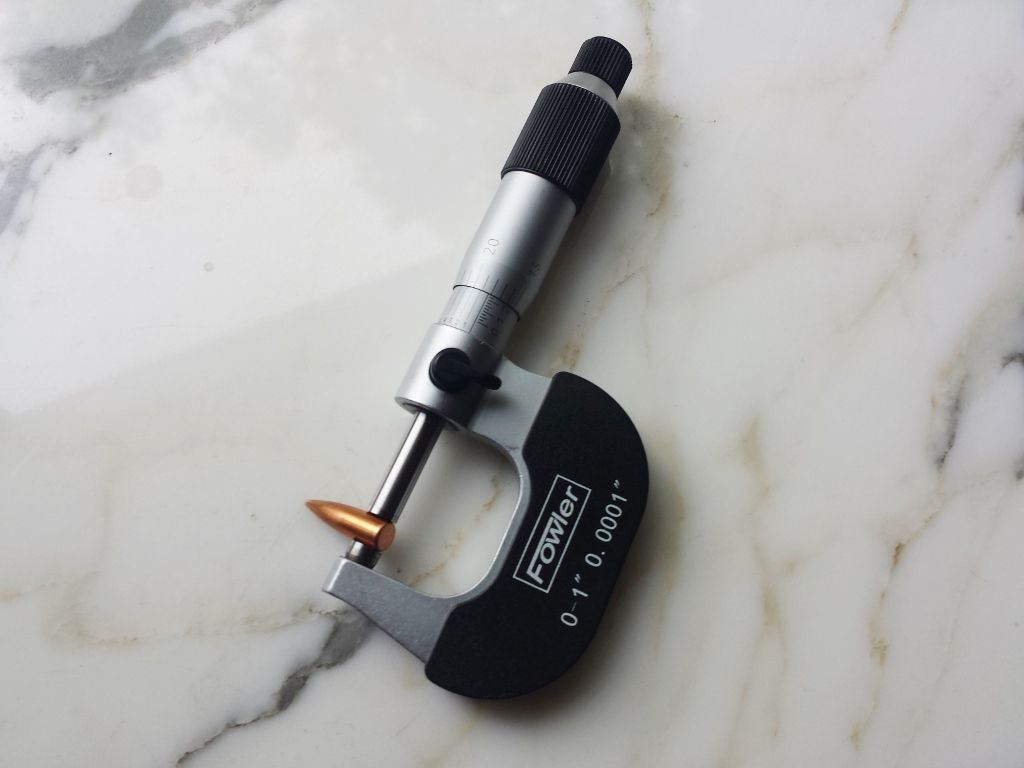 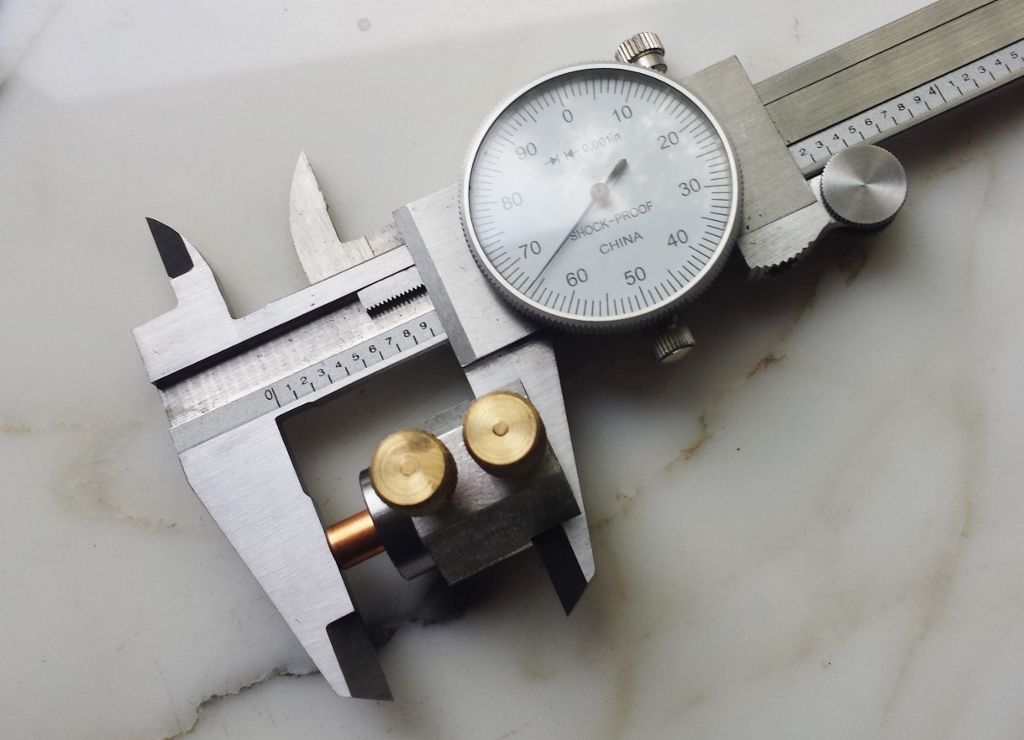 Here are the components involved in making my 8.5 ogive 67 grain 6mm’s. Left to right – cut core, swaged core, empty jacket, core seated jacket, and the formed bullet. 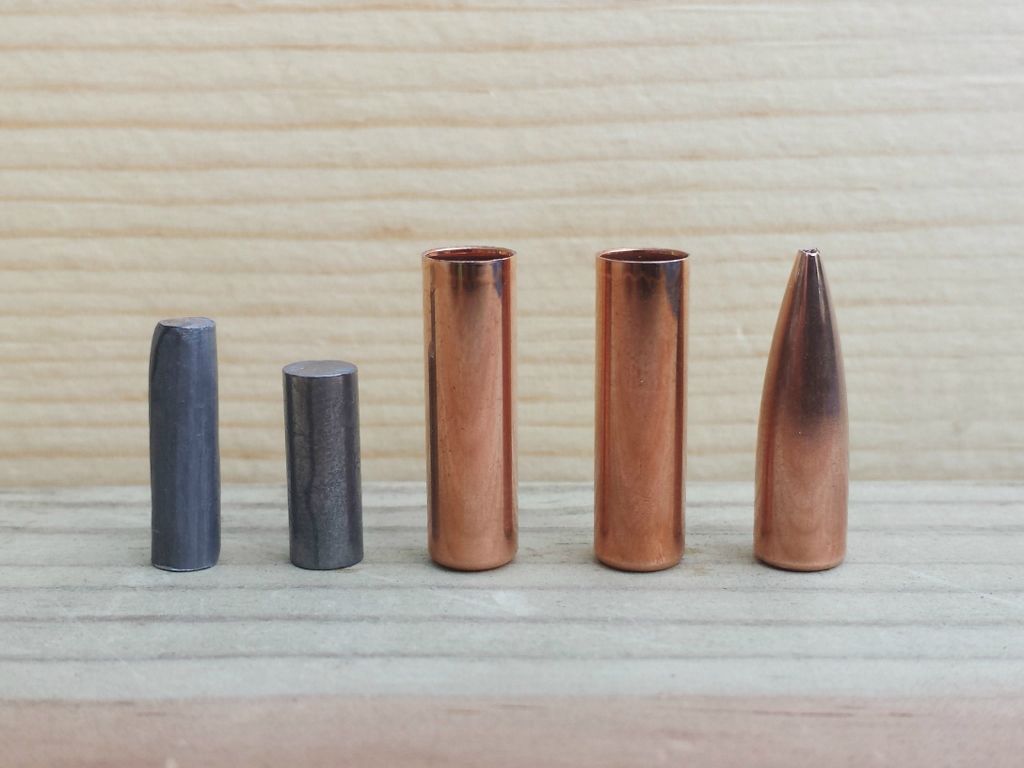 One of the neatest features of a Ulrich bullet is the heal. George grinds a slight radius into the core seating and point-up punches. The result is a straight base with no discernable pressure ring. 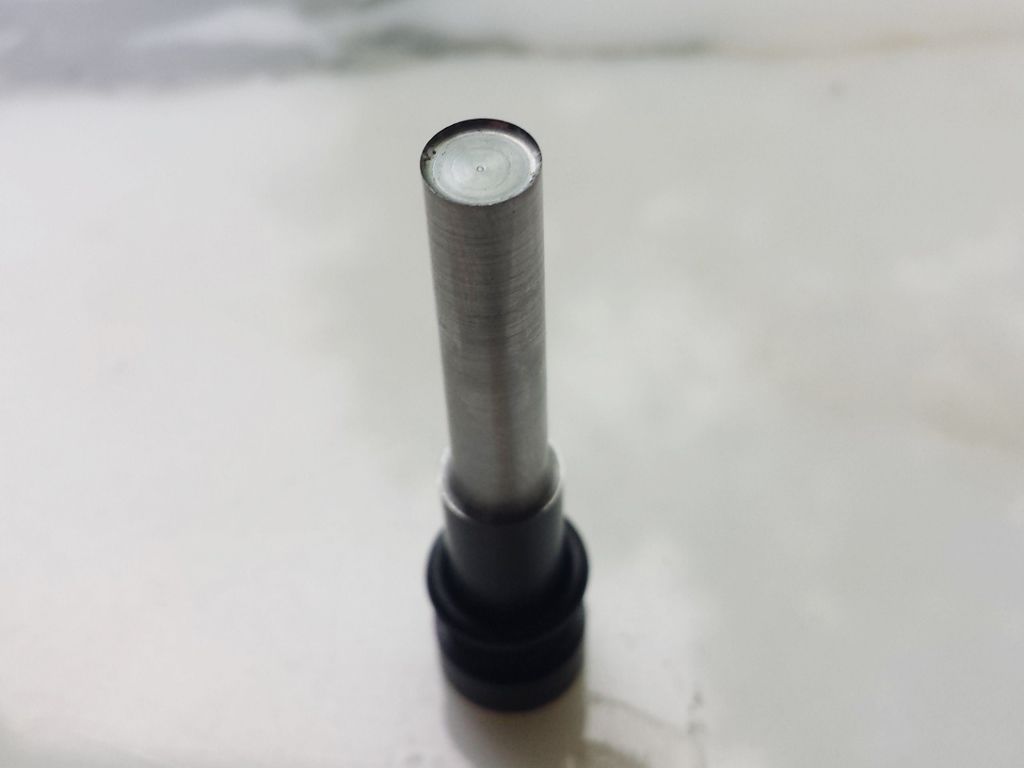 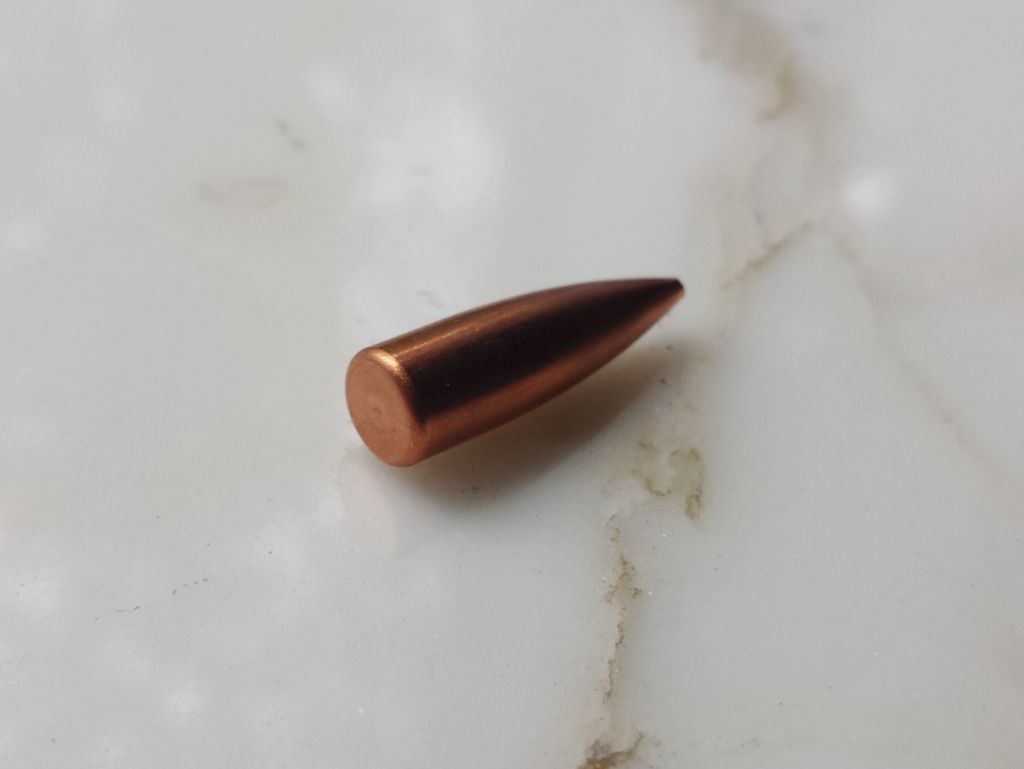 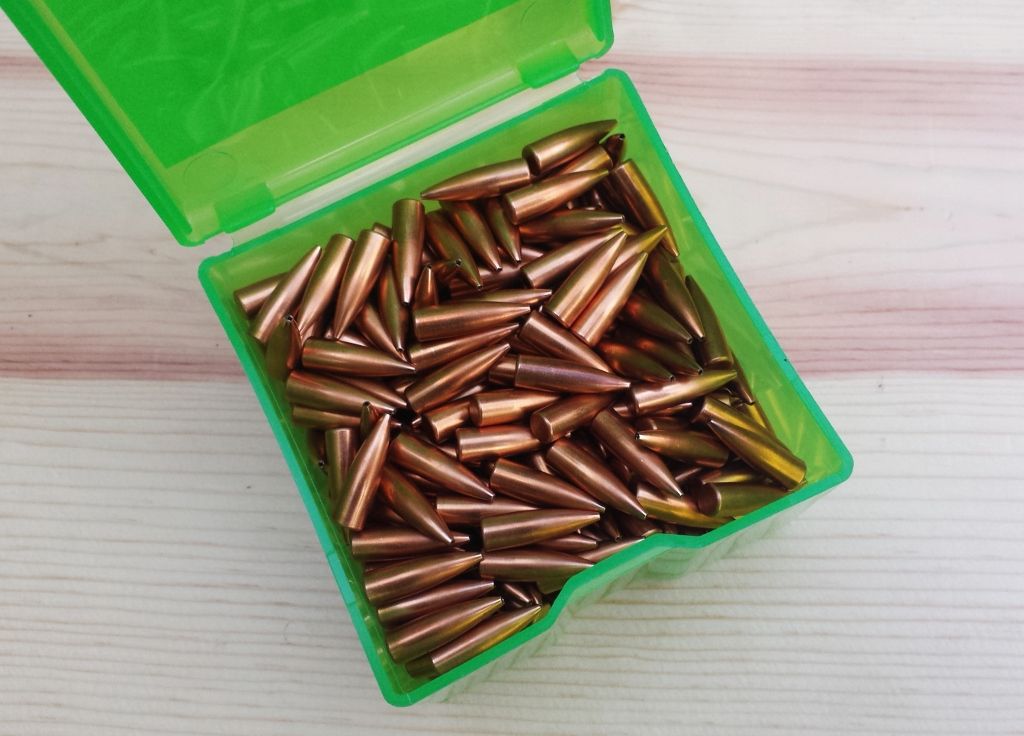 My boxed bullets. 500 count on the left, 1,000 count on the right. 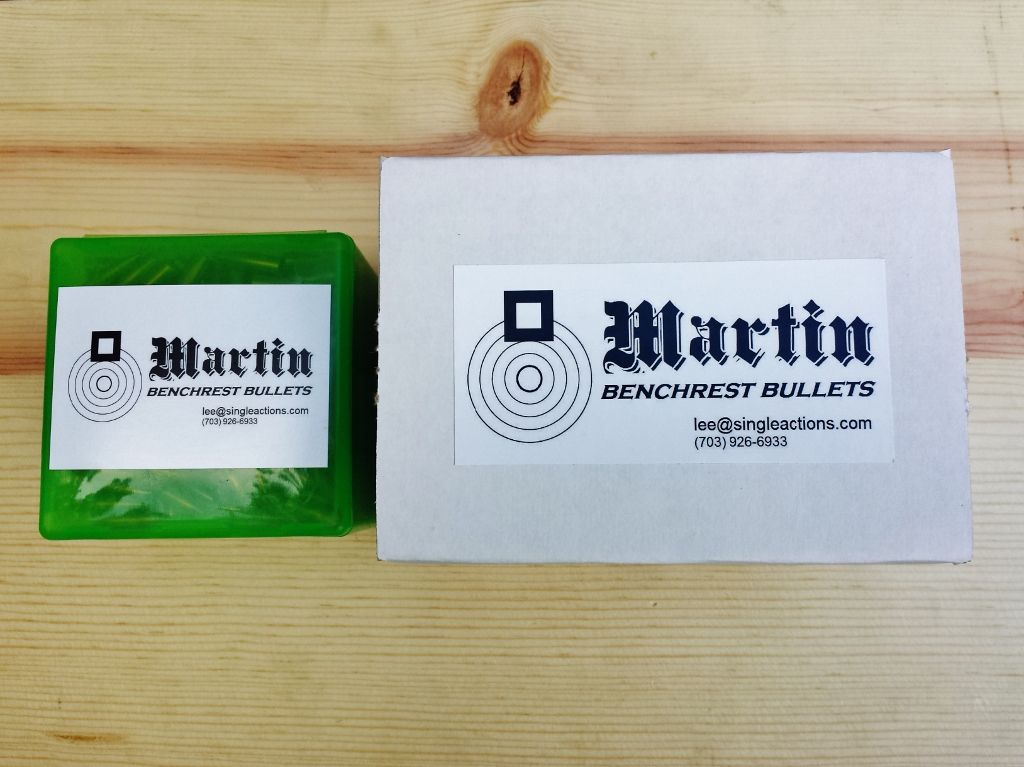 This Saturday we’ll see how they fly. -Lee www.singleactions.com"Chasing perfection five shots at a time" |
|
|
|
Post by cherokeetracker on May 3, 2016 22:00:28 GMT -5
Well with all the first class equipment you have, I was expecting to see a bullet sorting Stand. The Bump gauge is cool. To me they work just as well, and, as a matter of fact, I use them. Now I see why you spoke so highly of the dies. If I was to ever do this, I would have to follow suit. Those bullets are very good looking. I am excited and looking forward to the results. The Labels (Stickers) are awesome too. You planned ahead. mhmm, I like your self confidence.
I will be calling Vegas to see the odds on the group sizes. Would you like my predictions? Or should I keep them to myself?
Charles
|
|
|
|
Post by squawberryman on May 4, 2016 14:35:02 GMT -5
If you start mixing your own powder I think my head will explode....
|
|


