|
|
Post by Lee Martin on Sept 4, 2012 20:45:49 GMT -5
Lynn....they're for a small block Chevy. -Lee www.singleacctions.com"Building carpal tunnel one round at a time" |
|
|
|
Post by whitworth on Sept 5, 2012 8:25:56 GMT -5
You puttin' a valvetrain in that Seville??  ;D ;D ;D ;D |
|
|
|
Post by Lee Martin on Sept 5, 2012 11:59:54 GMT -5
|
|
|
|
Post by Lee Martin on Sept 5, 2012 12:04:21 GMT -5
Facing the cylinder and cutting it to final length. Like Ross’ our clone will have minimal barrel-to-frame protrusion: 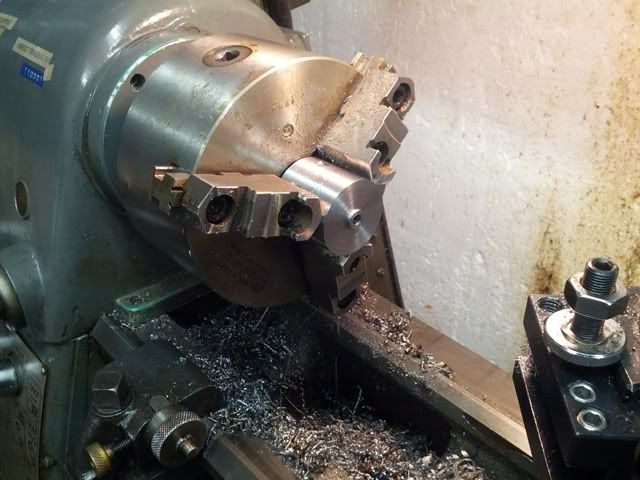 Fit and timed to the gun: 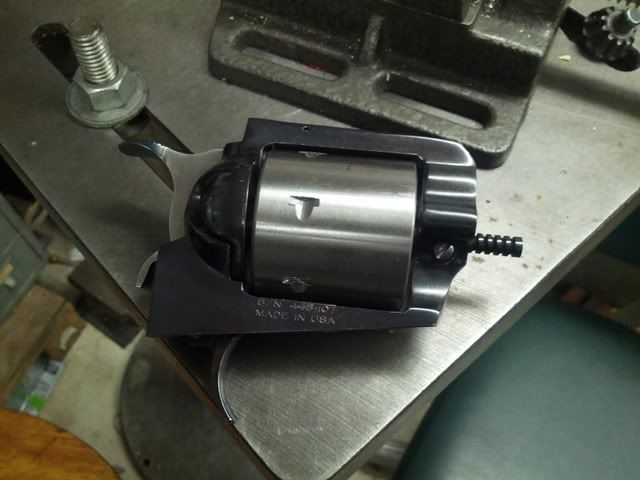 One note….enlarging the cylinder diameter does require timing modifications. The bolt has to drop sooner and you have to slightly delay when the hand engages the ratchet. Otherwise the bolt won’t clear the stop before the cylinder starts to advance. -Lee www.singleactions.com“Building carpal tunnel one round at a time” |
|
|
|
Post by Lee Martin on Sept 5, 2012 12:06:52 GMT -5
This shot illustrates the size increase over a stock cylinder: 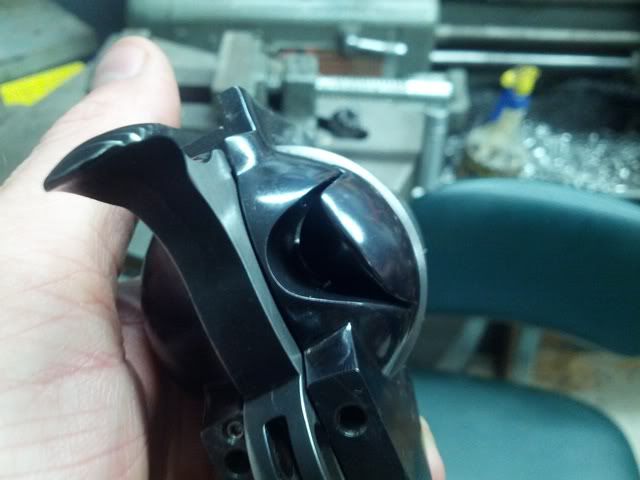 -Lee www.singleactions.com"Building carpal tunnel one round at a time" |
|
|
|
Post by Lee Martin on Sept 5, 2012 12:16:28 GMT -5
Next up we used a home-made frame shank to indicate the bore centerlines: 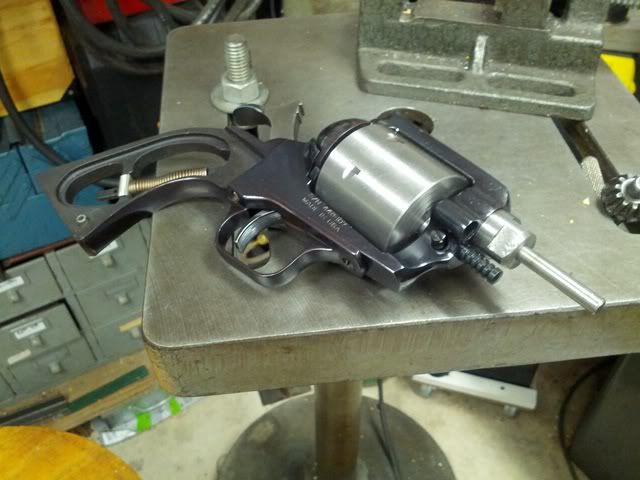 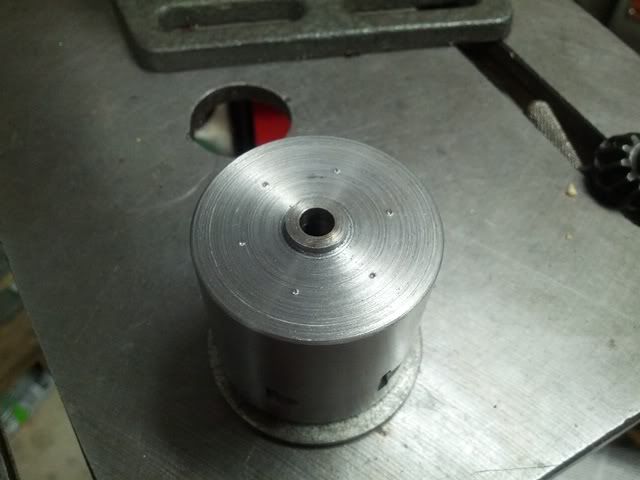 We use this method over line-boring for a couple of reasons: 1) You can cut the bore in 1 pass. Traditional line-boring only allows you to cut pilot holes. You then remove the cylinder and have to re-indicate to cut through the back, and 2) Holding the cylinder in a large 3-jaw Super-Spacer is much more rigid than frame & cylinder jigs. There’s nothing wrong with traditional line-boring, but we prefer the line-indexing approach. It’s never let me down in the accuracy department and we’ve employed it on dozens of conversions (side note – Magnum Research uses a technique similar to ours and they’re known for renowned out-of-box accuracy). -Lee www.singleactions.com“Building carpal tunnel one round at a time” |
|
|
|
Post by Lee Martin on Sept 5, 2012 12:23:06 GMT -5
The axis point of each bore is indicated with a centering device: 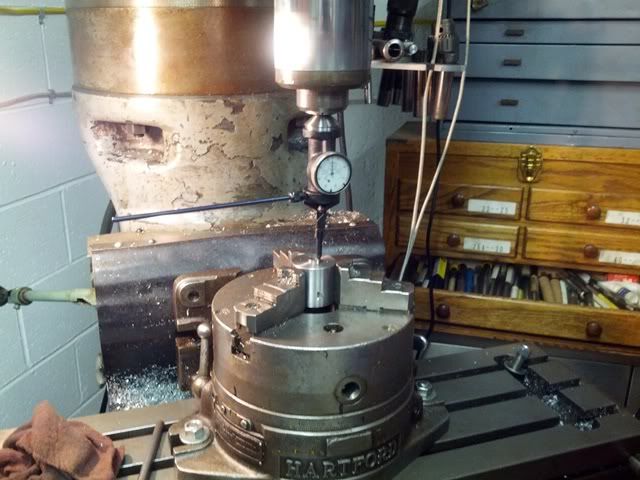 Pilot holes are then drilled: 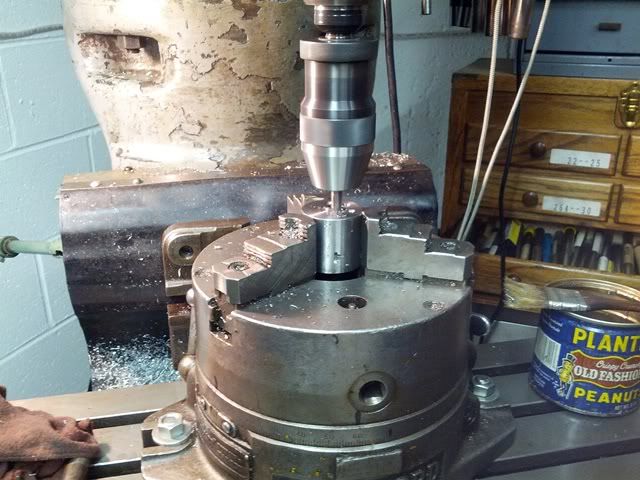 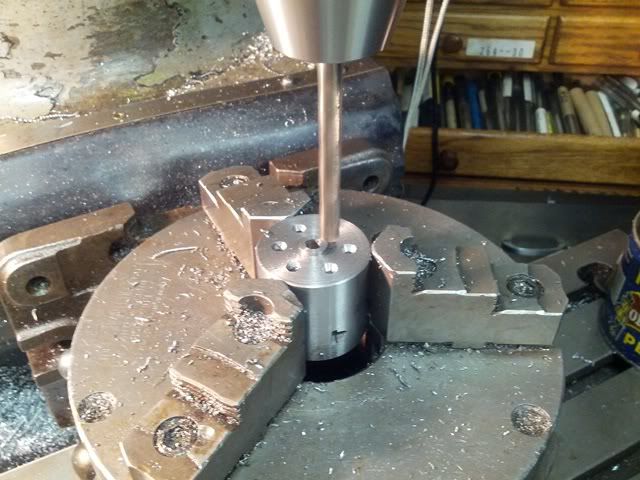 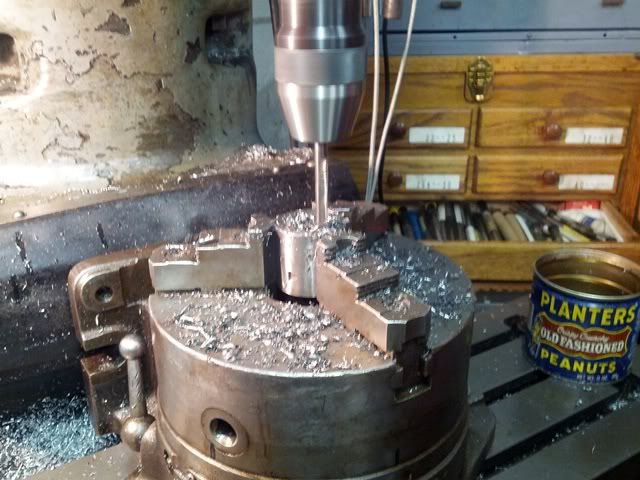 Pilot holes are then opened to 3/8” (again, this is all the way through front to back): 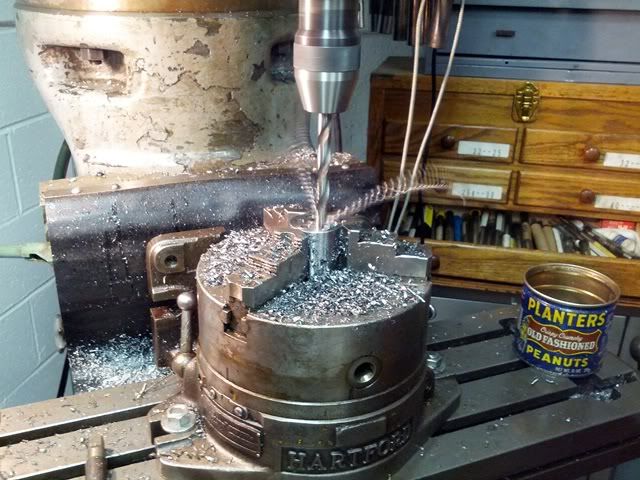 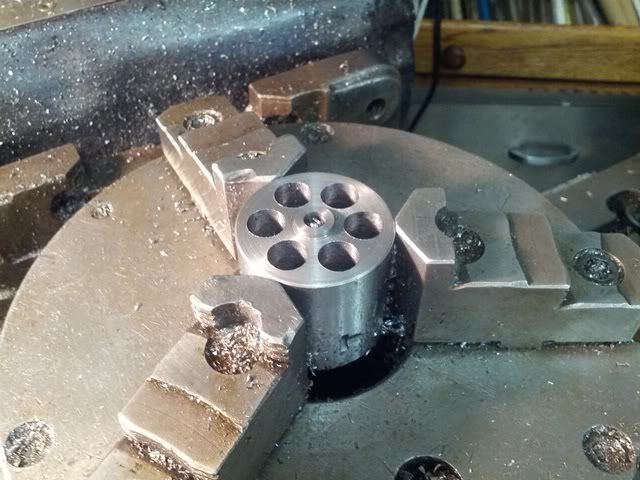 Lastly, the bores are reamed to 0.450”: 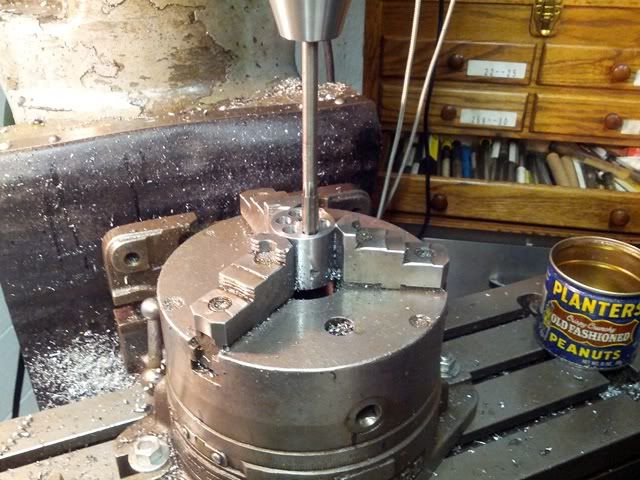 We purposely bore undersize. Using a Sunnen hone we’re able to achieve much tighter spec on the final throats; in this case 0.4525”. -Lee www.singleactions.com“Building carpal tunnel one round at a time” |
|
momatt
.240 Incinerator

Posts: 28
|
Post by momatt on Sept 5, 2012 12:26:58 GMT -5
Absolutely fascinating pictures Lee, thank you for sharing them.
|
|
|
|
Post by Lee Martin on Sept 5, 2012 12:31:26 GMT -5
The cylinder is then flipped over and re-indicated using another centering device: 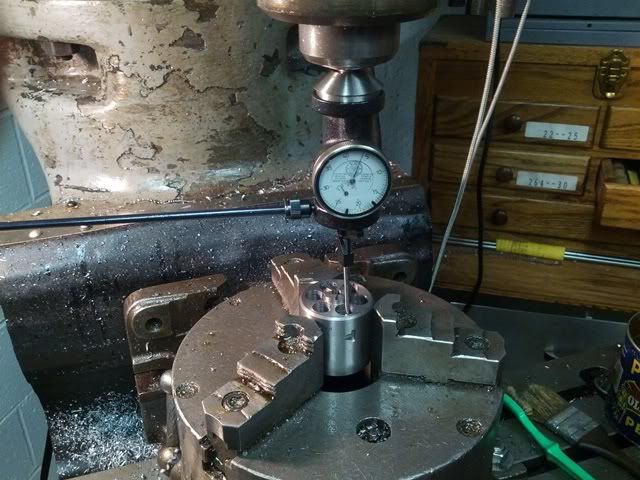 Before reaming the chambers 6 small recesses had to be made in the ratchet. Not only does this allow the rim to clear, but prevents the reamer from having to make the cut. 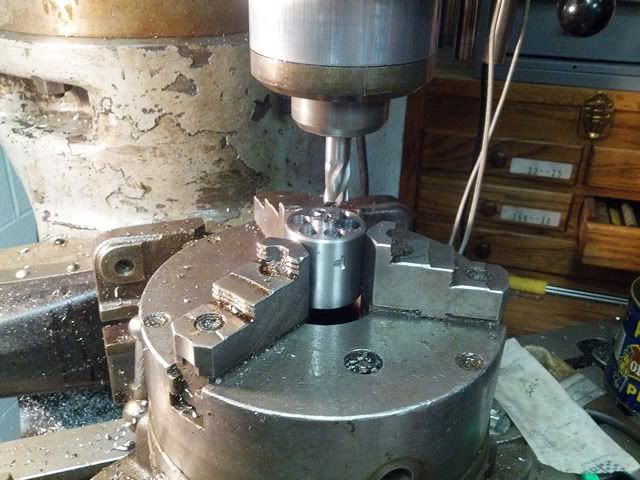 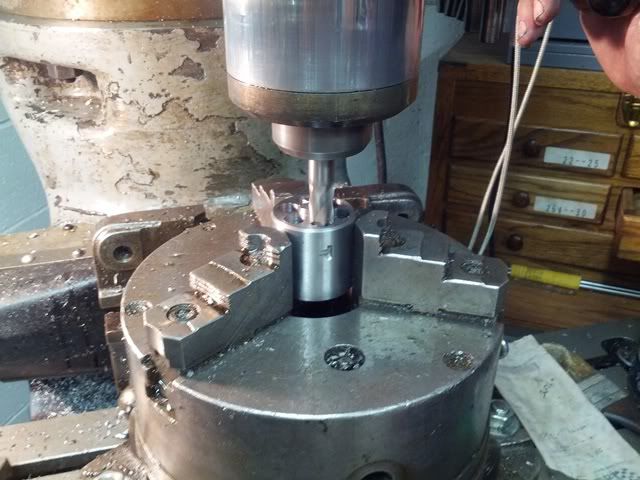 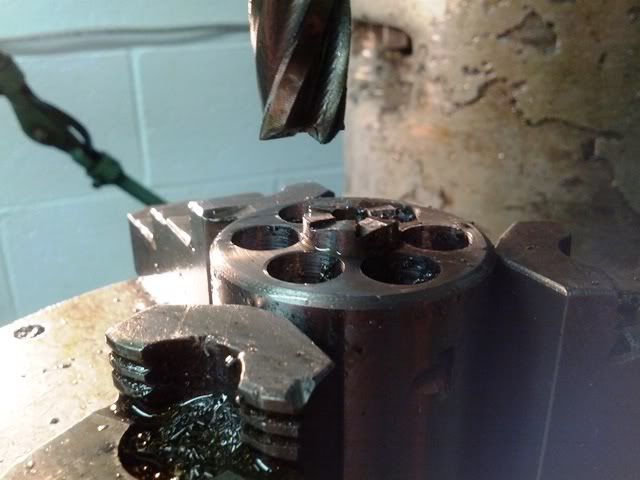 -Lee www.singleactions.com“Building carpal tunnel one round at a time” |
|
|
|
Post by Lee Martin on Sept 5, 2012 12:38:09 GMT -5
Reaming was done with a homemade 454 Casull reamer: 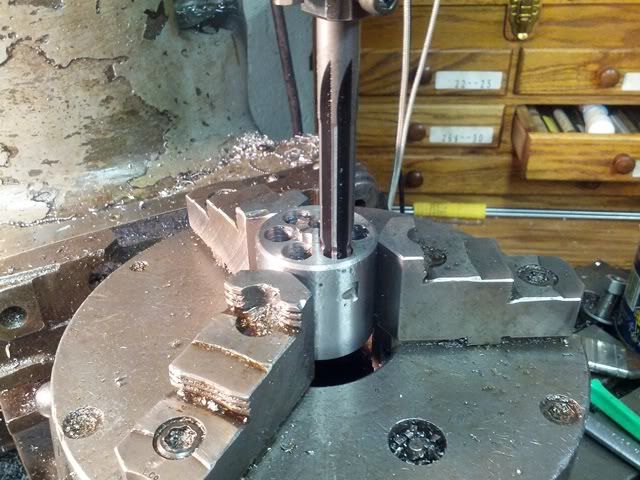 This cuts a very tight chamber (about 0.0015” over a sized case):  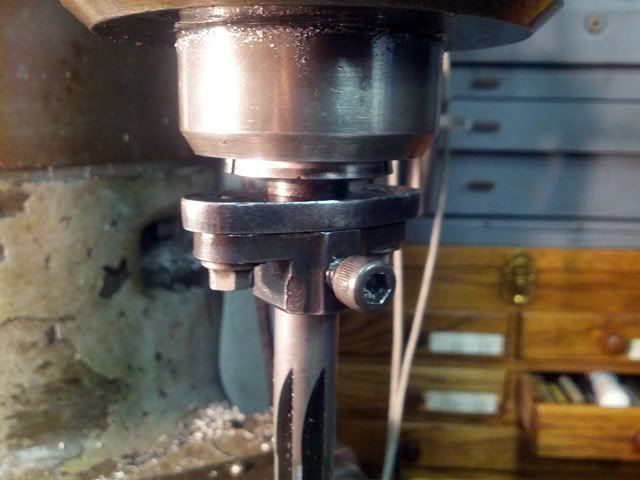 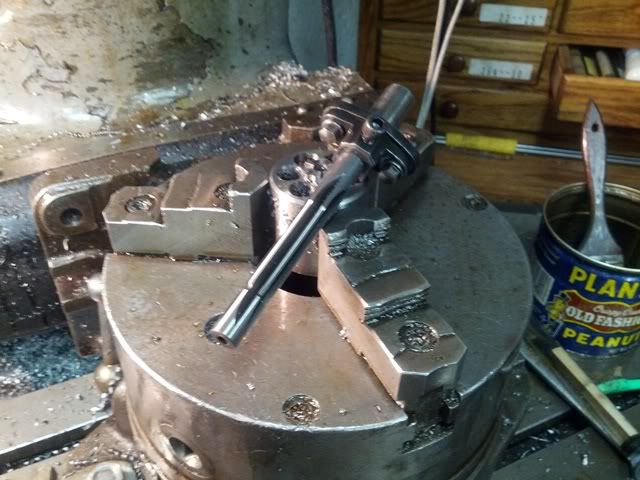 -Lee www.singleactions.com“Building carpal tunnel one round at a time” |
|
|
|
Post by Lee Martin on Sept 5, 2012 12:44:49 GMT -5
This’ll show the wall thickness and diameter difference between our cylinder and a stock Ruger 45 Colt: 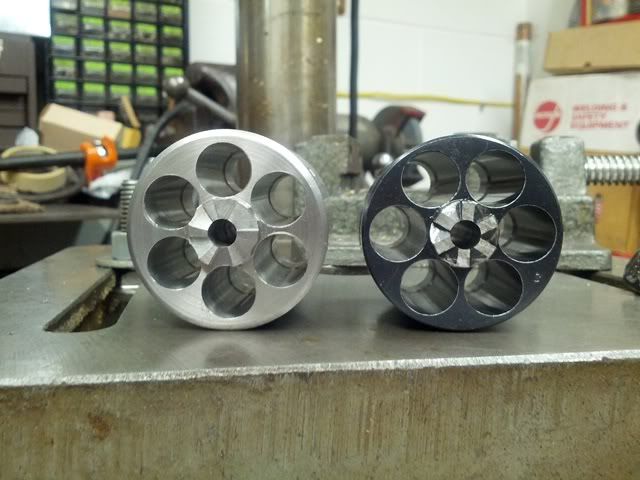 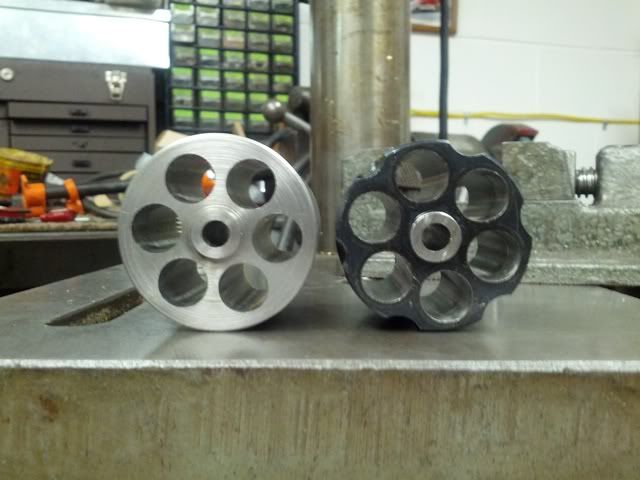 Unhardened cylinder fit and timed to the gun. 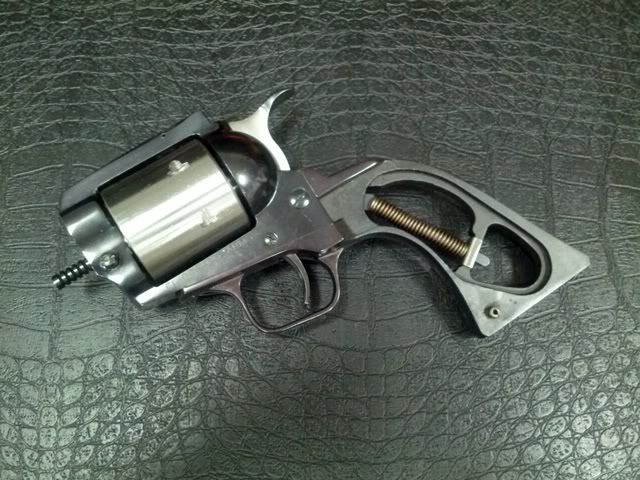 -Lee www.singleactions.com“Building carpal tunnel one round at a time” |
|
|
|
Post by Lee Martin on Sept 5, 2012 12:48:01 GMT -5
|
|
|
|
Post by Lee Martin on Sept 5, 2012 12:49:44 GMT -5
Video of lathing the cylinder to final length: -Lee www.singleactions.com"Building carpal tunnel one round at a time" |
|
|
|
Post by Lee Martin on Sept 5, 2012 12:52:28 GMT -5
|
|
|
|
Post by Lee Martin on Sept 5, 2012 12:53:43 GMT -5
|
|