|
|
Post by 2 Dogs on Sept 14, 2012 6:52:28 GMT -5
Its almost time for the weekend!!!
Lets see how Lee and his Dad update this thread!!!
Im excited to see whats next!
|
|
|
|
Post by Lee Martin on Sept 14, 2012 8:13:42 GMT -5
Glad you've enjoyed the thread Fermin. We'll be working on the gun this weekend so look for updates on Monday. -Lee www.singleactions.com"Building carpal tunnel one round at a time" |
|
|
|
Post by Lee Martin on Sept 17, 2012 13:08:57 GMT -5
We only got a couple of hours in this weekend, but here’s the progress made. Starting to turn the barrel shank: 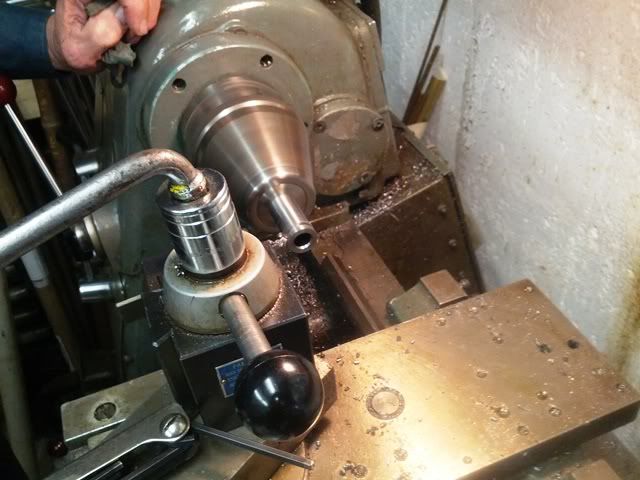 Measuring the shank depth (front of the frame to the front of the cylinder): 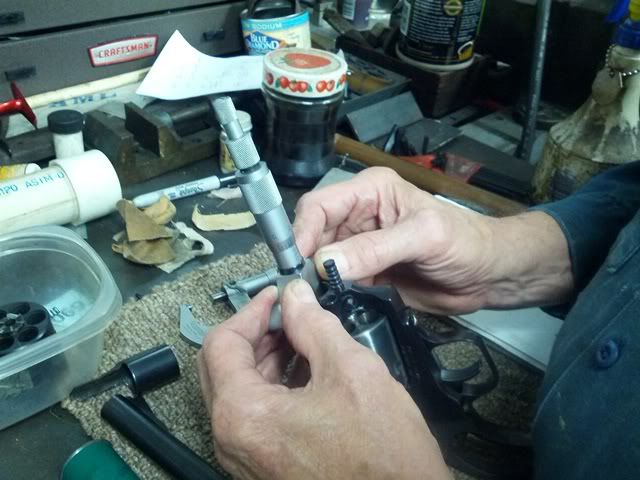 Initial cut for total shank length. You always go long to account for crush, then face it to the desired gap. Final spec is done post-threading: 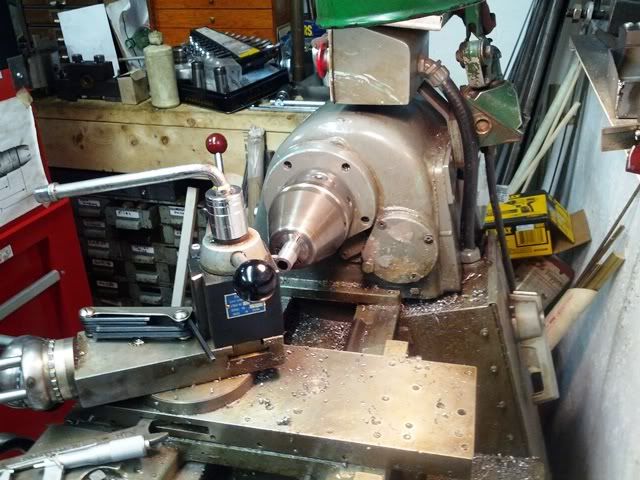 Threading the shank: 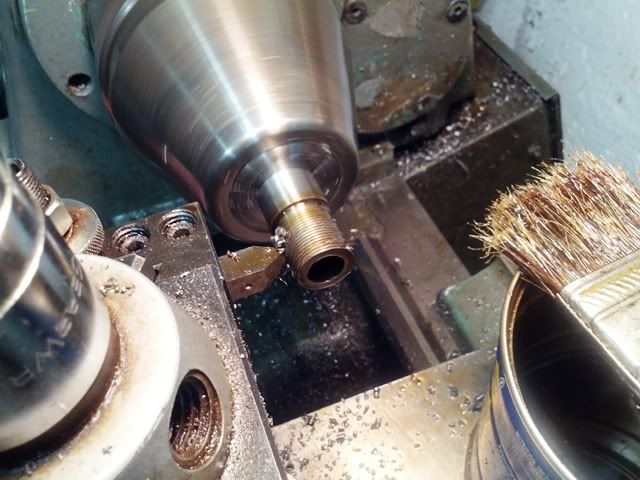 -Lee www.singleactions.com"Building carpal tunnel one round at a time" |
|
|
|
Post by Lee Martin on Sept 17, 2012 13:12:22 GMT -5
Testing the frame on the threaded barrel: 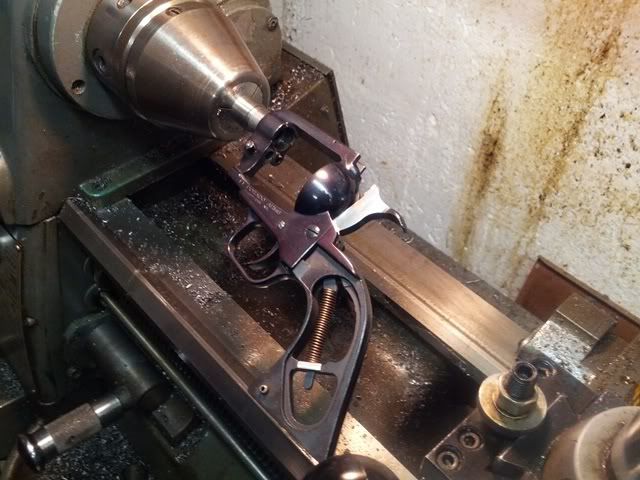 Multiple facing cuts were made to achieve 0.002” gap (same as John Linebaugh did on his early conversions): 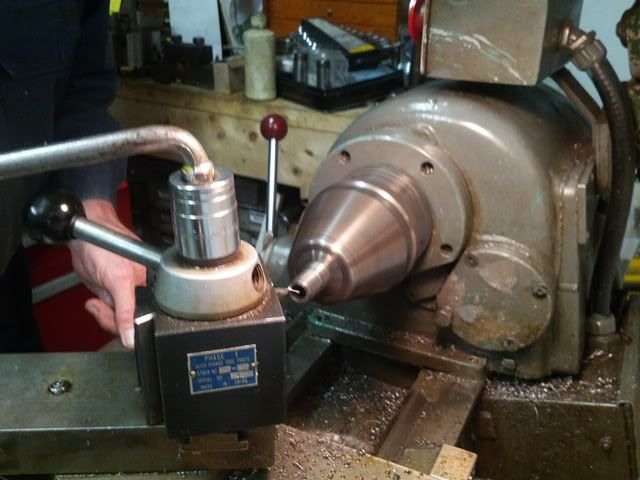 Rechecking depth: 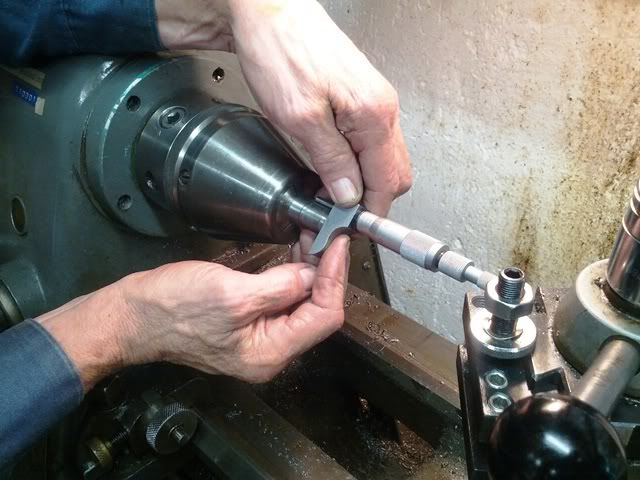 Barrel fully installed and gap tested. This one will barely take a 0.002” feeler. 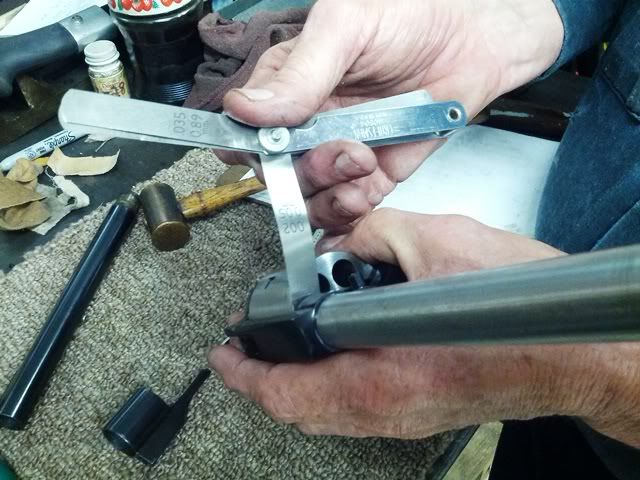 -Lee www.singleactions.com"Building carpal tunnel one round at a time" |
|
|
|
Post by Lee Martin on Sept 17, 2012 13:16:12 GMT -5
Cutting the forcing cone using our standard 11 degrees: 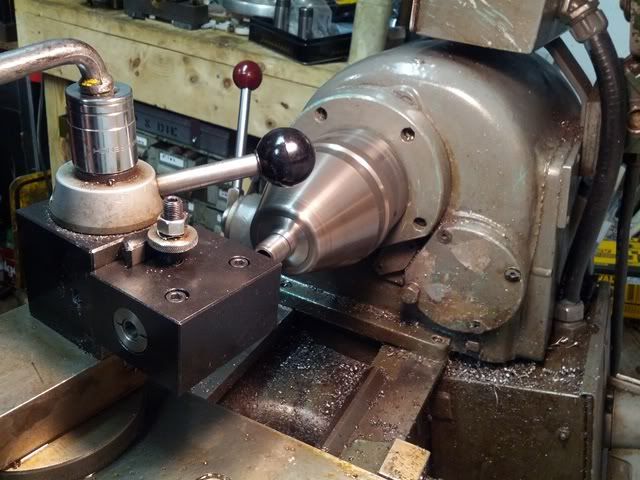 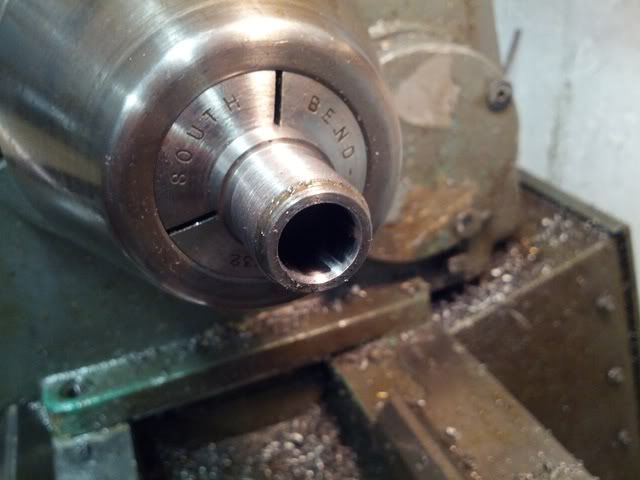 Cutting the crown: 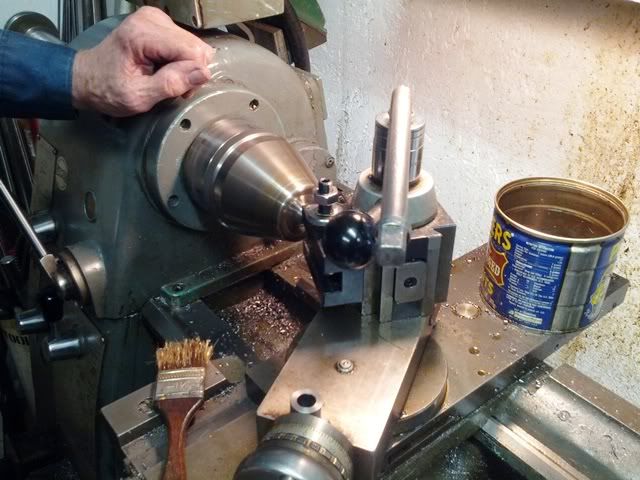 I have some front end shots of John’s early Seville and Abilene conversions. This crown approximates it: 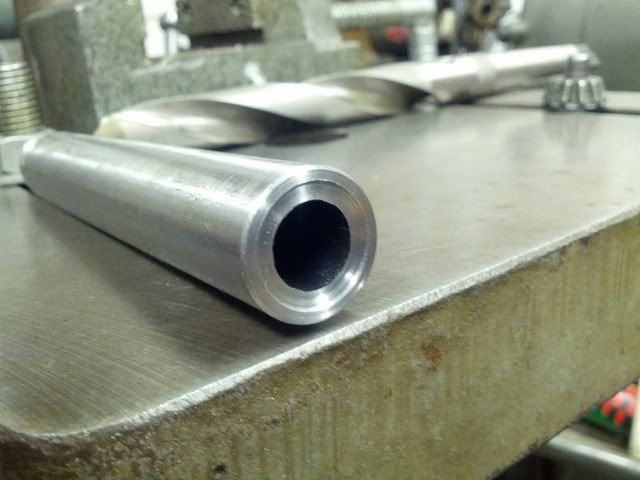 Finished barrel: 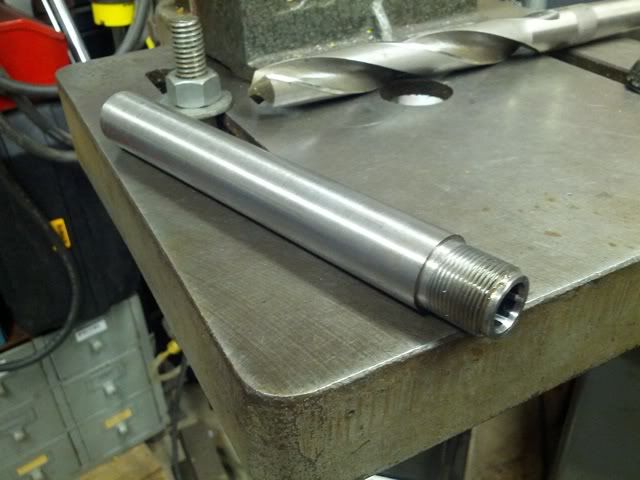 -Lee www.singleactions.com"Building carpal tunnel one round at a time" |
|
|
|
Post by Lee Martin on Sept 17, 2012 13:20:09 GMT -5
Next up was drilling and tapping for the ejector housing: 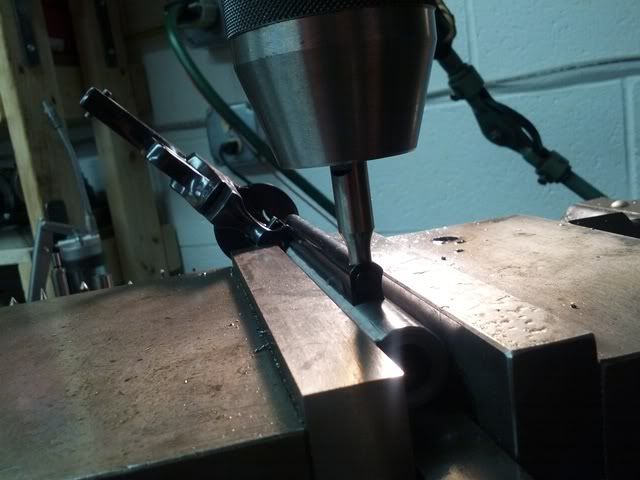 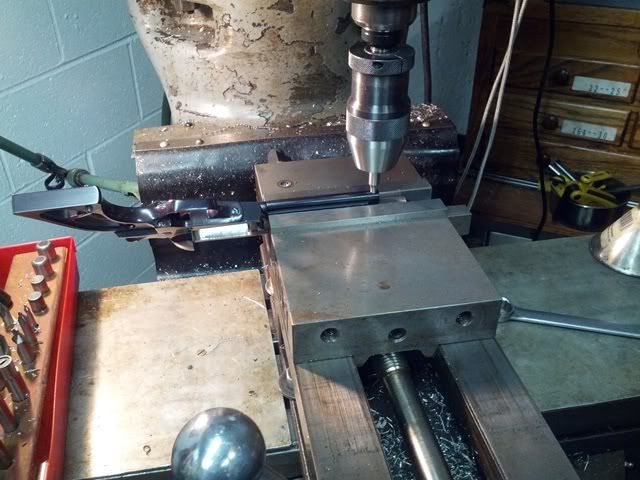 Drilling: 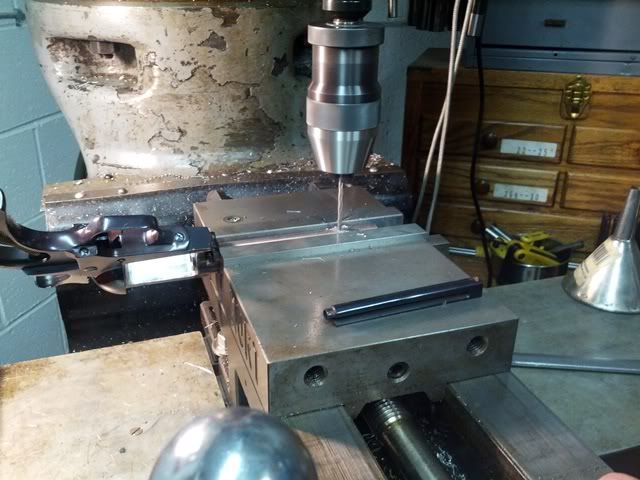 Tapping: 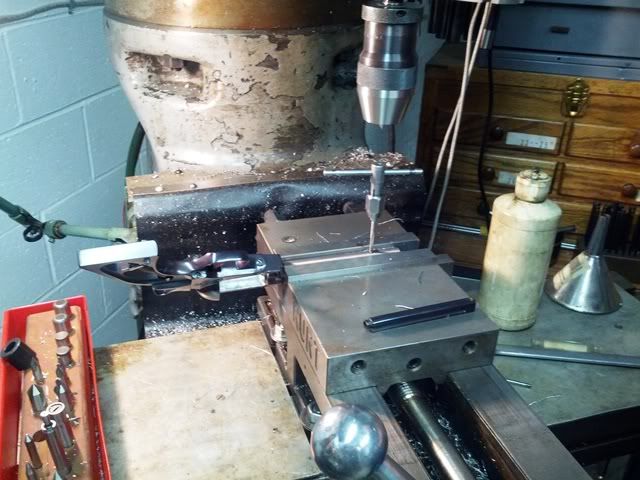 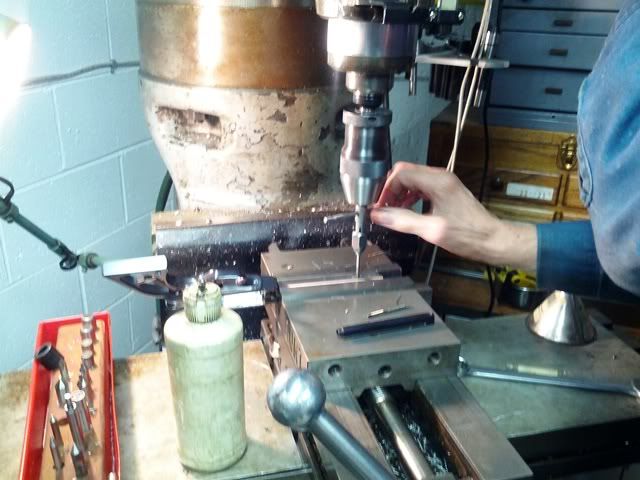 -Lee www.singleactions.com"Building carpal tunnel one round at a time" |
|
|
|
Post by Lee Martin on Sept 17, 2012 13:22:13 GMT -5
We also finished the barrel band. Length was cut to 0.82”: 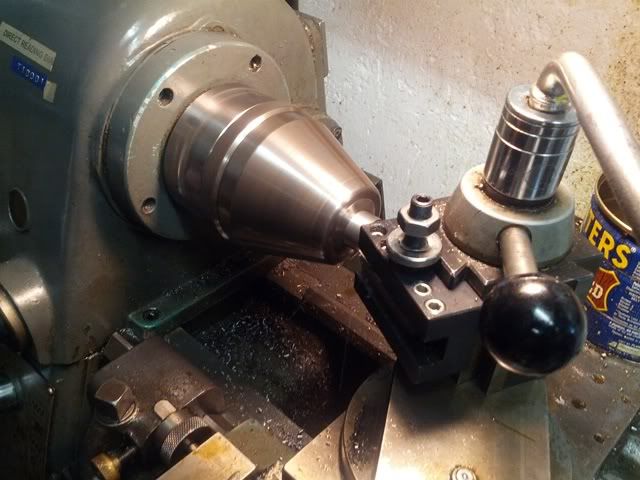 Honing the final inside diameter: 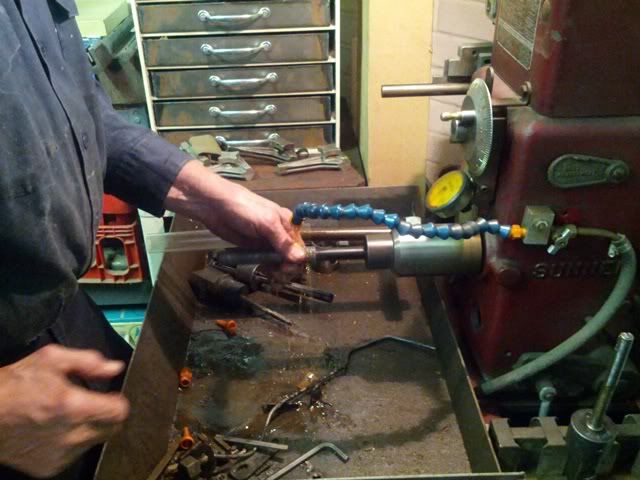 -Lee www.singleactions.com"Building carpal tunnel one round at a time" |
|
|
|
Post by whitworth on Sept 17, 2012 13:24:10 GMT -5
We'll be making some noise soon enough, Lee!
|
|
|
|
Post by Lee Martin on Sept 17, 2012 13:25:05 GMT -5
And here's where we stand: 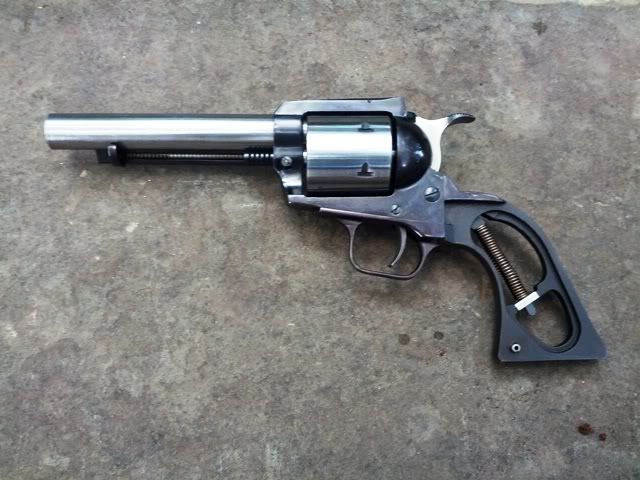 Next up is installing the band and building the sight base and blade. Then we test fire and blue (we've decided to do the latter in-house too). -Lee www.singleactions.com"Building carpal tunnel one round at a time" |
|
|
|
Post by whitworth on Sept 17, 2012 13:45:59 GMT -5
Very nice! Can't wait!
|
|
|
|
Post by 2 Dogs on Sept 17, 2012 14:18:02 GMT -5
Very very COOL!!!
|
|
|
|
Post by oregon45 on Sept 17, 2012 14:52:55 GMT -5
Great pics! Looking forward to the next installment.
|
|
|
|
Post by vonfatman on Sept 17, 2012 16:59:47 GMT -5
Lee,
Great pics.
Bob
|
|
Fowler
.401 Bobcat
  
Posts: 3,671
|
Post by Fowler on Sept 17, 2012 17:10:31 GMT -5
Lee I assume you are going to do a steel front sight not your aluminum front sight you typically like to make?
Also what are you doing for grips? Just wondering, I am enjoying the heck out of this project of yours...
|
|
|
|
Post by whitworth on Sept 17, 2012 18:36:10 GMT -5
Fowler -- that was covered elsewhere in this thread. He has the sight off of a Ruger #1 that the Martins are modifying just like the Seyfried gun. This is a great thread!
|
|