


Ruger basepin replacement BONUS: tools and hot rods LENGTHY
Jul 7, 2021 17:31:15 GMT -5
petep, dougader, and 7 more like this
Post by squawberryman on Jul 7, 2021 17:31:15 GMT -5
This was supposed to be a four picture thread. I have my single six hunter 22 convertible and a while back I ordered a new #5 basepin from Kelye. It came when it should have and when I went to put it in it wouldn't fit. It fit the cylinders space shuttle tight but no go on the frame. Years ago I had this happen with a basepin for a Max but instead of contacting Kelye I grumbled and threw it in a box. Ignorance is NOT blissful. I know those guns don't NEED a tighter basepin which Mt. Bradshaw will attest to but here's my theory. Pre war Smith = don't mess with. New model Ruger = mess with. I contacted Kelye and he gave me his idea which I added a little to. I got a twelve inch by a quarter inch pair of brass rods from Amazon for nine bucks and some 400 grit diamond paste. I called my buddy hot rod Dave (many pictures posted of his shop/stuff in other threads) and asked him to help. I took fried chicken to his house today with my box of stuff and idea and laid it out as we ate. He has a three jaw chuck in his lathe and does well with what he needs to do for frame/steering/suspension work. He told me "We need to ride to Jim's". So we load up and go right around the corner to a house a block away from where I lived for 18 years before moving where we live now. I'd seen his garage before but now I got to go in. This greeted us. It's on a photocell so the globe lights up at night.

When we walked in the door my eyes started flying around the room, this man had tools and the knowledge to use them. He understood my idea and after discussion we decided .247 was our target diameter. The factory pin was .247, Kelye's pin was .249. There's no arguing the benefit of his product as many of you know. This was the second one I'd had an issue with (Rugers' inconsistency of cylinder/frame hole diameter) and the first one I thought about fixing and I'm glad I did. The following is our process. it ain't making grip frames, but this is the first time I've ever bore witness to this process. Setting the chuck for zero on the brass stock:
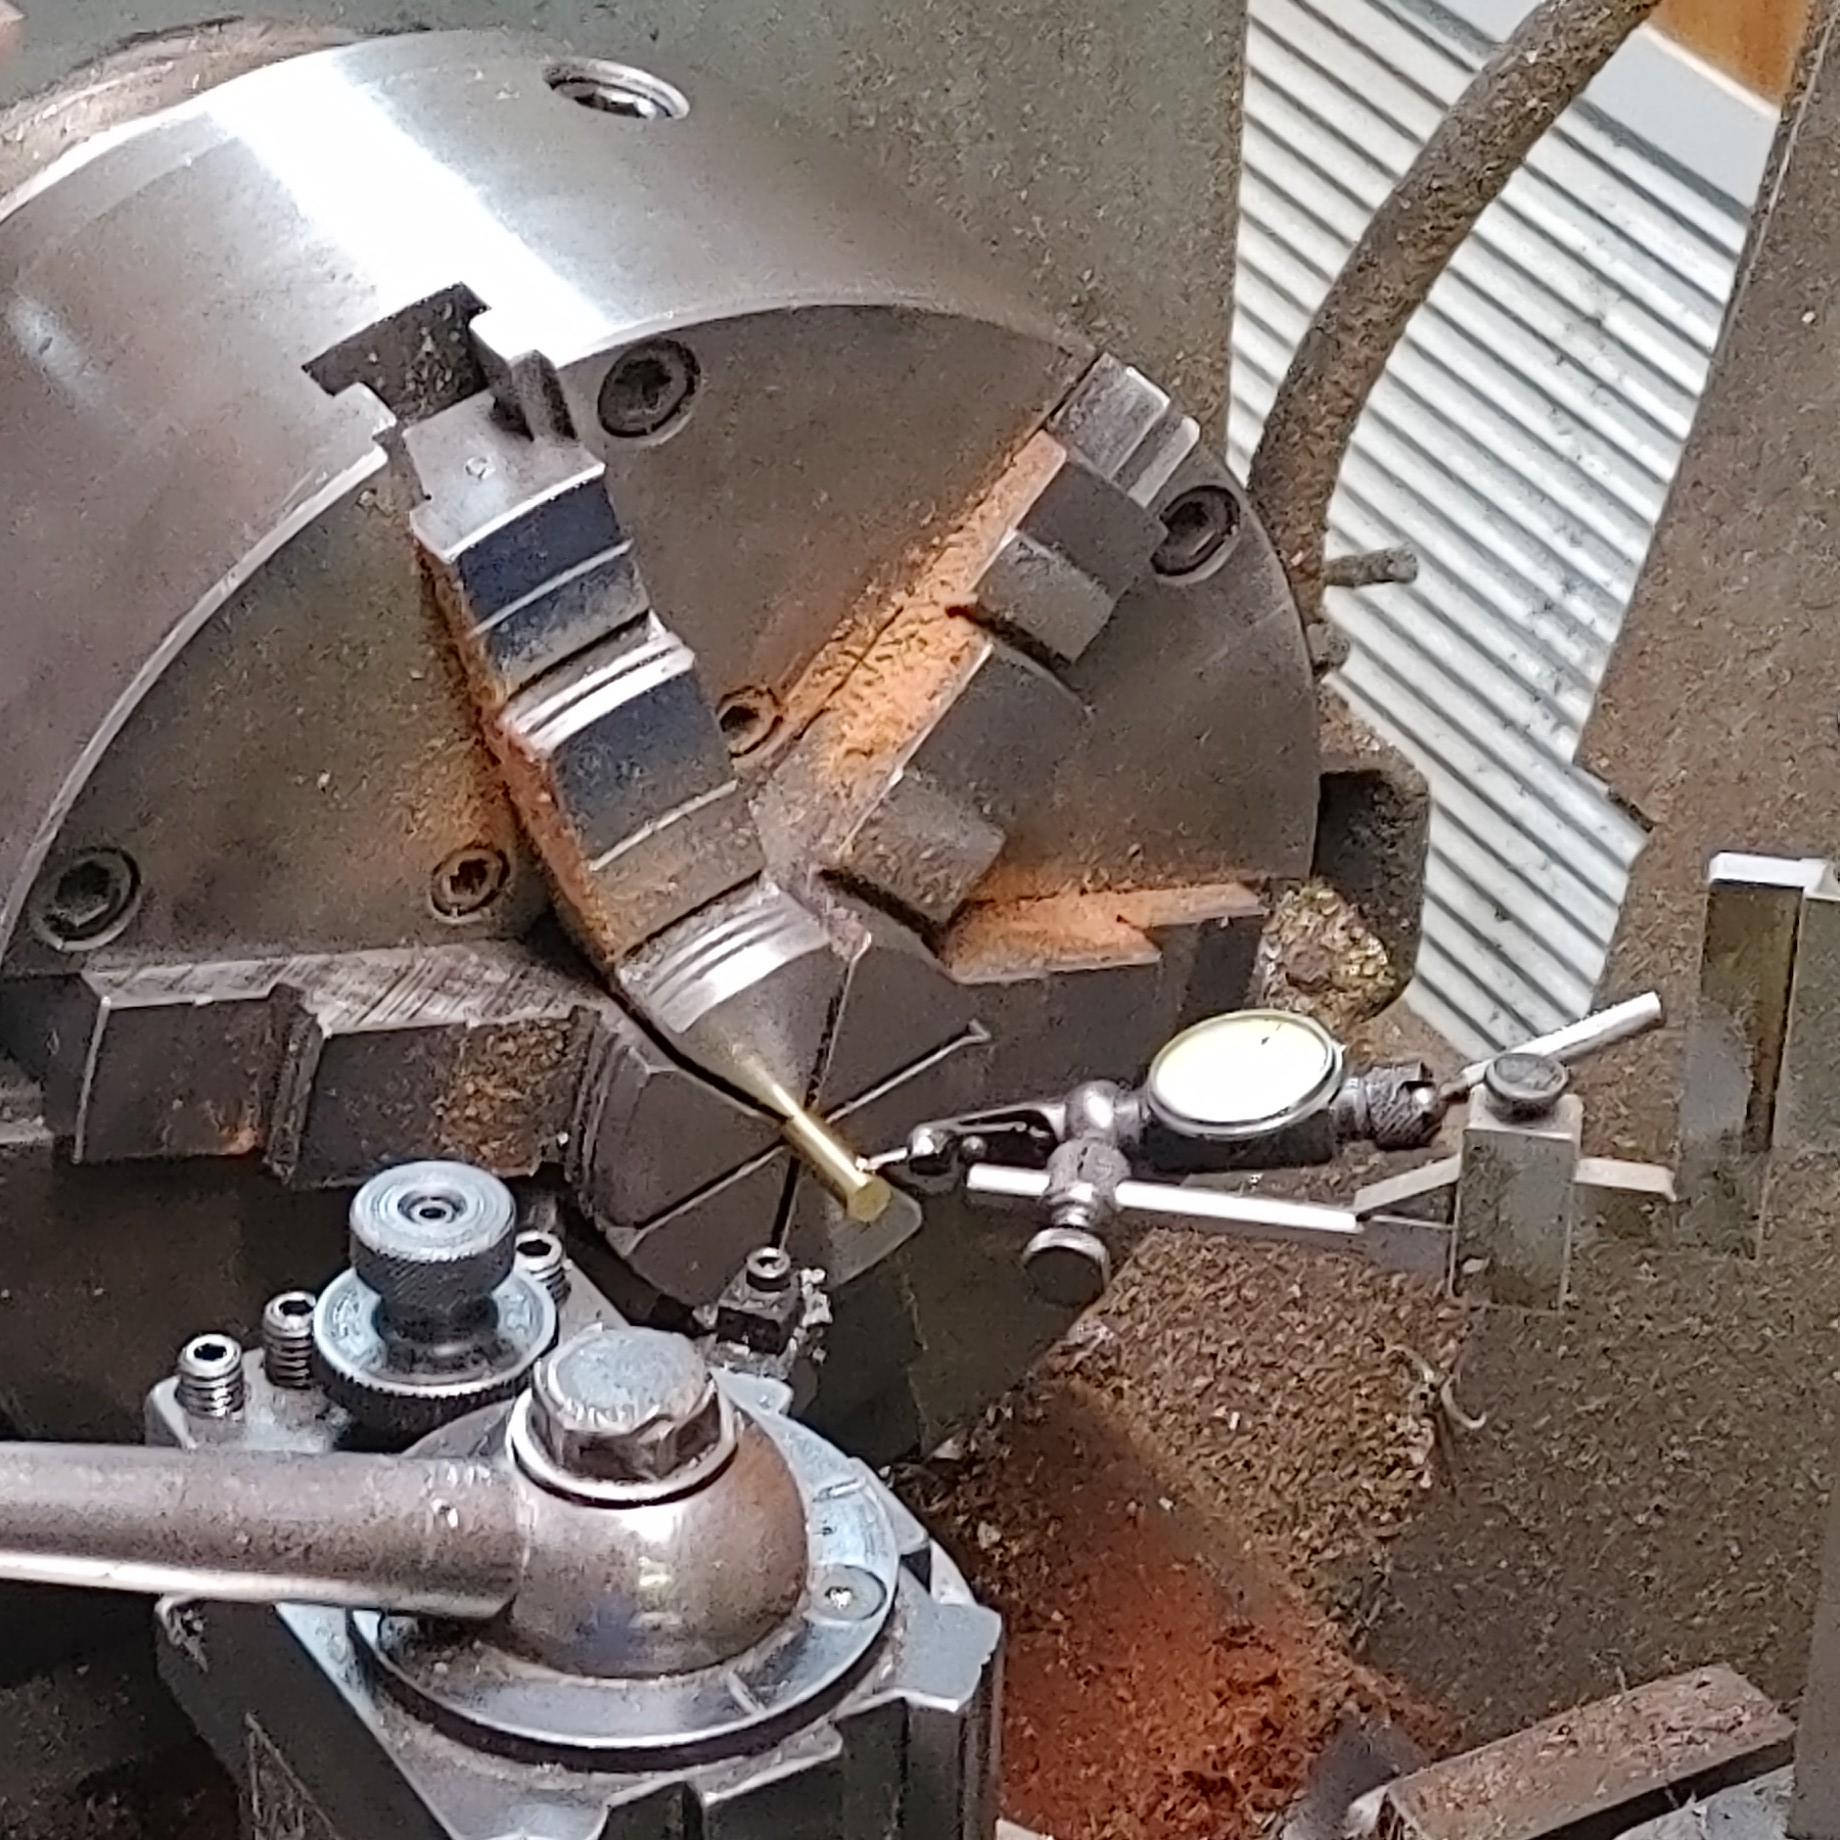
Center hole cut:

Centered and ready to cut:
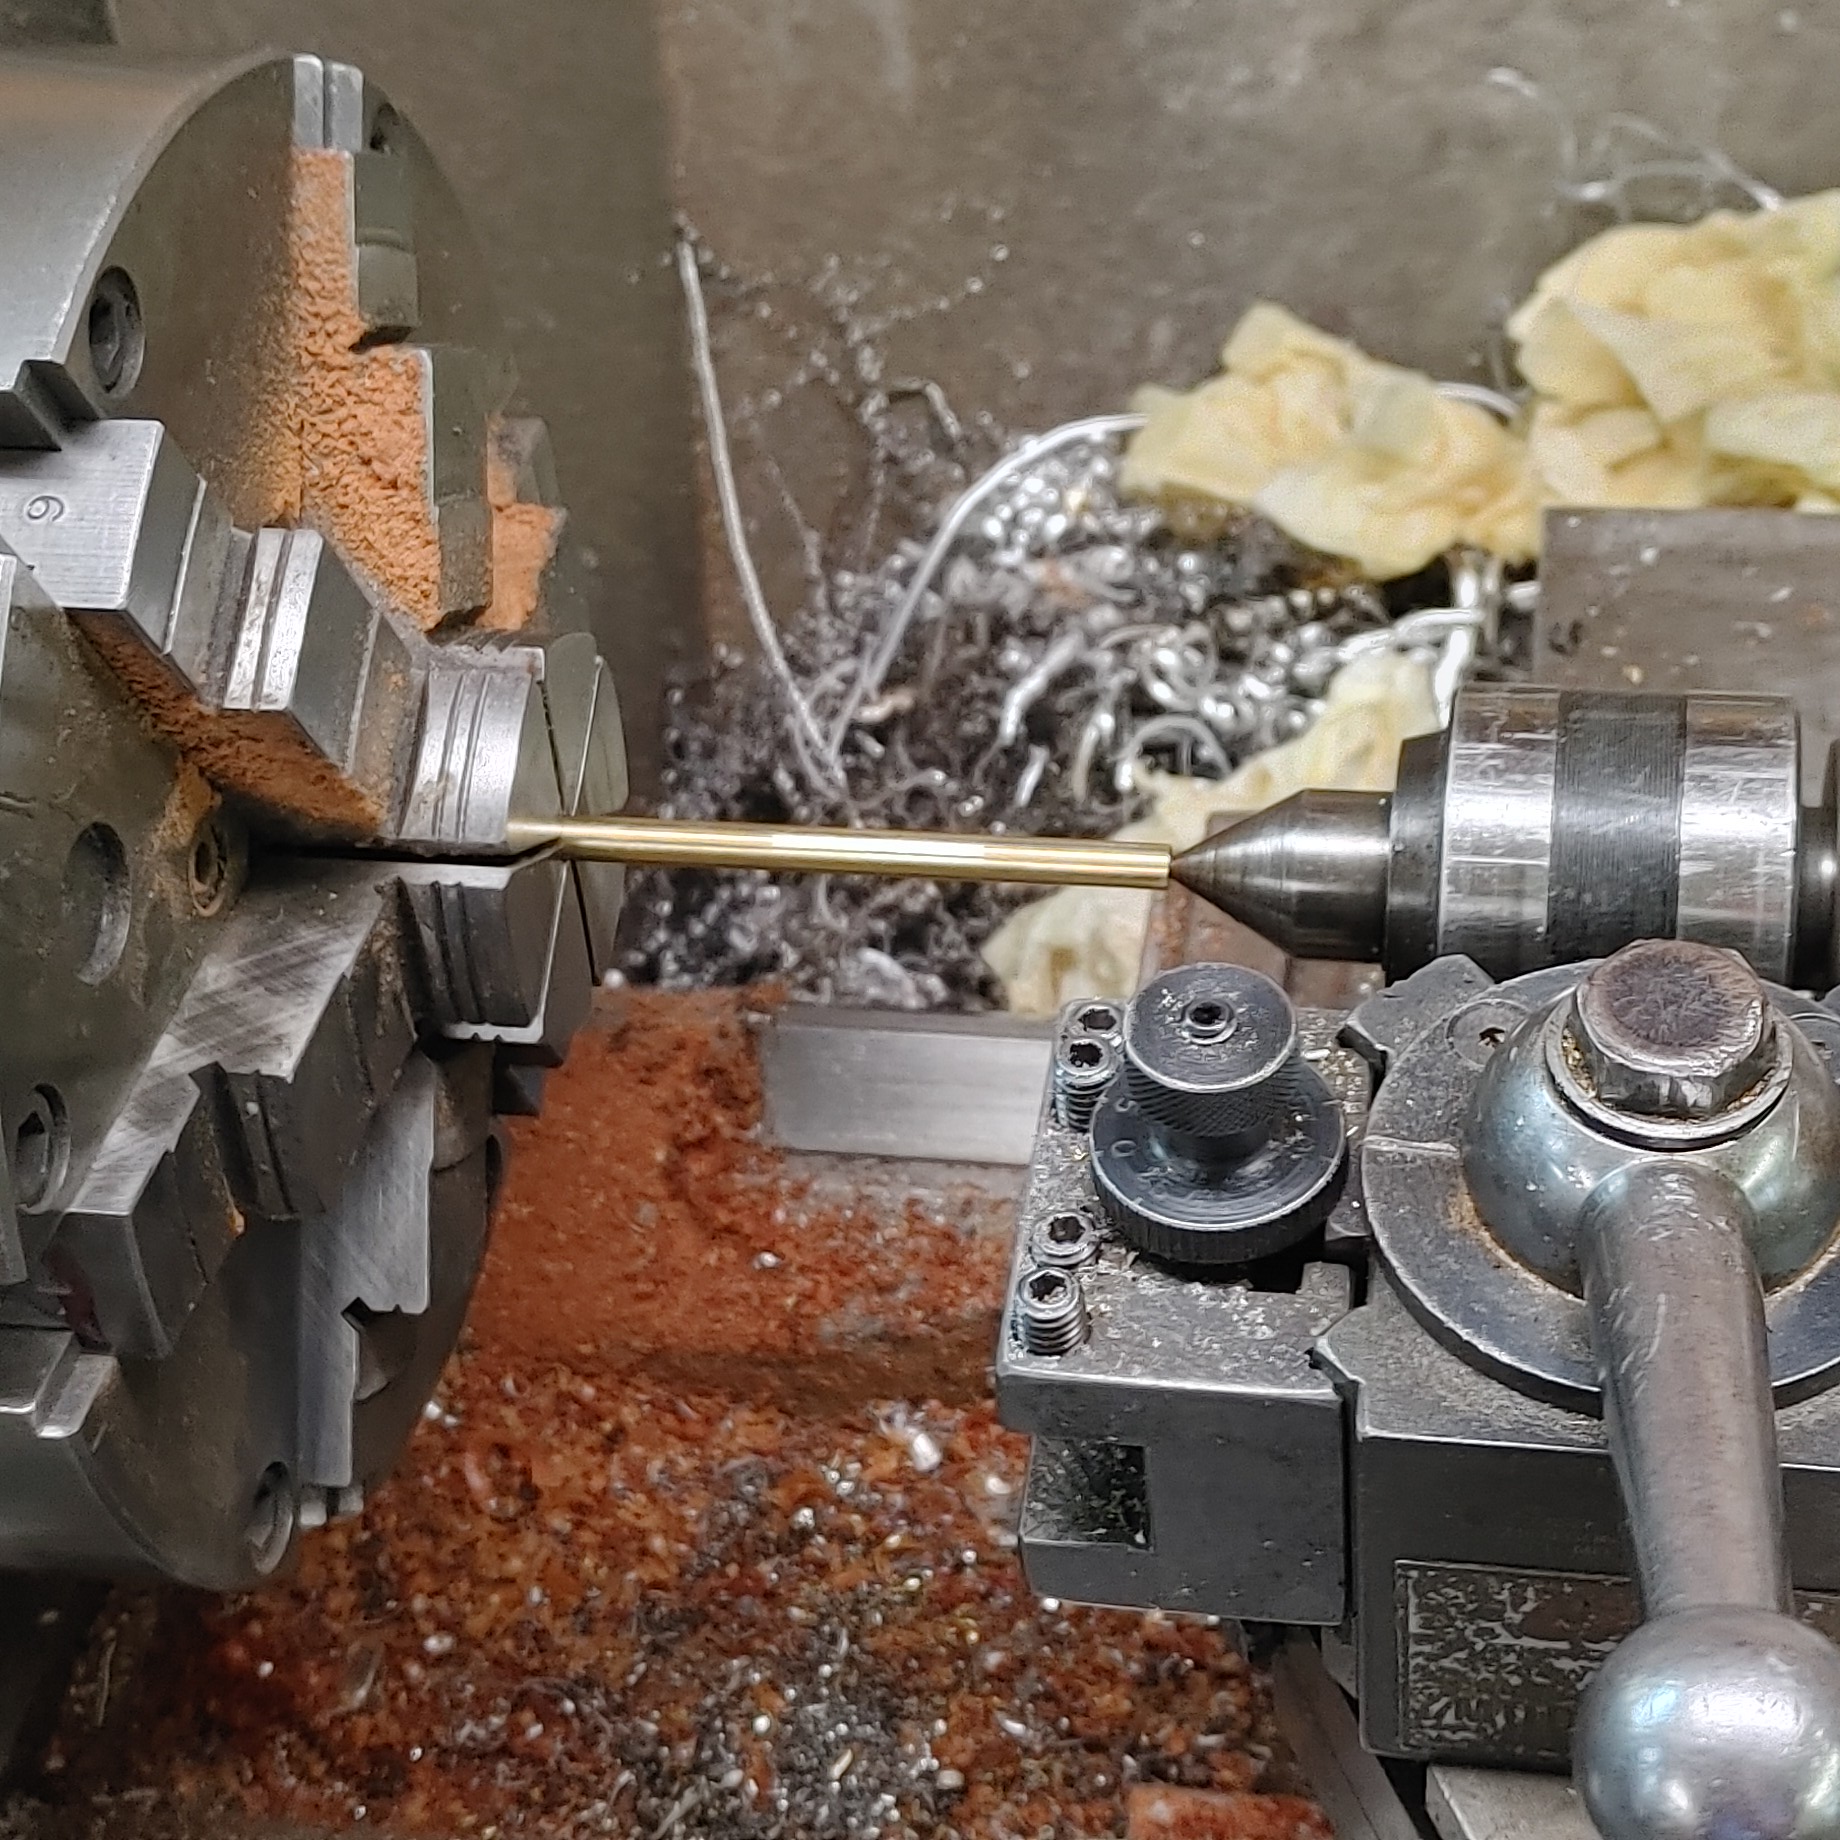
Starting to take .0015 off the outside:

We went about four and a half inches and rounded the insertion end with a file. My plan was to chuck the rod in my drill press when I got home and work it up and down on a slow speed. My press wasn't tall enough even if I cut the rod. No go, too short. So to the gun room and vice we go. The rod fit nice as it was the diameter of the factory pin it fit nice, but with play. Insert the rod, apply compound to the rod, get the rod moving. It was very tight at first as the compound got wedged in there and also embedded in the rod. Five minutes of push/pull/twist, spray outside with ether, check pin. No go. More compound, it was easier the second time. A few more minutes, clean, try, no go. Third time was the charm.
Self explanatory:


Something I'll mention. While he was manipulating the chuck to center the stock he was looking at me the whole time and talking except when he looked at the dial. There are four LARGE allen head bolts around the chuck and he spun it and tightened it without looking at the tool. I made the comment "You can do that without looking?" to which he replied "Yes". I then asked where did he receive his training to which he replied he apprenticed for five years in Jersey to become a tool and die maker and eventually a model maker. He said "I had to study algebra, trigonometry, metals composition and strengths, welding, and mold making", it was apparent. When we got done with the rod I slipped past him and Dave talking and got my mind blown. Here's some tools of his and the fruits of his education and labor. When hot rod people in Lake county need small holes made bigger, big holes made smaller, special threads cut or polished they come to him. He specializes in intricate stuff. As I walked around a pretty small shop there was stuff every-where. There were at least fifty old NOS model airplanes that he said would never get made. As he's a hot rod guy, here's some things. He made the huffer to 3x2 carbs manifold on this:


Air cleaner cover:

Ragtop cover that folds:

Slick little brake line bracket:

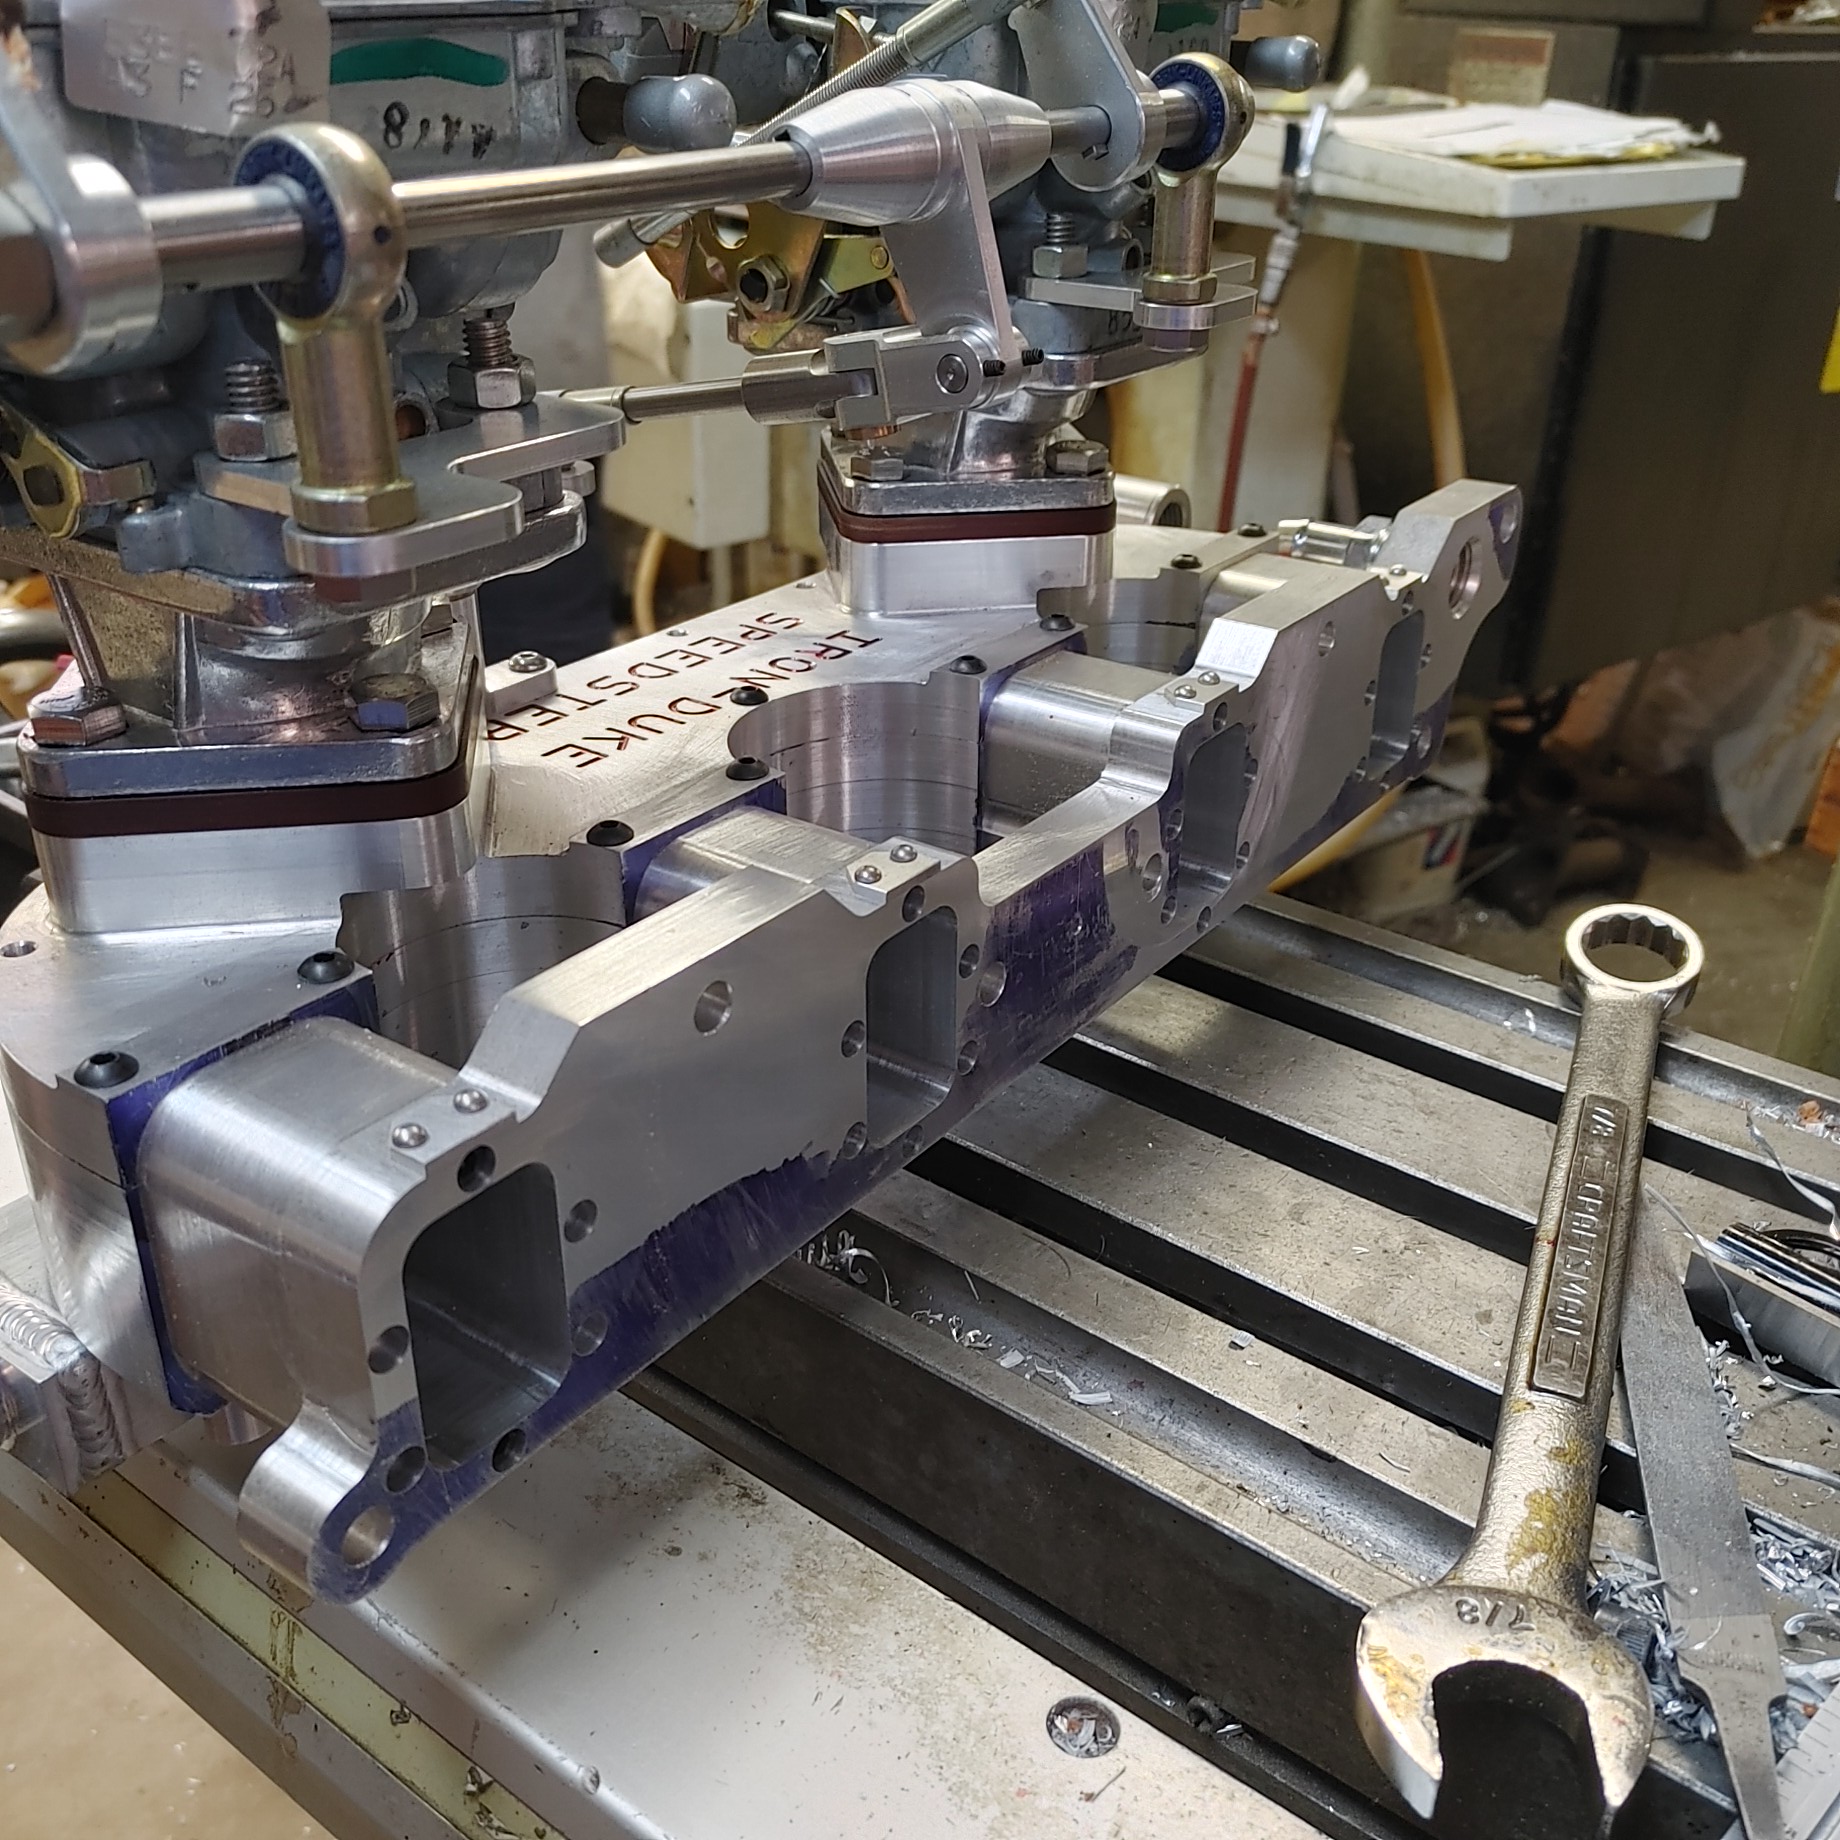
He made this manifold for a 2/2 carb setup on an Iron Duke four cylinder:


He made the linkage and plates also:

So here's some tools. CNC:
Precision grinder:

This is the shelf right over the top of the lathe:

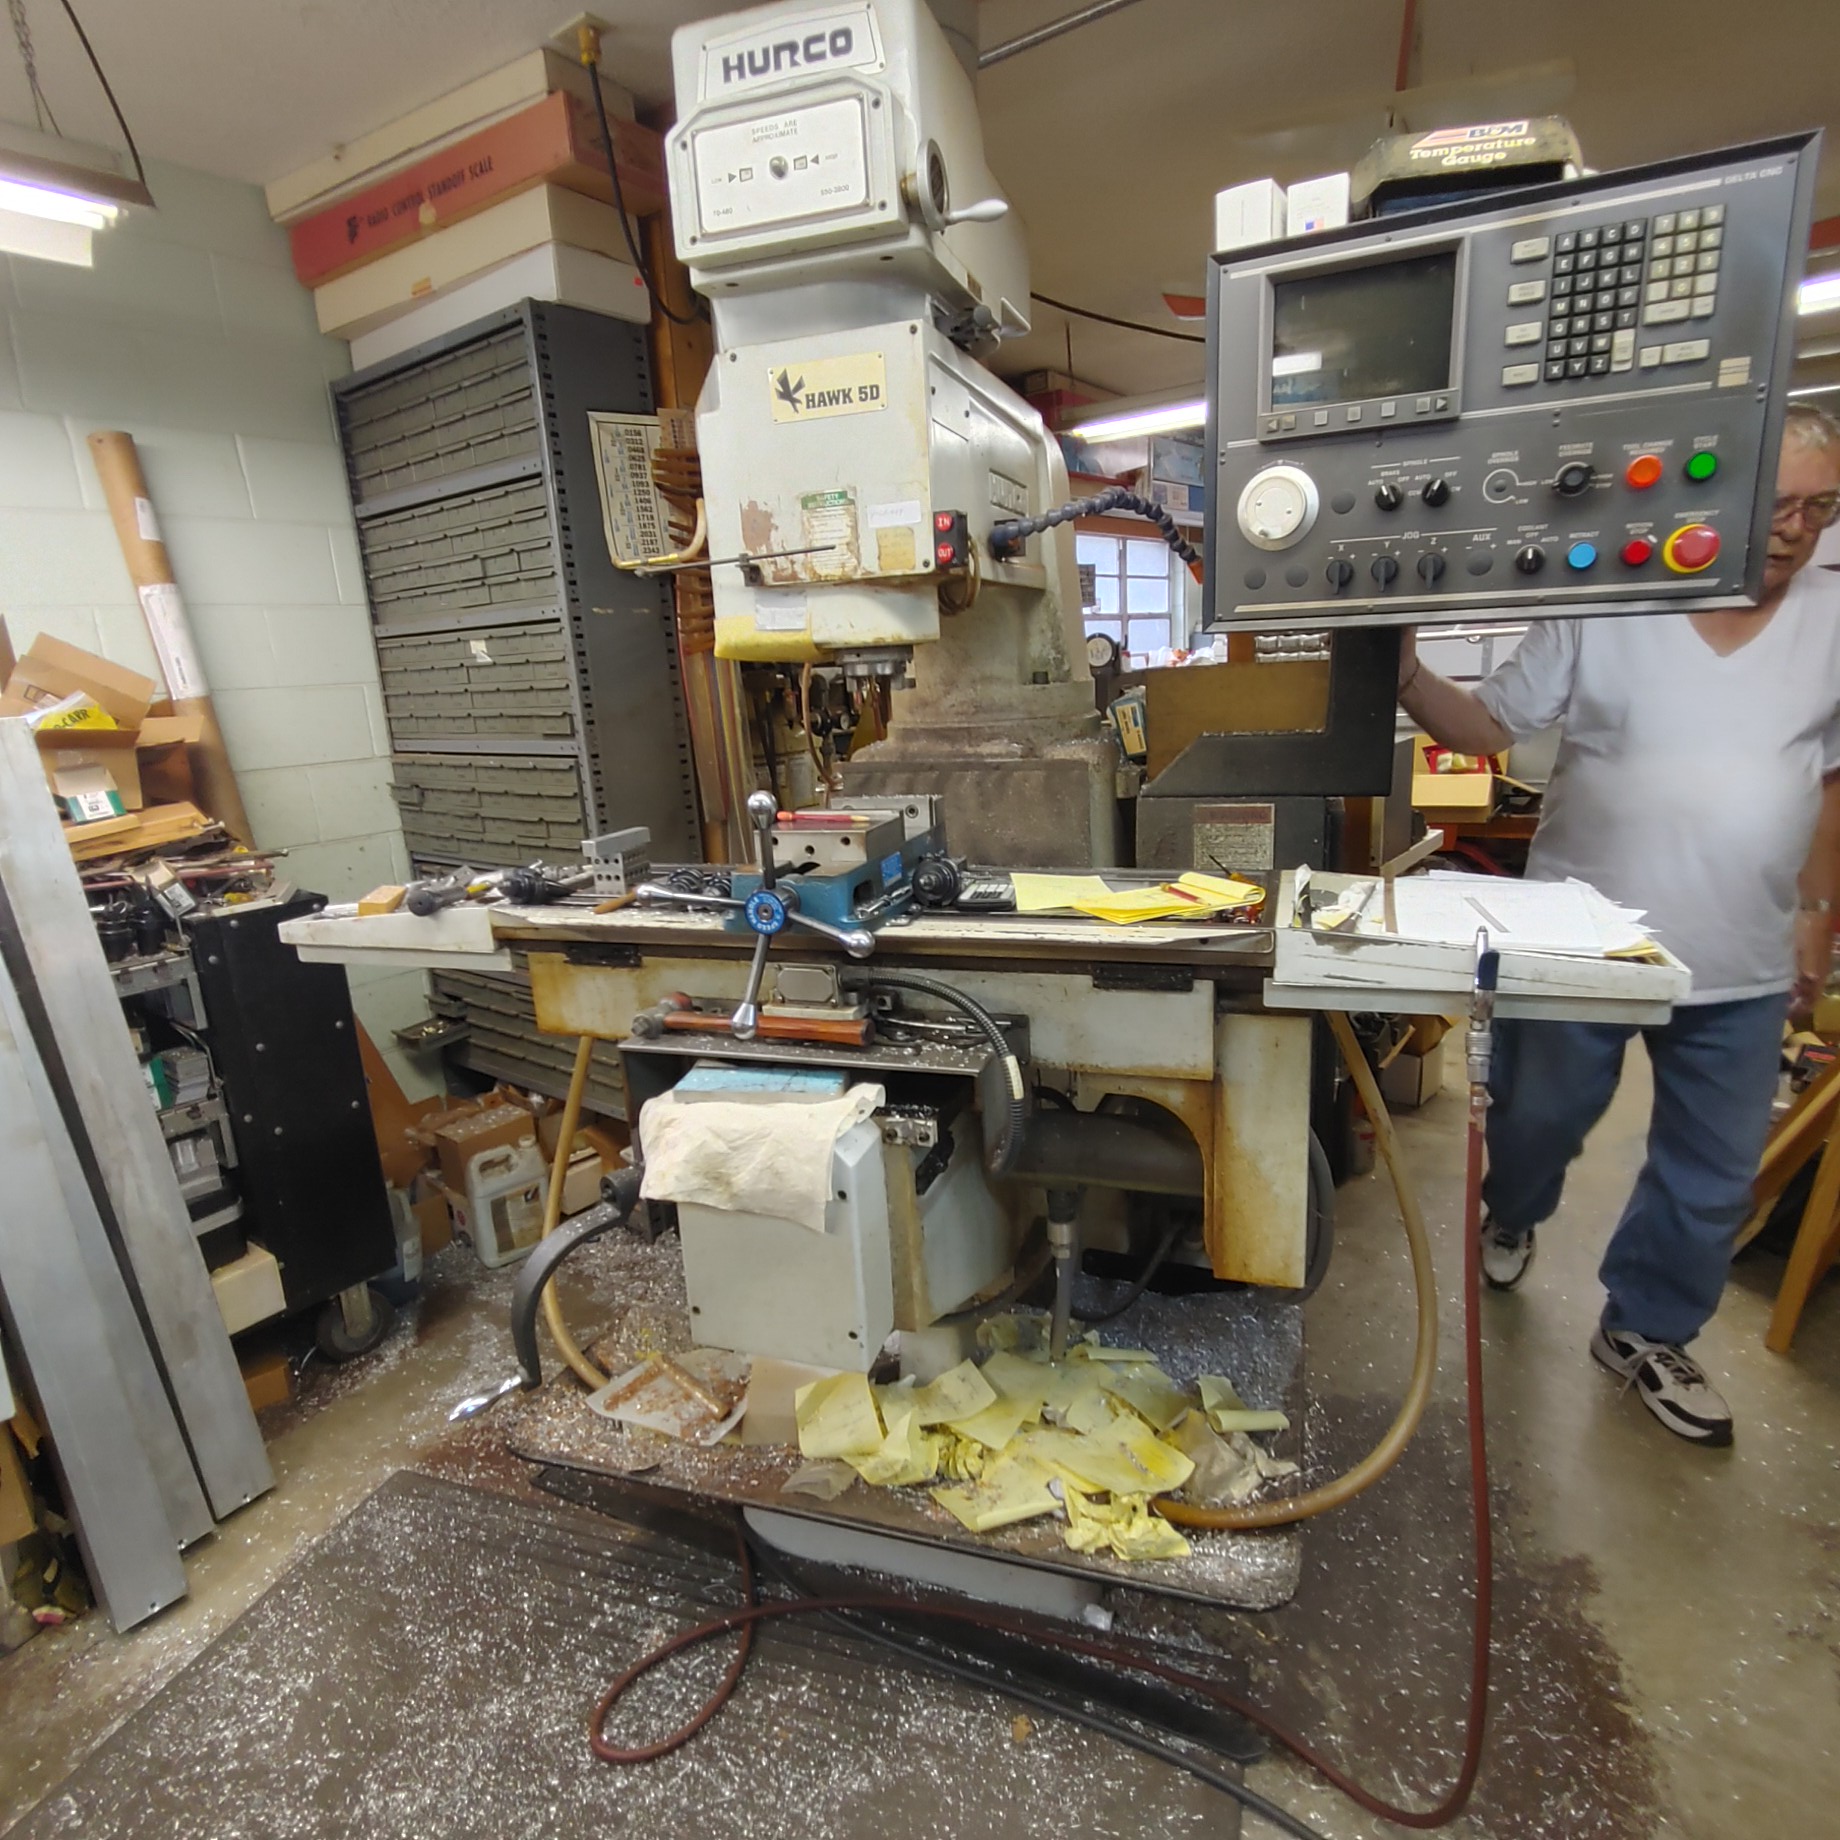
Mill:

The wheel on this press is a three foot diameter:

So here's where I am now.

As it's in this state, there's a little bit of creep to take care of. I'll also polish some things while I'm here, and Ruger likes to put them together dry. The benefit of the pin installation is immediately apparent. A little anti seize mixed with moly and it's FA tight. Shout out to Kelye, Ronnie, and Mr. Bradshaw, these fellas make tools and methods that make this stuff even more fun. Resources are a blessing too.
When we walked in the door my eyes started flying around the room, this man had tools and the knowledge to use them. He understood my idea and after discussion we decided .247 was our target diameter. The factory pin was .247, Kelye's pin was .249. There's no arguing the benefit of his product as many of you know. This was the second one I'd had an issue with (Rugers' inconsistency of cylinder/frame hole diameter) and the first one I thought about fixing and I'm glad I did. The following is our process. it ain't making grip frames, but this is the first time I've ever bore witness to this process. Setting the chuck for zero on the brass stock:
Center hole cut:
Centered and ready to cut:
Starting to take .0015 off the outside:
We went about four and a half inches and rounded the insertion end with a file. My plan was to chuck the rod in my drill press when I got home and work it up and down on a slow speed. My press wasn't tall enough even if I cut the rod. No go, too short. So to the gun room and vice we go. The rod fit nice as it was the diameter of the factory pin it fit nice, but with play. Insert the rod, apply compound to the rod, get the rod moving. It was very tight at first as the compound got wedged in there and also embedded in the rod. Five minutes of push/pull/twist, spray outside with ether, check pin. No go. More compound, it was easier the second time. A few more minutes, clean, try, no go. Third time was the charm.
Self explanatory:
Something I'll mention. While he was manipulating the chuck to center the stock he was looking at me the whole time and talking except when he looked at the dial. There are four LARGE allen head bolts around the chuck and he spun it and tightened it without looking at the tool. I made the comment "You can do that without looking?" to which he replied "Yes". I then asked where did he receive his training to which he replied he apprenticed for five years in Jersey to become a tool and die maker and eventually a model maker. He said "I had to study algebra, trigonometry, metals composition and strengths, welding, and mold making", it was apparent. When we got done with the rod I slipped past him and Dave talking and got my mind blown. Here's some tools of his and the fruits of his education and labor. When hot rod people in Lake county need small holes made bigger, big holes made smaller, special threads cut or polished they come to him. He specializes in intricate stuff. As I walked around a pretty small shop there was stuff every-where. There were at least fifty old NOS model airplanes that he said would never get made. As he's a hot rod guy, here's some things. He made the huffer to 3x2 carbs manifold on this:
Air cleaner cover:
Ragtop cover that folds:
Slick little brake line bracket:
He made this manifold for a 2/2 carb setup on an Iron Duke four cylinder:
He made the linkage and plates also:
So here's some tools. CNC:
Precision grinder:
This is the shelf right over the top of the lathe:
Mill:
The wheel on this press is a three foot diameter:
So here's where I am now.
As it's in this state, there's a little bit of creep to take care of. I'll also polish some things while I'm here, and Ruger likes to put them together dry. The benefit of the pin installation is immediately apparent. A little anti seize mixed with moly and it's FA tight. Shout out to Kelye, Ronnie, and Mr. Bradshaw, these fellas make tools and methods that make this stuff even more fun. Resources are a blessing too.


