|
|
Post by cherokeetracker on May 21, 2015 16:44:18 GMT -5
This is the Boss,,, Now after you get it bedded,, do you break in or (Run) the barrel like some people recommend? 1 shot clean 5 times then 3 shots clean 15 times etc etc........ It would not surprise me if you got a 3 shot less than a quarter inch before you Devcon the Reciever. Considering the Builders, the weight of the gun, and the recoil.
|
|
|
|
Post by Lee Martin on May 21, 2015 19:20:50 GMT -5
This is the Boss,,, Now after you get it bedded,, do you break in or (Run) the barrel like some people recommend? 1 shot clean 5 times then 3 shots clean 15 times etc etc........ It would not surprise me if you got a 3 shot less than a quarter inch before you Devcon the Reciever. Considering the Builders, the weight of the gun, and the recoil. Barrel break-in is widely debated. Most premium manufacturers say to forego the practice. With modern tooling, hand-lapping, and air-gauge QA, it isn't needed. Slug and bore-scope a new Shilen, Krieger, Schneider, Lilja, Bartlein, etc, etc and you'll see why. Of course, routine (and thorough) cleaning should be done regardless of the barrel's age. With a comp gun I usually do so after 12 - 15 shots. As for my fire-form groups, I'm holding back on the measurements. No need to jinx this thing....but I will say you weren't too far off. -Lee www.singleactions.com"Building carpal tunnel one round at a time" |
|
|
|
Post by Lee Martin on May 21, 2015 19:22:59 GMT -5
Beautiful! What are you going to paint the stock? Mild or wild?  Definitely mild. But as you’ll see from these photos, folks get artistic with stock paint: 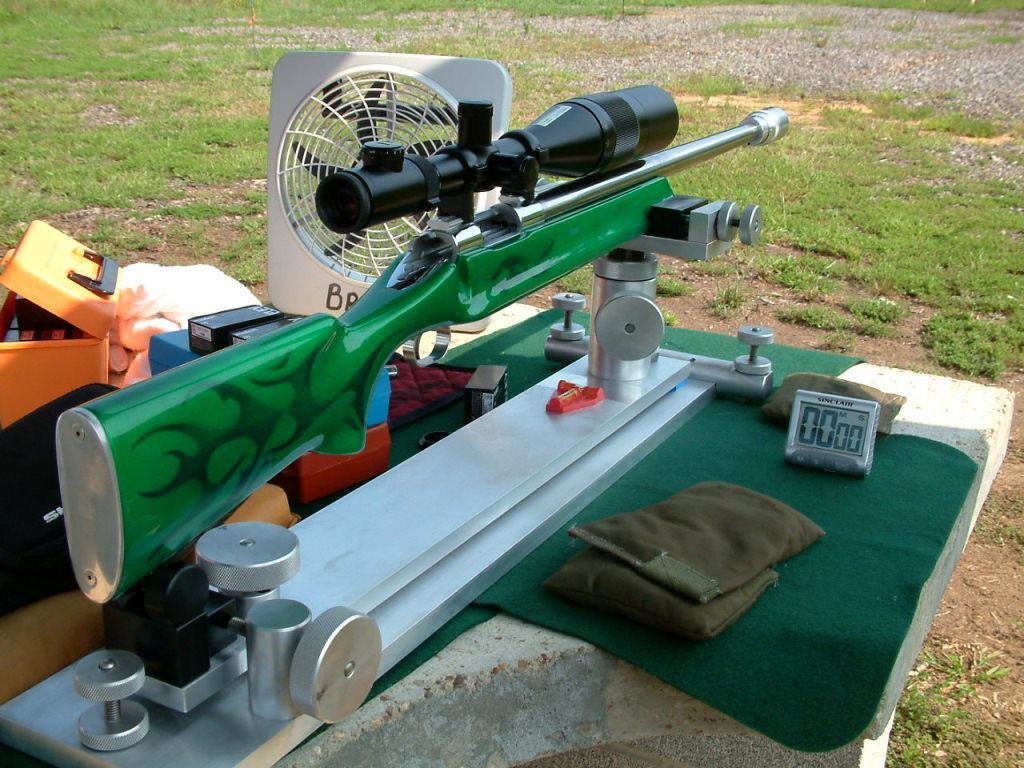 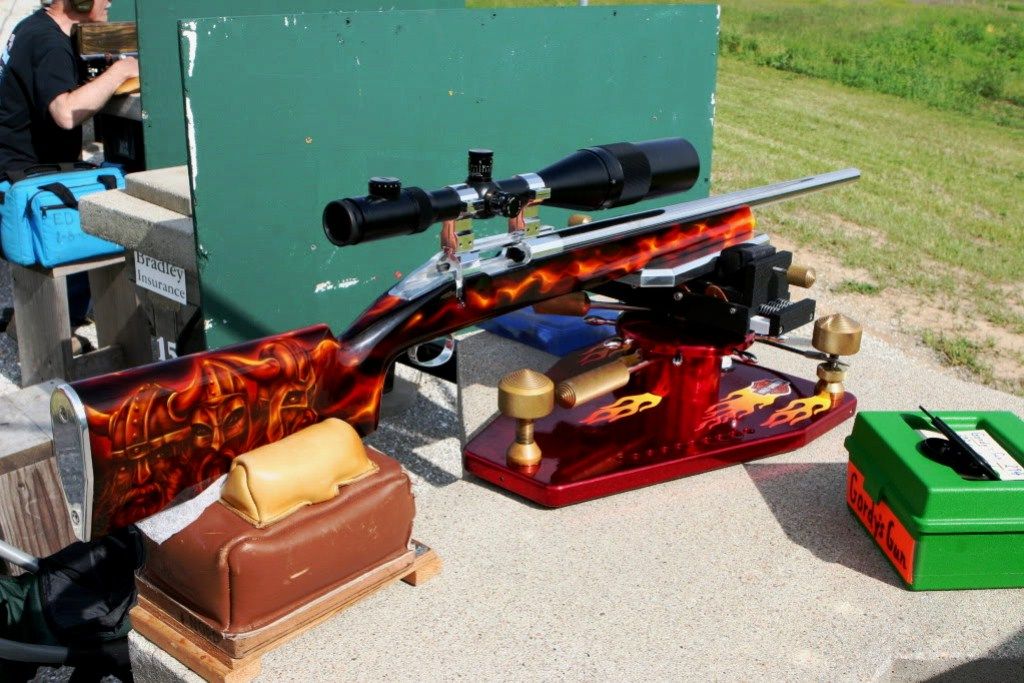 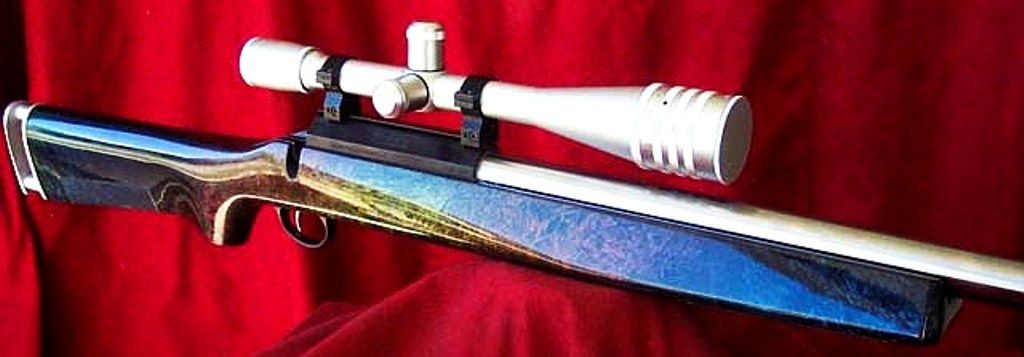 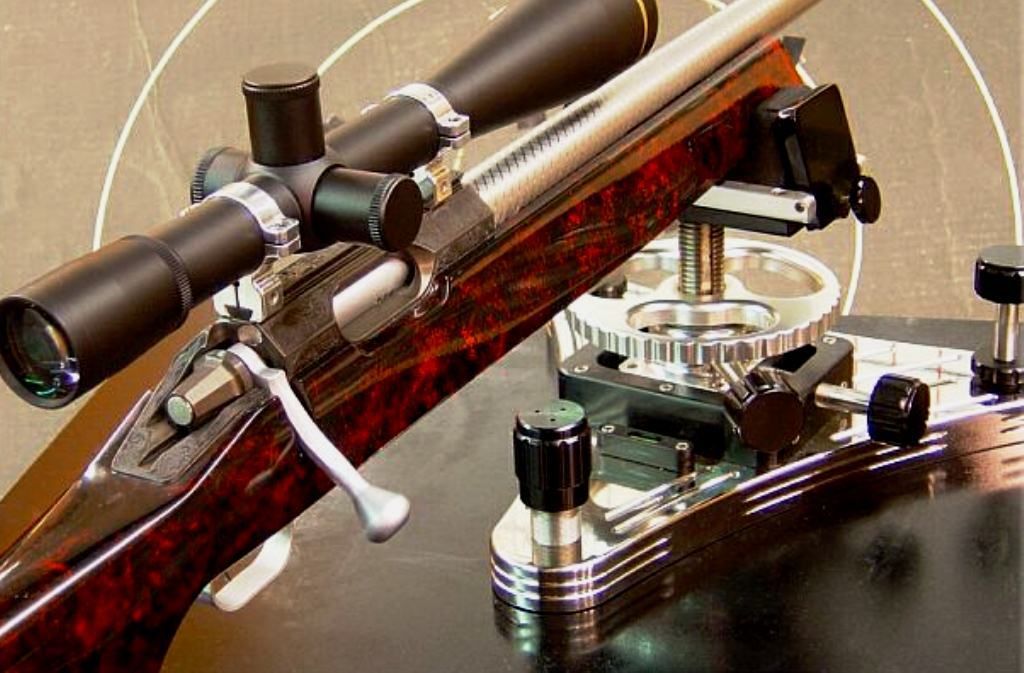 Similar to our custom revolvers, this rifle will be tastefully subdued. I don’t need or even like flash on my guns. The scheme was always going to be monochrome; the real struggle was deciding on a color. I wanted something between medium grey and dark graphite and checked paint suppliers for the right chip. No luck though. A lot of them were close but none matched what I had in mind. Unbeknownst the perfect shade was seven houses away. My mom drives a 2010 Fusion in Ford sterling grey and I constantly see the car. It must’ve got stuck in my head and wouldn't let go. I eyed it in the sun and shade and was sold. Here’s the actual color on an AC Cobra:  -Lee www.singleactions.com"Building carpal tunnel one round at a time" |
|
|
|
Post by alukban on May 22, 2015 10:05:56 GMT -5
Amazing, in neutral light how the eye detects something out of whack by a thousandth of an inch. this optical centering is what makes the aperture sight so accurate, and explains the fierce ability to hit a target a third the width of the front sight with a handgun. Prior to Lee's photo and description of his optical collimation gauge, I hadn't heard of such. I've used a close fitting cleaning rod guide to assess barrel-to-receiver straightness on bolt actions. But the rings of shadow Lee sees in the bore with his his device begs the question: how does it work?David Bradshaw The aperture acts like a single slit in a diffraction grating and demonstrates the wave property of light photons. The slit produces an interference pattern (I suspect, with the reflections from the barrel-as-light-tube) that the eye observes as the rings (see "Airy disk", etc.). Mathematically, the aperture is a rect function with a convolution to the barrel image of a sinc function that is physically observed as the rings. That the eye is sensitive enough to view the lack of concentricity of the rings is friggin' fascinating and awesome. In playing around with our "machines" here at work that has extremely accurate digital readouts, the eye can easily detect errors of 1/10 of a degree in objects of 6' plus size... if the lighting is right  |
|
|
|
Post by tangocharlie on May 22, 2015 17:29:49 GMT -5
I like - REALLY like your bench gun. But...should the occasion arise that the owner of the Sterling Grey AC Cobra need a place to park it for a few years - I will make room!
|
|
|
|
Post by Lee Martin on May 28, 2015 18:45:08 GMT -5
New Range, New Bench – Step 3 _______________________________________ More progress on our range. The lower half was graded and I removed unearthed rocks. It’s hard to tell from the picture but the backstop is roughly 6-feet high. All exposed dirt will be grass seeded: 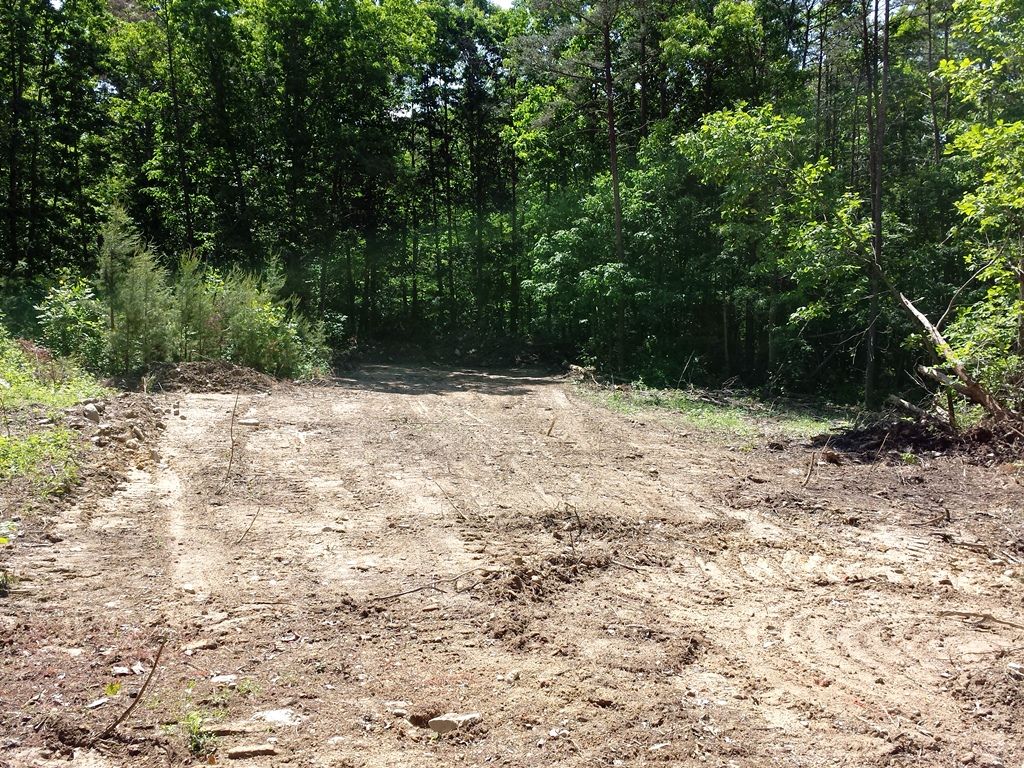 The bench pad was staked and I’ve contracted a firm to pour the slab. Based on their schedule we should have it in by the end of June: 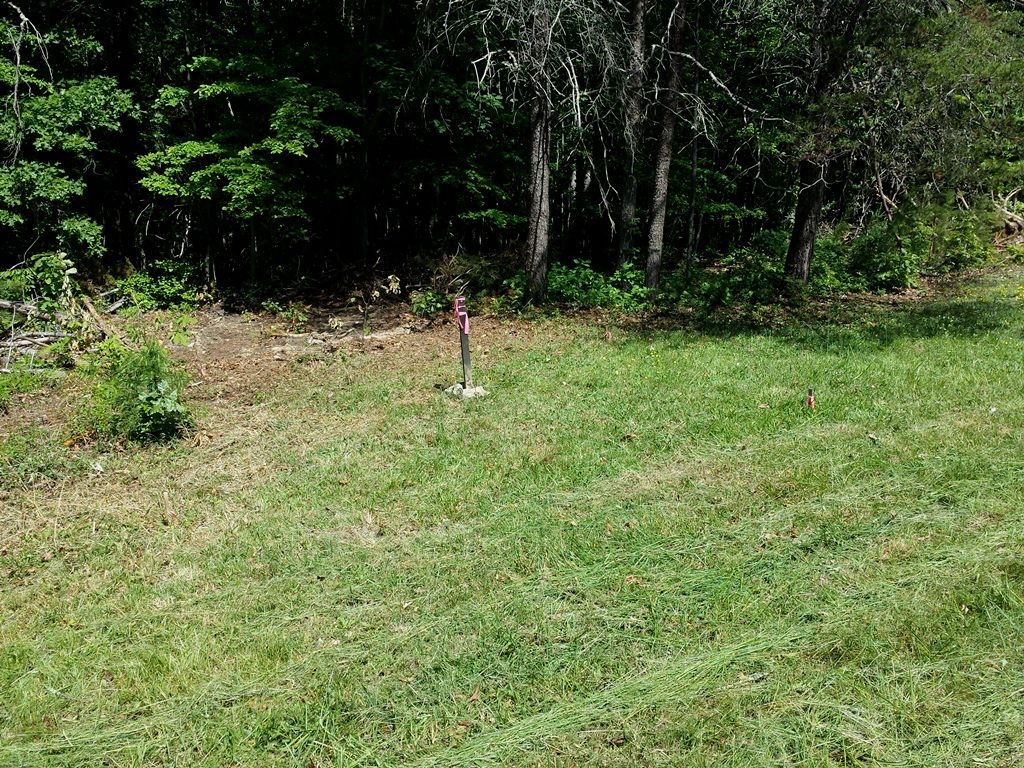 Foundation specs: 15 feet x 15 feet, squared to the target 5 inches thick, 3500 psi concrete 4” of stone 1/2” steel reinforcement throughout -Lee www.singleactions.com"Building carpal tunnel one round at a time" |
|
|
|
Post by Markbo on May 28, 2015 19:27:20 GMT -5
You gonna put in a pit and cold water so you dont have to leave for lunch?  |
|
|
|
Post by Lee Martin on May 29, 2015 13:52:54 GMT -5
You gonna put in a pit and cold water so you dont have to leave for lunch?  Not quite, but it'll be covered and have a large workbench for reloading. -Lee www.singleactions.com"Building carpal tunnel one round at a time" |
|
|
|
Post by Lee Martin on May 29, 2015 13:54:29 GMT -5
Also forgot to mention. The dirt pile on the left is at 75 yards. That space, plus the 100 yard backdrop, with have permanent steel for pistol work. -Lee www.singleactions.com"Building carpal tunnel one round at a time" |
|
|
|
Post by cherokeetracker on May 29, 2015 16:38:22 GMT -5
This is sounding better all the time. Did you get time to Bed the rifle? Or paint it? I know I am anxious, about all this.
|
|
|
|
Post by Lee Martin on Jun 2, 2015 18:41:14 GMT -5
This is sounding better all the time. Did you get time to Bed the rifle? Or paint it? I know I am anxious, about all this. I appreciate your interest. We haven’t bedded the pillars and action yet. I’m traveling all next week but hope to do so when I return. That’ll be followed by stock painting. -Lee www.singleactions.com"Building carpal tunnel one round at a time" |
|
|
|
Post by Lee Martin on Jun 2, 2015 18:43:04 GMT -5
Case Forming – Step 5 ____________________________ Earlier I forgot to mention the importance of degreasing the brass. You’ll recall we lubricated the neck and mandrel for expanding to 6mm. Likewise, the turning mandrel was lubed for smooth wall thinning. Imperial die wax is my go-to but I ran out on the first 50 prepped. Oil based was used instead and those can deaden primers if it gets deep into the hull. Sure enough, eleven failed to ignite after repeated attempts (the spring is plenty strong, as is the pin protrusion). They were subsequently pulled down and the pockets were still wet. I soaked each in acetone, allowed them to air dry, and reloaded. Acetone wash: 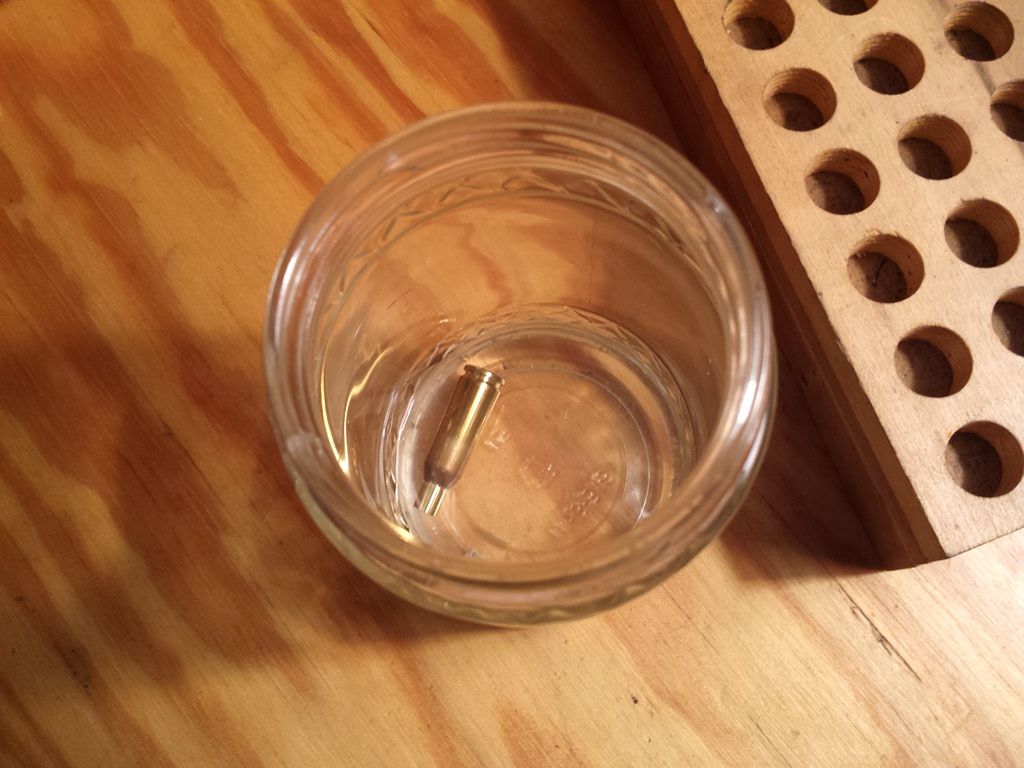 Air drying: 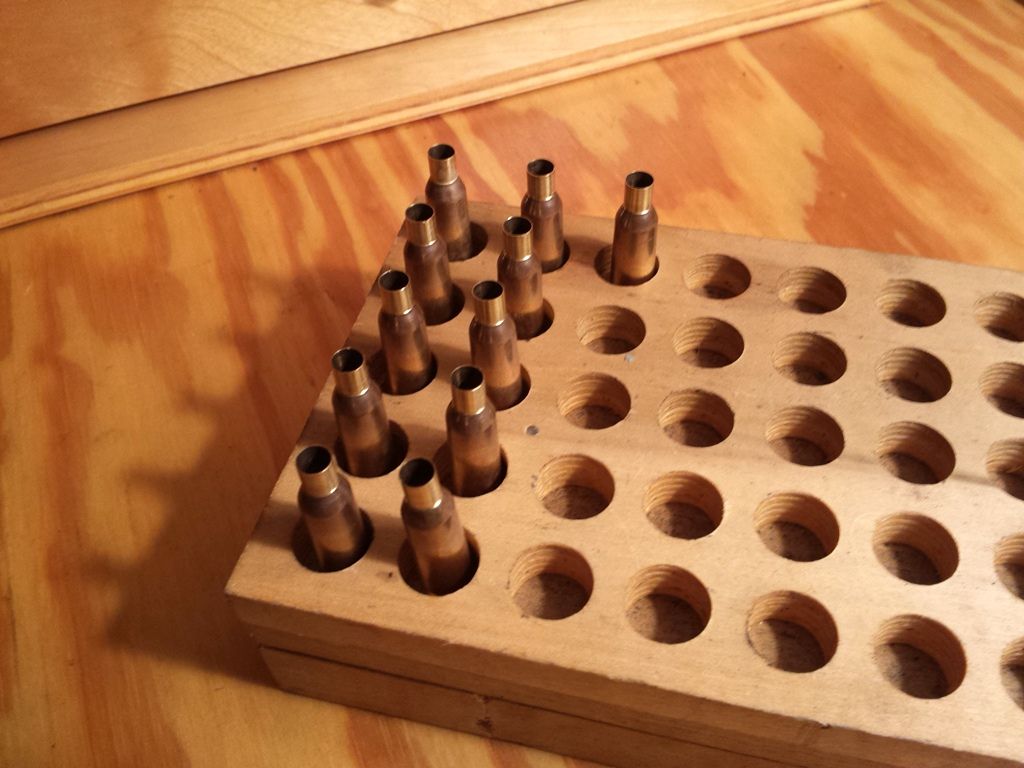 -Lee www.singleactions.com"Building carpal tunnel one round at a time" |
|
|
|
Post by Lee Martin on Jun 15, 2015 19:52:17 GMT -5
New Range, New Bench – Step 4 ______________________________________ We’re still waiting on the concrete pad. In the interim, we welded the bases to the legs and drilled holes for the anchor bolts. Later this week we’ll weld a T-brace in between the three; one member across the front two and another straight back. These will likely be 6 – 7 inches off the ground. 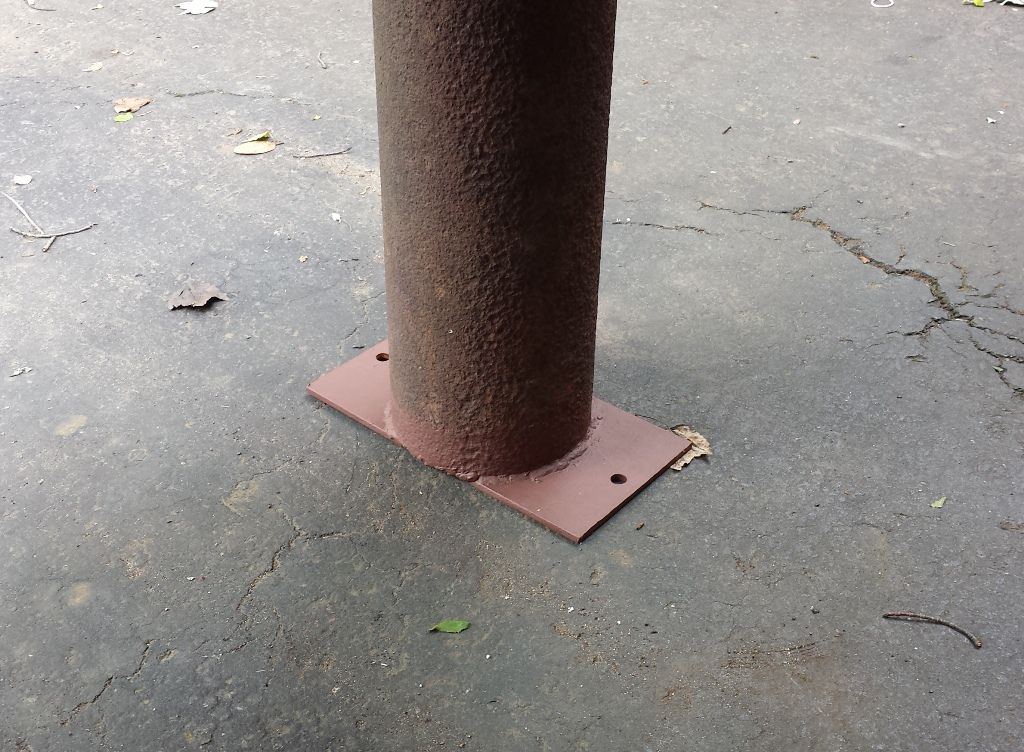 Prior to installation the metal is painted with red Rust-Oleum. Post installation it’ll get a top coat of grey. The form was laid out to determine the leg spacing: 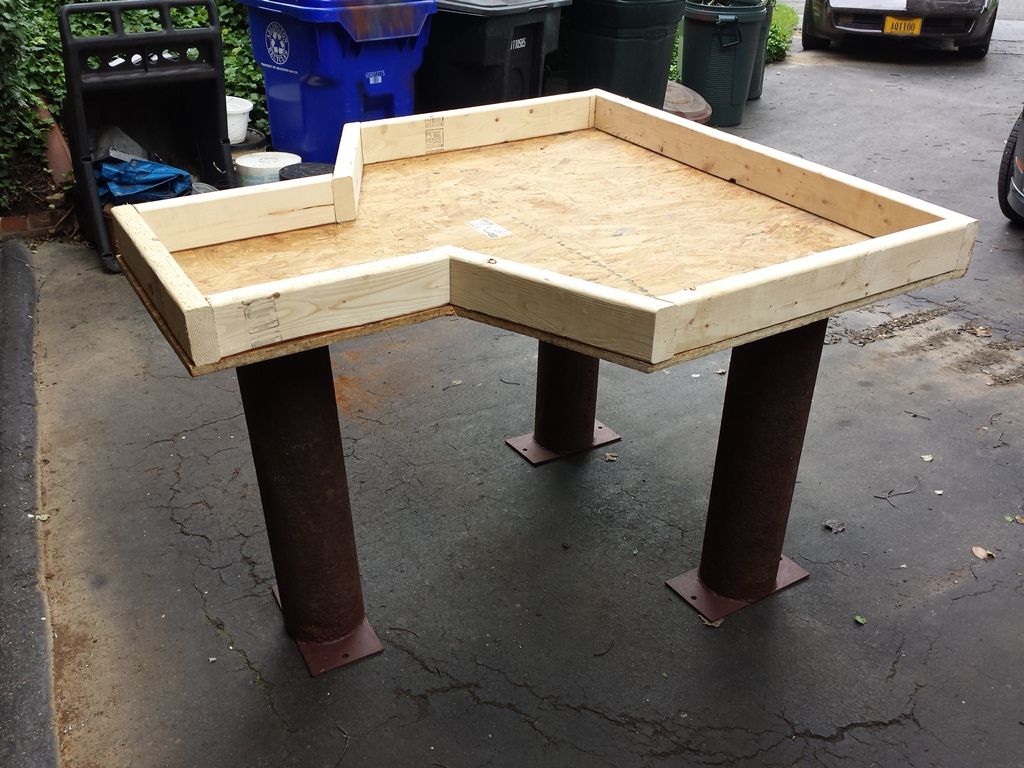 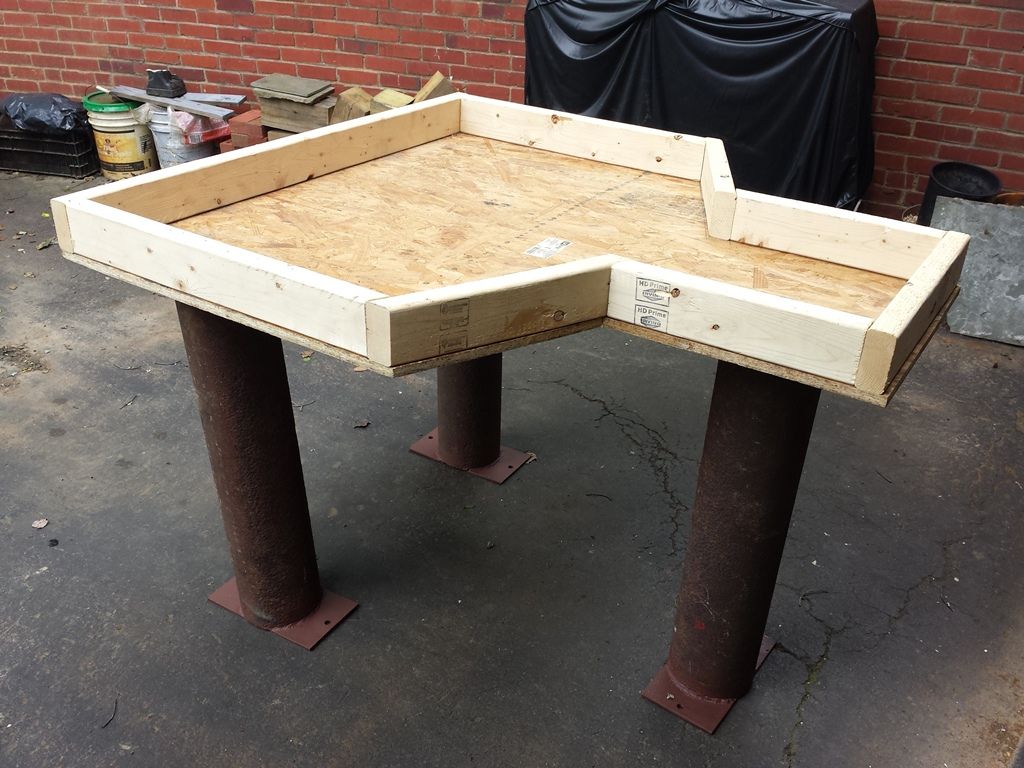 We also just bedded the action. That write-up is a day or two off. -Lee www.singleactions.com"Building carpal tunnel one round at a time" |
|
|
|
Post by cherokeetracker on Jun 16, 2015 7:53:16 GMT -5
Ahhhh It is coming together. Good to see this. What little I know about you, that bedding job is probably just as good if not better than if Richard Franklin did it.
|
|
|
|
Post by Lee Martin on Jun 17, 2015 18:40:16 GMT -5
Step 77 – Bedding the Action, Part I ___________________________________________ Many posts ago I compared and contrasted pillar bedding and straight glue-in. No need to rehash that A to Z but I’ll point out: • Glue ins use the normal compounds except a release agent isn’t applied to the action. What you get is a permanent bond • While gluing gives perfect bind adhesion, the drawbacks are: 1) You can’t remove the receiver, and 2) The bond can, and does, weaken over time. • Achieving uniform purchase is easier with gluing • If done correctly, pillar bedding is every bit as rigid. The key word is ‘correctly’ • Pillar bedding allows the action to be pulled by undoing two or three bolts. You can also tune the join by adjusting the bolt tension. I really like this feature. We’ve glued and pillar bedded and I prefer the latter. Two theories exist on setting the pillars. The predominant method involves: 1) Covering the pillar perches with compound so there’s no aluminum to steel contact 2) Seat the pillar bottoms flush on the base/feet with no bedding in between 3) Torque the pillar bolts to the same spec. This is maintained by periodically rechecking the tension. Ours are done to 30 inch-pounds using a torque driver. The other, and less advisable way, is to leave space between the pillar bottom and mounting base. That gap was a buffer to re-compress against as the stock ages. Modern fiberglass and carbon fiber puts this theory to rest. There are some great bedding compounds on the market today. Acraglass, Steel Bed, Match Grade, and Bisonite are just a few. We exclusively use Devcon and have done so since the late 1980’s. It flows well but isn’t runny, it hardens like concrete, and the excess cleans-up nicely (usually 2 -3 hours after application). 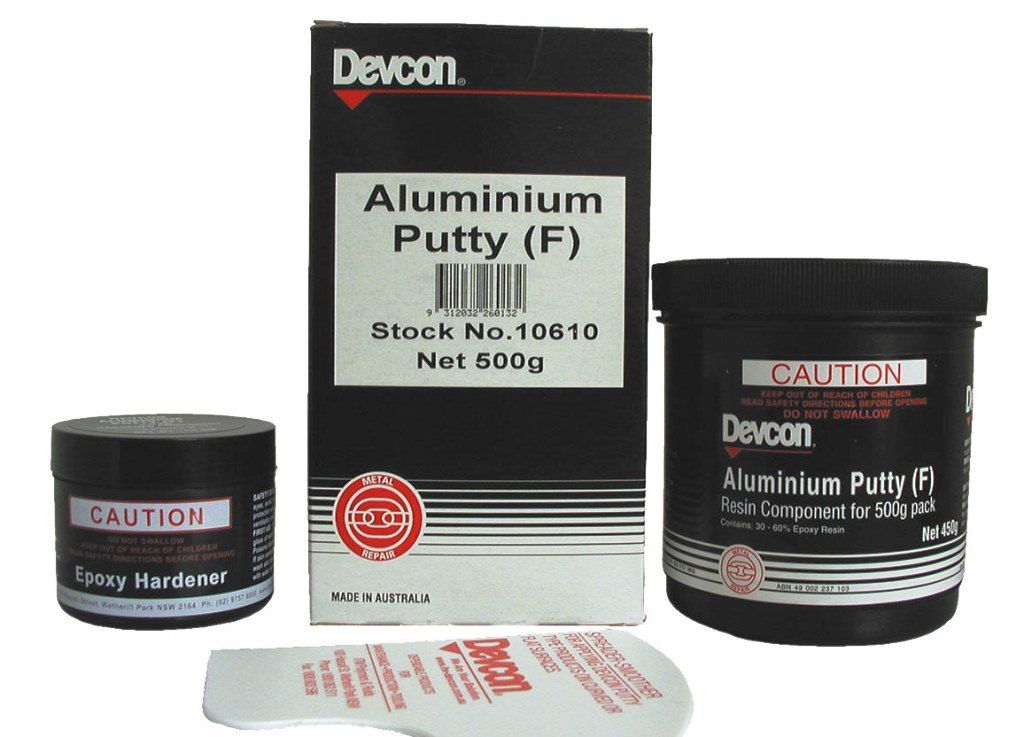 10610 is aluminum based putty. Devcon also makes steel and titanium which are slightly stronger than 10610. However those weigh more and I’m right on the cusp of 13.5 pounds. If I can save even an ounce I’ll do so. Not to mention our track record with aluminum is spotless. We bedded express rifles decades ago and they remain rock solid to this day. But if I were gluing I may go with steel for sanity sake. There’d be no weight disadvantage since the pillars are heavier than the incremental putty. I drew this diagram to show the desired result. Notice how the compound (dark grey lines) surrounds the pillars and the bottom of the action channel: 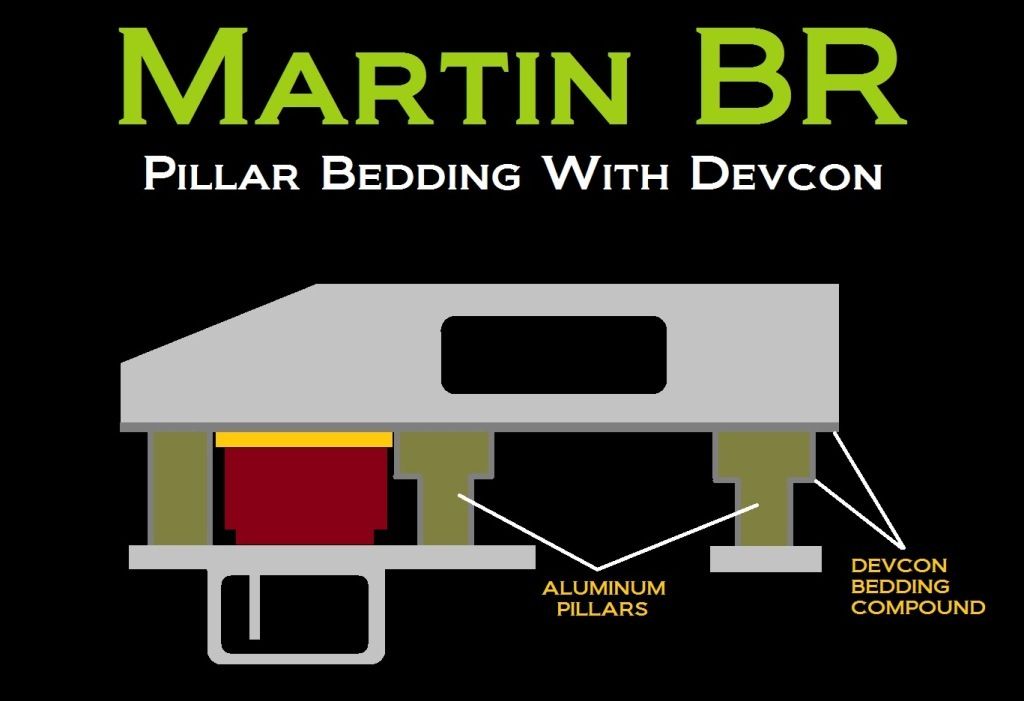 -Lee www.singleactions.com"Building carpal tunnel one round at a time" |
|